
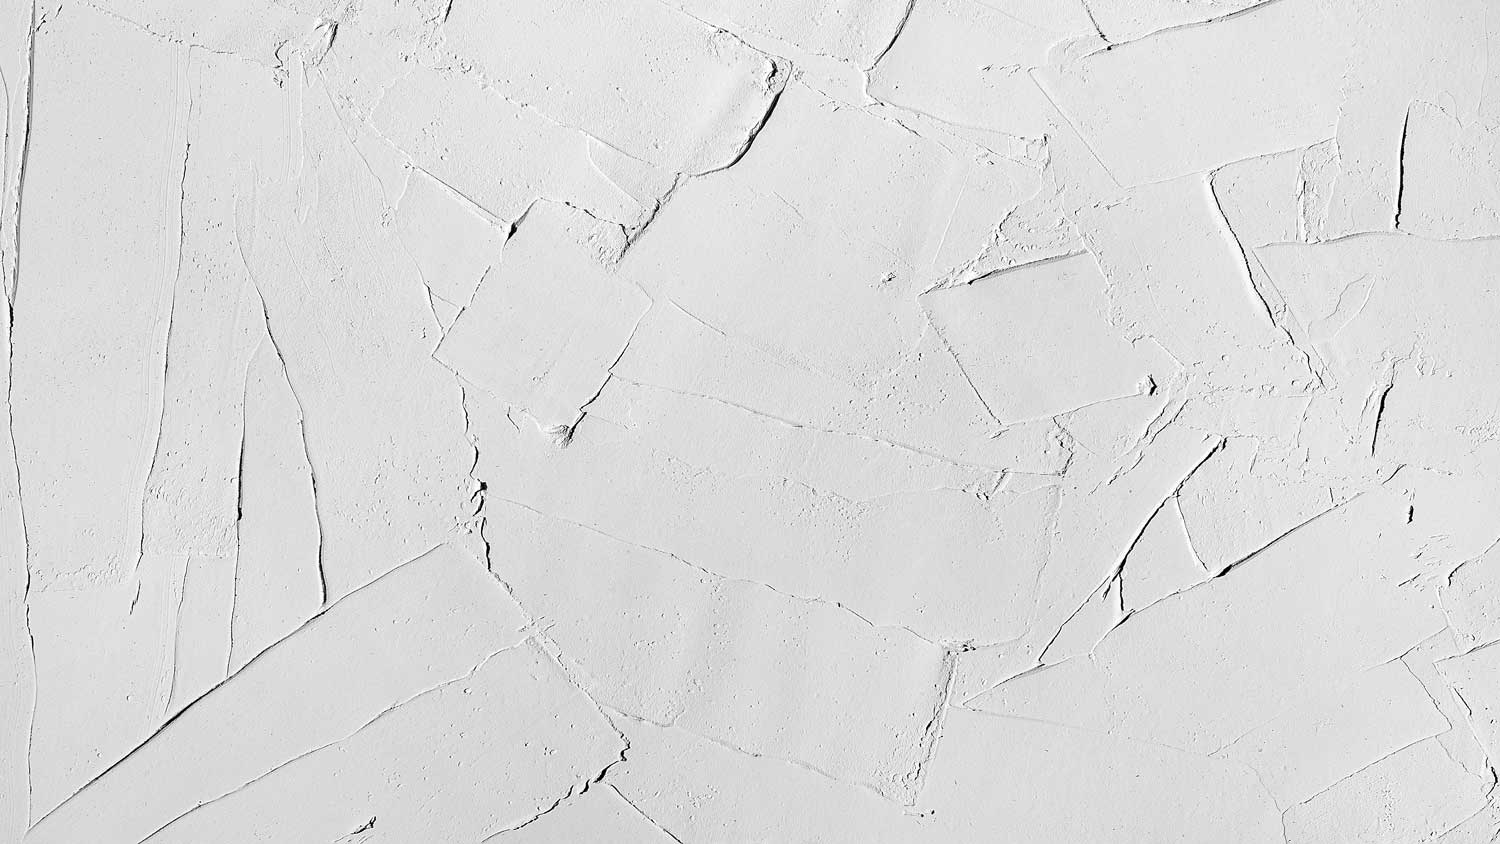
Drywall texture can create an attractive finish and add dimension to your home’s walls. This guide breaks down the factors that influence the cost to texture drywall.
Spruce up your space with texture

Want to elevate your understated drywall? It could be a lot easier than you think, thanks to drywall texturing—a simple DIY project that doesn’t require previous drywall experience. Learning how to texture drywall can enhance the look of your living space and conceal imperfections on your walls.
Heads up: While there are several techniques for texturing drywall, we’ll focus on one of the easiest methods: using a paint roller.
Drywall texturing projects are messy, so your first task is to cover your floors, furniture, and other walls with drop cloths.
Next, look for any holes, dents, or cracks in the drywall. You can use a repair kit to patch a small hole in drywall, but if there are several large holes, you should call a pro to replace the drywall before texturing it.
Once you’ve dealt with any drywall damage, it’s time to clean the wall. Wipe it down with an all-purpose cleaner and a cloth or sponge, then let it dry completely. Finally, cover your baseboards and window and door trim with painter’s tape.

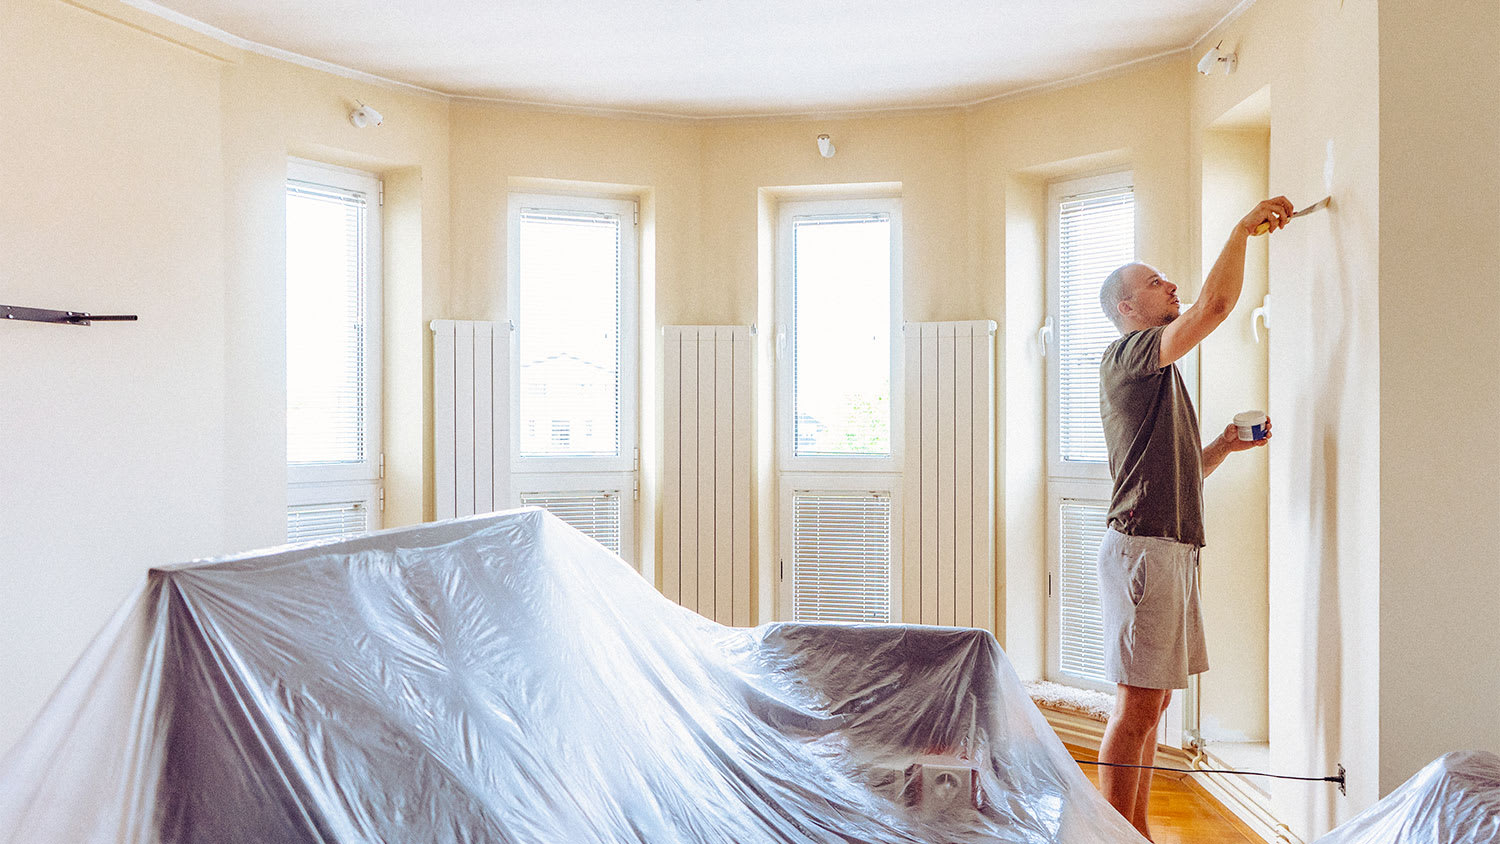
Apply drywall primer to a damp paint roller, then prime the wall. Let it sit for at least two hours (or however long the manufacturer recommends on the primer’s packaging).
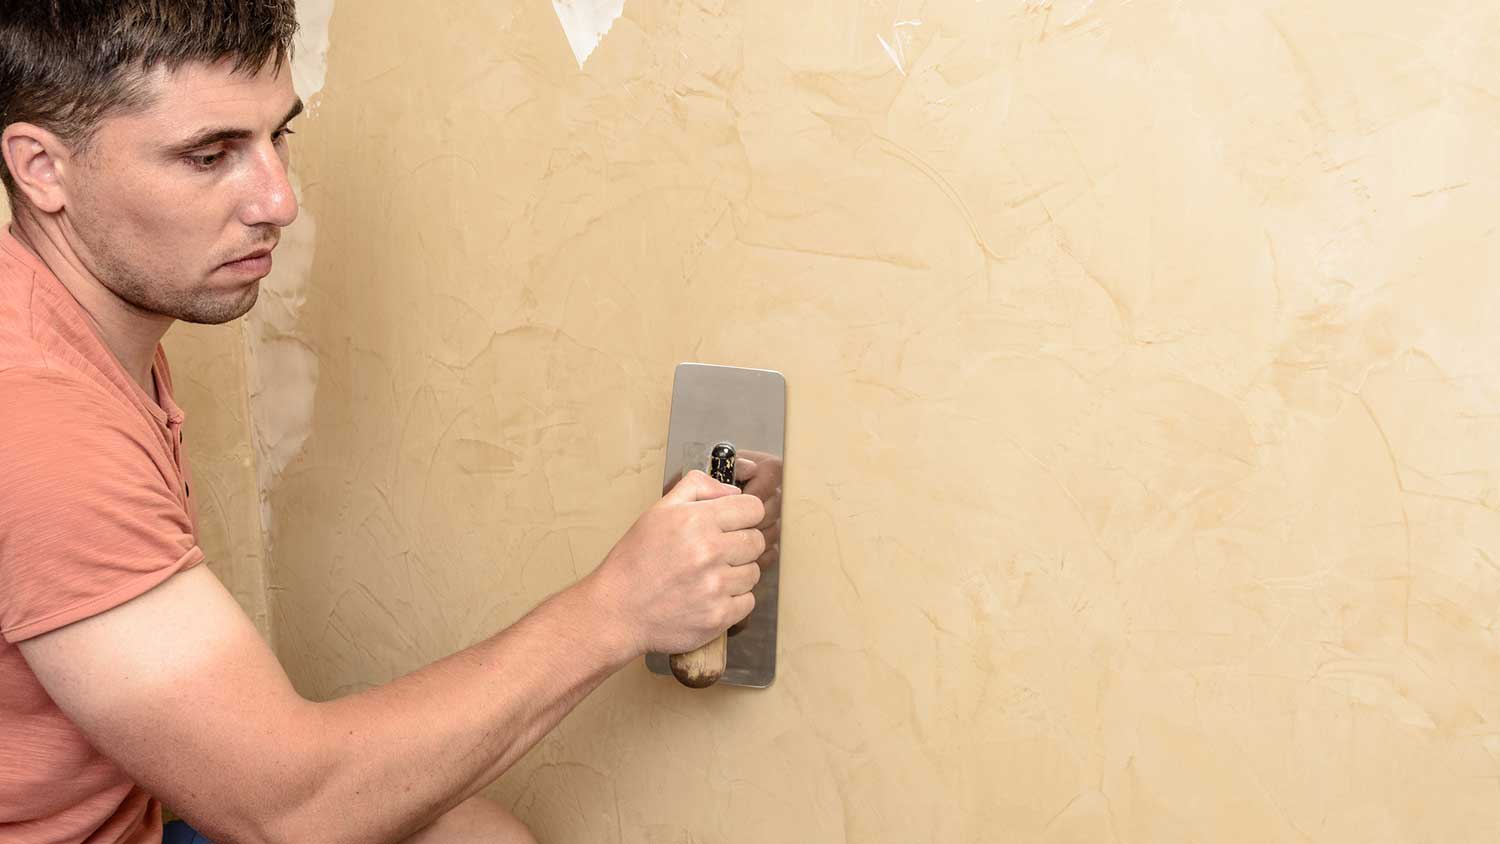
Add the dry joint compound (also known as drywall mud) into the bucket. Mix it with water according to the manufacturer’s instructions. You’ll have to use a mixing paddle or drill attachment to combine it thoroughly.
Pour the joint compound into a paint tray. Dip the roller in the tray and roll it out, making sure the roller stays evenly coated (but you shouldn’t over-saturate it).
Beginning at a corner or on the edge of the wall, roll the joint compound on the wall. As you work, make sure the joint compound is going on evenly and consistently. (Keeping the paint roller well-coated helps with this.)

Use a paintbrush to lightly dab the joint compound around tight spaces (like corners and edges).
Allow the joint compound to dry partially—but not completely. You can test the dryness by gently pressing a finger into the material.

Use a clean, dry roller to roll over the wall for a second time. This will pull up some of the partially dry material to create extra texture on the wall.
Let the wall dry completely. Depending on the compound’s thickness and your home’s humidity level, this could take between 24 and 48 hours.

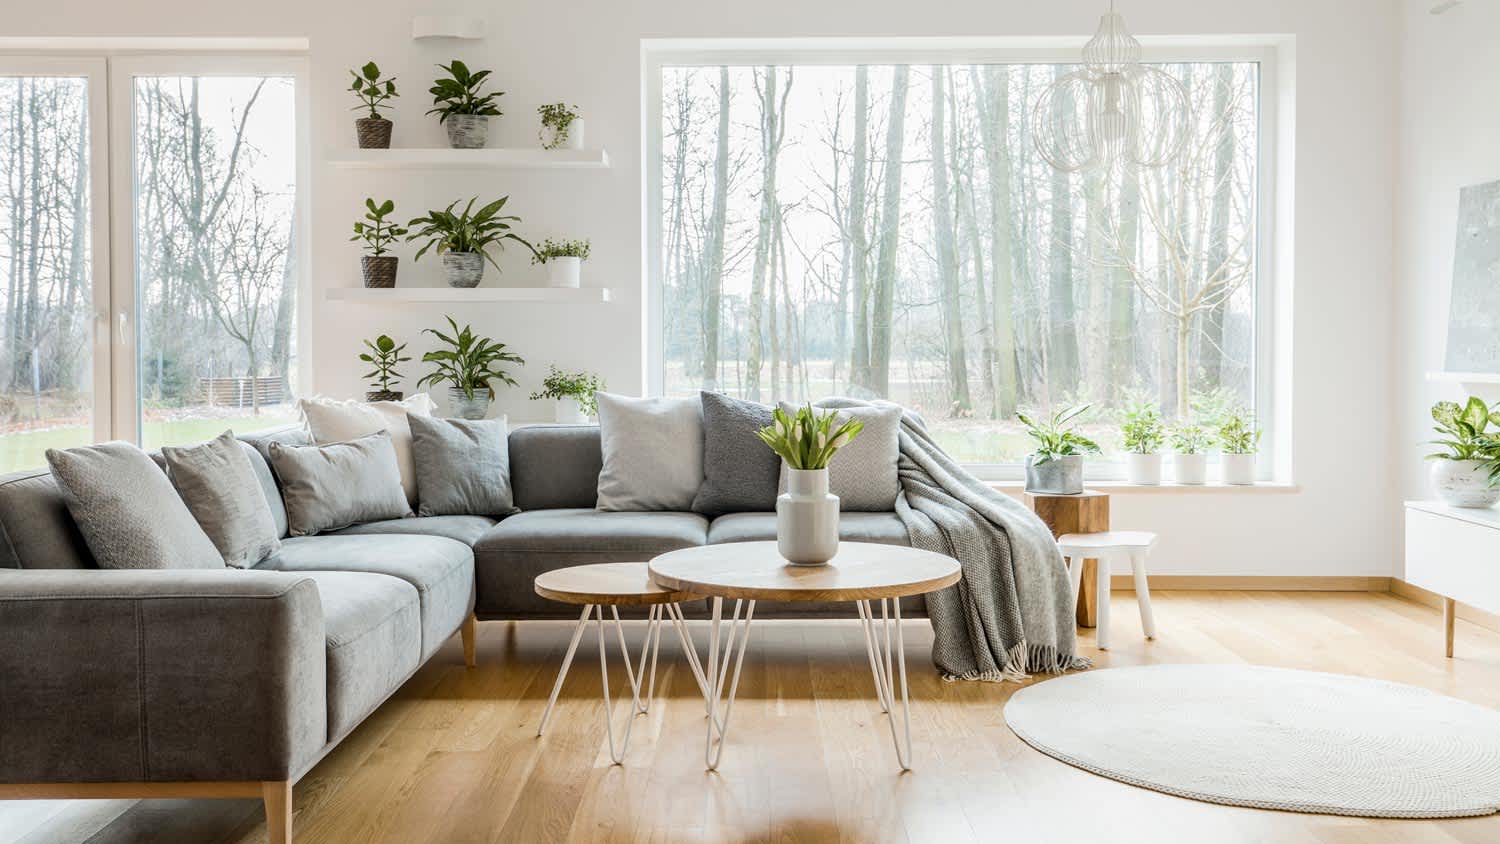
When everything is dry, you can prime and paint the textured wall. This isn’t required, but it can make the wall look a little more polished.

You can texture drywall whenever you’d like, but there are a few situations where it might make the most sense. For example, if you’re hanging new drywall in your home, that’s a good opportunity to texture it before doing anything else. Not only does texture add a decorative touch to your walls, but it can also help conceal future imperfections.
Otherwise, you might consider texturing drywall while you’re doing other home improvement projects (even if those projects don’t involve installing new drywall). After all, texturing can get messy, so it’s smart to do it at the same time as other renovation work.
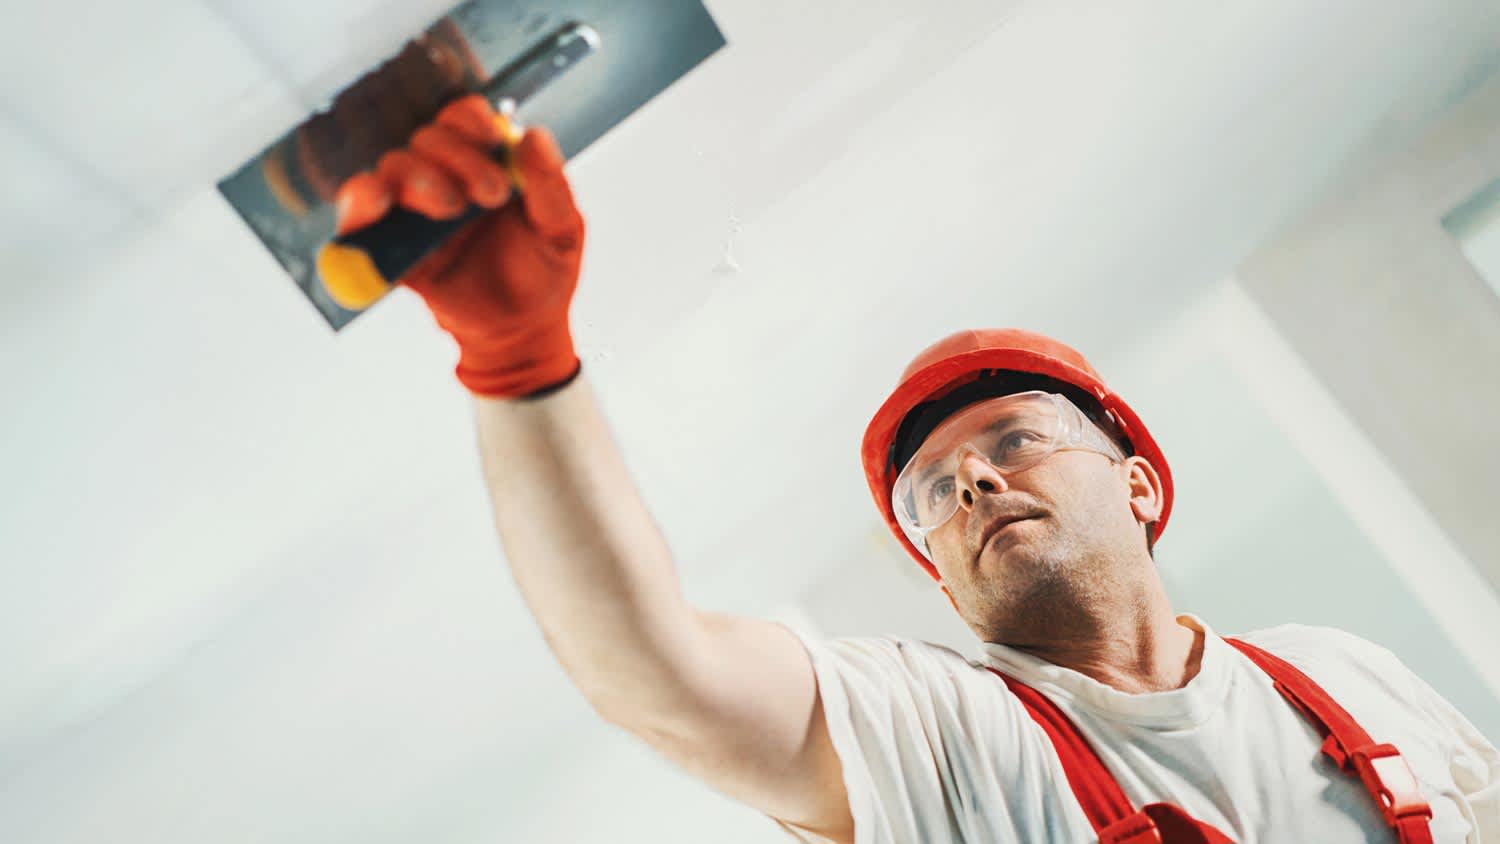
Texturing drywall is an approachable DIY project if you pick a simple texture and technique. Orange peel and knockdown are beginner-friendly drywall textures.
If you want something more complex (like tree bark or skip trowel), we’d recommend hiring a local drywall installer. Creating these textures requires skill and precision, which beginners often don’t have. Plus, if the wall doesn’t turn out how you’d hoped, you might have to pay a professional to fix it anyway.
The biggest reason to get your walls professionally textured is consistency. If you're trying to match a new room to the rest of your house or make repair work blend in perfectly, a pro will be able to do it much more quickly and effectively than most homeowners.
For a DIY drywall texture job, you’ll spend between $50 and $100 on the required supplies. By comparison, hiring a pro to texture drywall costs $575 to $675, but the results are worth it.
Cancelled appointment two hours after they were supposed to come for drywall work.
I would recommend this company to anyone! He showed up on time, was friendly, completed a very difficult repair on our dryer vent cover, was responsive, and pricing was extremely fair and competitive. I would have him back to do any of our repairs or cleanings without hesitation!
I cant stop admiring my newly painted walls. Custom Paint Jobs LLC made my house feel brand new.
Excellent experience with hiring Tether House to Mount our 77’ Samsung TV in our bedroom. Fast, friendly, and knowledgeable. Highly recommend.
Excellent customer service and knowledge. I was recommend to him from my neighbour. My front door and window came in great and were installed beautifully perfectly, I m very satisfied with their excellent work, so decided to order one more big bow window for my living room. I cant wait for...
Manuel Calvillo is the best option in the area for roofing and you won't be disappointed.
Would hire again. Wall looks great. Happy with job.
 Central Paving
Involved an extensive bathroom remodel, including removing tub & installing walk in shower, new drywall, custome tile work to ceiling, plumbing, etc. Overall, job was done on time and on budget. Nick & his team were very professional and had high attention to detail. Quality was great. Highly...
 Stamos Flooring and Remodeling LLC
We have had a great experience with Rising Height for the past five years on a number of miscellaneous renovation projects. They laid flooring for us and had a very good sub do the finish. Installed drywall for a vaulted ceiling, finished an attic/loft with new subfloor, framing and drywall,...
 Rising Height Unlimited
Mr. Lopez was super nice and professional. He repaired our drywall just as he described during the estimate phase. Our dining room wall looks great again! Thanks Mr. Lopez!
From average costs to expert advice, get all the answers you need to get your job done.
Drywall texture can create an attractive finish and add dimension to your home’s walls. This guide breaks down the factors that influence the cost to texture drywall.

Installing drywall is the most common way to finish your home’s interior. Use this drywall installation cost guide to see what your project is likely to cost.
Skim coating drywall is a great alternative to replacement, and is often more affordable. Use this guide to estimate the cost to skim coat walls in your home.
Looking for a unique design to accent your home? Consider these drywall texture types for increased style that's sure to be a conversation starter.
Matching the texture of existing drywall can be tricky, but it’s doable. Learn how to match drywall texture with these straightforward tips.
Drywall problems can be a source of great frustration. If you’re dealing with any of these common issues, we’ll help you solve them.