11 Must-Know DIY Drywall Repair Tips
Filling in a nail hole or repairing a series of imperfections is an easy DIY, especially when you follow these tips


A hole in your wall can be an eyesore, and a crack can detract from the room’s beauty. Luckily, drywall is often easy to repair with the right tools and a little DIY effort. Most small to medium-sized holes can be filled in with spackle or drywall compound and sanded for a smooth finish. Ensure your repair meshes with the rest of your wall by following these drywall repair tips.
1. Work in Ample Lighting
To ensure your repair looks pristine once the paint goes on, work in a well-lit space. Turn on all the lights in the room, tackle the project during the daytime, or use a portable LED light to offer extra illumination. A dim environment leads to uneven patching.
2. Ensure You Have the Right Tools and Supplies
Before you start repairing your walls, round up all the necessary tools for drywall repair. Pausing your project to run to the hardware store is never fun and adds time.
“Drywall repair is a DIY that you can achieve with a handful of tools and materials,” says Andy Kilborn, Angi Expert Review Board member and owner of Andy’s Handyman. “Remember to work in stages (multiple layers of patching and sanding), and that if you sand too much, you can always add more patch material.
Tools and Supplies for Minor Drywall Repair (Half-Inch Diameter or Smaller)
Self-primed spackle: Save yourself from having to prime your wall after patching and reduce the risk of the spot looking different from the rest of your wall.
Putty knife: Choose a 6-inch wide edge to ensure your wall repair blends evenly and a narrow putty knife (three-quarter-inch to 2 inches) for repairing cracks.
120-grit sandpaper: Smooth the wall with this fine sandpaper to avoid noticeable sanding marks.
Drywall repair spray: Fill in hairline drywall cracks with a spray instead of spackle.
Spray-on orange peel wall texture: You’ll need this if you’re repairing a textured surface.
Paintable caulk: This water-washable product can help fill in minor cracks close to windows.
Dust mask and eye goggles: Protect your eyes and lungs from drywall dust while sanding.
Damp rag: Clean off drywall dust remnants before you paint.
Extra Supplies and Tools for Medium to Large Drywall Repair
Fiberglass mesh patch: A drywall patch helps repair and support larger holes that you’ll then cover with drywall compound.
20-minute drywall compound: Compounds with other drying time frames are fine too, but a 20-minute compound works best in most cases.
Drywall pan or plastic container: A drywall pan allows you to mix your compound and carry it with you while you work. You can also use a sturdy plastic container, but you won’t be able to use it for anything else afterward.
Wet-dry vacuum: This tool allows you to quickly and thoroughly clean after sanding. You can also add a vacuum drywall sander attachment, which minimizes cleanup.
Drop cloth or cardboard: You’ll want to protect the floor if you’re repairing large or multiple spots.
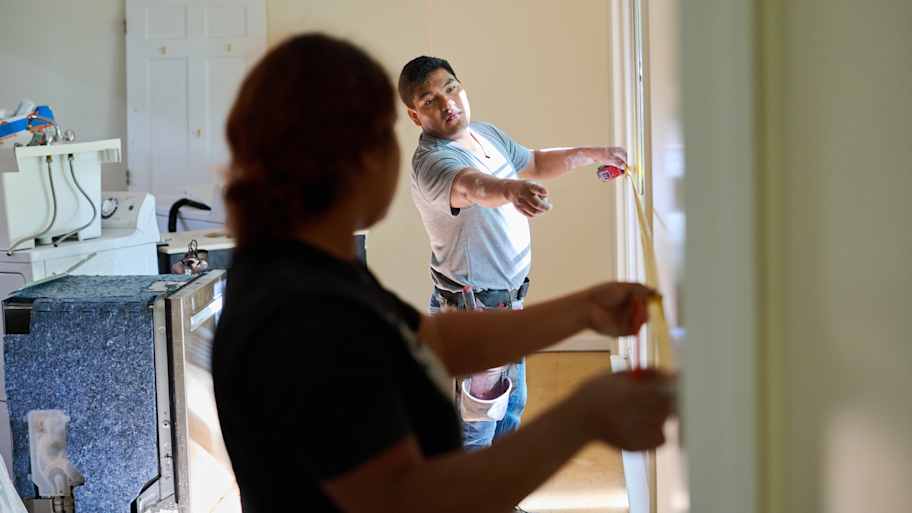
Tape measure: This tool helps you to determine the size of the patch or piece of drywall required for the repair.
Drywall pieces: Ensure you have the right rating and thickness to match your other drywall. Bathroom drywall should be mold-resistant and moisture-resistant. If you’re replacing ceiling drywall, half-inch-thick drywall panels are standard.
Drywall saw or jab saw: This is needed if you are cutting drywall.
Utility knife: This tool is also needed if you are cutting drywall.
Drywall screws: Secure a new piece of drywall to your stud with drywall screws.
Fiberglass mesh drywall tape: Cover drywall joints and cracks with this easy-to-use tape.
Construction adhesive: When you need to add a piece of wood to your wall for supporting a new piece of drywall, construction adhesive makes the job easier.
Three-quarters-to-1-inch-thick piece of scrap lumber or plywood: If you’re putting in a new drywall piece that can’t be screwed to existing studs, you’ll need one of these.
If you’re not into tackling this job yourself, you can also get a quote from a local drywall contractor or learn how much drywall repair costs for small holes. Drywall repair specialists usually charge between $60 and $90 per hour or anywhere from $50 to $75 per square foot. Besides labor, the cost of drywall repair is largely based on the materials needed.
3. Cover Your Floors With a Drop Cloth or Piece of Cardboard
If you’re patching a small area, like a couple of nail holes, don’t worry too much about floor covering. But if you’re repairing several mid-to-large-sized holes, throw down a drop cloth or pieces of cardboard to protect your floors from the compound.
4. Prep the Wall, Especially Larger Areas

Before you begin repairing the wall, prepare the area for a seamless project and end result.
Minor Repair: Half-Inch Diameter Hole or Smaller
If you’re filling in nail holes, dent the hole or sand it smooth to ensure there aren't any uneven edges sticking out. When you fill the hole, the wall surface should be flush.
Medium-Sized Repairs: Three-Quarters to 3 3/4-inch Diameter Hole
For medium-sized holes or cracks larger than a half-inch wide, place a fiberglass mesh patch over the area before covering it with compound. This method is a great solution for damage caused by a doorknob.
Large Repairs: 4 Inches or Greater in Diameter
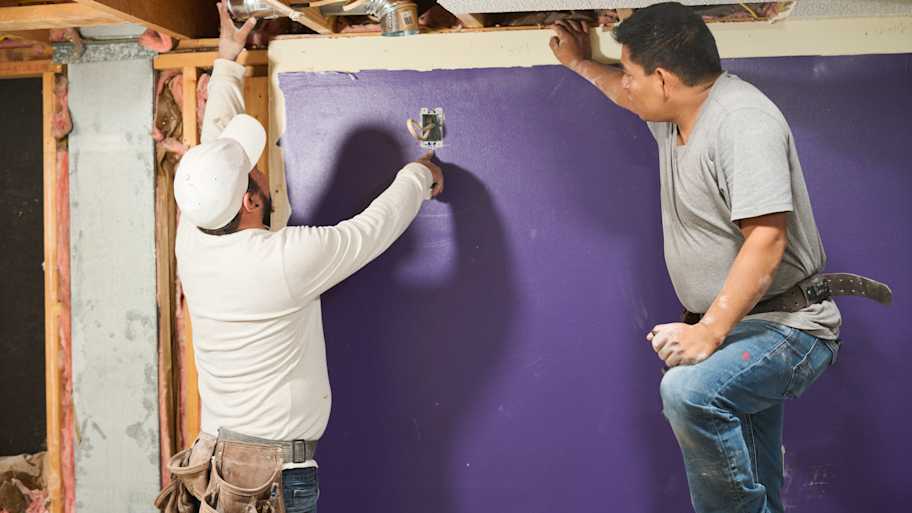
Large holes over 4 inches in diameter usually need a new piece of drywall. You'll either need to screw it into the studs (if the spot is near them) or secure a new piece of wood in the wall with construction adhesive so you can screw the new drywall to that support.
Cut away any rough, deteriorating drywall to create a place for your new drywall, but be sure to watch for any wires or pipes. Measure the open area, then cut your new drywall piece to be slightly larger than the opening. You can always trim the piece down if needed.
If you have a larger hole or a corner that needs repairing and you’re not sure how to tackle it, consider hiring a local drywall repair contractor or interior painter near you. It’s better to end up with a durable wall that's patched correctly than a wall that's likely to get damaged again.
If you’re repairing drywall and think your room would benefit from more insulation, consider working with a local contractor who handles both drywall and insulation.
5. Fill Evenly and Beyond the Hole in the Drywall
Fill the hole with a spackle or drywall compound and skim the wall around the hole, too. A slow slope helps there to be a smooth transition with the rest of the wall. You don't want your repair to look like a mound or stick out.
Put on two layers of the compound for a deep hole. Wait until the first layer is completely dry before going over it again.
For cracks, use drywall repair spray to fill in a hairline opening. The spray creates a flexible glue that expands and contracts as your house shifts. You can use paintable caulk to fill in cracks around windows. You can fill in larger cracks with drywall compound and a narrow putty knife.
6. Repair Multiple Holes at Once
If several holes or cracks are close together on a wall, repair them as if they were one. Skim the whole area with a joint compound using a wide putty knife. By repairing the whole area together, it will better blend in with the rest of the wall.
7. Wait Until the Compound Is Fully Dry Before Sanding

Sanding the wall before your compound has dried causes divots, meaning you’ll either have a bumpy wall or you’ll need to repatch. Follow the manufacturer’s instructions on your compound for drying times, but most importantly, check the repair spot before you sand. The amount of compound, size of the patch, humidity, and temperature all impact how long the compound takes to dry.
Usually, the compound changes color when it’s dry. But if you start to sand and realize the dust is not fine and powdery, it means you need to wait longer.
8. Protect Your Belongings and Yourself Before Sanding
When sanding anything, but especially a wall repair compound that generates very fine dust, wear eye protection and a dust mask. You’ll also want to cover anything in the area with plastic, like furniture and clothing, and close off any doorways. This step is where the drywall sanding vacuum attachment can come in handy, as this will reduce mess and cleanup.
Drywall dust can infiltrate every surface, and the last thing you want after your project is a major cleanup. If you’re only patching a small nail hole or two, don’t worry about covering items and blocking doorways, but still, wear eye protection and watch where the dust falls.
9. Sand Evenly and in All Directions
Perhaps the most important part of the drywall repair process is to ensure you sand evenly to the wall. Instead of sanding in only one direction, sand in a circle clockwise and then counterclockwise, as if mimicking an orbital sander. This method ensures that your repair is smooth and won’t look bumpy or worn in a certain area.
Run your hand along the sanded area to ensure it feels smooth to the wall. Inspect it closely from all angles.
10. Clean Up Dust Immediately
Once you’re done sanding, vacuum your floors, baseboards, and wall to capture all the drywall dust. Gently wipe down the repaired area with a slightly damp rag to pick up any remaining dust, as leftover dust impacts how well your paint sticks and how smooth the wall looks. Remove your clothing and place it directly in the washing machine or a plastic bag.
11. Paint Your Wall Repair
After you’ve sanded your repair and the area is clean of dust, now you can paint your wall. Be sure to prep the area and cover your floors.
FAQs About Drywall Repair
How do you repair damaged drywall?
Fill in the hole with the drywall compound and sand the surface flush with the wall. For larger holes, repair with a fiberglass mesh patch or a piece of new drywall. You can also hire a local drywall contractor to take care of the project for you.
Do drywall repair patches work?
These patches work well to help fill in medium to large-sized holes. Patches are great for deeper holes too, where it’d be less effective to fill it with compound.


- How to Patch a Hole in Drywall (From Small to Large)
- 8 of the Most Common Drywall Problems and How to Solve Them
- How to Repair Water-Damaged Drywall
- Who Should You Call For Drywall Repairs?
- When Should You Hire a Pro for Drywall Repair vs. DIY?
- How to Eliminate Drywall Dust During Your Next Project
- Tools for Drywall: A Complete List for DIYers
- How to Remove Texture From Walls in Your Home
- How to Texture Drywall: 4 Potential Methods
- How to Sand Drywall and Drywall Mud Successfully


