Tools for Drywall: A Complete List for DIYers
The right tools make all the difference for DIY drywall


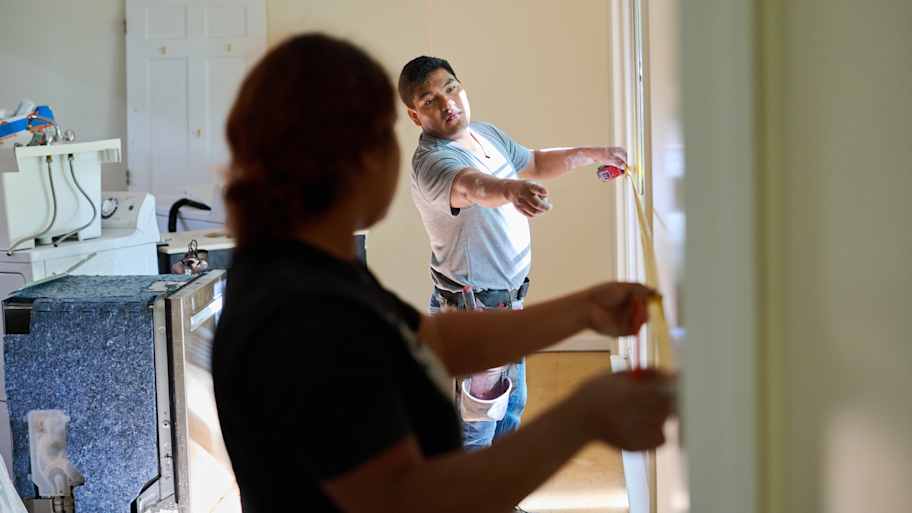
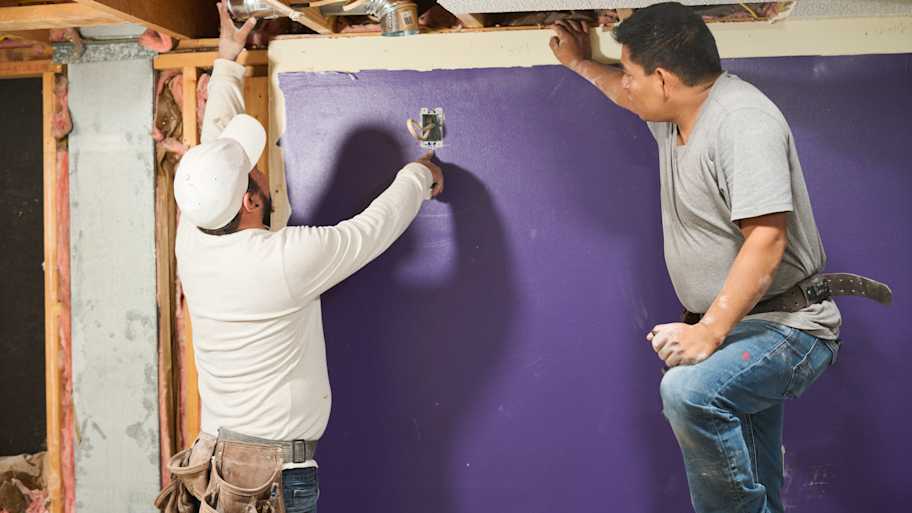
To repair your drywall, you’ll need to fill your toolbox with a few items.
Drywall lifts can help you tackle projects solo.
Drywall T-squares are ideal for cutting large drywall sheets.
You can use a texture sprayer to create different drywall effects.
Whether you're patching drywall holes before moving out, renovating a room, or adding a new room to your home, drywall tools come in handy for many home improvement projects. But there are so many out there that it's tough to hone in on the essential drywall tools you should have on hand—so we did the hard work for you. In this guide, we’ll discuss the crucial tools for drywall you should purchase before tackling your DIY drywall project.
1. Utility Knife
Utility knives can help you cut drywall smoothly for a professional-looking finish. Combine your utility knife with a T-square, and you can quickly make perfect cuts that require no sanding. They're an essential component of any toolbox.
Some utility knives come with snap-off blades, which aren't suitable for drywall projects. Ensure your utility knife's blade is either fixed or interchangeable but securely set into a screw-down handle for optimal stability.
2. Drywall Knife
Speaking of knives, a drywall knife is another important one to have on hand for drywall projects. Drywall knives feature a flat blade that makes applying drywall mud over seams and gaps easy. You can also use them for final drywall coats and drywall techniques like feathering.
They typically come in 4-, 6-, and 12-inch sizes, but you can tackle most projects with a combination of a 12-inch knife and either a 4- or 6-inch knife. If you only have room in your budget for one, go with the 6-inch knife. You can adapt to more or less all drywall mud application situations with this size.
3. Drywall Screws
Hanging drywall with nails and a hammer is no longer considered the best way to go about it since it's not very secure or expedient. These days, you can purchase specialized drywall screws that offer a tighter fit than nails. Most standard drywall projects use 5/8-inch screws. A 4-foot-by-8-foot drywall board usually requires 32 drywall screws. You should do a little math to figure out how many how many screws per drywall sheet you’ll needbefore you get started. This way, you’ll avoid multiple trips to your local home improvement store.
4. Power Drill

Since most drywall projects require screws, you'll need a good drill to drive them in. A standard 12-volt power drill should work well for most drywall projects, but you can purchase an 18-volt model if you want more power.
Professional drywall contractors often use special screw guns that automatically load up new screws after each one is drilled in. This tool makes the job faster and more efficient, but it's not usually necessary for your average homeowner. If you have a large budget and want to save some serious time on your drywall project, you can consider buying one before getting started.
5. Drywall T-Square
Drywall T-squares feature two pieces of metal affixed together in the shape of a "T," creating a straight 90-degree angle. They're intentionally 48 inches long—which matches the width of a drywall sheet—making it a breeze to make long, clean cuts. Some drywall T-squares also have adjustable heads that allow you to cut at different angles than 90 degrees, which is handy for cutting pieces where a slanted ceiling meets the wall.
6. Jab Saw

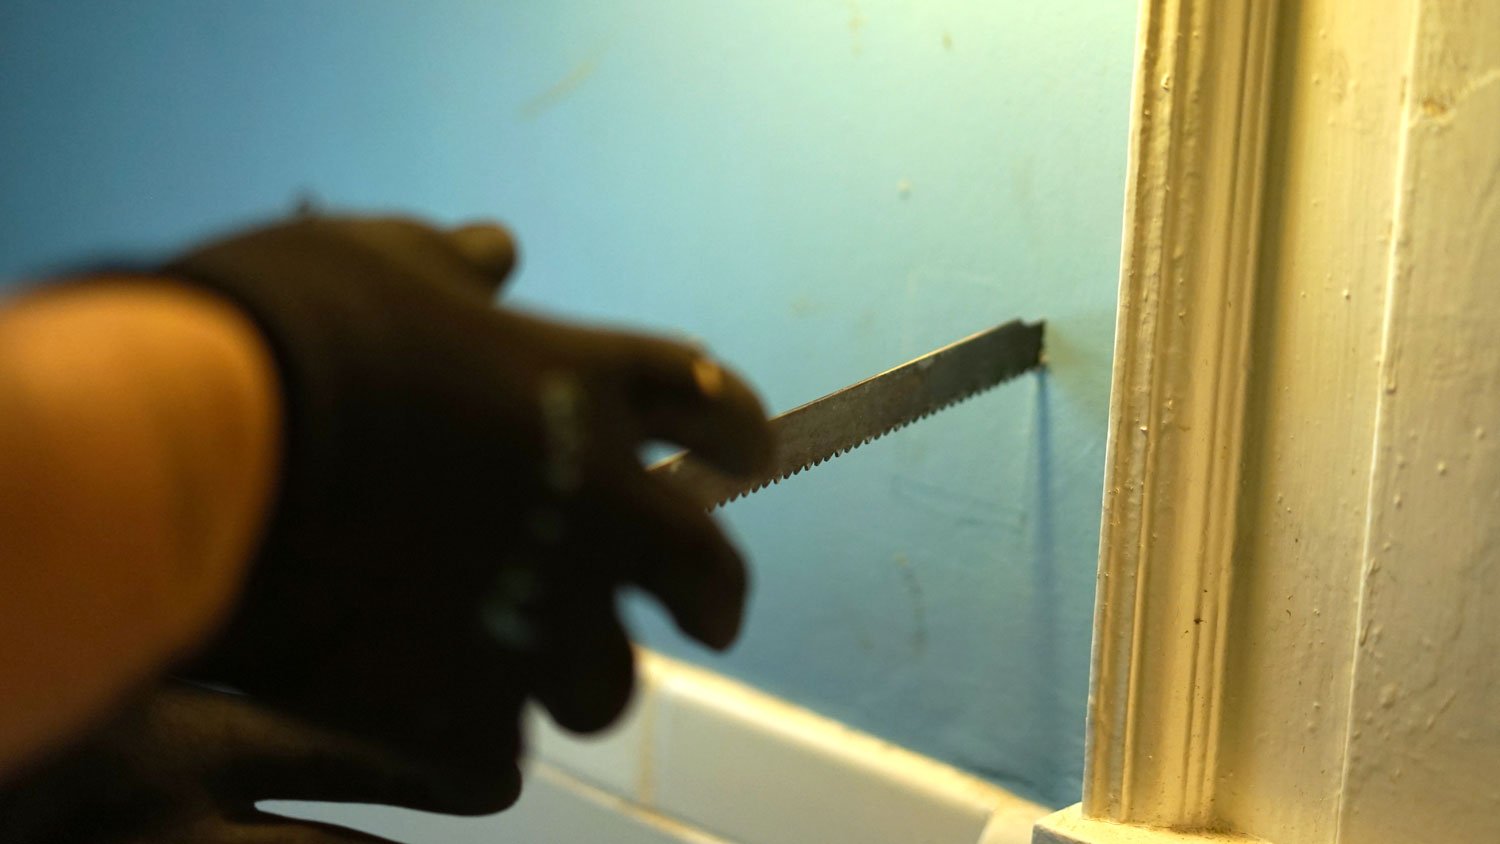
Jab saws, also called drywall saws, are great for cutting small shapes in your drywall. For instance, you might use a drywall saw to cut a hole for your light switch or outlet. These are great to have even if you have a utility knife. As the name implies, you can jab the saw through the middle of a piece of drywall, whereas a utility knife would make cut-outs very challenging.
We don't recommend using a drywall saw for large cuts, however, since the small, narrow blade makes it tricky to cut long straight lines. Stick to your utility knife for cut-offs, and the jab saw for cut-outs.
7. Reciprocating Saw or Oscillating Multi-Tool
You can get away with just using manual tools for cutting drywall, but if your budget allows, invest in a reciprocating saw or an oscillating multi-tool. These power tools make cutting long, straight lines and intricate cut-outs a breeze. They’ll speed up your drywall installation process and leave clean lines for a professional look.
For the best results, you can also pick up an outlet cutout attachment for your multi-tool. These tools cut perfectly-sized holes in drywall for outlets and light switches in seconds.
8. Drywall Mud Pan
Drywall mud pans hold your drywall mud so you can easily take it wherever you need it around your home. They come in many different sizes. As a rule of thumb, it's best to purchase the largest size that you can easily move from point A to point B. This way, you won't have to refill it as often as you would with a smaller size.
If you plan to work on a ladder for high walls or ceilings, make sure you get a mud pan with clips that let you hang it easily from the top of the ladder.
9. Sanding Sponges

You’ll probably be doing some sanding to achieve a smooth, consistent finish in your drywall to prep the wall for primer and paint. Sanding sponges are common tools for touch-ups rather than whole projects. There are two primary types of sanding sponges: abrasive and non-abrasive.
Abrasive sanding sponge: Abrasive sanding sponges look similar to kitchen sponges, with one very coarse side and one less coarse side. You’ll use these for most drywall touch-ups.
Non-abrasive sanding sponge: Non-abrasive sanding sponges have a smooth side without any grit and a side with very fine grit. You’ll exclusively use these for touching up the tape work around your drywall seams.
10. Sanding Blocks and Pole Sanders
You can use sanding blocks and pole sanders to sand over your entire drywall project once the mud dries. These are great in combination with small sanding sponges, as they let you tackle every portion of your walls, from small imperfections to large-scale smoothing prior to painting.
Sanding blocks: Sanding blocks are small, handheld manual sanders that usually feature a handle on one side and removable sandpaper on the other. They’re larger than sanding sponges, so they make big sanding projects easier.
Pole sanders: Pole sanders are essentially sanding blocks but with a longer handle. These are great for when you need to reach the ceiling or other high areas, and they can prevent the need to climb up and down a ladder as you work.
11. Corner Sander
As the name suggests, you can use a corner sander to tackle corners. These tools feature a 90-degree angle with sandpaper on each side, allowing you to sand the corners of your wall easily. Some corner sanders are small, handheld tools, while others are attached to an extension pole that you can use to reach high areas, like ceiling corners.
12. Sanding Sheets
Of course, with all of this sanding, you'll also need sandpaper, which you'll attach to your sanding tools. Most drywall projects benefit from a combination of fiberglass mesh sanding sheets and standard sandpaper.
Fiberglass mesh: Fiberglass mesh sanding sheets are coarse with relatively large holes that allow drywall dust to fall through without clogging the sheet. Their coarse design makes them ideal for sanding off larger pieces of drywall mud or other imperfections.
Standard sandpaper: After using a fiberglass mesh sanding sheet to slough off bigger drywall bits, you can use standard sandpaper to create a smooth, polished finish. Depending on your project, you'll probably want several different grits to achieve a professional look.
13. Texture Sprayer
For some projects, you might want a textured finish rather than a perfectly smooth finish. Texture can make your walls look unique while hiding any imperfections in your drywall. As such, this is a handy tool for DIYers who may not have the experience necessary for a smooth finish.
To apply texture, you'll need a texture sprayer. These sprayers often come with various nozzles to apply different effects. Some can also work double-duty as paint sprayers.
14. Drywall Lift
A drywall lift is a piece of construction equipment that looks similar to a painting easel and is designed to lift drywall into place on the wall. If you're installing drywall with multiple people, you likely won't need a drywall lift since other people can help you hold each piece in place while you screw it in. However, if you're tackling a drywall project yourself, a drywall lift is necessary, especially if you’ll be working with full sheets of drywall.
DIY vs. Hiring a Pro
With the right tools, DIYers with some experience should be able to tackle drywall installation. The average cost to install drywall in a room is around $2,000, and prices range from $400 to $6,000, depending on the size and complexity of the room. As such, you stand to save quite a lot of money on drywall installation if you do the project yourself.
While drywall is easy to cut and relatively lightweight, it can be frustrating to work with, especially if the studs in your home aren’t perfectly plumb and square. Having the right tools for drywall will undoubtedly make your life easier, but getting your room to look like it was done professionally can be a nightmare if you don’t have experience.
Ultimately, it’s up to you whether you DIY or call in a local drywall installer. Tackling the project yourself will save you money, but hiring a reliable pro will guarantee a smooth finish in your room and could save you time and frustration.


- How to Dispose of Drywall When You’re Done With a DIY
- When Should You Hire a Pro for Drywall Repair vs. DIY?
- How to Sand Drywall and Drywall Mud Successfully
- Who Installs Drywall? Get the Right Pro for the Job
- Everything You Need to Know About Drywall Thickness and Size Options
- 5 Types of Drywall and the Use Cases for Each One
- How to Cut Drywall Before and After Hanging It
- 8 of the Most Common Drywall Problems and How to Solve Them
- Should You Glue Drywall? Learn the Pros and Cons of Drywall Adhesive
- What Is Drywall Made Of?


