
What is joint compound? In short, it’s a specific type of filler made of gypsum dust—but of course, there’s much more to know. We’ve got you covered.
A must-have companion for drywall projects

Joint compound versus spackle matters because joint compound fills drywall joints during installation and large repairs, while spackle fixes small holes and dents.
Joint compound costs less than spackle per container, but you need more of it for taping, mudding, and patching larger drywall areas.
Joint compound takes 24 hours to dry and requires multiple coats, while lightweight spackle dries in 30 minutes for quick touch-ups on your walls.
Hiring a local drywall repair professional keeps your taping and mudding work smooth and level, especially when working with joint compound on large repairs.
Choosing the right product for home repair projects is half the battle, especially in the world of wall repair and construction, where you’ll find both joint compound and spackle. These two substances look almost identical to the inexperienced eye, but they each boast unique use case scenarios.
If you’re preparing to install or repair a wall, keep reading to learn the differences between joint compound and spackle.
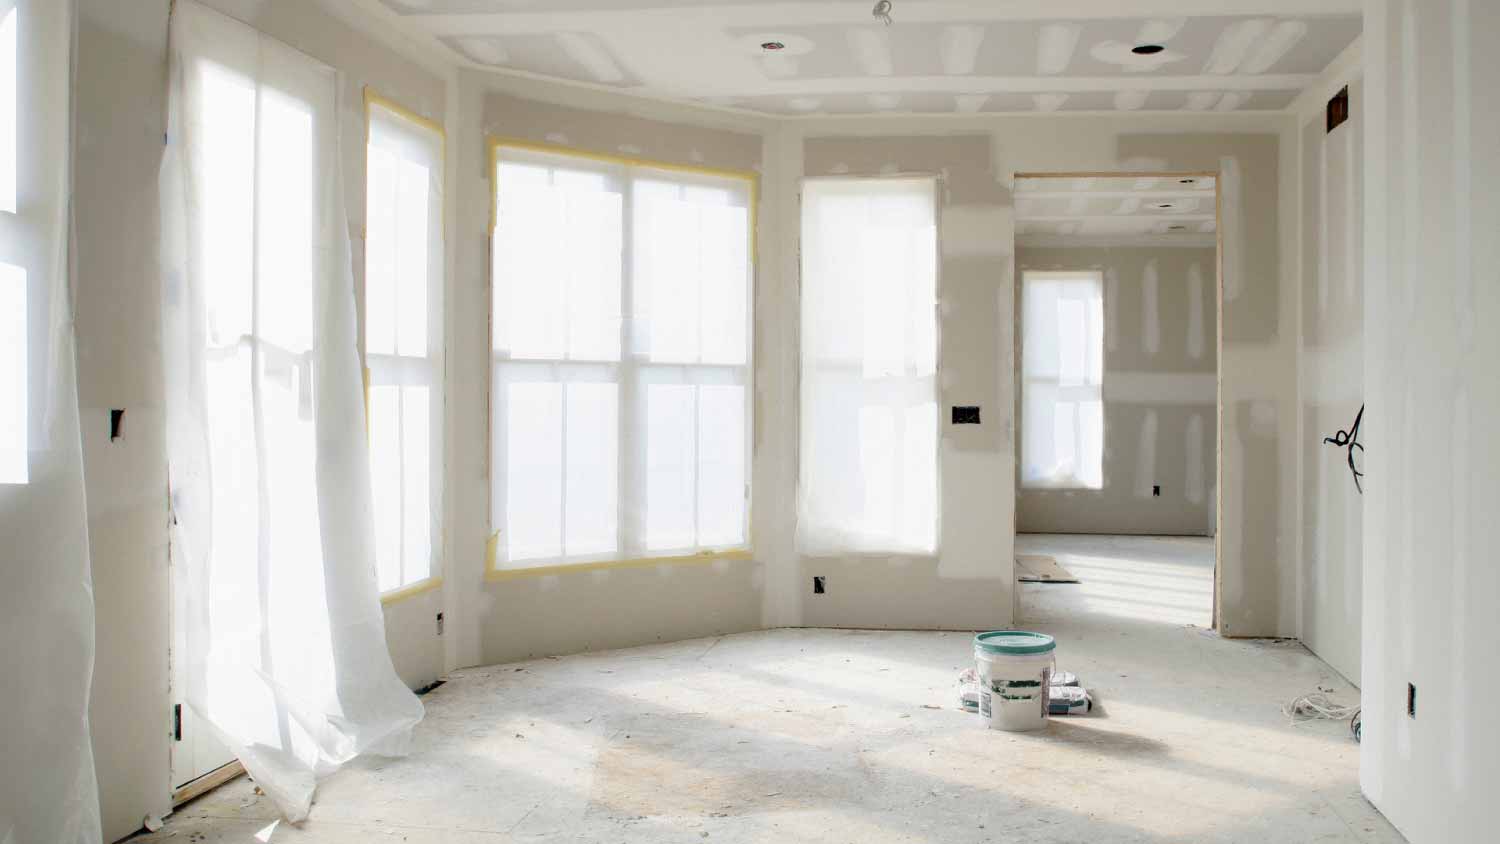
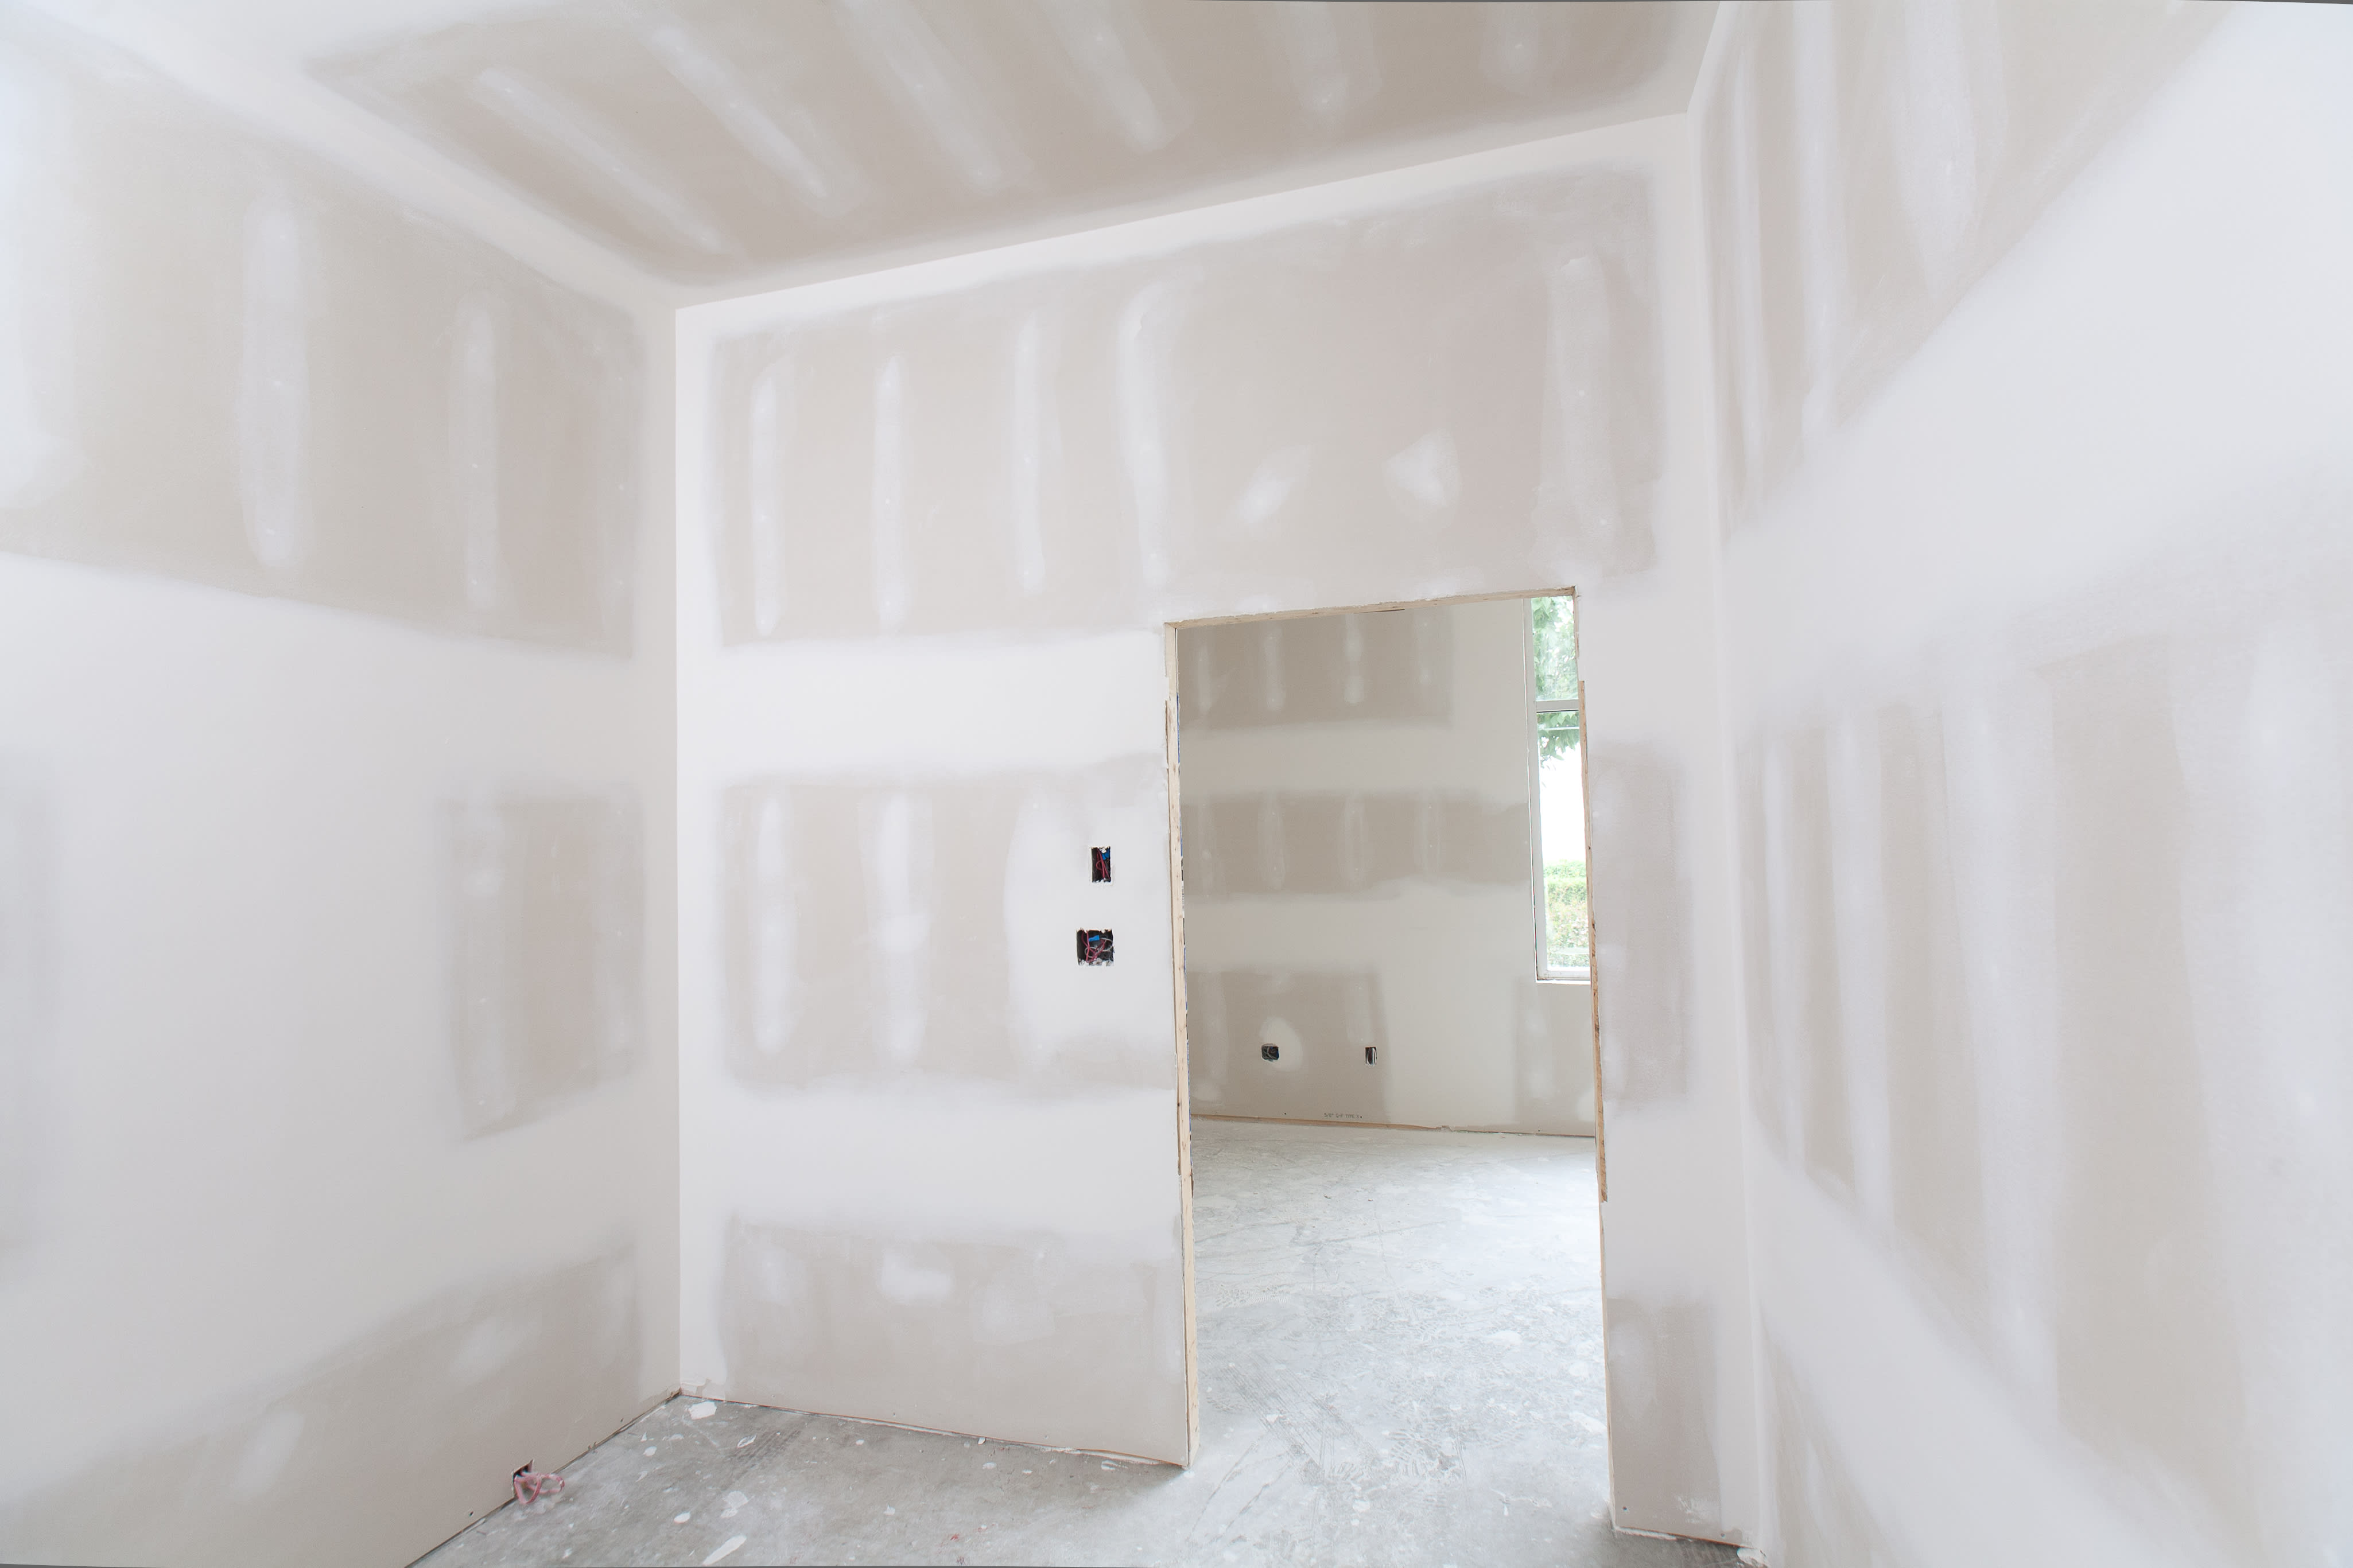
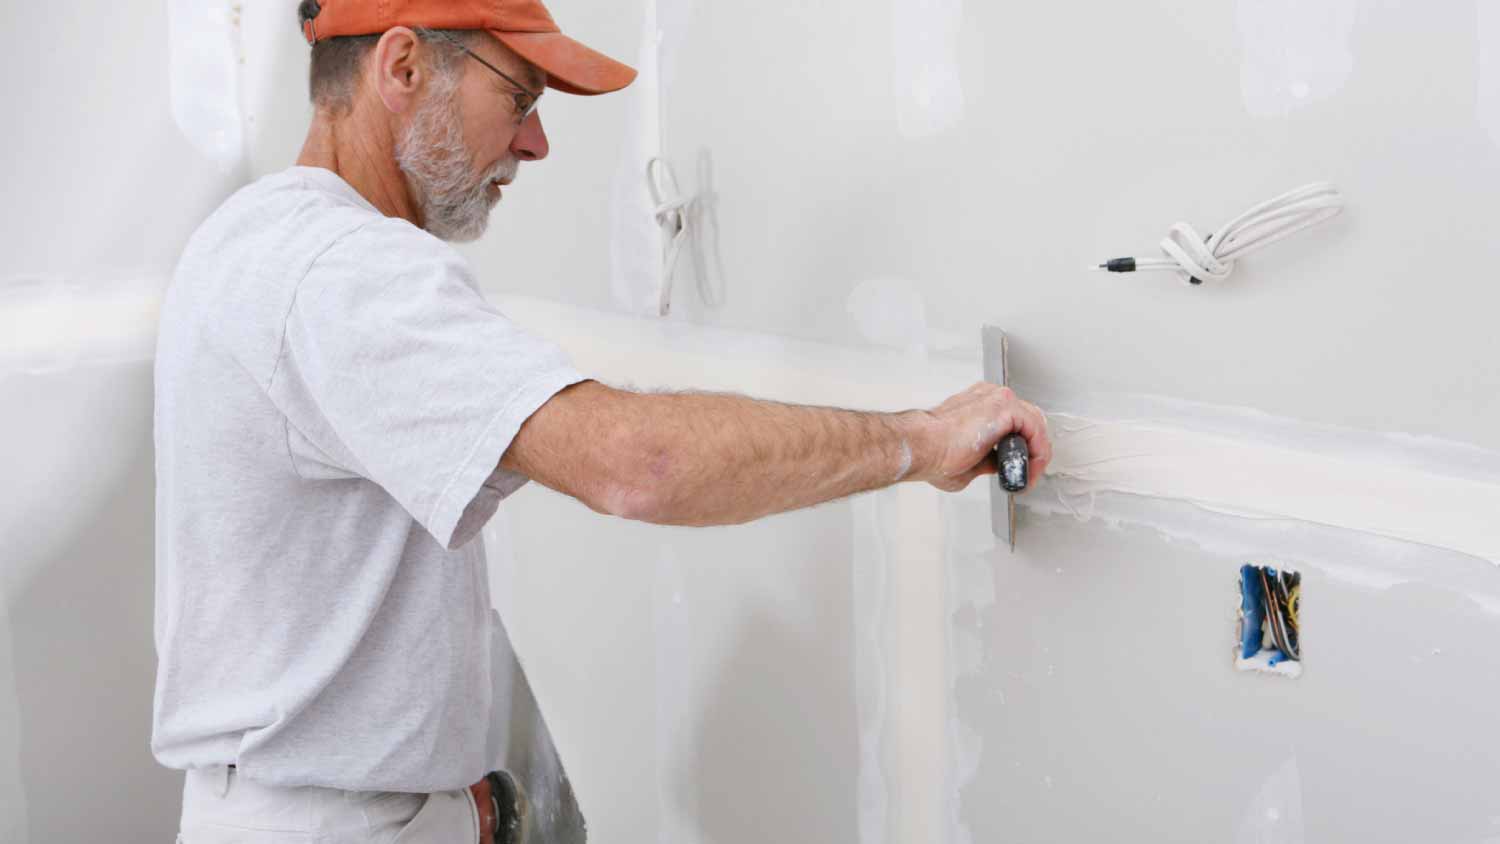
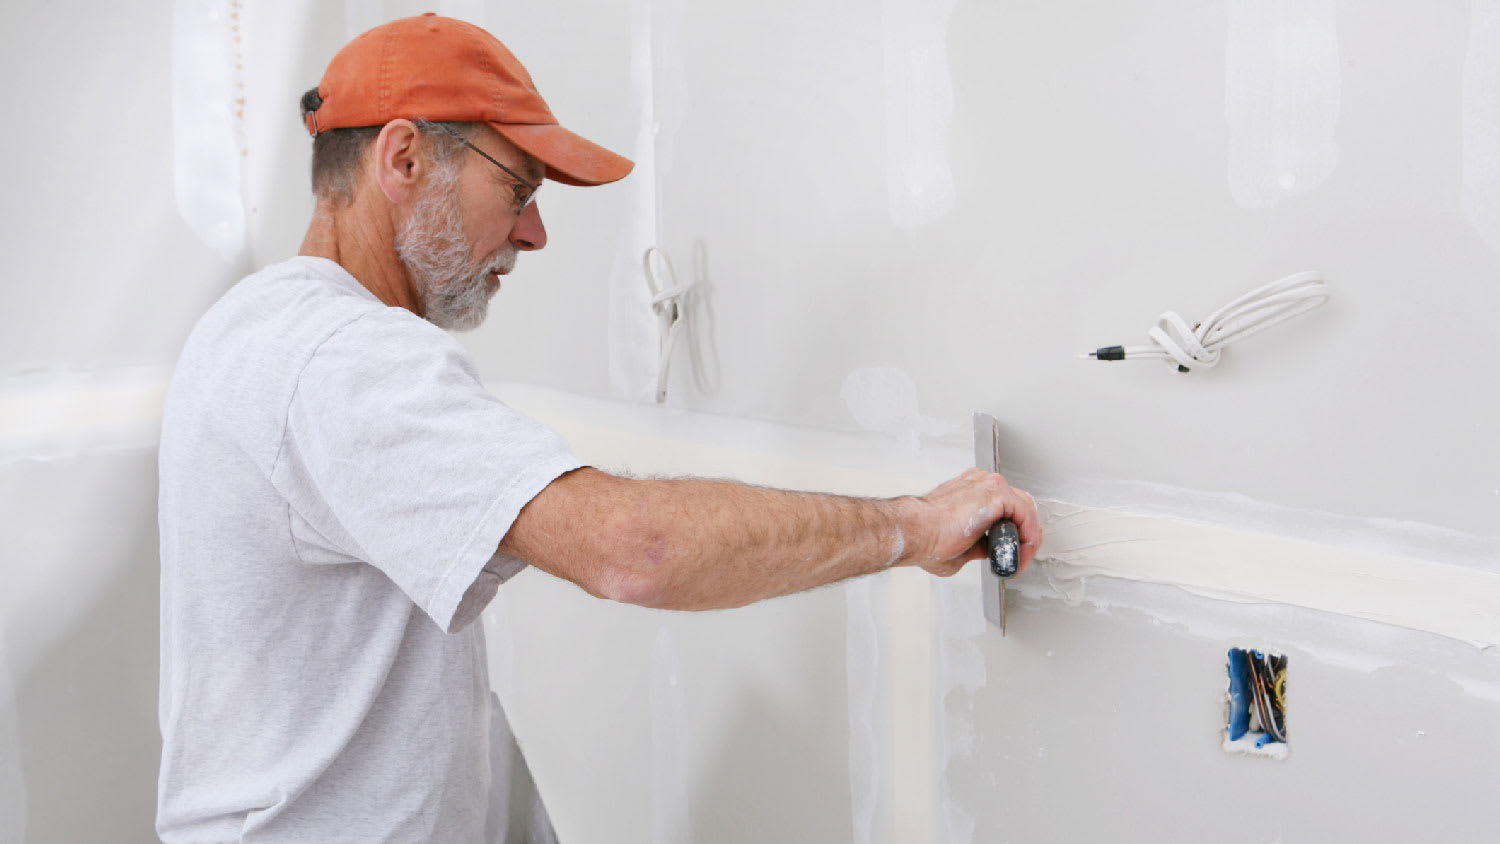
Joint compound and spackle seem similar at first glance—they’re both manufactured to repair drywall—but that’s about where their similarities end. When installing drywall, you’ll use joint compound to fill in the joints between the drywall sheets, then cover it with drywall tape and smooth it out to create finished surface. Its mud-like texture goes on thick and takes 24 hours or more to dry. Joint compound is also well-suited for large repair and patch jobs.
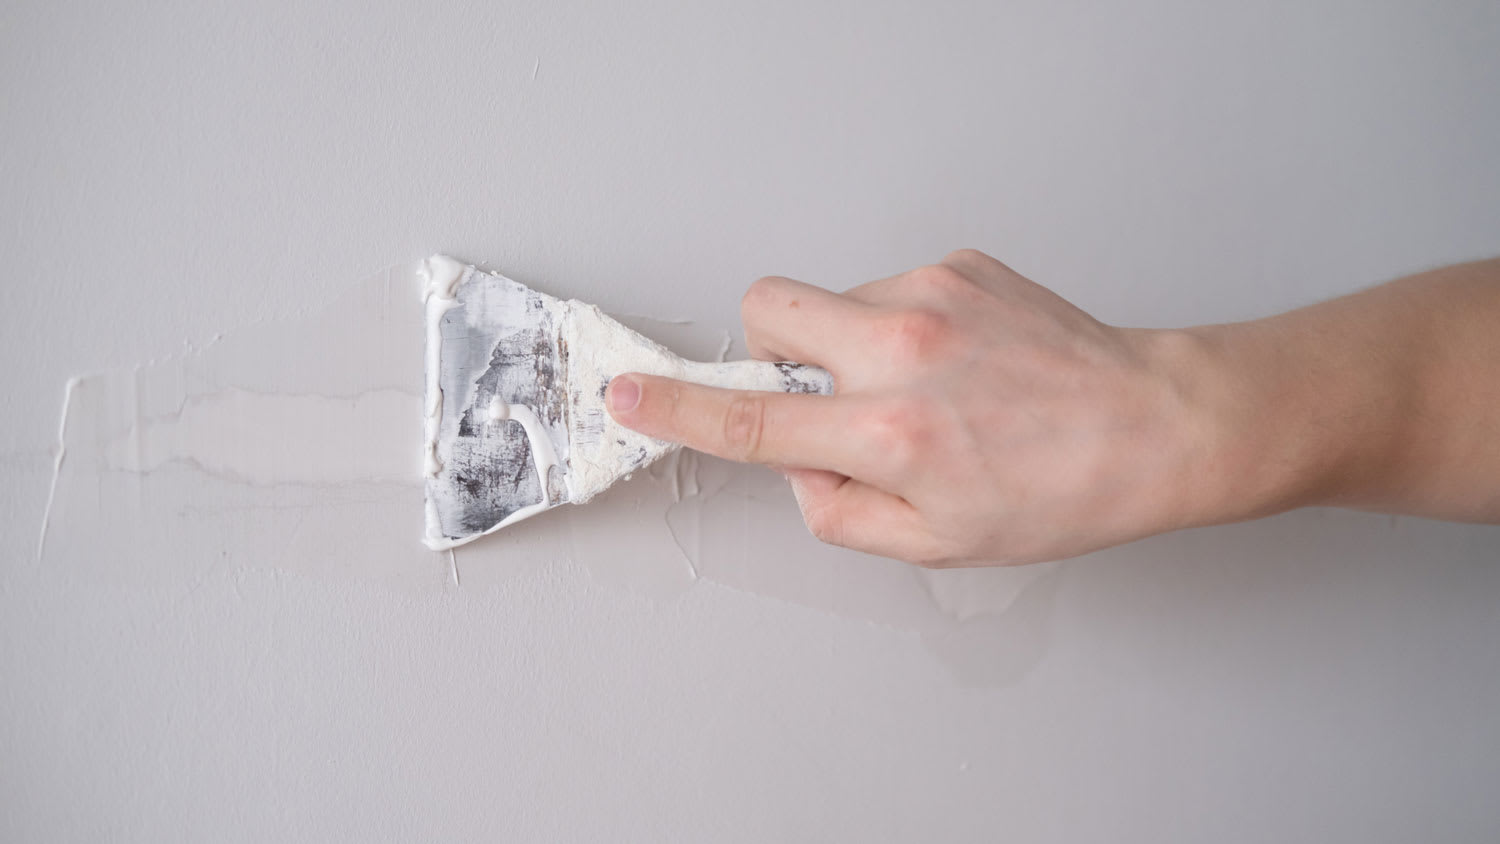
Spackle is a lightweight product that fixes small imperfections. It dries very quickly, and then you can sand it smooth and paint over it to complete your repairs. You shouldn’t choose spackle for large repairs because it becomes rigid as it dries, though there are acrylic and vinyl options that do flex and will work in outdoor applications.
| Type of Difference | Joint Compound | Spackle |
|---|---|---|
| Drying time | Slower drying time | Faster drying time |
| DIYability | Takes more practice to get right | Better for DIYing |
| Best use | Bigger drywall projects | Smaller projects, like dents and holes |
| Cost | Less costly, but you need more of it | More costly, but you need less of it |
Joint compound, also called drywall mud or just mud, features gypsum dust as a primary ingredient. Local drywall repair pros use joint compound during the initial installation process after affixing the large sheets of drywall board and taping the seams between each board and when repairing large areas.
Joint compound requires some skill to apply, and it also helps to choose the right type for your project. Here are the main types of joint compound you’ll have to choose from.
All-purpose joint compound: You’ll use this type of joint compound for most of your drywall projects. It’s premixed and works for the majority of the taping and mudding process and any drywall repairs.
Topping joint compound: Topping joint compound leaves a smooth finish for the final layer of the taping and mudding process.
Taping joint compound: Taping joint compound works best with the tape used to cover joints between drywall sheets.
Setting joint compound: While most joint compound takes 24 hours or more to dry before adding a second coat, setting joint compound will only take 20, 45, or 90 minutes, and the time is indicated on the packaging. Drywall pros are more likely to use this type as they can work quickly to apply and smooth it properly before it dries, allowing them to apply multiple coats in a day.
| Pros | Cons |
|---|---|
| Multiple uses | Lengthy drying time (with regular mud) |
| Excellent durability | Steep learning curve |
| Shrinkage |
Best for: Large repair projects that require a drywall patch and taping and mudding of drywall joints
Joint compound is the go-to substance for finishing up an initial drywall installation, but it also works for smaller repair jobs in a pinch. If you have some leftover after an install and need to repair a hole, you can use the joint compound instead of buying spackle. Types of joint compound include all-purpose, taping, topping, and quick-setting, adding to its versatility.
Joint compound is extraordinarily durable, especially when compared to spackle. This durability makes the product easy to sand down and ensures it withstands some accidental damage. Joint compound reacts well to multiple layers, so pros and enthusiasts alike use it to fill out and thicken portions of a wall whenever necessary. It features the same main ingredient as drywall itself, along with limestone and perlite, contributing to its renowned durability.
Joint compound takes a long time to dry, often 24 hours or longer. After applying a compound, you’ll want to paint, sand, apply sealant, or otherwise finish the wall. The lengthy drying process means you’ll play the waiting game before busting out that paintbrush. This is why pros make multiple trips when installing some drywall and why putting up drywall costs an average of $1,800. However, there’s also hot drywall mud that takes 20 to 45 minutes to dry, but that material should be left to the pros.
Joint compound is not the easiest to use, especially compared to spackle's elegant simplicity. It requires mixing in the container, though some brands offer joint compound as a premixed option. When using joint compound at the initial phase of a drywall installation, you have to apply joint tape, apply multiple coats, and sand it down to ensure an even layer.
The potential for shrinkage requires the application of multiple layers to finish the surface. Plan on multiple coats when repairing holes or cracks in case the compound shrinks so much that it creates a tear or simply reopens the hole or crack. This propensity toward shrinkage is not a huge deal when initially installing drywall, thanks to the use of joint tape and multiple coats.
Spackle is the go-to choice for repairing small cracks, nail holes, or gouges in drywall. It comes premixed, features an amateur-friendly application process, and one tub lasts a long time (as you only use it a bit at a time).
If you’re going to use spackle to repair drywall imperfections, you should know that there are different types of spackle, each suited to different applications.
All-purpose spackle: This will be your go-to spackle for most DIY drywall repairs. If you’re repairing a smaller crack, hole, or dent, you’ll use this gypsum-based product to smooth over the damaged area. It dries quickly, making repairs fast and simple.
Acrylic spackle: Acrylic spackle is formulated to adhere to surfaces that other types of spackle won’t, like brick, wood, and stone. You can use it inside or outside. It flexes when dry so that it can hold up against some expansion and contraction.
Vinyl spackle: If you have a larger or deeper hole to fill, vinyl spackle may be the best choice. It’s designed to be applied in layers, so you can fill holes up to ¾ inch deep.
Epoxy spackle: This oil-based spackle has superior adhesion qualities and works on wood and for outdoor applications.
Lightweight spackle: Ideal for small repairs, lightweight spackle dries quickly and has minimal shrinkage. It doesn’t sand as well as other types, so it’s best for repairing small nail holes or little cracks.
| Pros | Cons |
|---|---|
| Dries quickly | Lacks versatility |
| Can sand and paint | Rough finish |
| Easy to use |
Best for: Repairing small holes, cracks, or dents and then painting over them
One of the best parts about using spackle to repair minor drywall is how quickly it dries. Spackle takes only 30 minutes or so to dry completely. Compare that to the 24 hours for joint compound, and you see how much time spackle saves.
Spackle reacts well to the sanding process and paint. You sand down a recently spackled area to level it out with the rest of the wall, and then apply the paint color of your choice to match your home decor. Patching a drywall hole with spackle is simple when you consider that paint is used to cover up any imperfections.
The product boasts simplicity, making it suitable for most DIYers to learn how to spackle drywall. It comes premixed, eliminating a frustrating step for some, and requires little to no experience to get it right. All you do is apply it with a putty knife, spatula, or palette knife and then wipe off the excess with a rag. Once it dries, simply paint over it to match the existing wall.
The great thing about joint compound is its versatility, as it shines with the initial installation and minor repairs. The same is not said, however, about spackle. Though a great choice for fixing small holes and the like, spackle is not a great choice for the initial installation process. It dries too quickly, significantly reducing your working time. When installing drywall, you want enough time to get everything perfect, and spackle may rush you.
Compared to joint compound’s classy finish, spackle’s finish is rough, splotchy, and absolutely requires sanding after an application. This translates to another crucial step while patching up holes and increases cleanup tasks after finishing the work. After all, sanding down spackle leads to dust all over your floor.

When directly comparing joint compound to spackle, you’ll find some stark differences. Here are some ways in which these two drywall materials differ.
Spackle is more expensive than joint compound, but you use less per job. In other words, a small tub of spackle lasts longer than a large container of joint compound, as the latter benefits from multiple coats across large areas of drywall. At the same time, joint compound is more versatile than spackle, offering two-in-one functionality. Neither product is particularly expensive, though, so it’s a wash here.
Dry formulas last a bit longer than wet formulas, making joint compound, which is not premixed, last several months longer than premixed spackle. All told, spackle goes bad in around nine months, while a non-mixed joint compound lasts slightly over one year. Also, wet formulas are sensitive to extreme weather, as both cold and heat dry them out, rendering them unusable.
Spackle comes in small tubes, whereas joint compound comes in large containers of 1 gallon or more. This makes joint compound the clear winner when conducting larger-than-average repair jobs. Spackle is great for fixing small nail holes but not for repairing large gaps in drywall.
If you want a good finish on your wall, it's absolutely worth it to pay for professional taping and mudding. Many DIYers are tempted to pay someone to hang the drywall and do the rest themselves, but this is one area where a skilled contractor can make a huge difference.
Spackle is a lightweight, water-based compound that dries through evaporation of its water content. The small particles in spackle allow for quicker moisture removal, which results in a faster drying process of about 30 minutes for most small repairs.
Joint compound, on the other hand, is made from gypsum or lime and is heavier and denser, taking longer to dry because it relies on a chemical reaction to harden. However, some joint compound options, such as hot mud, boast shorter drying times than the average drywall mud.
Spackle is easy to work with, even for those with minimal home improvement experience. The product comes premixed and is available in convenient containers, making it user-friendly and eliminating the need for mixing or measuring. It has a smooth consistency that is easy to spread and sand.
It dries relatively quickly, allowing for efficient patching and repairs on small holes or imperfections in walls. Joint compound, however, is often more labor-intensive, requiring proper mixing, a skilled application, and a longer drying time due to its chemical setting process. Joint compound is also more suitable for use in finishing drywall, especially when it comes to how to tape and mud drywall.
Cancelled appointment two hours after they were supposed to come for drywall work.
I would recommend this company to anyone! He showed up on time, was friendly, completed a very difficult repair on our dryer vent cover, was responsive, and pricing was extremely fair and competitive. I would have him back to do any of our repairs or cleanings without hesitation!
I cant stop admiring my newly painted walls. Custom Paint Jobs LLC made my house feel brand new.
Excellent experience with hiring Tether House to Mount our 77’ Samsung TV in our bedroom. Fast, friendly, and knowledgeable. Highly recommend.
Excellent customer service and knowledge. I was recommend to him from my neighbour. My front door and window came in great and were installed beautifully perfectly, I m very satisfied with their excellent work, so decided to order one more big bow window for my living room. I cant wait for...
Manuel Calvillo is the best option in the area for roofing and you won't be disappointed.
Would hire again. Wall looks great. Happy with job.
 Central Paving
Involved an extensive bathroom remodel, including removing tub & installing walk in shower, new drywall, custome tile work to ceiling, plumbing, etc. Overall, job was done on time and on budget. Nick & his team were very professional and had high attention to detail. Quality was great. Highly...
 Stamos Flooring and Remodeling LLC
We have had a great experience with Rising Height for the past five years on a number of miscellaneous renovation projects. They laid flooring for us and had a very good sub do the finish. Installed drywall for a vaulted ceiling, finished an attic/loft with new subfloor, framing and drywall,...
 Rising Height Unlimited
Mr. Lopez was super nice and professional. He repaired our drywall just as he described during the estimate phase. Our dining room wall looks great again! Thanks Mr. Lopez!
From average costs to expert advice, get all the answers you need to get your job done.
What is joint compound? In short, it’s a specific type of filler made of gypsum dust—but of course, there’s much more to know. We’ve got you covered.
From incorrect mixing to poor weather conditions, there are a few reasons for joint compound not sticking to drywall. Learn how to avoid this drywall problem.
To fix holes in your drywall, you can use spackle or putty, but one may be better for certain jobs than others. Let’s take a look at the differences.
After spackling your walls, you’ll have to wait until it’s fully dried before painting, but how long? Use this guide to estimate how long spackle takes to dry.
Discover the key differences between caulk versus spackle and learn when to use each for your home improvement projects. Get expert tips for a perfect finish.

Tired of looking at the crack down the wall? Plaster can be tricky to work with, but you can learn how to fix cracks in plaster walls with this guide.