11 Painting Tips and Techniques for Your Home Painting Project
Give your interior a budget-friendly makeover


Professional painters make painting a room with a flawless finish look easy, but the painting process involves more than just slapping color on the walls and splattering your partner for a little extra fun. Most of the work of achieving that perfect finish is actually in the prep, not the painting.
Follow our pro painting tips and techniques to ensure your home projects turn out picture-perfect.
1. Wait for Dry Weather
If possible, don’t tackle an interior paint job during the spring or summer. In most places throughout the United States, these months bring high temperatures and lots of humidity. Too much humidity can impact how well the paint dries and how long it takes. The water in the paint takes more time to evaporate when the humidity levels are higher (between 70% and 85%). So, avoid the threat of bubbling paint, and consider the weather before you take on a painting project. Depending on your geographic location, fall or winter might have the best interior painting conditions.
2. Smooth Out the Surface
To get the best finish, you've got to prep the surface, and that goes beyond giving it a good wash to get the grime off. Pay close attention to your kitchen—because of food residue, kitchen walls need extra prep before painting. Over time, our walls and trim also get chipped, dented, and scratched from furniture, kids, pets, and, you know, life.
Mend Holes, Cracks, and Dents Before Painting
You'll need to fix minor imperfections, but how you go about it will depend on the flaw in question.
Look for areas that need addressing—such as small nail holes or dents—and use painter’s tape to mark the spot so you don’t miss it.
Use a high-quality filler and a putty knife to cover every crack, scratch, dent, or hole.
Let it dry, then sand over to smooth the area.
If you've got bumps, bubbled or flaking paint, use a scraper to remove as much loose debris as possible, then sand the area flat.

3. Help Your New Paint Stick
If the surface you're painting over is satin or gloss, it's ultra-smooth and shiny, so your new paint needs some help to stick to the existing surface. The most efficient way to get the best coverage from your new paint is to sand over the existing surface with sandpaper or a sanding block to roughen it up.
Inspect the wall for any dull or uneven surfaces that need sanding.
In a circular motion, apply light pressure with medium-grain sandpaper. Don’t press too hard, as you might sand through the bare wall.
Wipe away any dust or other debris with a damp microfiber cloth, so as to not damage the wall.
4. Clean Your Walls
Before you bust out your favorite paint roller and start to throw paint on the entire wall, you need to be certain the surface is pristine. Getting into the habit of cleaning walls before taking a brush to them is one interior painting tip that will make all the difference when you’re contemplating application. Creating a contaminant-free area is the key first step to painting a room like a pro. Take these steps before painting:
Use a vacuum cleaner or extendable duster to remove loose dust from the walls. Swipe the corners of the rooms and baseboards, too.
Wipe down the wall with a damp microfiber cloth. To wet the cloth, fill a small tub or bucket with a squirt of mild dish soap and warm water.
Go back over any spots you may have missed or that need a little TLC.
Let the area completely dry.
5. Tape Off the Edges
If you’re not a skilled painter who can cut in a perfect line, you’ll want to use blue painter’s tape to carefully mask off your trim and your ceiling. Carefully apply the tape then crease down the edges—this step is critical to success and a nice, paintable edge, so you’ll want to approach it carefully and with great detail. Paint bleeds through even the most meticulously applied tape, so spend some time making sure there are no air bubbles and that your lines are perfectly straight.
Change Masking Tape Between Coats
Once you've finished one coat of paint, remove the painter's tape while you're waiting for the paint to dry. Removing the tape while the paint is wet stops paint bridging over the tape as it dries, then tearing away when you remove the tape. Once you're ready to apply a new coat, reapply painter's tape and you're ready to go.
6. Use Primer to Cover Dark Colors
Adding color to your walls is a quick way to give your home warmth or character. But if your teen has just finished their emo phase or your love affair with royal purple has ended in favor of a pastel hue, the easiest way to hide the dark color is to apply a paint primer. The resins in this adhesive undercoat create a strong chemical bond with the wall’s surface, which helps smooth the area for the paint. A matte gray primer is a smart choice, as it creates a uniform, neutral canvas that's easy to paint over with your new paler shade.
Just remember to give your primer plenty of time to dry before applying the topcoat. You can use a neutral primer before applying bright colors too, to maximize their vibrancy. And it works when you're trying to paint over wallpaper, too.
7. Start With Cutting in
A common painting mistake is to leave the cutting-in until last. Instead, get it out of the way first. Cutting in is the essential step of painting around light switches and corners and along edges with a small, fine trim brush. These are areas where a roller or bigger brush is just too big, unwieldy, or imprecise.
To give yourself enough clearance to avoid a roller mishap, paint a 2 to 3-inch perimeter along and around obstacles, corners, and edges. And don't forget the top edge where the wall meets the ceiling.
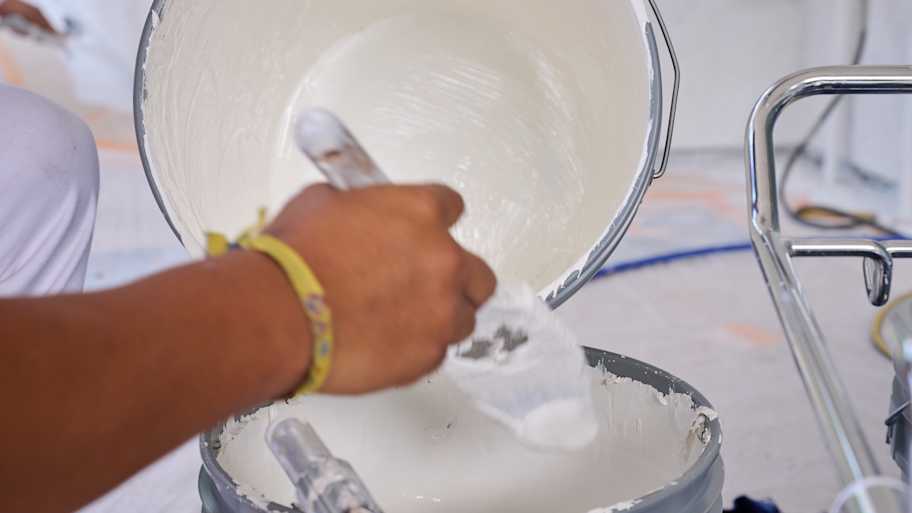
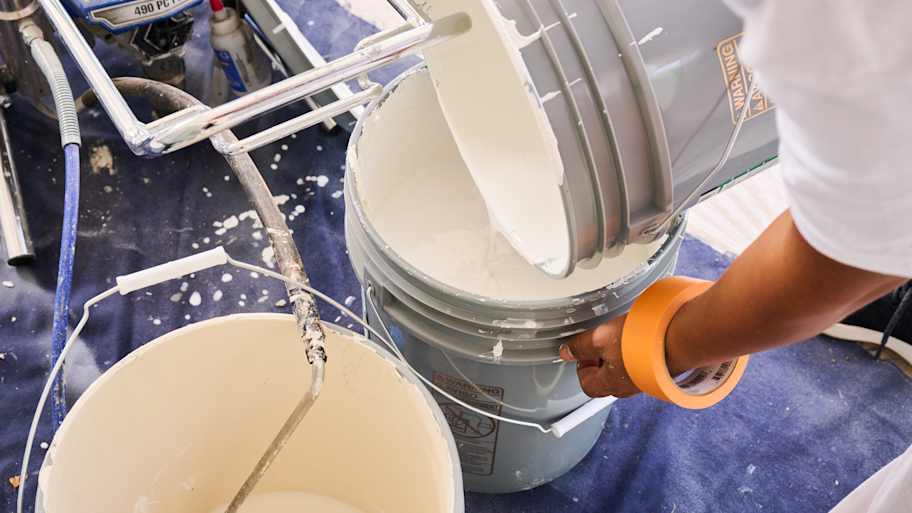
8. Mix Paint Early and Often
Whether you've got oil-based paint, latex, or water-based, you should mix it early and often. The components of all types of residential paint tend to settle and separate fairly quickly. Even the time it takes to empty one tray and go back for a refill is enough for some separation to occur, even if it still looks okay. Any degree of separation is potentially noticeable and can result in unwanted and unsightly color changes that look different than the swatch when it's dry and on your walls.
9. Always Paint Top to Bottom, Big to Small
Always start at the top of the surface you're painting and work your way down. If you go the other way, you'll likely end up getting drips and splatters all over the bottom portion that you've already finished.
Similarly, always paint larger areas before smaller ones. If you're painting a whole room, for example, do the cutting in, then paint the ceiling. Then move onto the walls, and only when you finish those should you move on to painting doors and trim.
Pro tip: When it comes to trim, you should opt for the best paint for trim—semi-gloss is the most popular choice, but high-gloss is also a solid option. For a neater, crisper line, hold the narrow sides of a trim brush in the horizontal position, like a pen. You’ll also be less likely to splash paint with this technique.
Think about how you move when you're painting large areas. You move pretty quickly and with less precision, so paint is more likely to accidentally spray and spatter all over the place, particularly onto the carpet or trim. So save yourself some work and paint in the right order: Top to bottom, big to small.
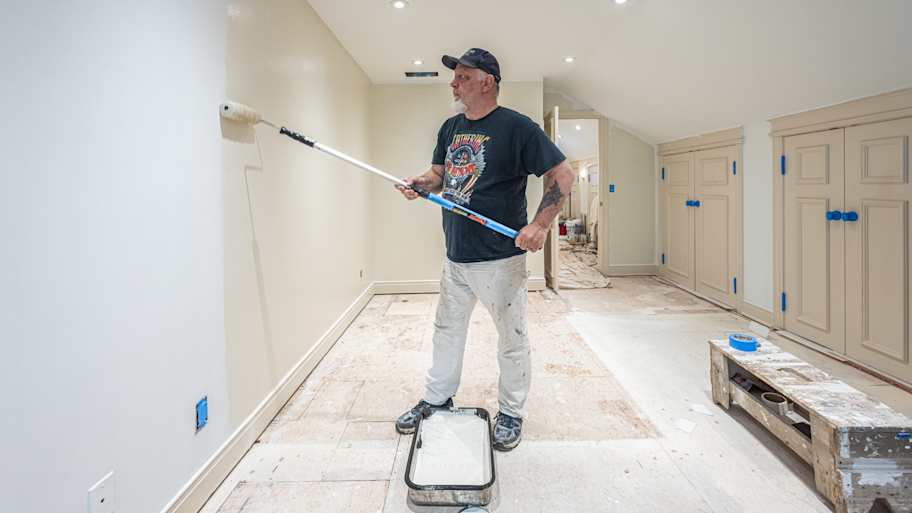
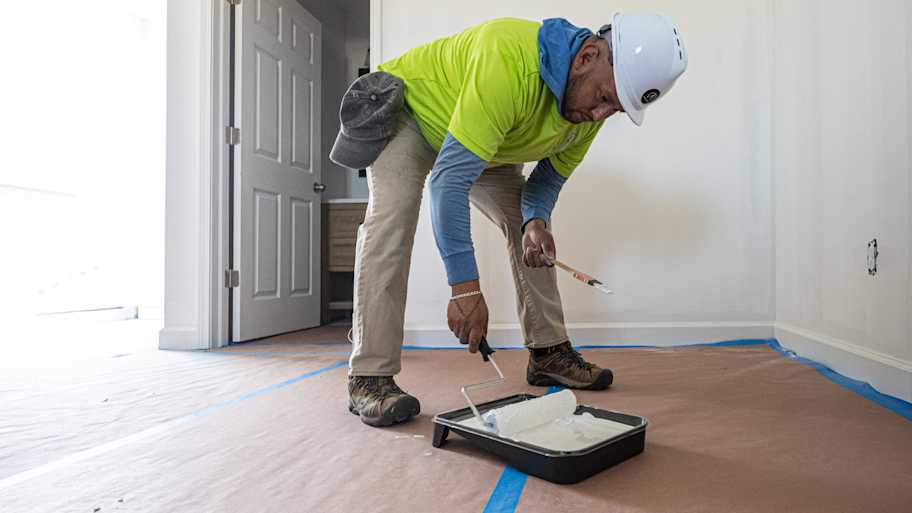
10. Load Your Roller Just Right
Overloading your roller results in thick drips and sloughing as the paint dries on the walls. It’s not only unflattering, it can be difficult to fix.
To combat this, don't submerge the whole roller head in the paint when you're loading it up. Also, make sure you roll the roller on the textured part of the paint tray to remove excess paint before you put it back to the wall.
If you try to spread the paint too thin, you'll overstretch it and get a blotchy, patchy finish that requires extra coats to cover, so don't go too far the other way. Your roller shouldn't be dripping, but it shouldn't be too dry, either.
How to Keep Your Supplies Fresh Between Breaks
Before you take a well-earned break, take a few precautions first.
Cover your roller head, paint brushes, and your paint tray in saran wrap or a close-fitting plastic bag.
If it's hot or you need to leave them for more than an hour or two, store them in the refrigerator and remove them about 30 minutes before you're ready to use them again.
If you’re taking a day or more between coats, you should clean your paint brushes before starting up again.
11. Don’t Be Afraid to Ask for Help
Painting your home can be a fun weekend DIY project once you have the right tools and painting tips under your belt. But painting can quickly become a strain—getting the shade just right, meticulously taping off edges, and waiting for the paint to dry. This burden only increases depending on how much wall or ceiling space you have to cover. If your painting project looks like it’ll extend beyond what you have time for, call in a local interior painter to tackle the job.
How Much Does It Cost to Paint the Interior of a House?
On average, homeowners can expect to pay about $1,950—or $2.75 per square foot—on the cost to paint a home’s interior. The average price jumps to $4.70 per square foot when you add in trim and ceilings. Typically, the overall cost is determined by several factors, including:
Square footage. Measure the square footage of each room in your home. Objects such as sinks and toilets can raise the cost, as it increases the amount of paint you need.
Paint type. The brand and finish of the paint you choose can also impact the cost.
Paint preparation. Some walls may require sanding and patching before the painting process can start.
Katy Willis contributed to this piece.


- 10 Common Painting Mistakes Homeowners Should Avoid
- When Is the Best Time to Paint Indoors? A Helpful Guide
- Essential Supplies to Paint a Room: What You Really Need
- Do You Paint Trim or Walls First in Your Room? How to Decide
- How to Paint a Bathroom Step-by-Step
- How to Paint Hardwood Floors for the Best Results
- When Is the Best Time to Paint Your House Exterior?
- How to Paint Furniture to Get Beautiful, Long-Lasting Results
- How to Prep a House for Exterior Painting in 8 Steps
- Everything to Know Before Painting Over Wallpaper
Get our Angi-powered app


