Essential Supplies to Paint a Room: What You Really Need
What you need to paint your room like a pro


Expect to pay around $120 to $340 or more in tools and supplies, depending on the size of your project and what you already have on hand.
In addition to cost, expect to spend eight to 12 hours prepping and painting an average 130-square-foot room.
Hiring a pro to paint a room costs about $1,100 on average, or around $2 to $6 per square foot.
So, you’re planning to paint a room. Now what? As with any home project, having the supplies needed to paint a room can save you time, money, and headaches and help you achieve the look you want.
It’s hard to describe the frustration of stopping a project to drive to the hardware store for new tools or materials. There’s always a chance that you’ll run into an unexpected need because every job is different, but this list of room-painting supplies should minimize trips to the store and keep your project running smoothly.
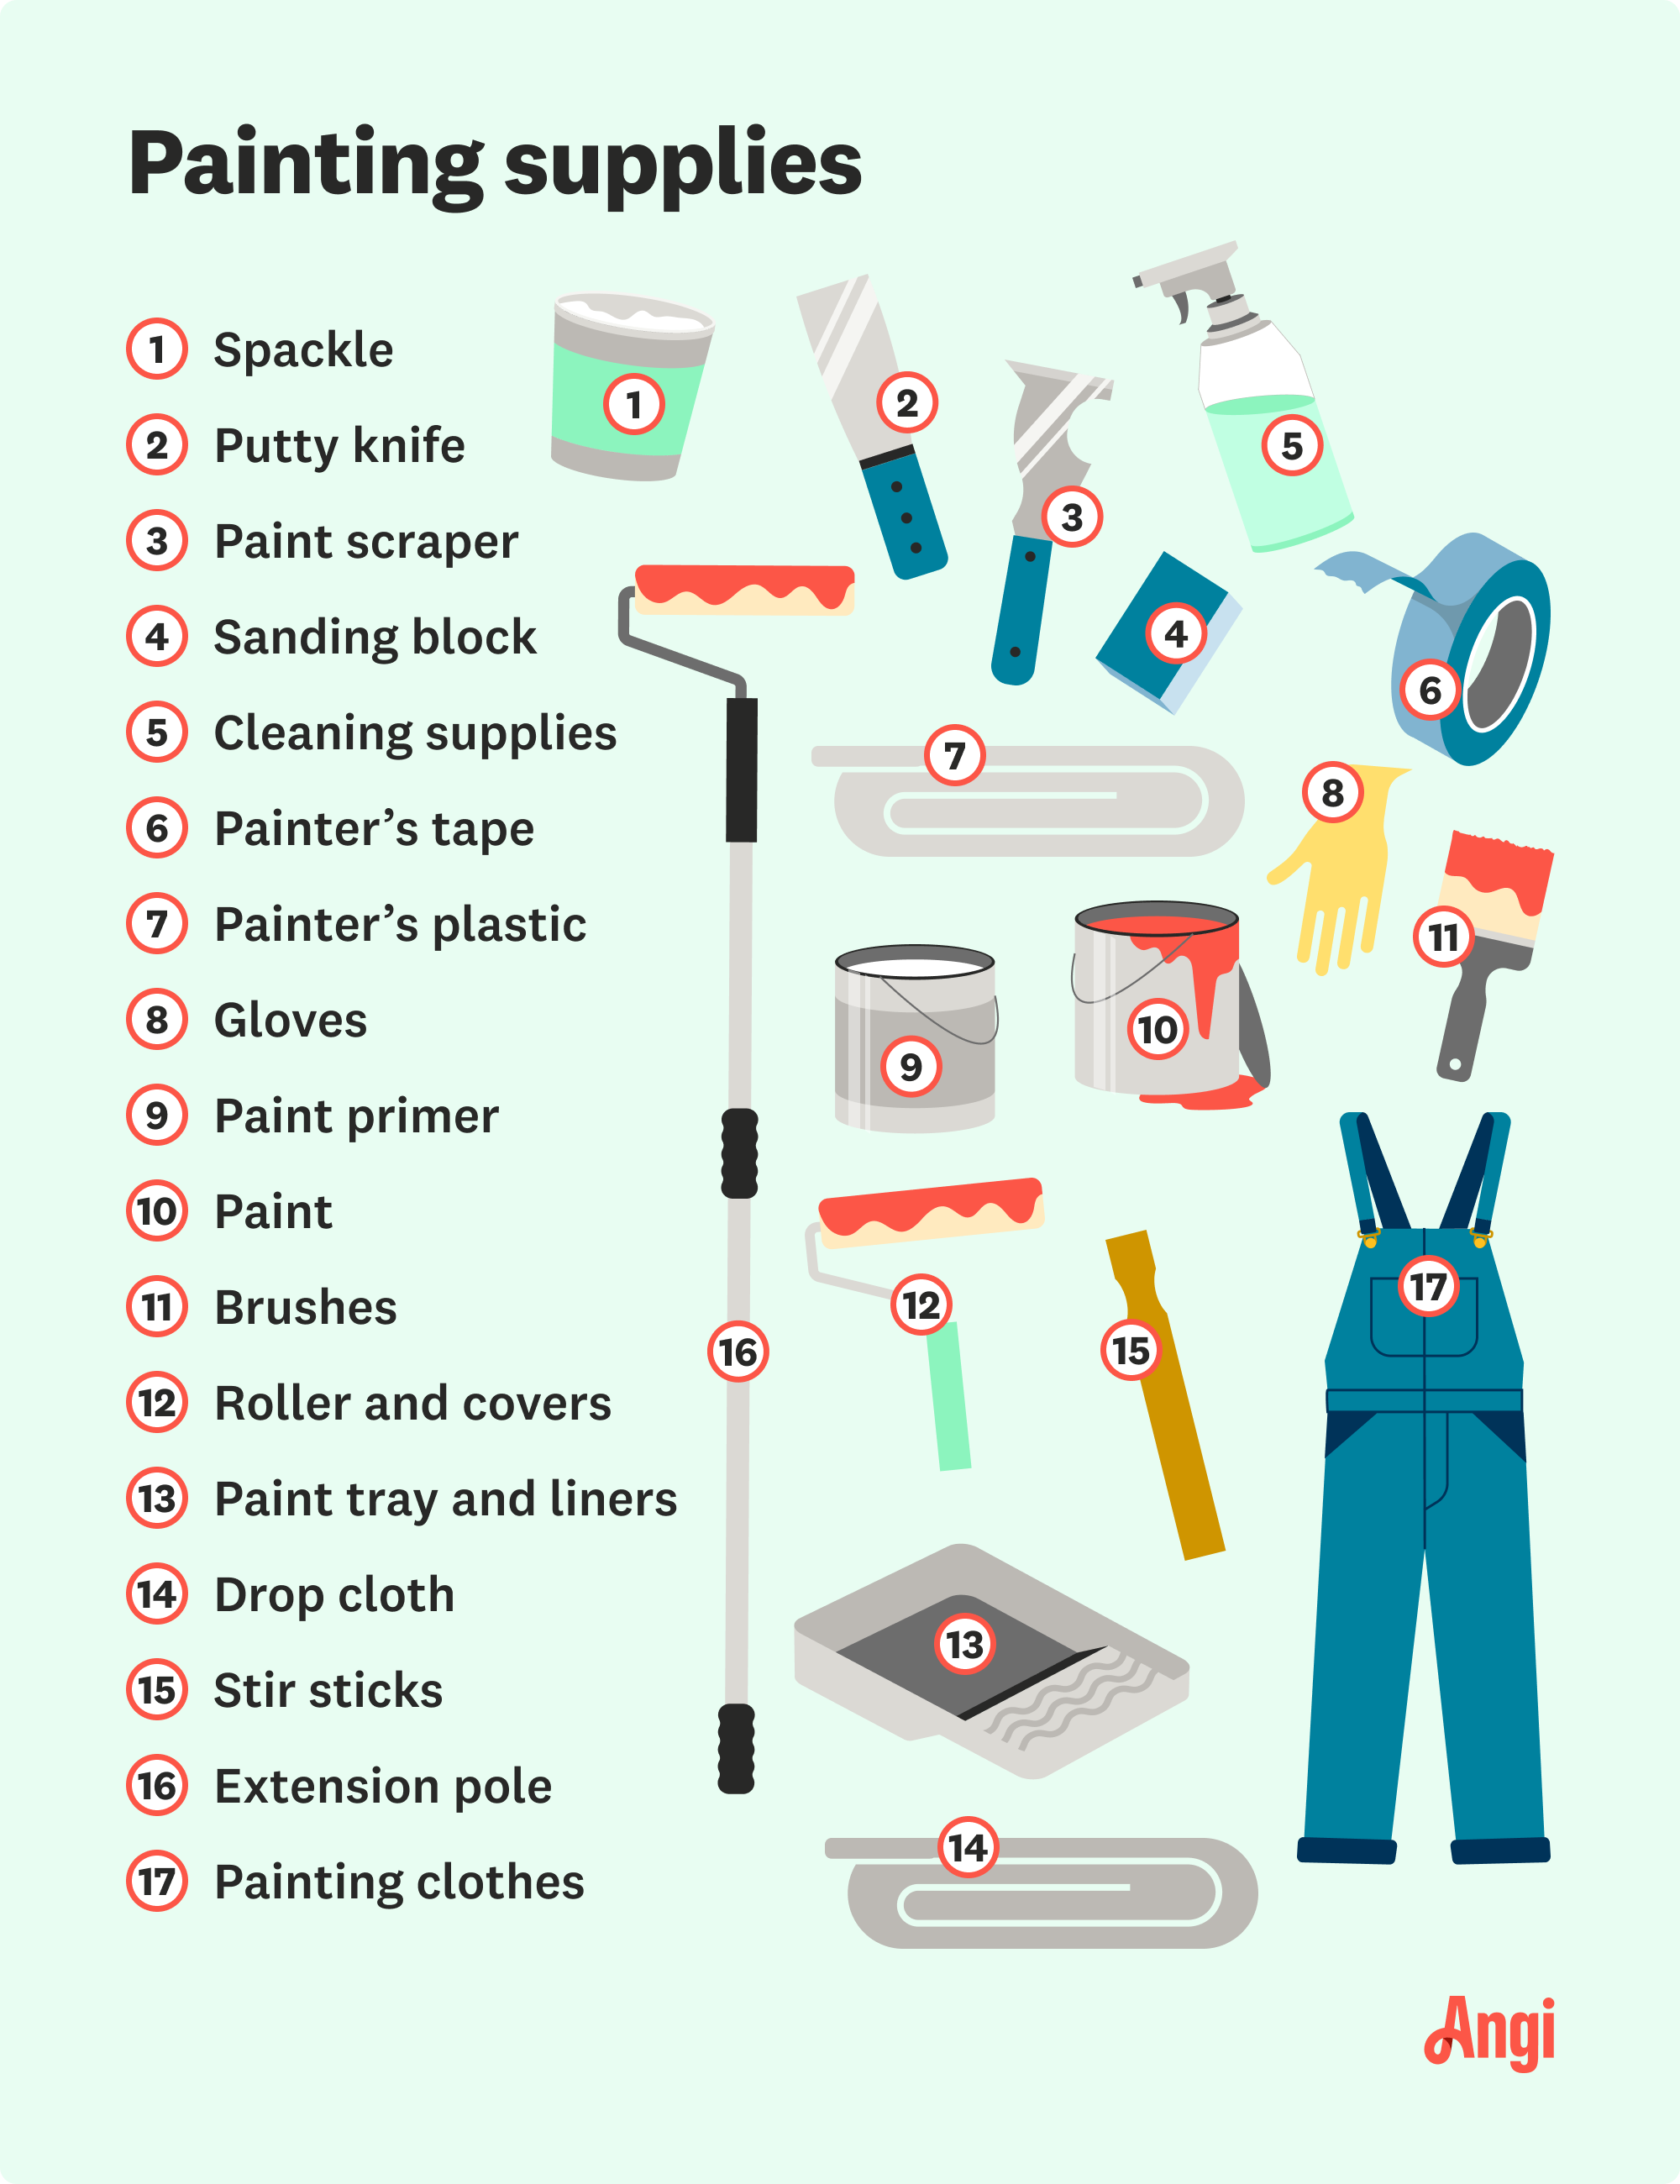
1. Spackle
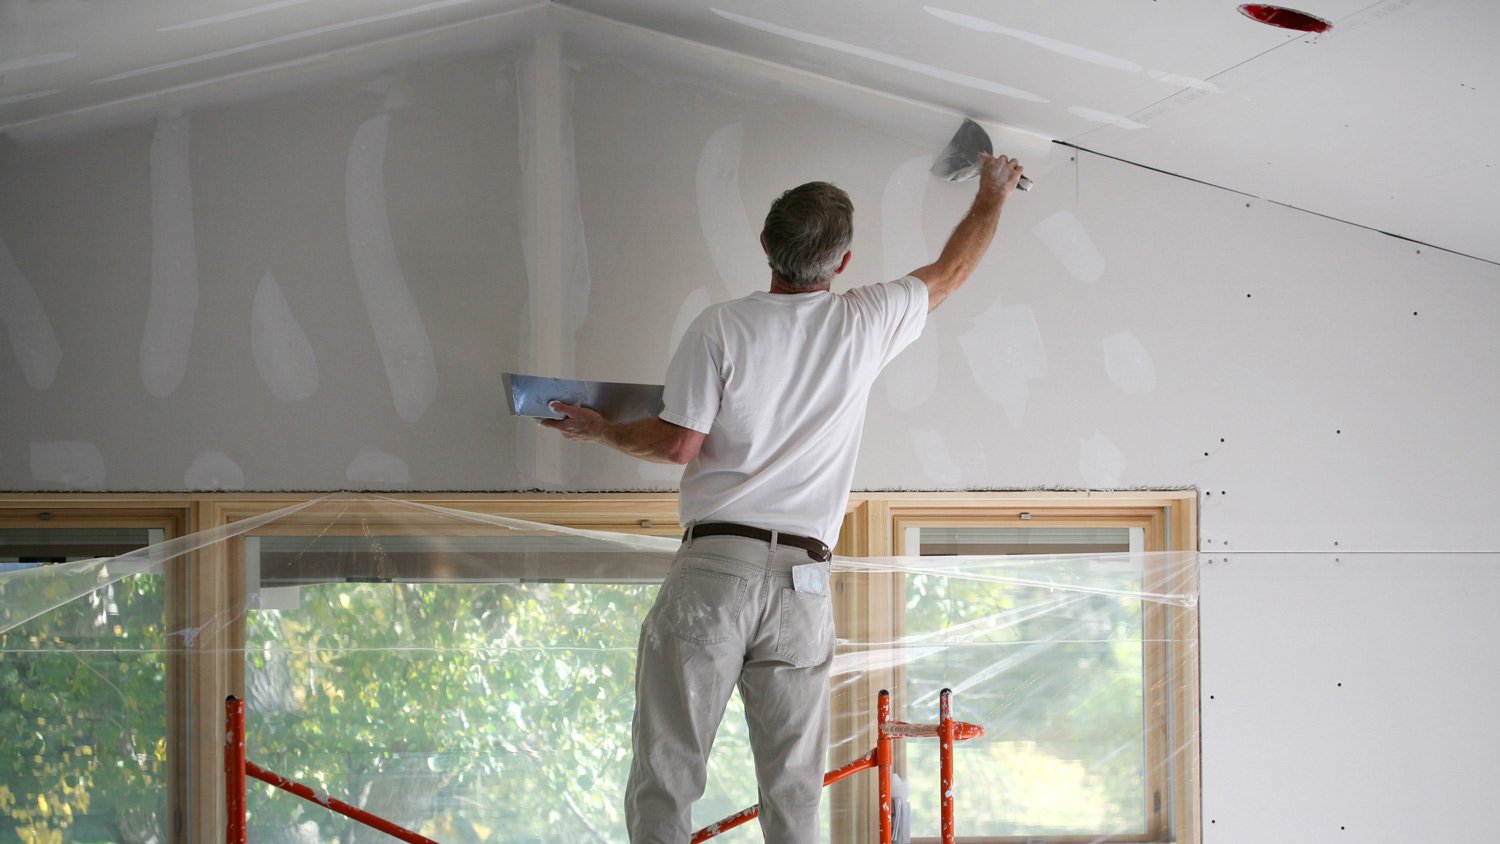
Use spackle (or spackling) to patch holes in drywall. Spackle is similar to joint compound or drywall mud but is thicker and often comes in smaller 1/2-pint to quart-sized containers.
You can spackle walls with holes up to about one inch in diameter. If the hole is much larger than one inch, you’ll want to patch the drywall before painting over it.
Average cost: $3 to $40, depending on container size
2. Putty Knife
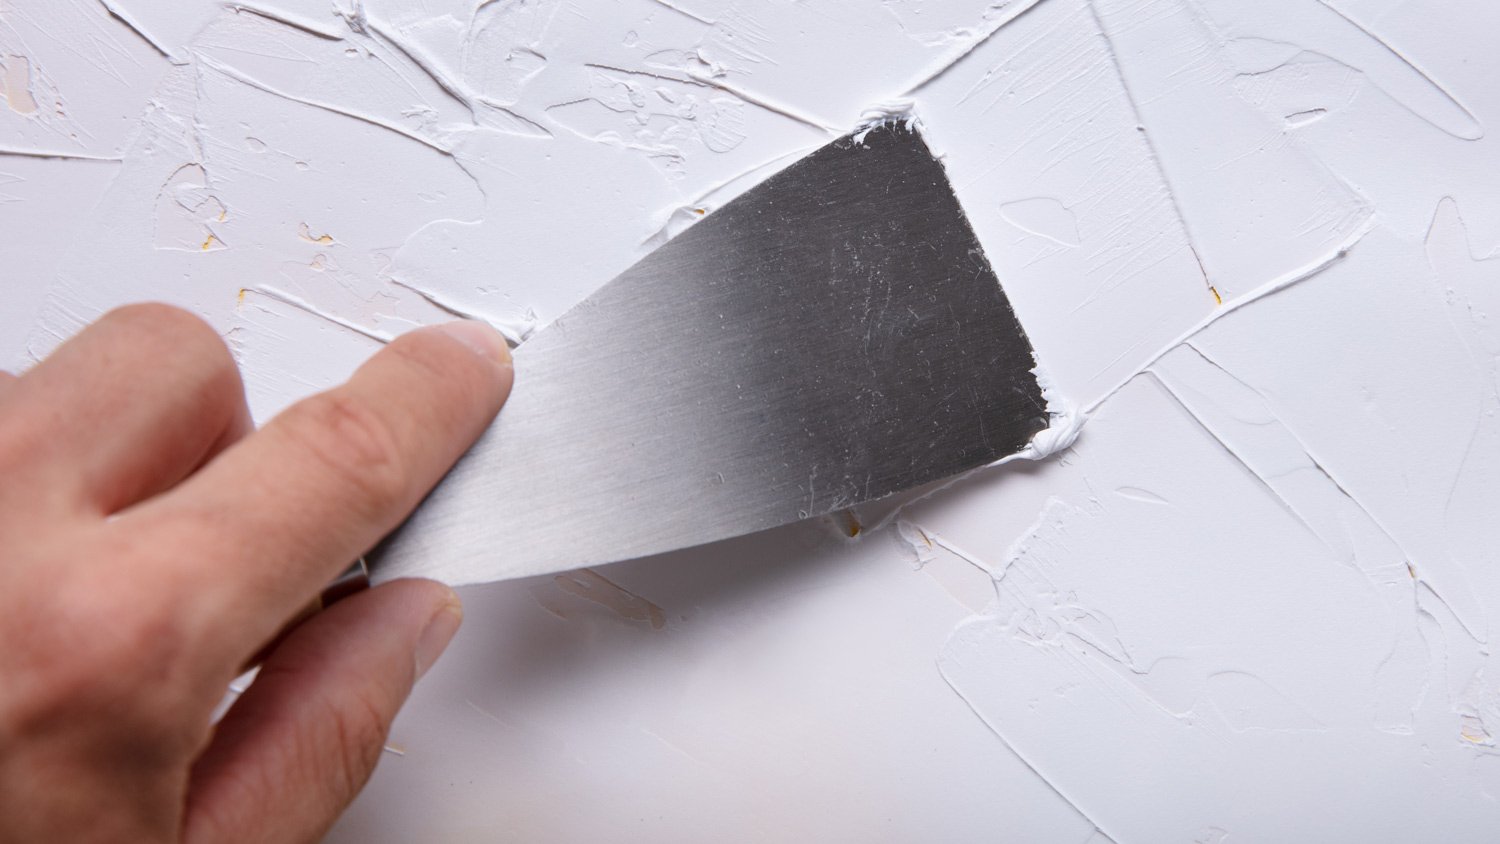
Use this flat, flexible blade to scoop spackle out of the container and pack it into the dent, crack, or hole you’re filling. Scrape the spackle against the wall to push the material into the crack or hole.
Average cost: $2 to $20
3. Paint Scraper
This handy tool looks like a putty knife, but it’s not as flexible. The rigid blade works better for scraping chipped or flaking paint and other materials from another surface. For spackling your walls, use the more flexible putty knife, as the flex in the blade helps push spackle into cracks and holes.
Average cost: $5 to $22
4. Sandpaper or Sanding Block
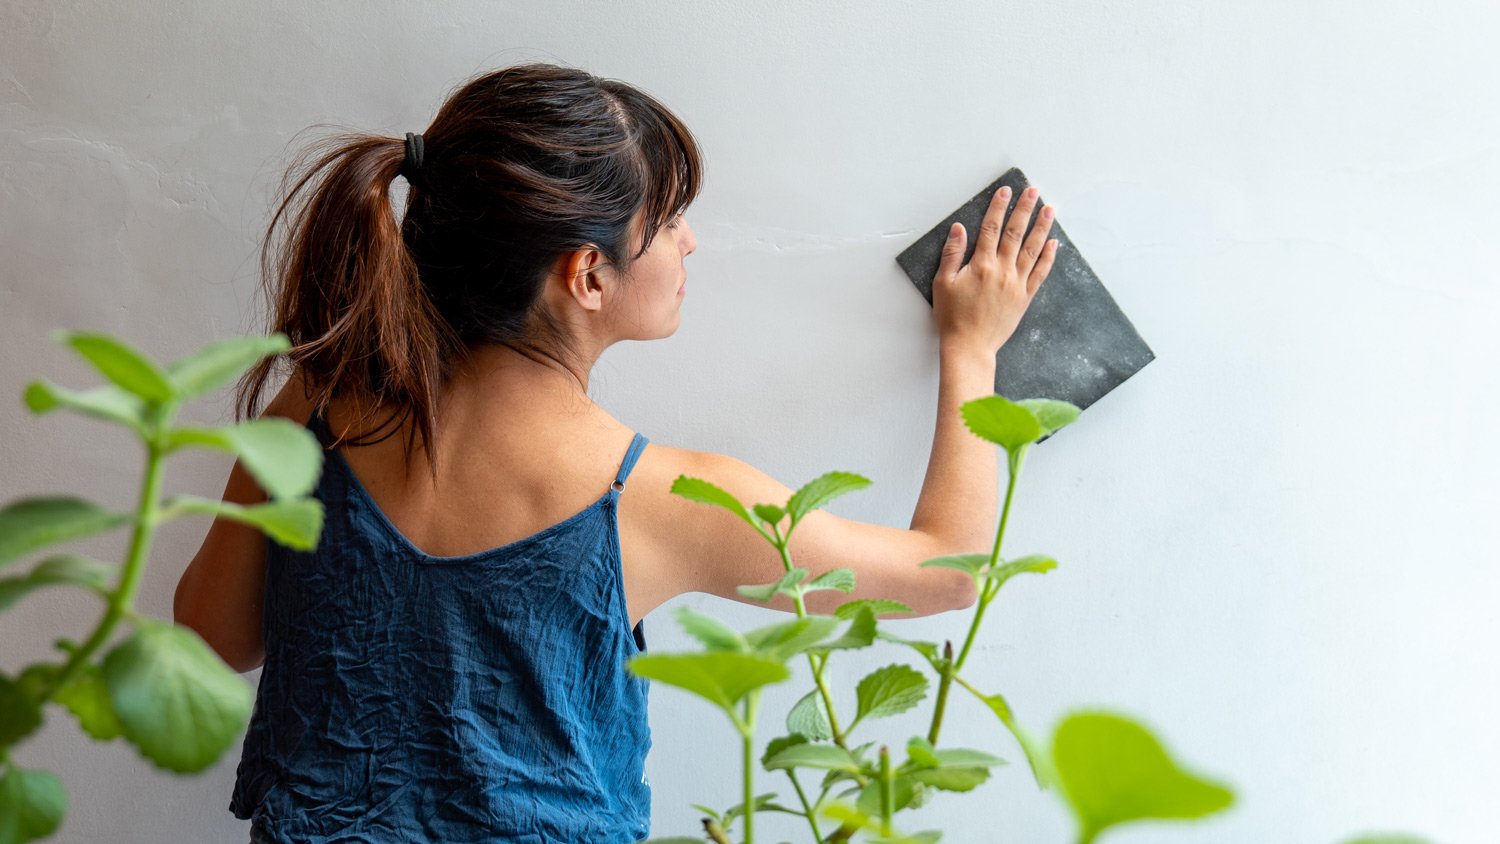
After you spackle cracks and holes and allow the spackle to dry, sand away the excess so that the area is flat and blends with the wall’s surface. Using a fine-grit foam sanding block (#100 to #220 grit) or wrapping a block of wood in a sheet of sandpaper will prevent you from sanding too much and accidentally creating a pit or crater in the spackle that will show through the fresh paint.
Average cost: $5 to $7 each, or $9 to $20 for a multipack
5. Cleaning Supplies
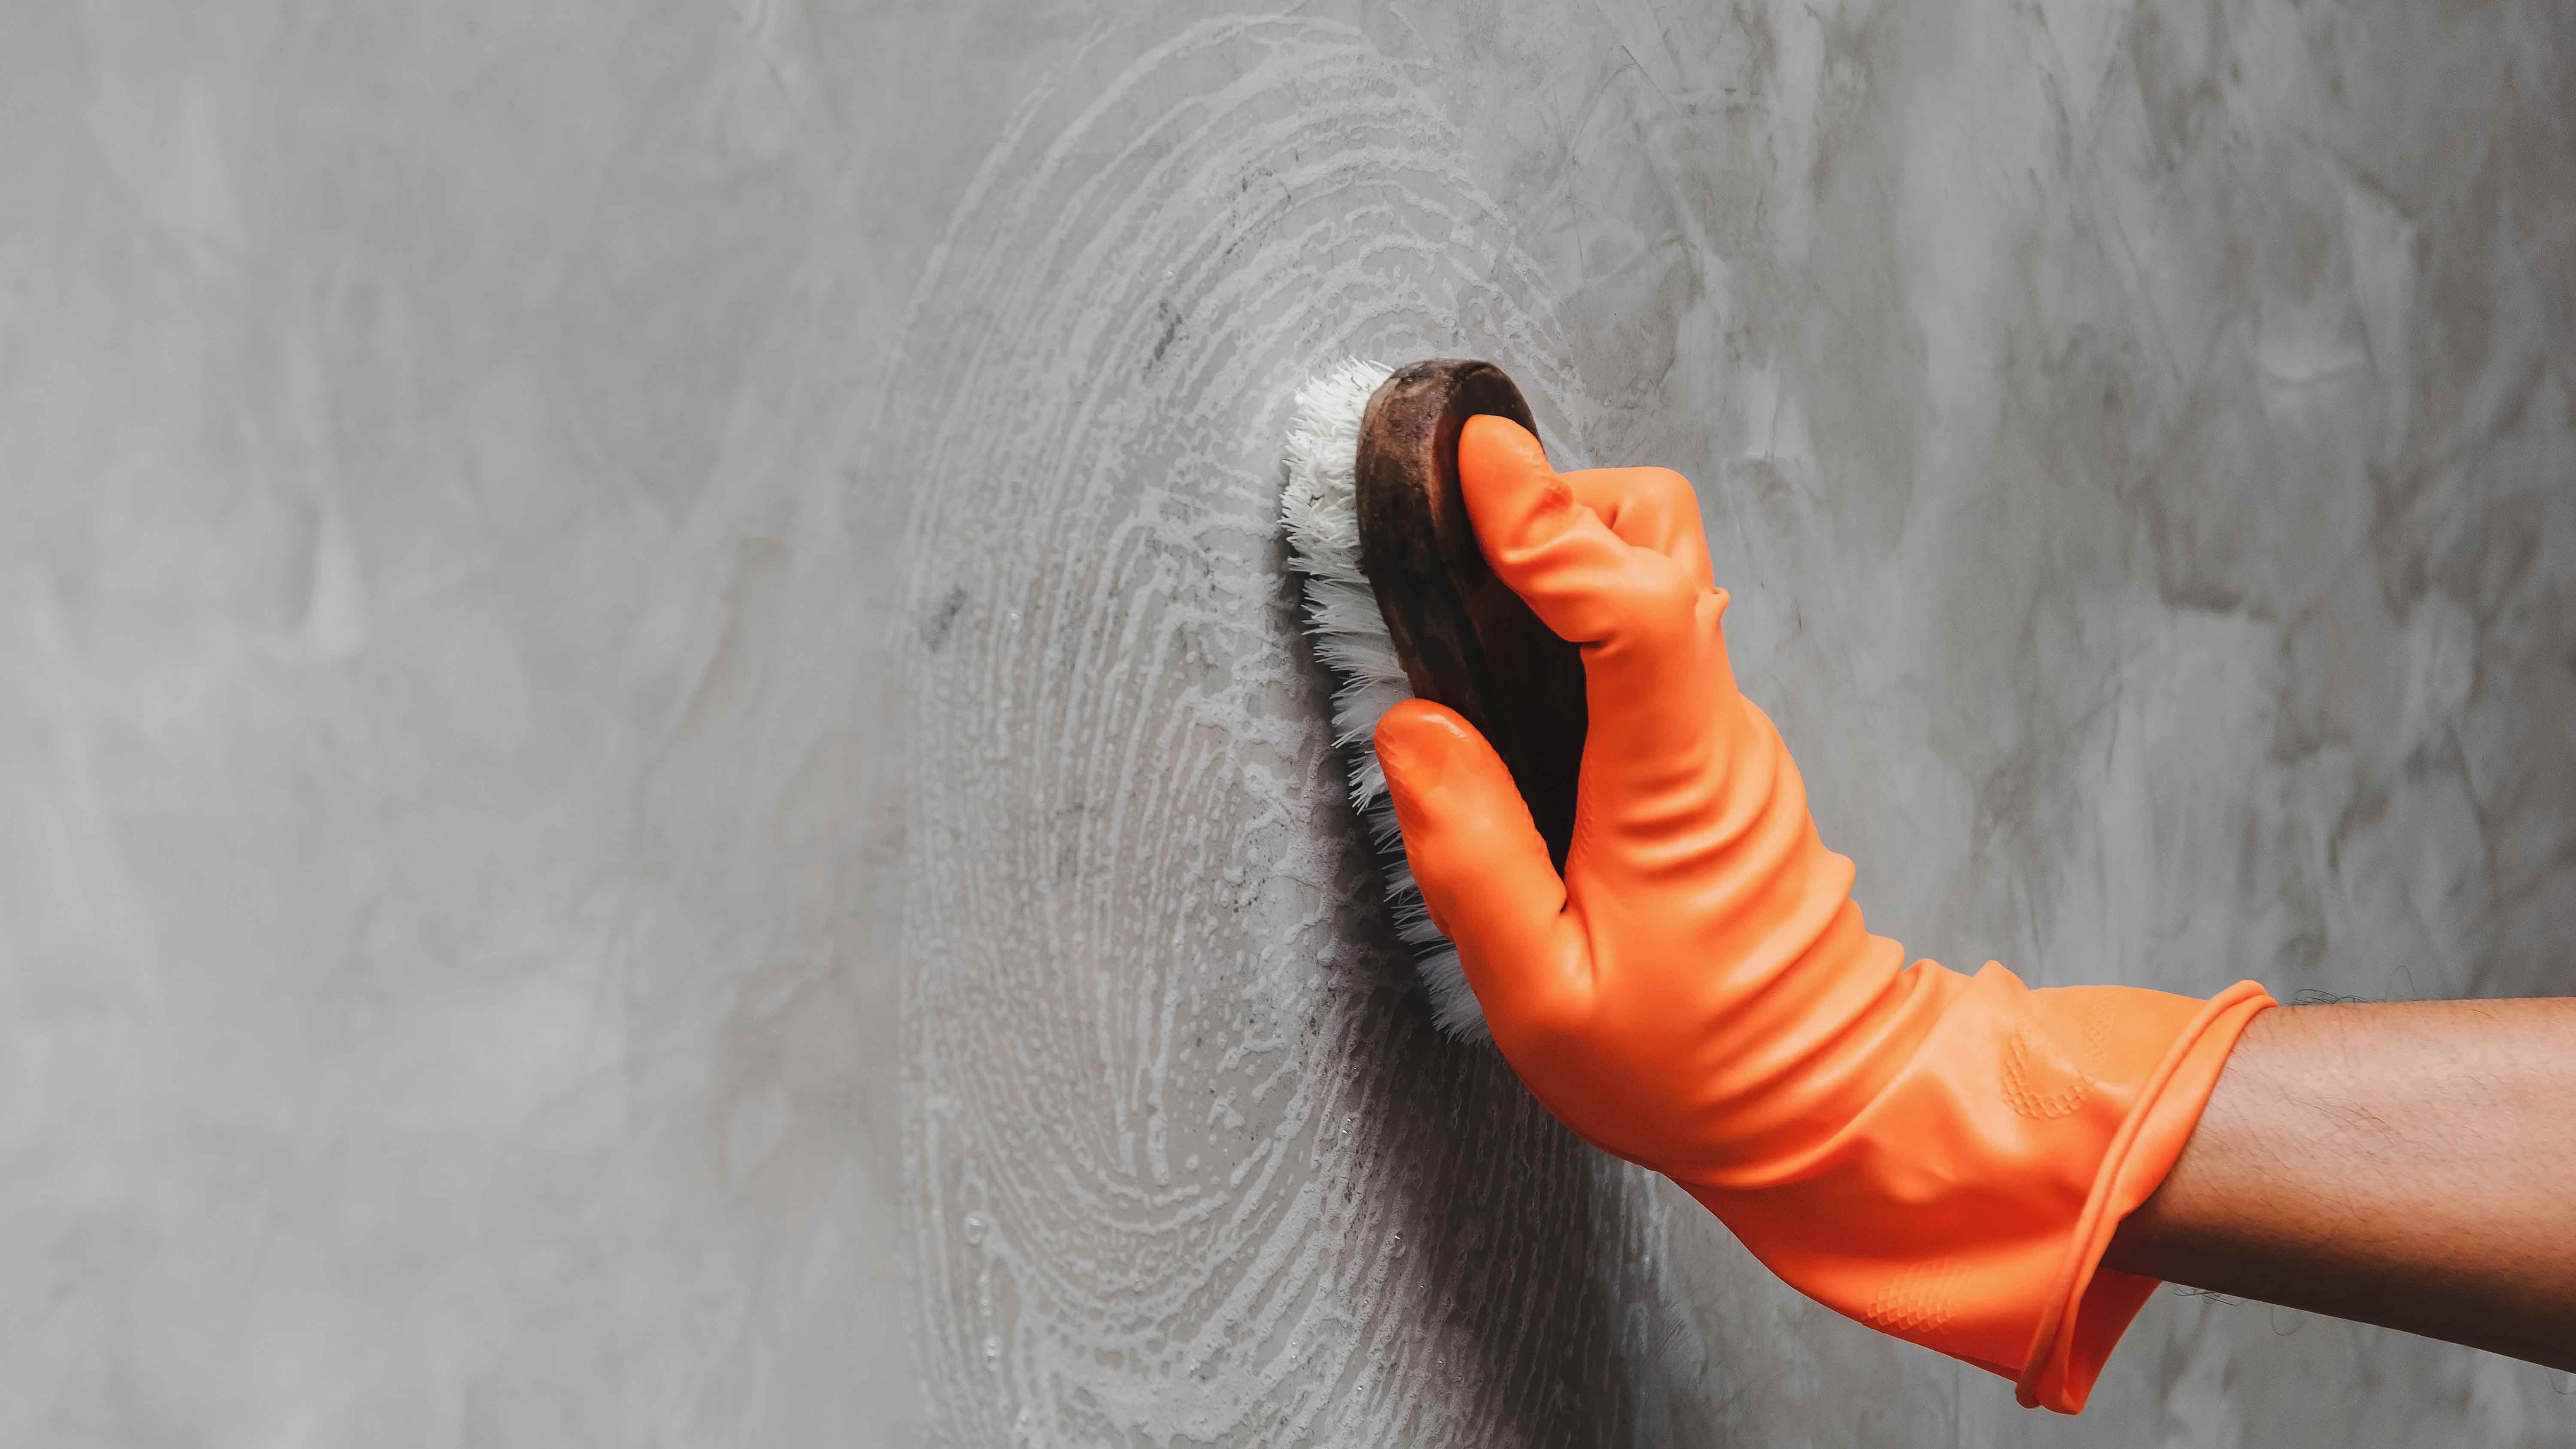
After patching and sanding your walls, clean dust, grease, and other substances off the walls and trim. One or two drops of dish soap mixed with warm water make a viable solution for cleaning walls. The clean surface will help tape, primer, and paint stick better.
Average cost: $16 to $22
Cleaning bucket: $6 to $12
Sponge: $6
Dish soap: $4
6. Painter’s Tape
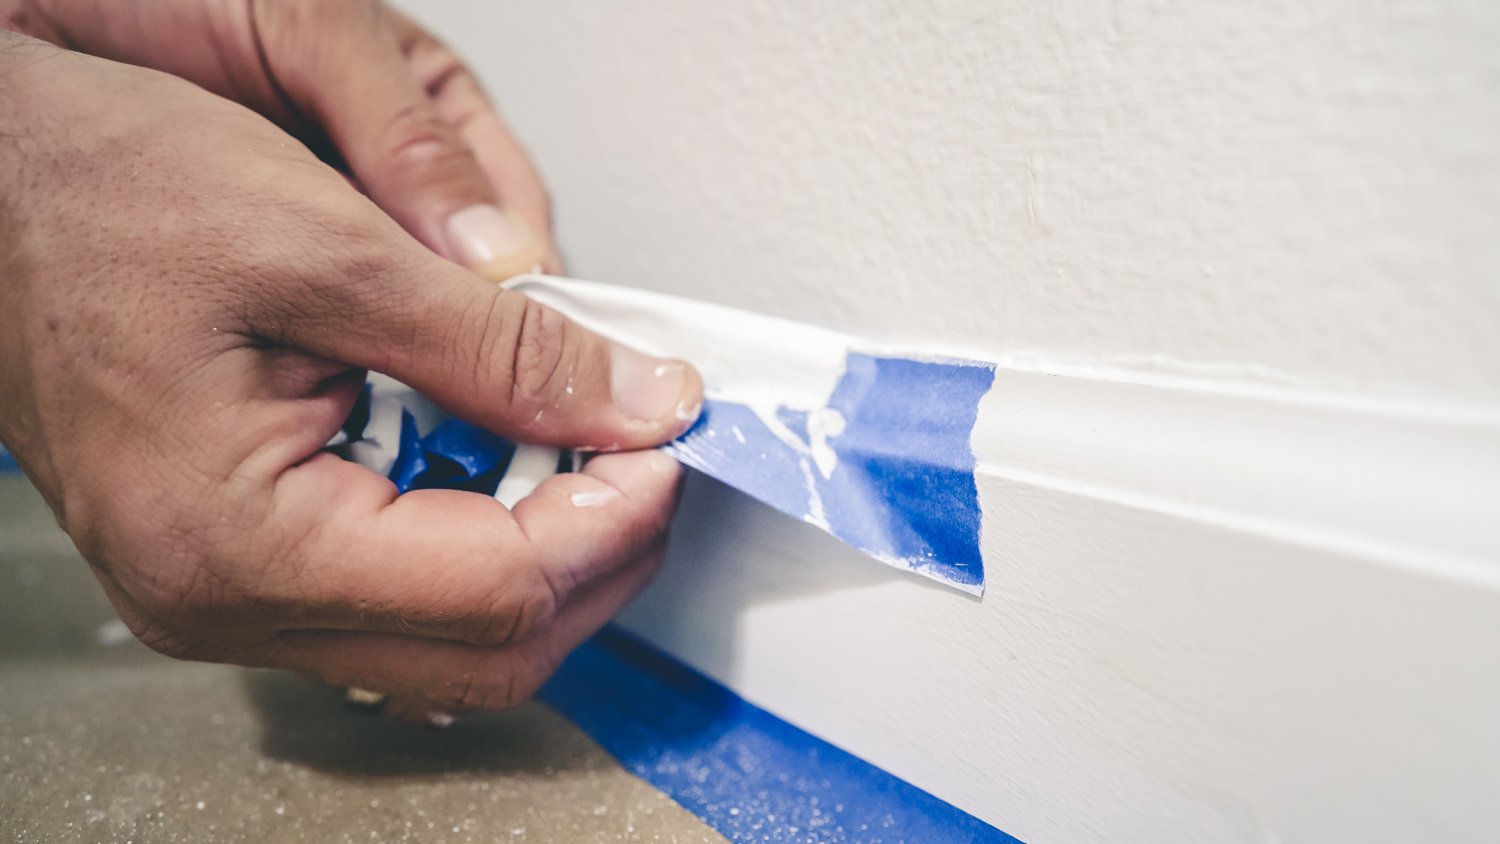
Painter’s tape will help you achieve the clean, crisp lines you want and avoid getting paint on trim and other areas you’re trying to avoid. You have several tape options, but most painter’s tape looks like blue or green masking tape. Taping off your paint project can save you cleanup time later, even if it seems tedious on the front end. You’ll thank yourself for making the painting process easier, especially when you take the tape off for the big reveal, and the lines are chef’s-kiss perfection.
Average cost: $3 to $15
Painter's tape will ensure crisp, clean lines, but only if you use it correctly. Wash and dry your surface before applying tape, then remove it as soon as the paint is dry to the touch.
7. Painter’s Plastic
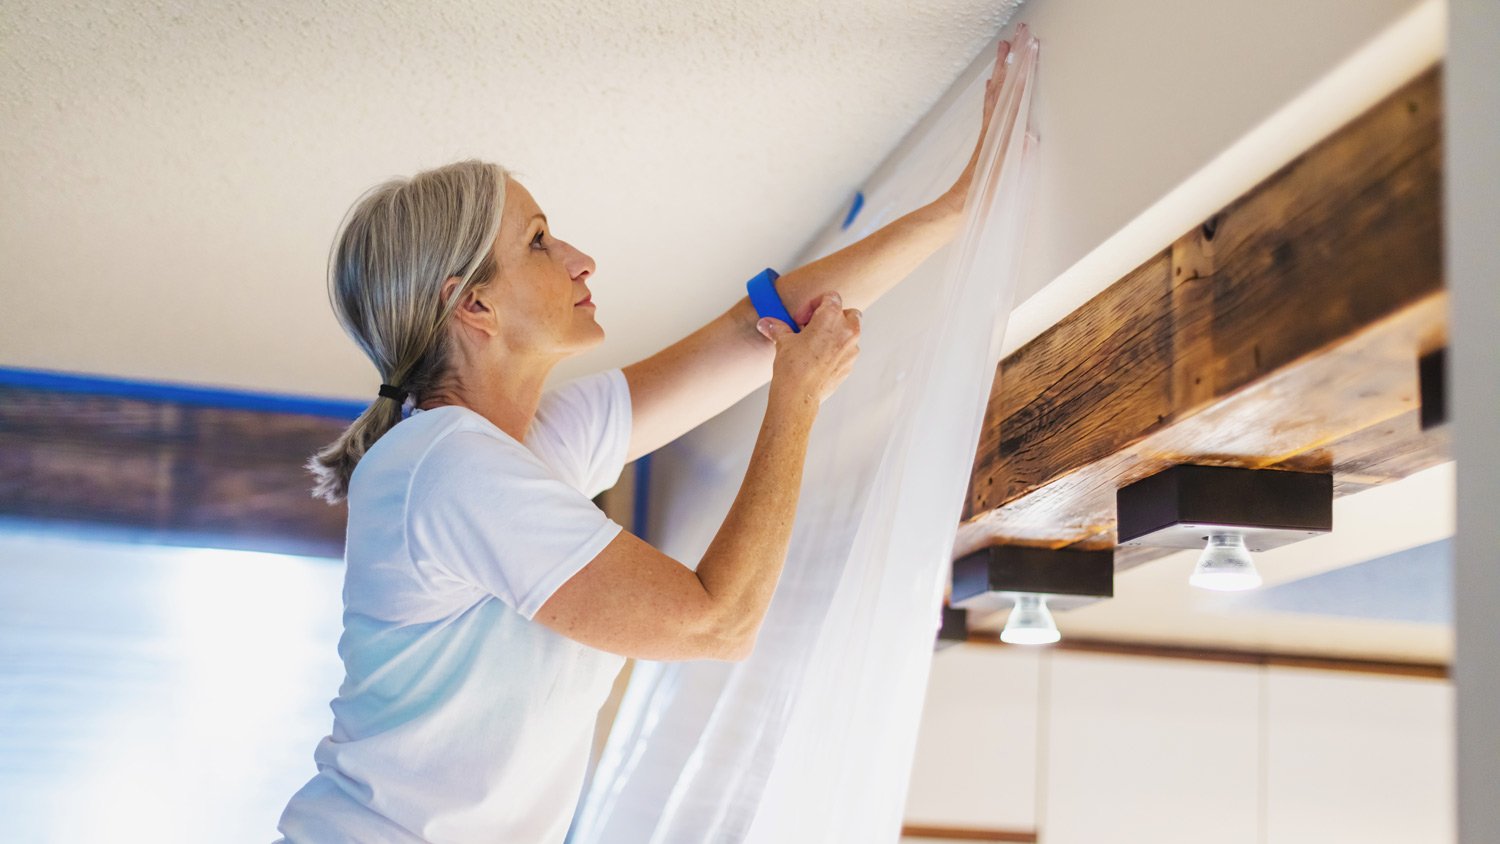
Prevent paint drips, spills, and sprays by protecting your floors, windows, and furniture with painter’s plastic, also called plastic sheeting. Painter’s plastic comes in different thicknesses, ranging from 0.31 mil to 0.7 mil and up to 2 mil. Use thinner plastic to protect furniture, countertops, and other non-walking surfaces.
Because you’ll be walking and working on the floors, use thicker, heavy-duty plastic sheeting or plastic drop cloths to cover them. Be sure to tape the edges down tightly and seal the seams to prevent gaps from opening up as you work.
Average cost: $10 to $13 for 90 ft. of pre-taped plastic
8. Gloves
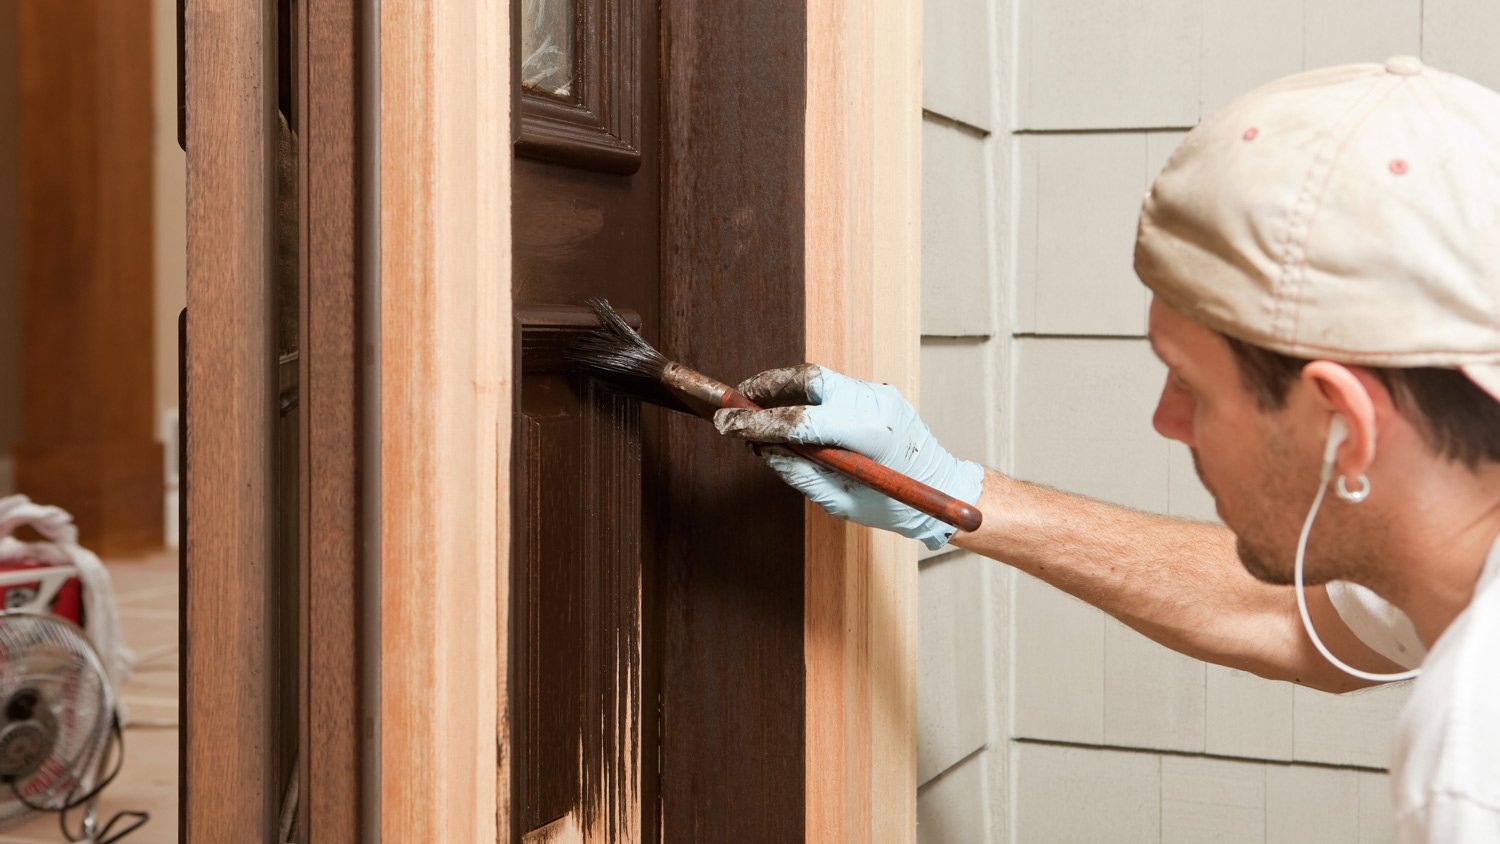
Gloves are not necessary but a nice-to-have addition if you want to keep your hands clean (assuming you don’t have an allergy to latex, nitrile, or other common “rubber” glove materials). Plus, it’s always helpful to keep extra gloves around the house for future DIY projects that may get messy.
Average cost: $4 for a 10-pack
Now that we’ve covered the tools you’ll need to prep, it’s time to get the supplies you’ll need to paint the room.
9. Paint Primer
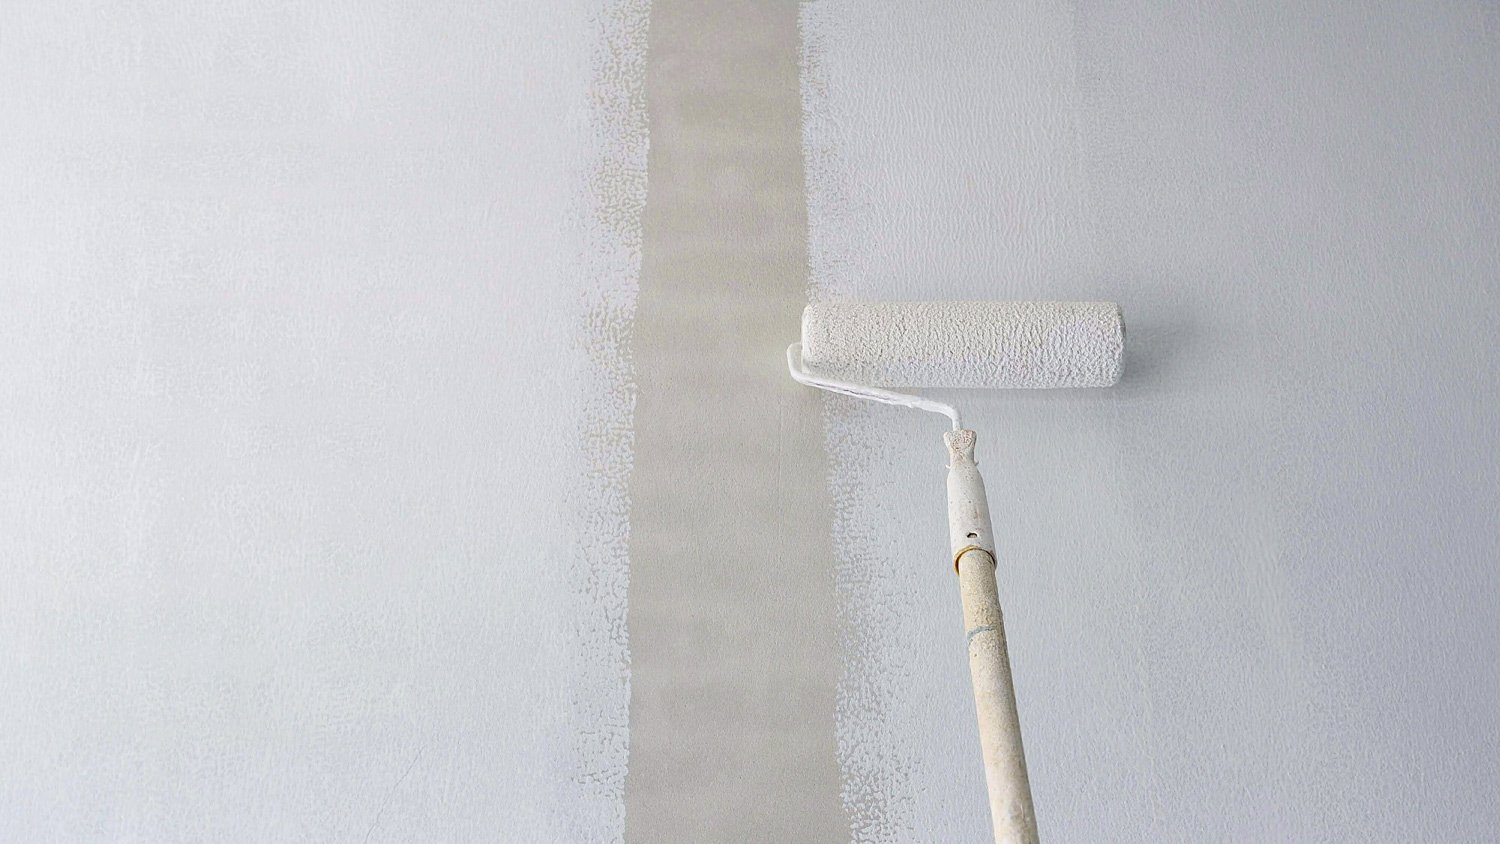
Typically less expensive than regular paint, paint primer is the layer you put on before you paint, meaning that primer goes on like paint and provides a base for your new paint color. You can expect to spend about $10 per gallon of primer on top of $15 to $40 per gallon of paint.
Use a light-shade primer if you paint on a lighter color and a dark primer for darker hues. For example, if you have a red room and want to paint it black, applying a dark primer coat will keep the vibrant color from showing through the first coat of black paint. Primer is formulated to create a bonding layer between the prepared surface and the new paint. Some 2-in-1 primer and paint formulas are available and cost up to $50 per gallon. However, you don’t need a primer if you’re painting over the same or a similar color. Also, if your wall is porous, like brick, textured paint, or stucco, use a separate primer made for such surfaces.
10. Paint

Maybe it’s obvious, but paint is a pretty important part of the project. You’ll need to answer a few questions first:
What paint color(s) do I want?
How much paint should I get?
What type of paint should I use?
Choose an interior paint that suits the look and expected use of the room you’re painting. For example, consider some of the most popular paint types for interior walls, from least shiny to shiniest:
Flat or matte finish provides the least shine. Walls with this paint type can be more difficult to clean because the matte finish makes it more porous, so it’s best for low-traffic areas.
Eggshell is one of the more popular finishes because it offers some shine and is easier to clean. The eggshell paint finish is best for medium-traffic areas.
Satin finish steps up the shine compared to eggshell and is one of the best paints for bathrooms and kitchens because it’s easy to clean and moisture-resistant. However, satin paint touch-ups and repairs are more difficult because this finish reveals imperfections.
Semi-gloss paint is still shinier than satin and is the most durable of the finishes listed. As with satin, semi-gloss paint is difficult to repair without it looking like a repair.
11. Paint Brushes

You’ll need different kinds of paint brushes for different needs. Use an angled brush to cut in along the edges and reach hard-to-get nooks and crannies. If you’re using latex or other water-based paint, get brushes with synthetic bristles, such as nylon, polyester, or a combination. Check out our paint brush recommendations:
Angled brush: Use this brush type for painting in tight places. The average cost is $6 to $14 per brush.
2-inch or 3-inch wide flat brush: Use the flat brush for cutting in where the roller can’t reach. The average cost is $5 to $18 per brush.
"Using the right paintbrush or roller is just as essential for achieving a high-quality finish as prepping your walls is. Choosing the appropriate brush type for the type of paint being used will ensure smooth and even strokes for better results."
— Gregory Pittman, Director of Commercial Painting Services at Five Star Painting
12. Roller Frame and Roller Covers
Fun fact: The naps of paint rollers aren’t related to sleeping. A paint roller’s nap indicates its thickness, with thicker naps made for painting textured walls or surfaces. For smooth surfaces like drywall or painting over existing paint, use a 3/16-inch to ¼-inch nap. If you’re painting a brick or stone wall with more texture, use a thicker 1-¼-inch to 1-½-inch nap roller.
Average cost: $9 to $22
13. Paint Tray and Plastic Tray Liners
When you’re ready to start coloring your walls, pour some of your paint into a paint tray lined with a plastic tray liner, making it easy to dip or roll your paint tool. That way, you can keep the paint can closed and avoid the skin that forms when your paint starts drying out. Plus, this method will keep your paint fresh by eliminating dust, debris, and other contamination that can cause your paint to expire faster.
Plastic tray liners will save you the cleanup time of rinsing your paint tray. It will also help prevent accidentally mixing in previous paint colors left behind. Simply allow the excess paint to dry, take the liner out, throw it away, and you’re ready for the next color or painting session.
Average cost: $8
14. Drop Cloths and Rags

Let’s face it, paint drips and other accidents are pretty much inevitable. Even professional painters end up with paint on their clothes and shoes by the end of a job. But the important part is keeping paint off the flooring, furniture, and other surfaces that aren’t supposed to get a fresh coat.
That’s why investing in rags and drop cloths is worth the effort and expense. You can purchase bagged or boxed rags in bulk, but you can always reuse old clothes or other fabrics you would otherwise throw away. Opt for plastic drop cloths because they have greater durability and won’t allow spilled paint to soak through as it might with canvas tarps and drop cloths.
Average cost: $6 to $13
15. Stir Sticks
Unless the paint was mixed at the hardware or paint store and you took it home to start painting immediately, you’ll want to stir it. Most hardware stores will provide wooden stir sticks when you buy paint, but picking up a few more doesn’t hurt to ensure you have some on hand.
It’s essential that the stick is clean before you put it in the paint, preventing any debris from mixing into the paint and causing headaches later when it shows up on the wall. Don’t grab a stick from your backyard, as outdoor dirt and debris could contaminate your paint.
Average cost: Free to $2
16. Ladder or Extension Pole

If you need to paint hard-to-reach areas, like a tall entryway or high walls of a cathedral, shed, or vaulted ceiling, use an extension pole for best results. However, you’ll still need to apply painter’s tape and cut in at the top where the wall meets the ceiling. So, you’ll likely need a ladder to paint high ceilings safely and accurately. Consider hiring a professional interior painter near you to paint high or difficult-to-reach spots to ensure high-quality results and personal safety.
Average cost: $11 to $55
17. Painting Clothes
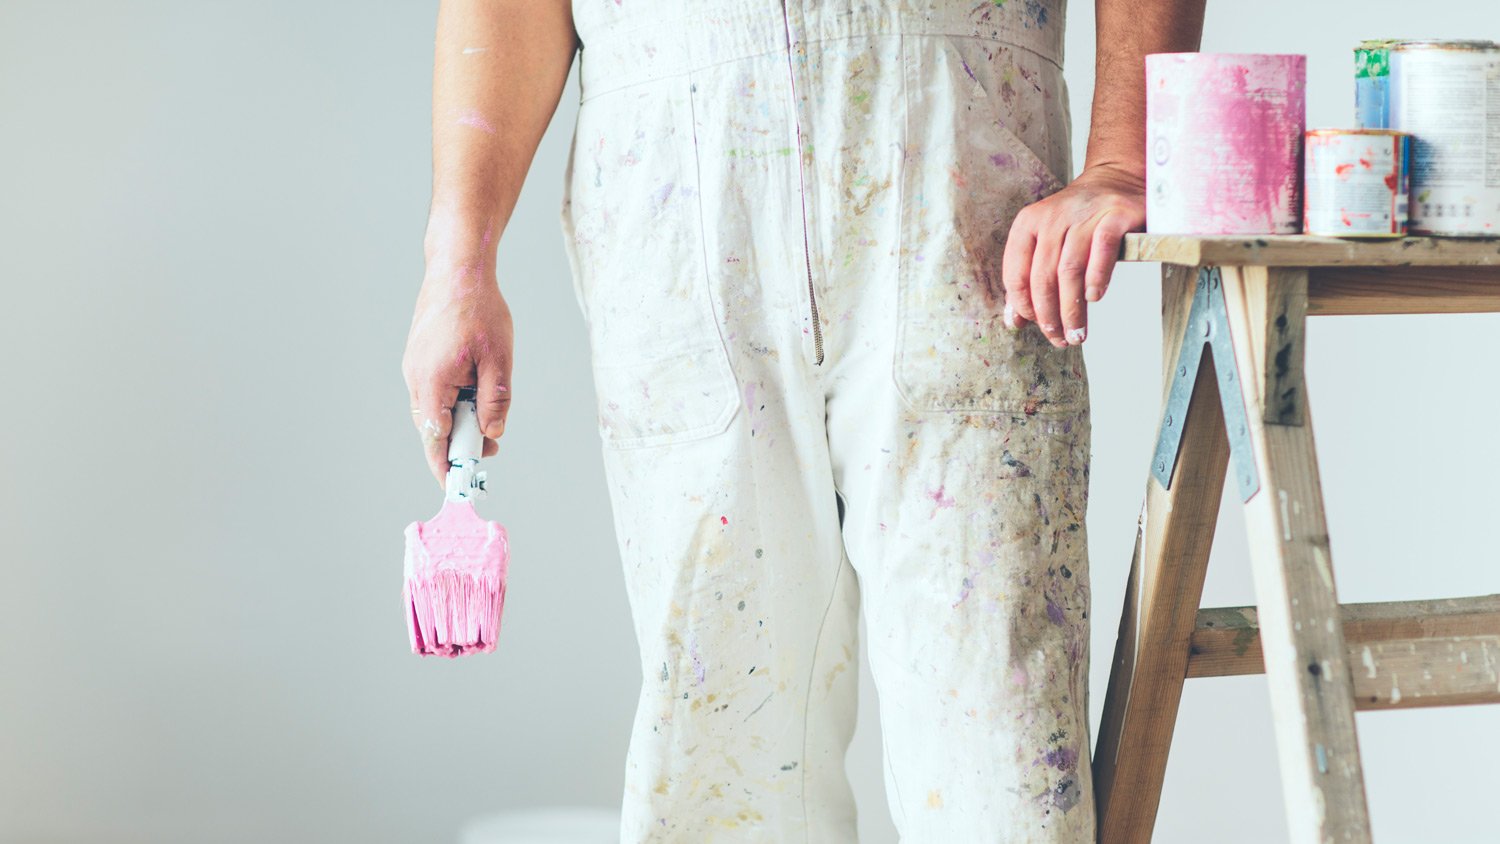
As mentioned above, painting can get messy. Whether you’re a pro or going the DIY route, you'll likely end up wearing some of the paint. So, wear clothes and shoes that you don’t mind getting dirty. You can always wear them around the house or yard for other down-and-dirty home projects. If you already have clothes and footwear from previous projects, remember to clean them off as much as possible to prevent dust and debris entering into your workspace.
Frequently Asked Questions
One gallon of paint covers about 400 square feet. Assuming that you have four equal walls that are 8 feet high, a 12x12 room will need one gallon of paint per coat. The number of coats you need will depend on the condition of the wall and whether you’re painting over an existing color or starting fresh.
Assuming you have all of the supplies and materials needed to prep and paint, it will likely be less expensive to paint the room yourself, as it will only cost you the price of paint, which costs an average of $15 to $60 per gallon. Hiring a professional painter to paint a room can cost from $950 to $3,000, or $2 to $6 per square foot, depending on prep and materials involved. If you’re paying for labor only, expect to pay interior painters $20 to $50 per hour.
If you have the room prepped and ready to paint first thing in the morning, you may be able to paint a room in one day. Spackling, patching, and priming require time to dry before painting, so those steps will likely take you beyond the span of a workday. If you count the time it takes to prep, prime (if needed), and paint, the project will likely take a couple of days.


- 10 Common Painting Mistakes Homeowners Should Avoid
- 11 Painting Tips and Techniques for Your Home Painting Project
- How to Prep a House for Exterior Painting in 8 Steps
- How To Make Paint Dry Smoother: 7 Tips
- When Is the Best Time to Paint Indoors? A Helpful Guide
- How to Remove Paint From Hardwood Floors: 8 Methods
- How Long Does Paint Last, and How Can You Tell If It’s Expired?
- How to Paint Furniture to Get Beautiful, Long-Lasting Results
- Do You Paint Trim or Walls First in Your Room? How to Decide
- When Is the Best Time to Paint Your House Exterior?


