

The cost to paint the interior of a house in Portland, OR depends on size, layout, type of surface, and more. Learn what factors can influence your total in this guide.
Dump the lumps and get a flawless paint finish


It is a fact of life that a smooth coat of paint looks better than a layer littered with brush marks and lumpy globs. However, learning how to make paint dry smoother takes a bit of experience to ensure a clean and even finish.
That’s where we come in. Here are some tips to get that smooth paint coat so your trim, woodwork, cabinets, and walls look their absolute best. If you’d rather let a pro handle achieving the perfect paint finish, hire a local interior painter to get the job done.
Prep is key to ensure a smooth finish and a paint job like a pro. In most cases, this involves inspecting the surface you plan to paint. If you are painting on wood, sand down bare wood to 120-grit with no finer, allowing the wood to hold onto the paint to create an adequate base layer.
If you are painting a standard residential interior space, cleaning the walls is extremely important. This step helps eliminate grease, grime, and other kinds of imperfections that lead to lumpy coats of paint. Generally speaking, kitchens and bathrooms require a bit more elbow grease to clean mold, mildew, and food particles. Use a degreaser on the kitchen walls and a decent mold and mildew remover for bathrooms and other moist areas. An all-purpose cleaner works for living room and bedroom walls.
If you are serious about achieving that paint lump-free lifestyle, always choose high-quality paint and paint primer that matches your environmental conditions. For instance, choose formulations that easily handle temperature fluctuations if you live in a home without air conditioning or in an area with extreme weather conditions.
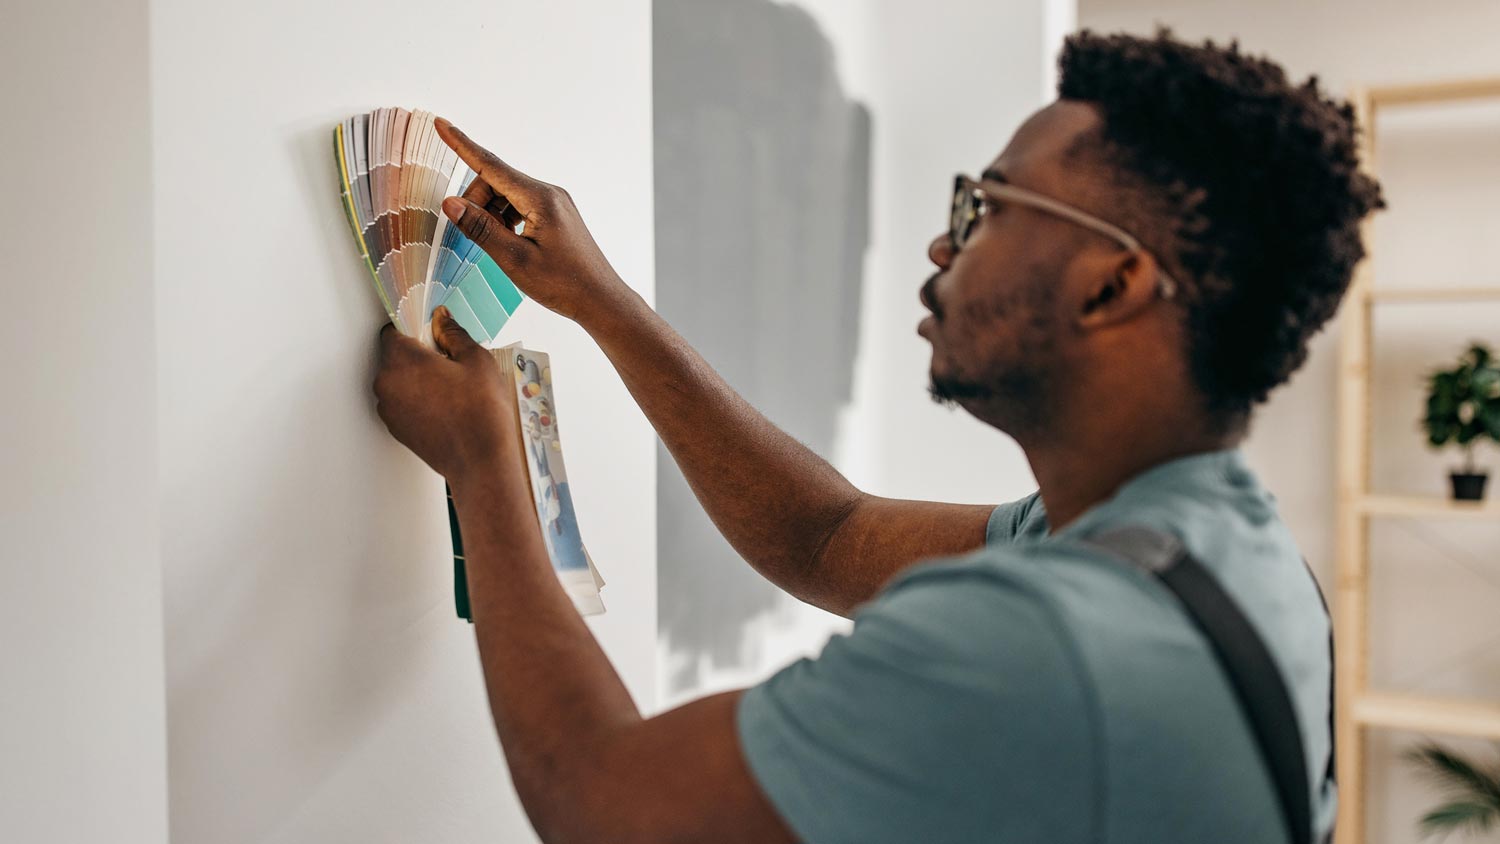
Beyond that, there is an element of personal preference involved. Choose the best paint colors that match the rest of your space and go with the right paint type for your layout. For detail work, consider using enamel paint, as it dries harder than regular paint, thus discouraging lumps.
Primer is your base; without a smooth base, you won’t have a smooth paint finish. Apply a layer of primer, let it dry, and then sand it down using 220-grit sandpaper or fine sanding sponges. Keep sanding it down until the layer generates dust.
Don’t overdo this process, or you will have to reapply a layer of primer. If you start sanding and the surface feels gummy instead of dusty, you started too early. Give the primer a few more hours to dry, and then try again. Blow off any remaining dust when finished to prepare the primer layer for more paint.
Paint additives seem like an extravagance, but many products like Floetrol and Penetrol slew down the drying process, which makes the final product thinner and smoother. Thinner paint lays down better than thicker paint and helps hide brush marks. Thick paint looks, well, gloppy, and lumpy.
You typically want your paint to dry as quickly as possible for convenience, but if you are going for a smooth finish, a lengthy drying process is a good thing. In other words, research paint additives and consider adding one to the repertoire.
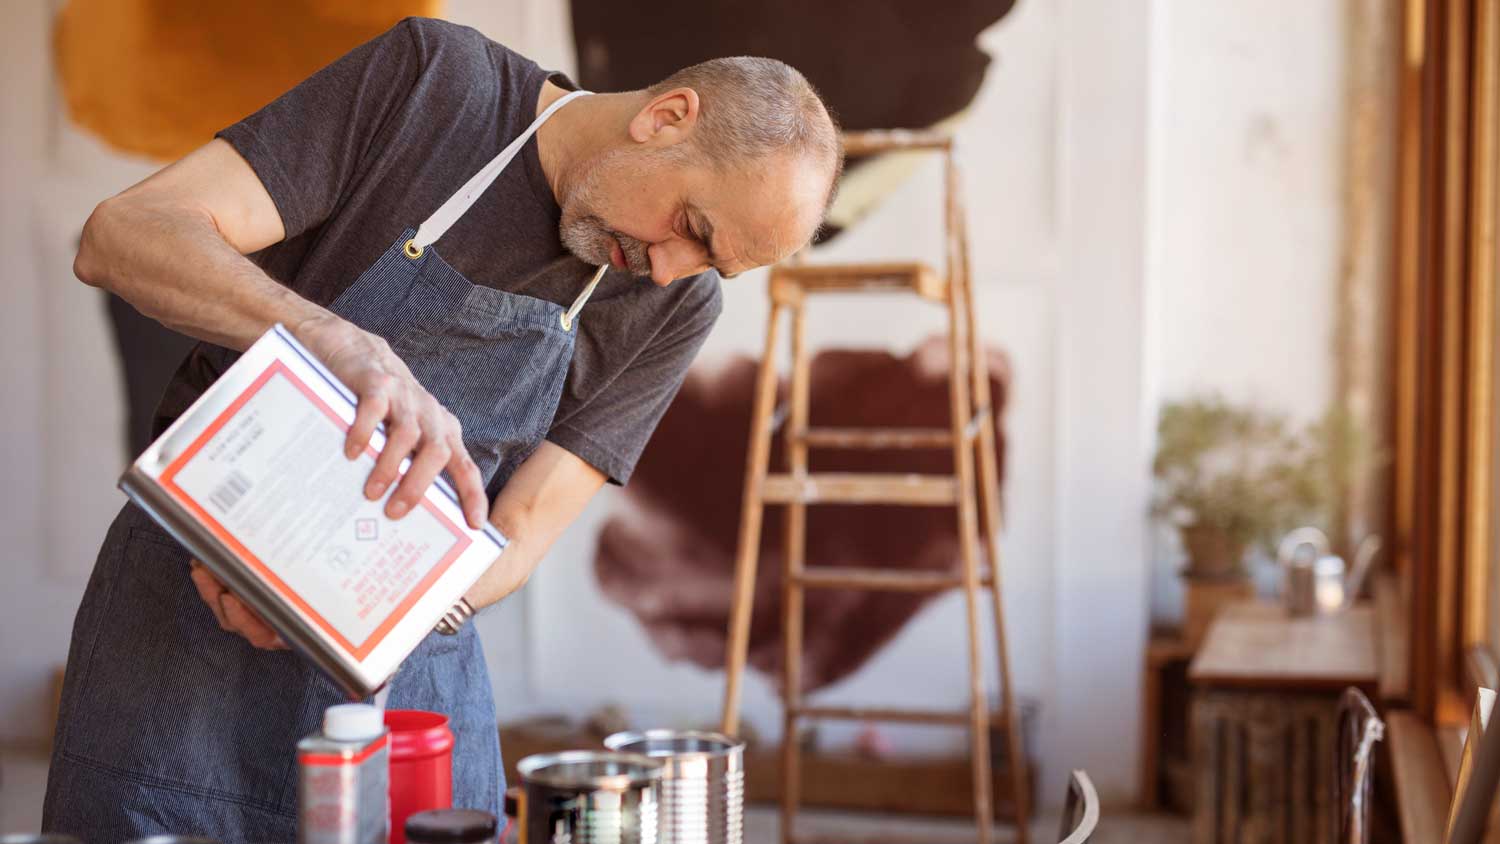
There is a reason hardware stores display strainers right next to cans of paint. The first pour from a paint can is typically clean and ready to use, but every subsequent pour is a risk. Once you open a paint can and it comes into contact with brushes and other accessories, globs and debris start to form. Even worse? Many of these imperfections are hard to spot in the can but easy to see once you apply it to the wall. In other words, your dreams of a smooth finish will take a one-way trip to the trash heap.
To avoid this, strain the paint before the application process. It only takes a few moments, and these strainers are budget-friendly.
Remember, paint naturally smooths out as it dries, so let it work itself out into a smooth finish. Don’t go back and fiddle with the paint. Just cover the surface and then go do something else as it dries. Refrain from messing with noticeable drips and imperfections during the drying process, as you can always add a second coat.
Rome was not built in a day, and you likely won’t complete your paint job in a single coat. However, one essential painting technique is to exercise caution when applying additional coats to avoid any lumps. Only apply extra paint coats when you need it to fix imperfections that occurred while laying down the original coat and throughout the subsequent drying process. Remember: Less is more.
Also, wait until the previous coat is completely dry before applying another layer. The time frame depends on the type of paint you used. For instance, latex paint requires around four hours of drying before layering on another coat. Acrylic paint dries quicker, accepting a secondary coat after two hours. Oil-based paints, however, take a long time to dry. Count on 16 to 24 hours of drying time.
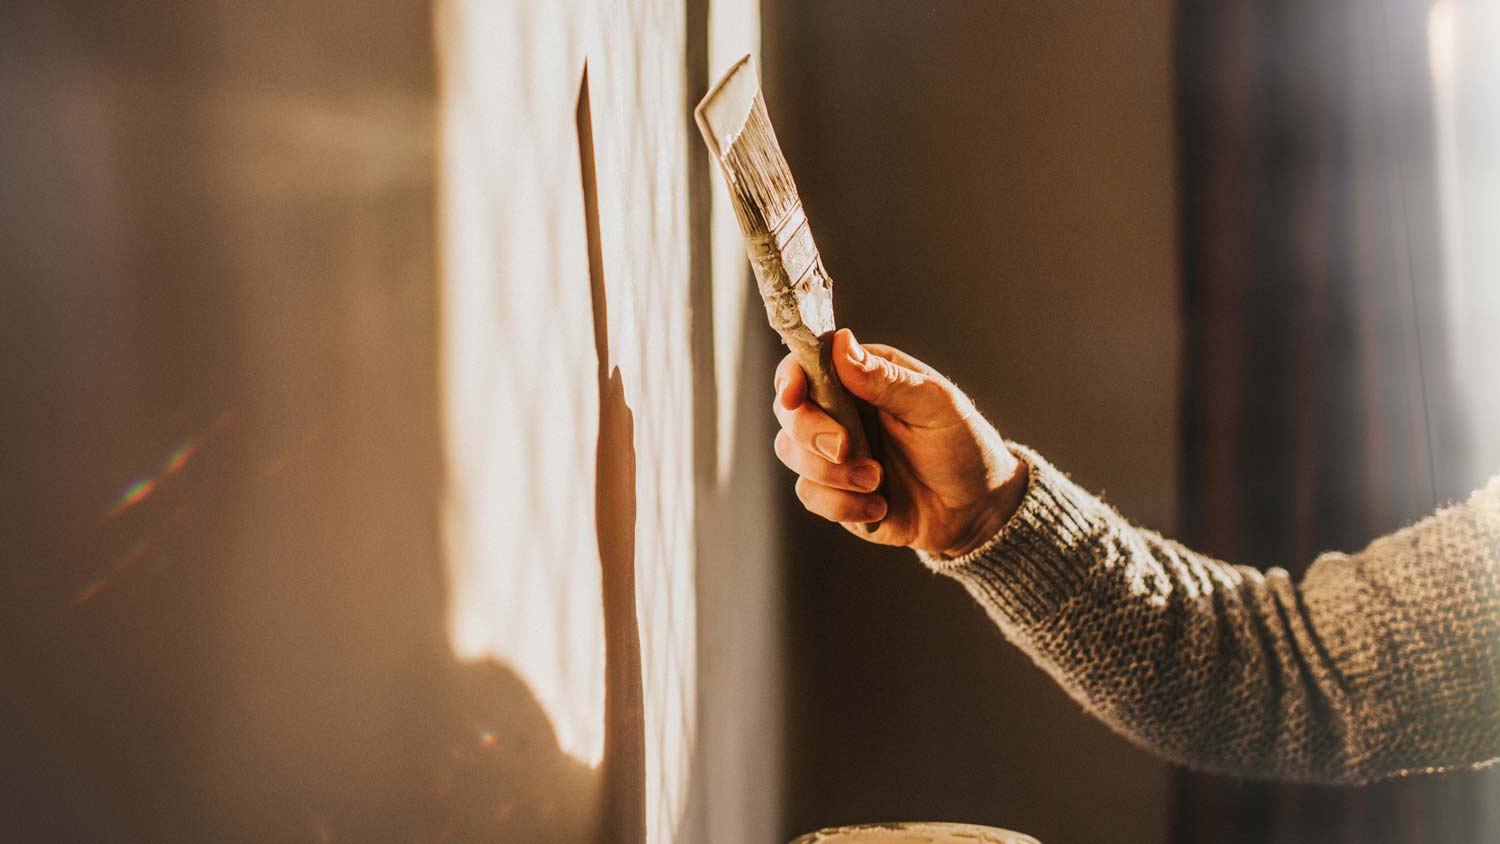
Using the right tools is just as important as using the right paint and technique. To ensure a smooth finish, you’ll want to use a brush with very soft bristles that won’t leave brush marks. You can also use a thin nap paint roller for a smooth finish, provided your surface is flat and doesn’t have any nooks and crannies.
It’s also important to use painter’s tape when painting. Although this doesn’t directly contribute to smoother surfaces, it’ll help keep paint off of areas you don’t want it and make cleaning up easier. Just be sure to know your paint’s drying time so you know when to remove your painter’s tape.
From average costs to expert advice, get all the answers you need to get your job done.
The cost to paint the interior of a house in Portland, OR depends on size, layout, type of surface, and more. Learn what factors can influence your total in this guide.
The cost to paint the interior of a house in Houston, TX depends on size, layout, type of surface, and more. Learn what factors can influence your total in this guide.
The cost to paint the interior of a house in Denver, CO depends on size, layout, type of surface, and more. Learn what factors can influence your total in this guide.

You can paint over plaster walls, but you’ll need to properly prep the surface first. Learn how to paint over plaster for a smooth, lasting finish.

Tired of your neutral-colored concrete countertops? Paint them for a fun DIY project that will totally transform your kitchen.

Sick of staring at popcorn walls or faux stucco? This guide will show you how to remove texture from walls like a pro. Here’s what you need to know.