10 Common Painting Mistakes Homeowners Should Avoid
Don’t fall victim to these painting snafus


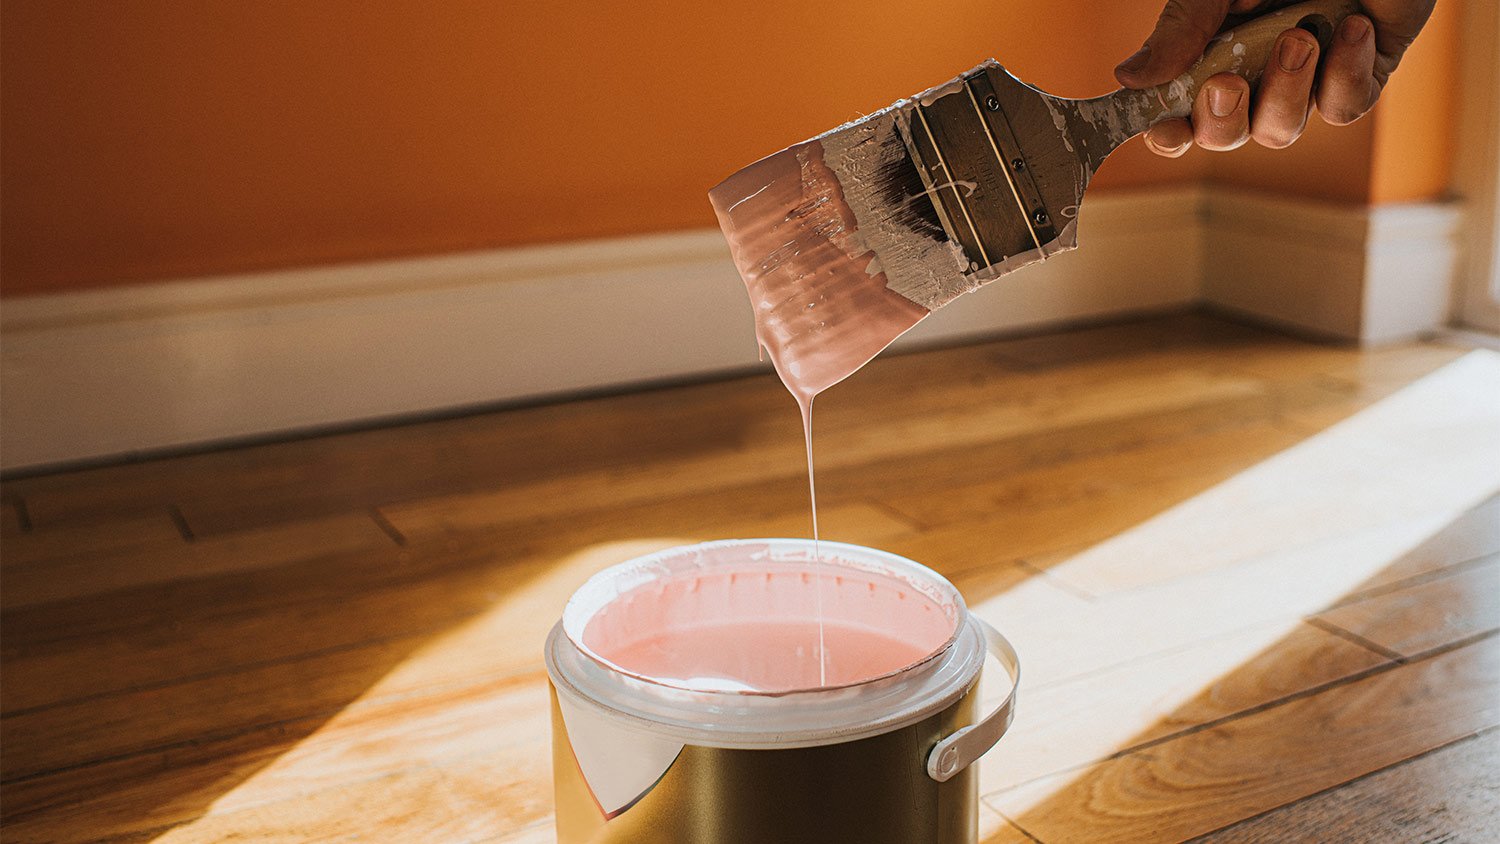
Choose the right paint and sheen for your home remodel project.
Always thoroughly prep the surface before you start painting.
Protect floors and furniture from possible paint drips.
Don’t paint outside in cold weather, or the paint might not properly dry.
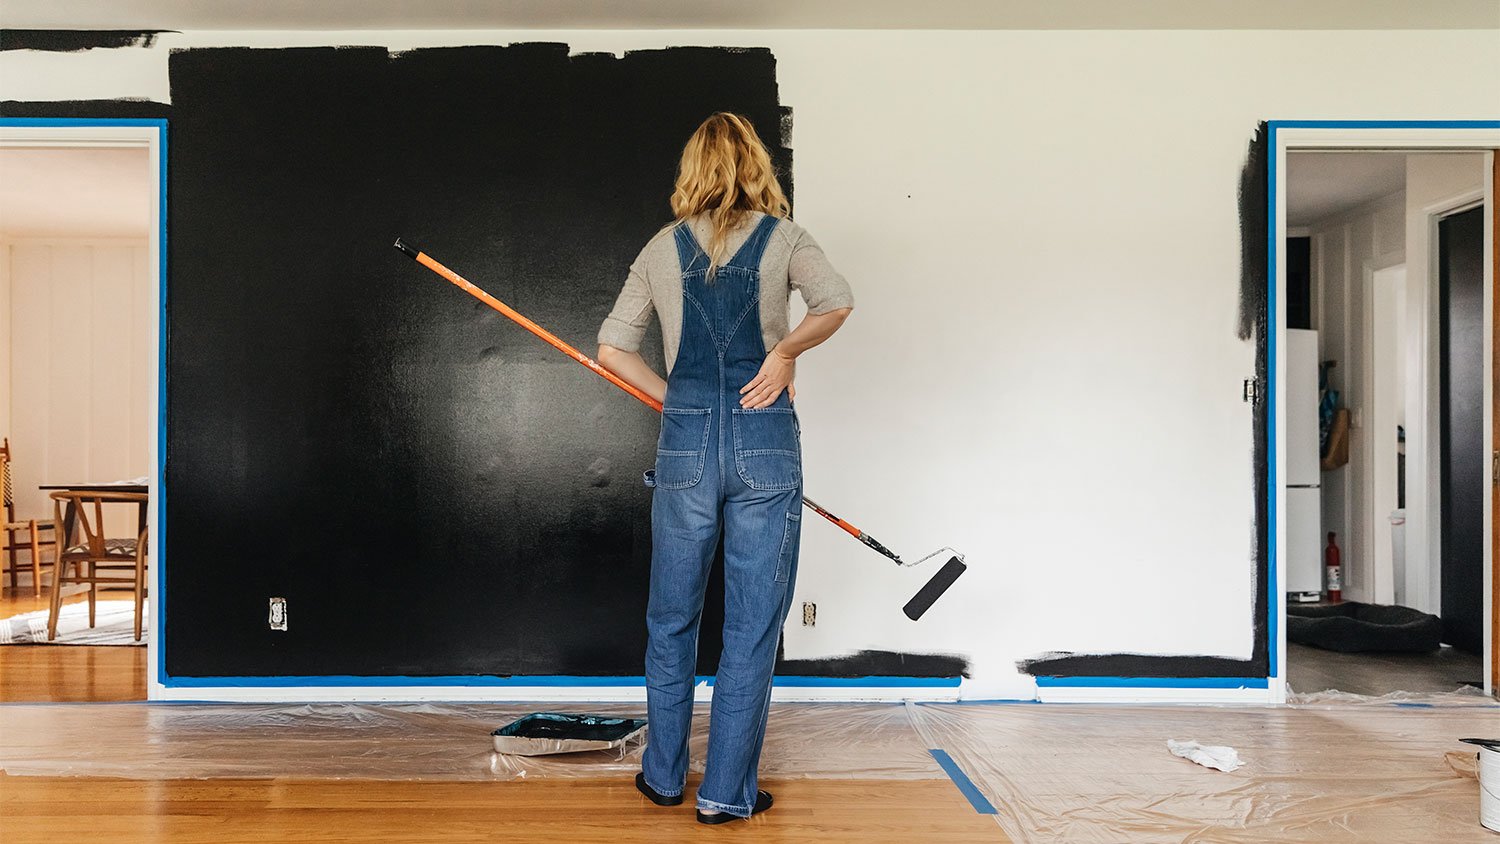
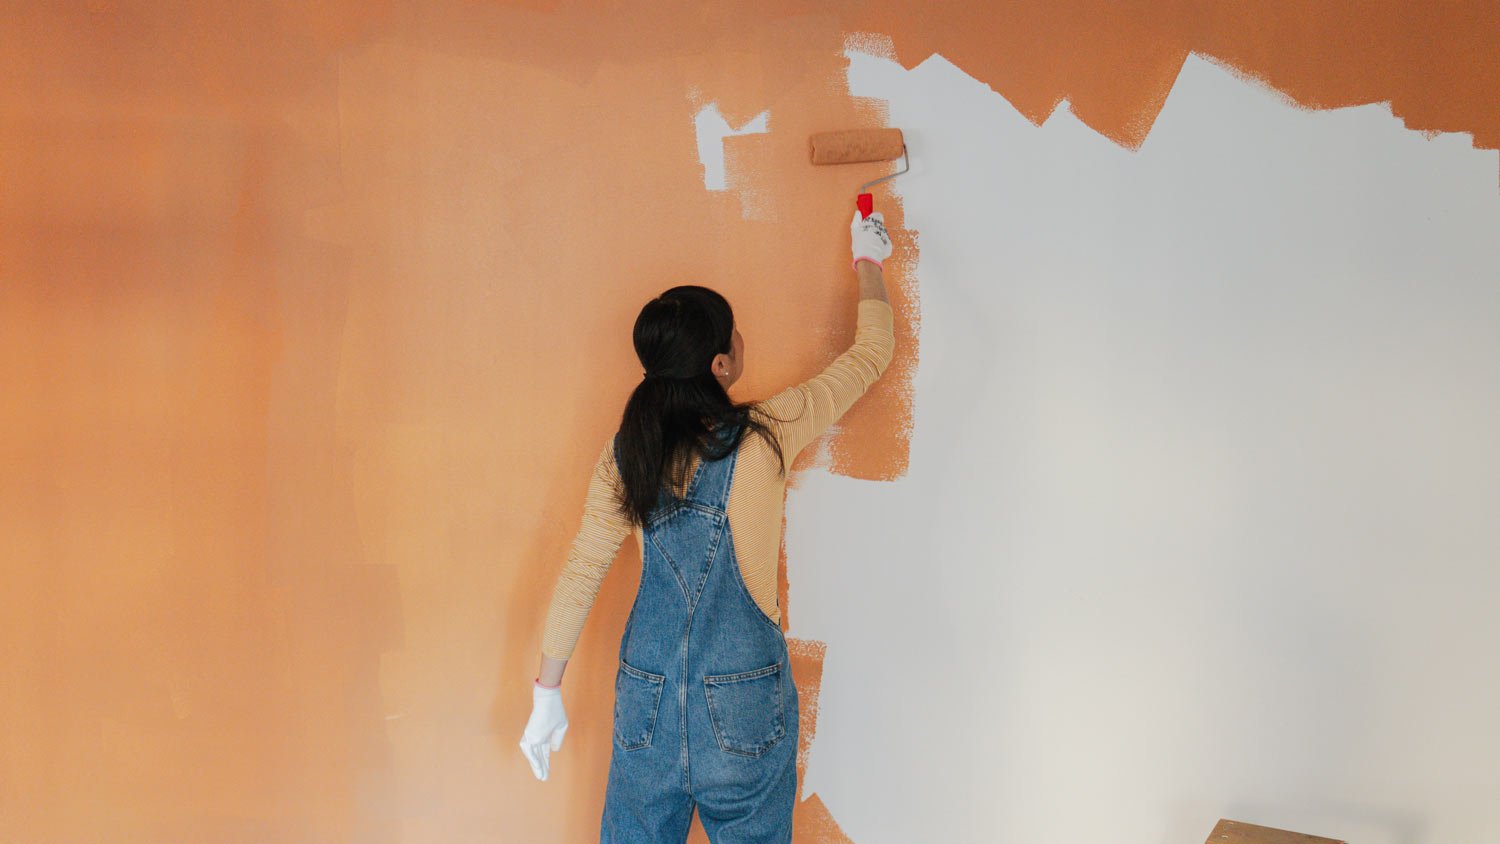
Use enough coats to ensure the old paint color doesn’t bleed through.
Painting is a common task that most homeowners will attempt at some point in their remodel journey. And whether you’re completely new to dipping a brush in a can of paint or have already painted every room in your house at least once in the past, it’s good to know common painting mistakes to avoid before you set out to tackle your next home renovation project.

1. Using the Wrong Paint
With a wide selection of paint options available at any store, it’s easy to choose the wrong paint for a DIY project. There are, however, a few things that can help you home in on finding the right product.
Interior Paint
Do not under any circumstances use an interior paint on the outside of your house. The formulation of interior paint is not designed to be exposed to outdoor elements like moisture, sun, and pollutants, and exterior painting done with interior paint will fail prematurely.
Exterior Paint
Exterior paint can be used inside in a pinch, but be aware that the finish won’t come out as clean when using exterior paint for an interior paint job. If you’re buying a new can of paint, pick the correct application (interior or exterior, depending on what you’re painting).
Primer
Primer needs to be painted with a top coat within two weeks of its application or it will fail. Like interior paint, primer is also not designed to be exposed to the elements, inside or out, and needs real paint on top to complete the sealing system for which it was designed.
Tackling a paint project with just a couple coats of primer and no topcoat will guarantee failure. If your job involves a higher level of skill and reaching hard-to-access points, you might consider hiring a local professional painter.

2. Picking the Wrong Color
Picking a paint color for a bedroom or living space that’s heavily used can seem like a tall order, so before you invest in multiple gallons of paint for your space, make sure to paint a large swatch in multiple places throughout the project space. This will allow you to see the full color spectrum of your chosen shade and gauge whether the color still looks good at different times of day.
Shadowing, reflections off of grass, and other facets of your home like wooden decks all make a huge impact on the overall color that presents on the surfaces, so be sure and observe the space at varying hours of the day. If you’re overwhelmed by options, a local interior designer will be able to help steer you in the right direction.
Paint stores sell sample paint cans, usually less than a quart, for this specific purpose. Brushing or rolling out a swatch will help reduce waste, save you money, and ultimately lead you to make the best decision when selecting a color for the project. A general rule of thumb is to go a few shades lighter than your first choice of paint chips while staying in the same color family. That little one-inch square, while technically perfect in representing the color on the chip, will not accurately reflect how it looks on your home.
3. Not Properly Preparing the Surface
Before you apply primer to a wall, you’ll want a perfectly smooth surface (or as close as you can get), which means taking a putty knife to any loose or peeling paint, setting (with a nail punch) and patching nail holes with spackle or painter’s putty, and caulking in the edges that need to be sealed, both for aesthetics but also protection.
Gaping holes that are not filled with spackle will collect dirt and debris, creating the perfect conditions for a failed paint job. The same is true for caulking in the edges. Mold, pollutants, and insects will make their home in these areas and will slowly but steadily chip away at the sealing properties that a good coat of paint provides. Whether you’re painting the living room or your home’s exterior, prep the surface before bringing out your paint.
4. Not Buying Enough Paint
To determine how much paint you need, carefully read the fine print on the side of the can, which will tell you the square footage of coverage you can expect from a new container of paint. The specifications outlined there are based on ideal conditions, meaning that if you’re painting a porous surface, for example, the material will be heavily absorbed and not cover as much. Additional factors such as temperature and humidity are highly influential in how paint spreads, so if you can try to paint as close to the ideal conditions listed on the side of the can.
Using old paint and relying on what you think is left in the can also is a common way to be short-handed during a DIY application. Unless you’ve opened the can, stirred, and strained it, you’ll have no idea if it’s a brick of dried paint or so filled with debris that it’s unusable. Paint goes bad, as well, so if it smells sour, dispose of it safely and start with a fresh batch.
5. Dripping onto the Floor
One rookie error to avoid is not getting your workspace ready before you start painting. You’ll want to use drop cloths to tarp off the room—or at least the perimeter—and painter’s tape to protect the baseboards or trim. Creating an area in the room where you can pour paint, make a mess, and clean up once the job is done is critical to keep from dripping on the floor.
Rollers, in particular, throw microscopic droplets of paint off onto floors, trim edges, and hardware as you’re applying product to the wall. Keeping everything tight by kicking up the tarps on a regular basis and blue-taping off surfaces beneath where you’re working makes for a much more professional-looking job and will save your clean-up effort from becoming another job in itself.
6. Painting in Cold Weather
You can paint your kitchen or living room no matter the weather. But if you’re painting the exterior of your home, you’ll want to make sure the temperature is conducive to painting. These sealing products need to dry, and if the temperature is below a comfortable level, it’s impossible for the chemical reaction of drying to take place. Specifications are always on the side of the can and will present a range of temperatures for optimal conditions of application.
7. Not Waiting for Paint to Dry
You might get impatient waiting for the primer to dry completely before applying paint, but it’s paramount that you allow dry time between coats. While the surface can be deceptively dry, any crack or edge that has a higher build level of primer than the flat parts of the project will often take 12 to 24 hours to dry. The same goes for the second or third coat of top coat that you’ll be applying. Wait 12 to 24 hours between coats for an optimal finish.
“When you specify three coats to a painting subcontractor, it’s very important to stress – and put in writing and link to payments – that those three coats are sequential and require drying and sanding,” says Bob Tschudi, Angi Expert Review board member and general contractor in Raleigh, NC. “Otherwise, you will get a contractor who puts on three coats in a single day and then demands final payment, and the resulting work is disastrous. We’ve learned over the years that you can’t stress this enough to your contractors.”
8. Not Using Enough Coats
If you’re painting a lighter color over a darker one, you’ll want to make sure you apply a solid primer coat and at least two top coats. Certain colors like red, green, and blacks also require a three-coat system, sometimes four, because the chemistry of the pigments isn’t ideal for coverage.
In general, plan on painting three ultra-thin coats for your project. But, if you’re not making a drastic color change, you might get away with two coats.
9. Not Covering Furniture
If you’re using a paint sprayer, which you might use for ceilings or other large surfaces, over-spraying is a serious concern. Droplets can float a surprising distance before alighting on an object you didn’t want to paint, like a hardwood floor or your next-door neighbor’s vehicle.
Use drop cloths, tarps, or plastic to cover every surface you don’t want paint to get on—and be sure and tape down the edges so that the blast from the sprayer doesn’t kick up from the high-pressure sprayer.
10. Painting Over the Wrong Finish
Using a latex paint over an older, oil-based finish will create a disaster of epic proportions. It creates an unfixable situation that could result in everlasting damage to the value of your real estate—in other words, you should avoid doing this at all costs.
In general, oil paint sands and powders up very easily with a bit of fine sandpaper, so it’s easy to do a test on an inconspicuous spot. You can also dab a bit of paint in an out-of-the-way location and wait a couple days. If you can scrape it off with your fingernail, the underlying surface is oil and needs to be properly primed before using a latex on top.
If you’re sure that the surface is a latex paint and you’re using latex paint to go over it for your painting project, you just need to scuff up the old paint to create enough tooth for it to stick.


- 11 Painting Tips and Techniques for Your Home Painting Project
- Essential Supplies to Paint a Room: What You Really Need
- When Is the Best Time to Paint Your House Exterior?
- When Is the Best Time to Paint Indoors? A Helpful Guide
- How Long Should You Wait Between Coats of Paint?
- How to Prep a House for Exterior Painting in 8 Steps
- How Long Does Paint Take to Dry?
- 8 Exterior House Painting Tips You Should Know
- How To Make Paint Dry Smoother: 7 Tips
- How Long Does Paint Last, and How Can You Tell If It’s Expired?
Get our Angi-powered app


