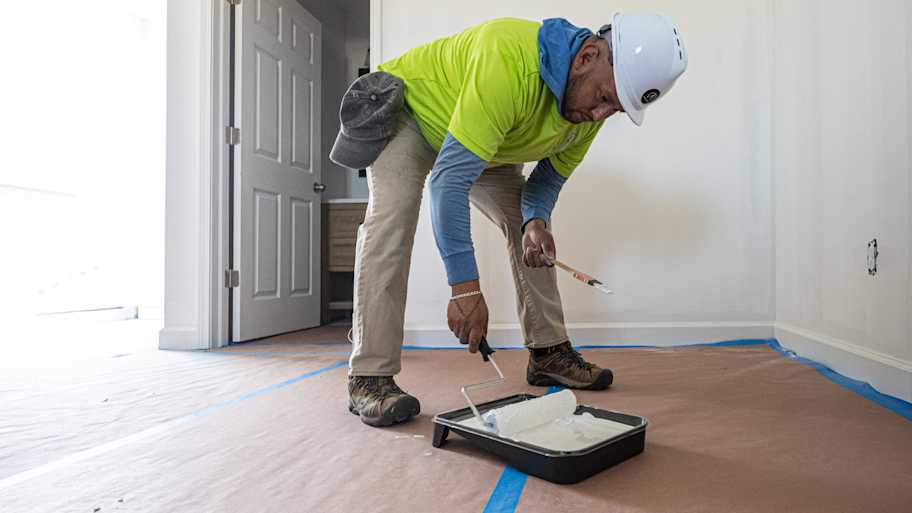
Everything to Know Before Painting Over Wallpaper
Here's how to hide that ugly, old wallpaper without damaging your walls


Not every wallpaper will take paint well—if it’s in rough condition, you may need to remove it altogether.
You’ll need to apply primer to your wallpaper before painting it to ensure proper adhesion.
Don’t paint over damaged or textured wallpaper, as the end result won’t look appealing.
You love everything about your new home’s kitchen, except for one big thing: that printed yellow wallpaper that screams vintage (and not in a cute way). Wondering whether you can paint over wallpaper? The answer is yes in most cases, but not all wallpaper is up for the task. Learn when it's possible to paint wallpaper and how to complete this DIY project successfully.
Can You Paint Over Wallpaper?

You can usually paint over wallpaper, but only if it’s smooth and free of damage. If there are bumps, tears, or other issues, you’ll have to remove the wallpaper before painting. Additionally, you should avoid painting over textured wallpaper, as that texture will always come through the paint surface and remain visible.
When Not to Paint Over Wallpaper
On the other hand, there are a few red flags that indicate you should remove your wallpaper and prep your walls before applying paint.
Your Wallpaper is Damaged
If your wallpaper is old and has seen better days, with rips, tears, or multiple areas where peeling is occurring, you should remove your wallpaper before applying paint. These damages will likely show through the paint you put over them, leaving you with a poor finish on your walls. You can try sanding down the damaged areas, but even then, the issues could return and show through your paint.
You Have Textured Wallpaper
If you have textured wallpaper, that texture will show through your paint no matter how many coats you put on. Always remove textured or imprinted wallpaper before painting.
It’s Too Difficult to Remove
Older wallpaper can have multiple layers—sometimes two or three—making it extra difficult to peel off. If you’ve tried to remove the wallpaper but found it unyielding, you can paint over it to avoid damaging the wall.
There Aren’t Any Textural Oddities
If you’re lucky enough to have wallpaper that’s still smooth and snug to the wall, painting over it is a viable option. However, no amount of paint will hide bubbling paper, textured patterns, or imprints. You can patch minor rough spots, but if you have heavy wall damage, you should remove the wallpaper before painting.
There Are Only a Few Problem Areas
Small peels or lifted seams are not a big deal—you can remove these minor problem areas with a putty knife before sanding down the area to get it smooth. For excessive damage, you can use a sheetrock knife to remove areas of drywall completely before patching. Trim any areas where the wallpaper is peeling, or the seams are lifting up to give yourself a smooth, level painting surface.
How To Paint Over Wallpaper

This process is a bit more complicated than simply painting a room. If you’ve determined that painting over your wallpaper is better than removing it, here’s how to do it properly.
Gather the Right Tools
You’ll need more than just paint to cover up wallpaper. Make sure you have these tools handy before getting to work:
Oil-based or shellac-based primer
Paint
Paintbrush
Roller
Sheetrock knife
Paint tray or bucket
Plastic sheeting
Painter’s tape
Mineral spirits or denatured alcohol
Rubber gloves
1. Smooth Out the Blemishes
Paint will show every bump, ripple, and edge on the wall. Use a sheetrock knife to trim areas where the wallpaper is peeling, or the seams are lifting up. Then, apply a paint primer over the area to seal what’s left. Finally, finish it off with a spackling compound.
If the wallpaper is textured, you’ll need to sand the area using a palm or orbital sander and wipe away any dust before applying primer.
2. Clean the Walls
Before breaking out the roller, prep your walls for painting by cleaning them so dust particles don’t get trapped in your fresh paint. Lightly moisten a cloth or sponge to get all the dust and dirt off the walls. Be careful not to spread too much water on the walls, as excess moisture can break down the adhesive and cause new bubbles to form on the wallpaper.
If your wallpaper is uncoated, use a vacuum attachment to get as much dust and grime off as possible, and then follow up with wallpaper dough (available at paint centers and hardware stores). Pinch off some of the dough, roll it into a ball, and move the ball across the wallpaper to pick up any remaining grit.
3. Inspect and Tape Off the Painting Area
Now that your wallpaper is clean, take inventory of the area. Do the walls have any molding or unique trim? Don’t forget that you’ll need to paint the baseboards, so inspect those, too. Keep these areas as pristine as possible during the painting process by ensuring that splotches of paint don’t dribble down the wall toward these areas.
Before you start, carefully tape off these delicate, intricate areas with painter’s tape. Remove the tape and readjust it as needed. Make sure to crease down the edges so air bubbles don’t pop up.
4. Use the Proper Primer
It’s important to buy the right primer for this job. Most old wallpaper is fixed to the wall over a chemical composite called “sizing,” which used to protect the plaster. Painting on top of sizing can stain your paint, so you should apply an oil-based or shellac-based primer first to ensure your paint stays the color it was when you bought it.
5. Cut in Paint Edges
Novice painters should consider using the cut-in technique before painting. With this technique, use a paintbrush to paint parallel lines about 2 inches thick along the outer edge of walls, around fixtures, and above baseboard trim. Take care to target places that would be hard to reach with a paint roller.
6. Paint the Wall
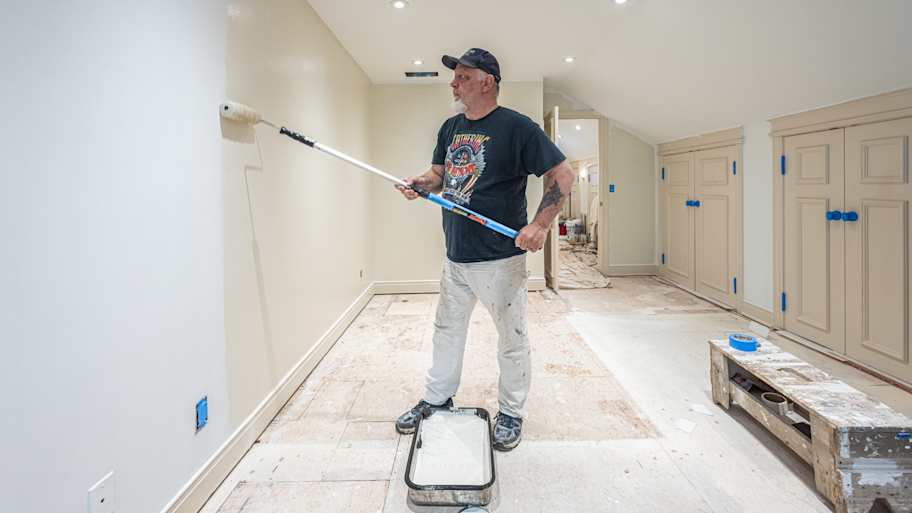
Now, it’s time to paint over the bulk of your wallpapered surface. Work from top to bottom, rolling on the paint in “M” or “W” motions. This technique will help the roller lines blend. It’s best to work in sections measuring about 3 feet wide. When you finish painting in one direction, go back over the area in reverse until it is fully covered.
For a smooth finish, roll over any cut-in areas. Now comes the hard part—waiting. Wait to paint a second coat until the first coat dries completely. Latex paint takes about four hours to dry, while oil-based paints can take between 16 to 24 hours.
You can hire a professional painter to complete this step. Just keep in mind that the cost to paint the interior of a house averages around $2,000, and that price could go up if your professional needs to do additional prep work on wallpapered walls.
Tips for Painting Over Wallpaper
Painting can be a fun—even relaxing—project once you get the hang of it. But there are a few tips and tricks to consider before getting started on your wallpaper makeover.
Choose the Right Paint Roller Type
You’ll need a paint roller to ensure an even, smooth coat for this type of paint job. While there are various types on the market, not all paint rollers are created—or perform—equally. Choose the best paint roller for your project by assessing the size of the area, the type of paint, and the type of finish you plan to use. Use a roller with a short or medium nap to avoid introducing air into your paint, which can cause the paint to bubble on your walls.
Let the Primer Dry Overnight
Paint primer does a lot of behind-the-scenes work for a painting job. Not only does it help cover imperfections, but it also gives the paint something to latch on to, which is critical for a wallpapered surface.
For best results, let the primer dry overnight. Paint won’t stick if you try to start painting too soon, especially if the paint primer is still wet. If you try to paint too soon after priming, you may end up with splotchy areas or poor adhesion.
Reserve More Than One Day for the Job
The key to this project is to have patience. Not only will you need to allow time for the primer to dry, but you’ll also need to paint twice. A second coat is recommended, especially if the wallpaper you’re painting over is patterned or if you’re using a paint lighter than the wallpaper’s color.
Alternatives to Painting Over Wallpaper
There are a few alternatives to painting over wallpaper that you can explore if you don’t think your wallpaper will take a coat of primer and paint.
Pay for wallpaper removal. You always have the option of paying a professional to remove your wallpaper. The cost of wallpaper removal averages around $800, but it could be worth the investment to get a fresh start.
Remove the wallpaper yourself. If you know how to remove wallpaper and have a weekend and a few family members or friends to help, you could DIY the wallpaper removal before painting.
Replace drywall. If your wallpaper is severely damaged, or removing it is going to damage the drywall, you could replace it altogether. You can DIY this work if you have experience, or just hire a professional to get a clean, new wall that’s ready for primer and paint.
Put new wallpaper over the old wallpaper. Maybe you don’t hate wallpaper in general but just aren’t keen on the pattern that’s on your walls. If that’s the case, you can consider putting new wallpaper over the old wallpaper instead of painting. You will still need to prepare the wall for good adhesion, though. Consider hiring a wallpaper installation company near you for the best results.
DIY vs. Hiring a Pro
Painting is one of the simplest DIY jobs you can tackle, and painting over wallpaper can save you an average of around $800 as opposed to having a professional remove it before getting started.
However, even if you follow our step-by-step instructions, this type of painting job is complicated, and it can be difficult to get it right. To avoid unfortunate painting mishaps, consider hiring a local interior painter to paint over your wallpaper efficiently and accurately. Hiring a painter will also ensure you don’t run into ongoing issues like bubbling, peeling, or cracking due to poor adhesion.
Frequently Asked Questions
It’s best to remove wallpaper rather than paint over it. You should only paint over wallpaper if removing it would damage the wall, the surface is relatively smooth, or there are minimal problem areas—such as slight peeling and lifted seams—that you can fix easily. Painting over wallpaper can save time, but it can create more problems if the wallpaper is in poor condition and you don’t properly prep the area for painting. Depending on the state of the wallpaper, color, and textures could show through, and moisture from the paint could loosen the adhesive, causing unsightly bubbling.
If you decide to paint over wallpaper, it’s important to prep the surface with an oil- or shellac-based primer. This helps prevent moisture from creating bubbles loosening the adhesive. Plus, a primer helps paint attach to the wall smoothly and securely. Use quality oil-based or latex paint to cover the wallpaper. Be prepared to cover the wallpaper with two coats for maximum coverage.
Painting over wallpaper is an efficient way to cover it if it’s in decent shape. Before painting over wallpaper, make sure the surface is clean and smooth. You may have to remove minor problem areas, such as lifted seams or small peels, with a sheetrock knife or putty knife. Add a latex- or oil-based primer to keep moisture at bay before painting. You’ll likely need two coats of paint to cover the area.
You can hide wallpaper seams when painting by applying joint compound over them and then sanding thoroughly until smooth. You’ll want to apply two layers of compound, allowing for four to eight hours between coats. Do a light sanding between coats and then after the final coat is dry. Once the compound dries completely, you can begin priming and painting the wall.
- Wallpaper vs. Paint: Which Is Right for You?
- Why Is It Important to Prime Before Wallpaper Installation?
- How to Paint Paintable Wallpaper in 6 Steps
- Can You Put Wallpaper Over Wallpaper?
- 11 Painting Tips and Techniques for Your Home Painting Project
- What’s the Best Temperature to Hang Wallpaper?
- Who Can I Hire to Install Wallpaper?
- Here’s the Average Life Span of Peel-and-Stick Wallpaper
- How to Hire Someone to Remove Wallpaper
- 10 Common Painting Mistakes Homeowners Should Avoid


