
A new coat of paint can transform your bathroom and improve home value. Learn about the cost to paint a bathroom and what factors affect the total.
Revive your bathroom one brush stroke at a time

A fresh coat of paint can do wonders for a space, especially one as small as a bathroom. Learning how to paint a bathroom isn't that much harder than painting other rooms. However, you need the right type of paint and must follow best practices when working in this moisture-prone space.


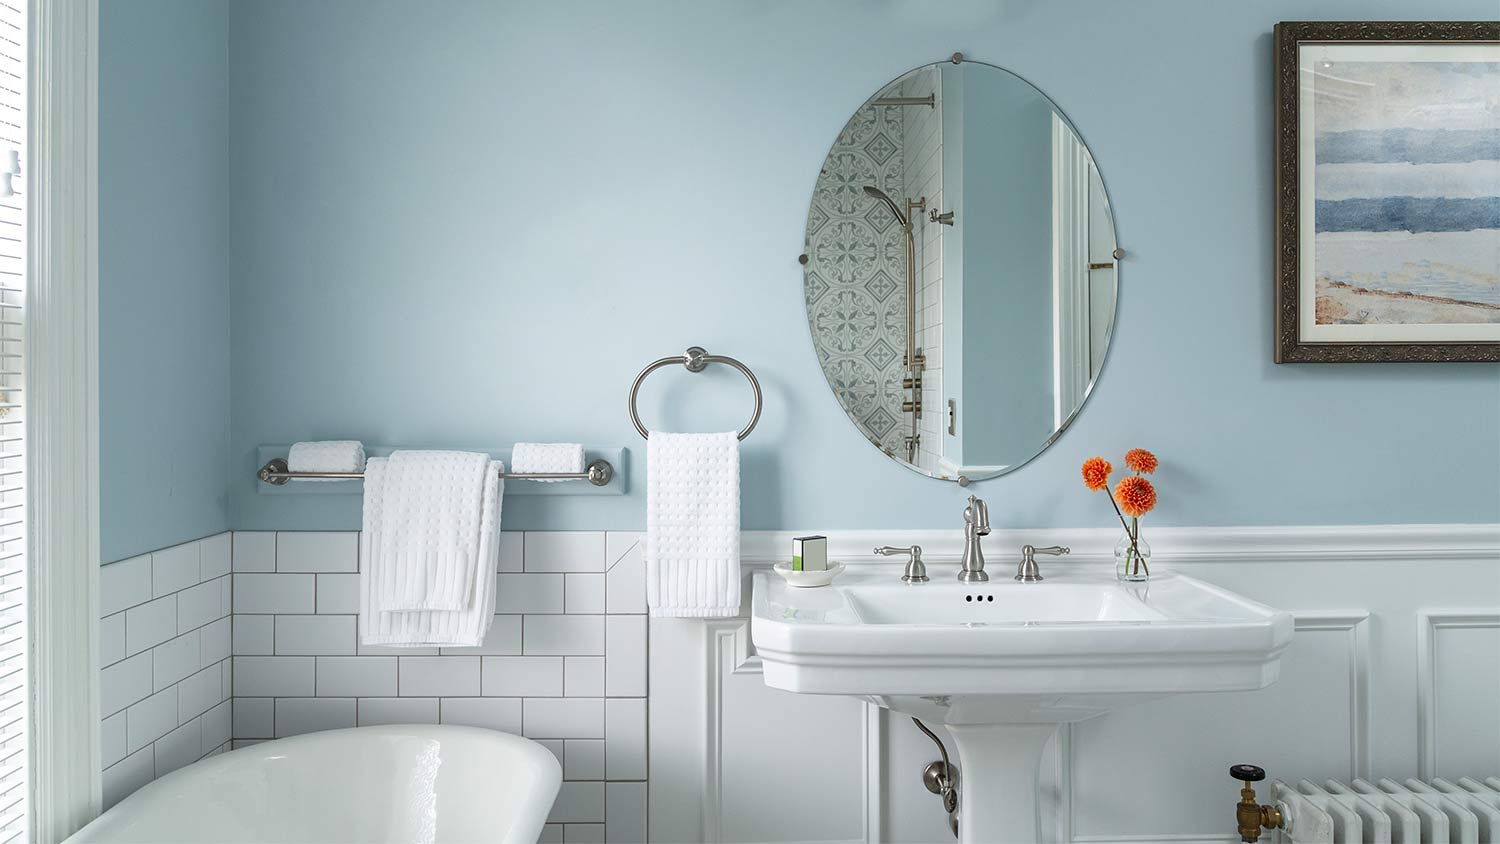
Bathrooms are prone to increased moisture, so choosing the right paint color is essential. The two things to consider here are the color you want and the type of paint that will work best. Popular bathroom colors include soft whites, greys, and blues, but feel free to experiment with whatever matches your home style. Latex and acrylic paints are best in bathrooms because they’re easy to clean and resist moisture.
Paint finish matters, too. Stick with semi-gloss paints because they repel moisture and don’t look overly shiny when wet. Many brands sell mold-resistant paint specifically designed for bathroom walls, and it's worth the cost to help protect your space.
Your paint job will be much easier with fewer obstacles in the way. Remove trash bins, shelving units, wall art, towel racks, and anything placed on the sink. Removing the bathroom door from its hinges might be worth it for maximum accessibility, especially if you're working in a very small space.
Bathroom walls can become easily caked up with grime and soap scum, largely due to the damp conditions. Clean the walls before painting, because the paint may not apply well otherwise. Use a mix of water with either bleach, liquid soap, or vinegar and scrub with a clean rag.
If your bathroom has wallpaper or wallpaper trim, you’ll need to learn how to remove a wallpaper border to keep the surface smooth. You'll want to complete this removal before painting.

Unlike other rooms in your house where you can take out furniture, you can't remove fixtures from the bathroom. Place plastic covers on top of the toilet, sink, and bathtub. Use painters' tape on the corners of the baseboard, bathtub, sink, and wall tile. If you're not painting the ceiling, place tape where the ceiling and walls meet. Cover the floor with a drop cloth.
Primer isn’t mandatory in a bathroom, but it’s a good idea, especially if the walls are scuffed up. By creating a smooth undercoat, primer helps paint adhere better, prevents peeling, and protects against bathroom humidity. Choose a primer that also wards off mold to increase protection.
Consider wearing a mask while painting since you'll be in a confined space. Start by cutting in around the edges of the walls, ceiling, trim, and fixtures using an angled brush, carefully creating clean lines. Once the edges are done, use a roller to apply paint to the larger wall areas, working in sections with smooth, overlapping strokes to maintain an even coat.
Allow the first coat to dry completely. If needed, apply a second coat following the same process. After the final coat dries thoroughly, carefully remove any painter’s tape and touch up any missed spots with a small brush for a polished look.
Having a bathroom out of commission while painting can strain a household. Avoid these common mistakes to ensure the job is done well the first time.
Using the wrong type of paint: Some of the best interior wall paint can't handle high humidity. Always use moisture-resistant or mildew-resistant bathroom paint.
Skipping primer: Primer is a must over bare drywall, patched areas, or when changing from a dark to light color.
Painting over damp surfaces: Walls must be completely dry to avoid peeling, bubbling, or mold growth under the paint.
Not ventilating the space: Poor airflow can lead to slower drying times and poor curing. Use a fan or open windows when possible.
Overloading the brush or roller: Too much paint leads to drips, uneven coverage, and a messy finish. Apply thin, even coats.
Ignoring fixture edges and hardware: Sloppy cutting in around mirrors, sinks, and toilets looks unprofessional. Take your time to create clean lines.
Painting too quickly between coats: Rushing the second coat before the first fully dries can cause pulling, streaks, or uneven texture.
Neglecting final touch-ups: Small imperfections left untreated can become very noticeable in a tight space.

The ideal temperature for painting is between 50°F and 85°F. Good weather is important even for indoor painting because it allows you to open windows and doors for ventilation, which helps the paint dry and cure properly while minimizing moisture buildup that could cause problems like bubbling or poor adhesion.
A dry, mild season, like late spring or early fall, when humidity levels are lower and temperatures are moderate, works best. Avoid painting during very humid or rainy periods, as bathrooms are already moisture-prone spaces, and excess humidity can extend drying times and compromise the finish.
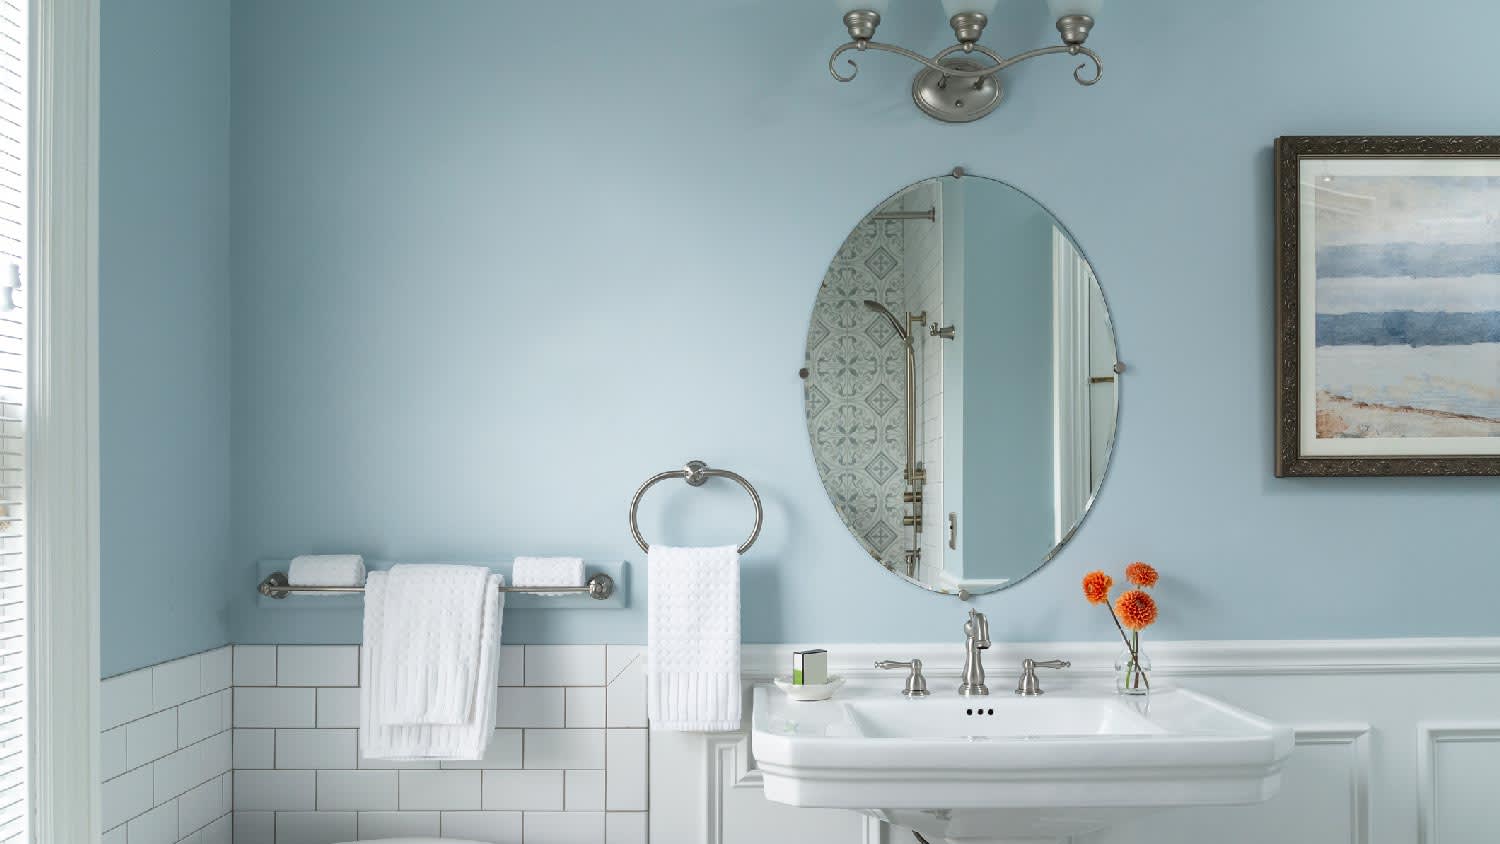
When it comes to tackling a painting project, choosing the right color is key. According to Angi homeowners who are completing a small painting project, 37% stick with the same or a similar color to the existing one. Of those looking to choose something different, nearly 30% opt for a lighter color compared to 18% choosing a darker shade.
For a bathroom, that’ll come down to your personal preference and complementing the other colors in the room.
Painting a bathroom is a relatively simple task that a handy DIY homeowner can tackle. Painting a bathroom by yourself can cost less, especially if you have materials on hand like rollers, paint trays, drop sheets, and brushes. You’ll pay $30 to $120 in paint for your bathroom, but be aware that mildew-resistant paint and primer will be on the higher end of that range.
Hiring a professional to paint a bathroom costs $150 to $300. There may not be a huge price difference in the end, mainly because bathrooms are smaller than other rooms in the house. It's worth contacting a local painter if you want to save some time and effort. If your bathroom does have mold and mildew issues, you're better off going the professional route to address the problems so you don't find yourself having to spend more in the long run.
Custom Paint Jobs LLC is the go-to choice for all your painting needs. They painted both the interior and exterior of my house flawlessly. Their work speaks for itself!
Beginning with the estimate, Larry and Peyton were super helpful in getting my new condo's interior re-painted. Not only was the job well done, but also done in a super timely manner as promised.
 Five Star Painting of Plain City and Powell
From average costs to expert advice, get all the answers you need to get your job done.
A new coat of paint can transform your bathroom and improve home value. Learn about the cost to paint a bathroom and what factors affect the total.
Remodeling your bathroom can add significant value to your home. Your bathroom remodel cost will depend on size, fixtures, materials, labor, and other factors.

No one wants a bathroom with peeling paint and mold buildup. Picking the best paint for bathrooms helps you steer clear of these shower room setbacks.
Bathroom remodels can get pricey, but did you know that painting the walls can provide a quick and affordable update with a big impact? Read ahead for the best paint colors and finishes for your bathroom painting project.
Discover the best paint sheen for bathrooms, from eggshell to glossy, all offering easy maintenance, durability, and moisture resistance
Knowing what paint to use for your bathroom ceiling can prevent mold and mildew. Learn how to choose the best paint for your bathroom ceiling.