
Skim coating drywall is a great alternative to replacement, and is often more affordable. Use this guide to estimate the cost to skim coat walls in your home.
Swap the sandpaper for a sponge with this drywall sanding technique


Before you can paint drywall, you’ll need a clean, smooth surface—and that’s where wet-sanding comes in. While this method is a bit trickier to master than dry-sanding, the benefit is that it creates much less dust in the process. Keep reading to learn how to wet-sand drywall and turn your walls into flawless, paint-ready canvases.
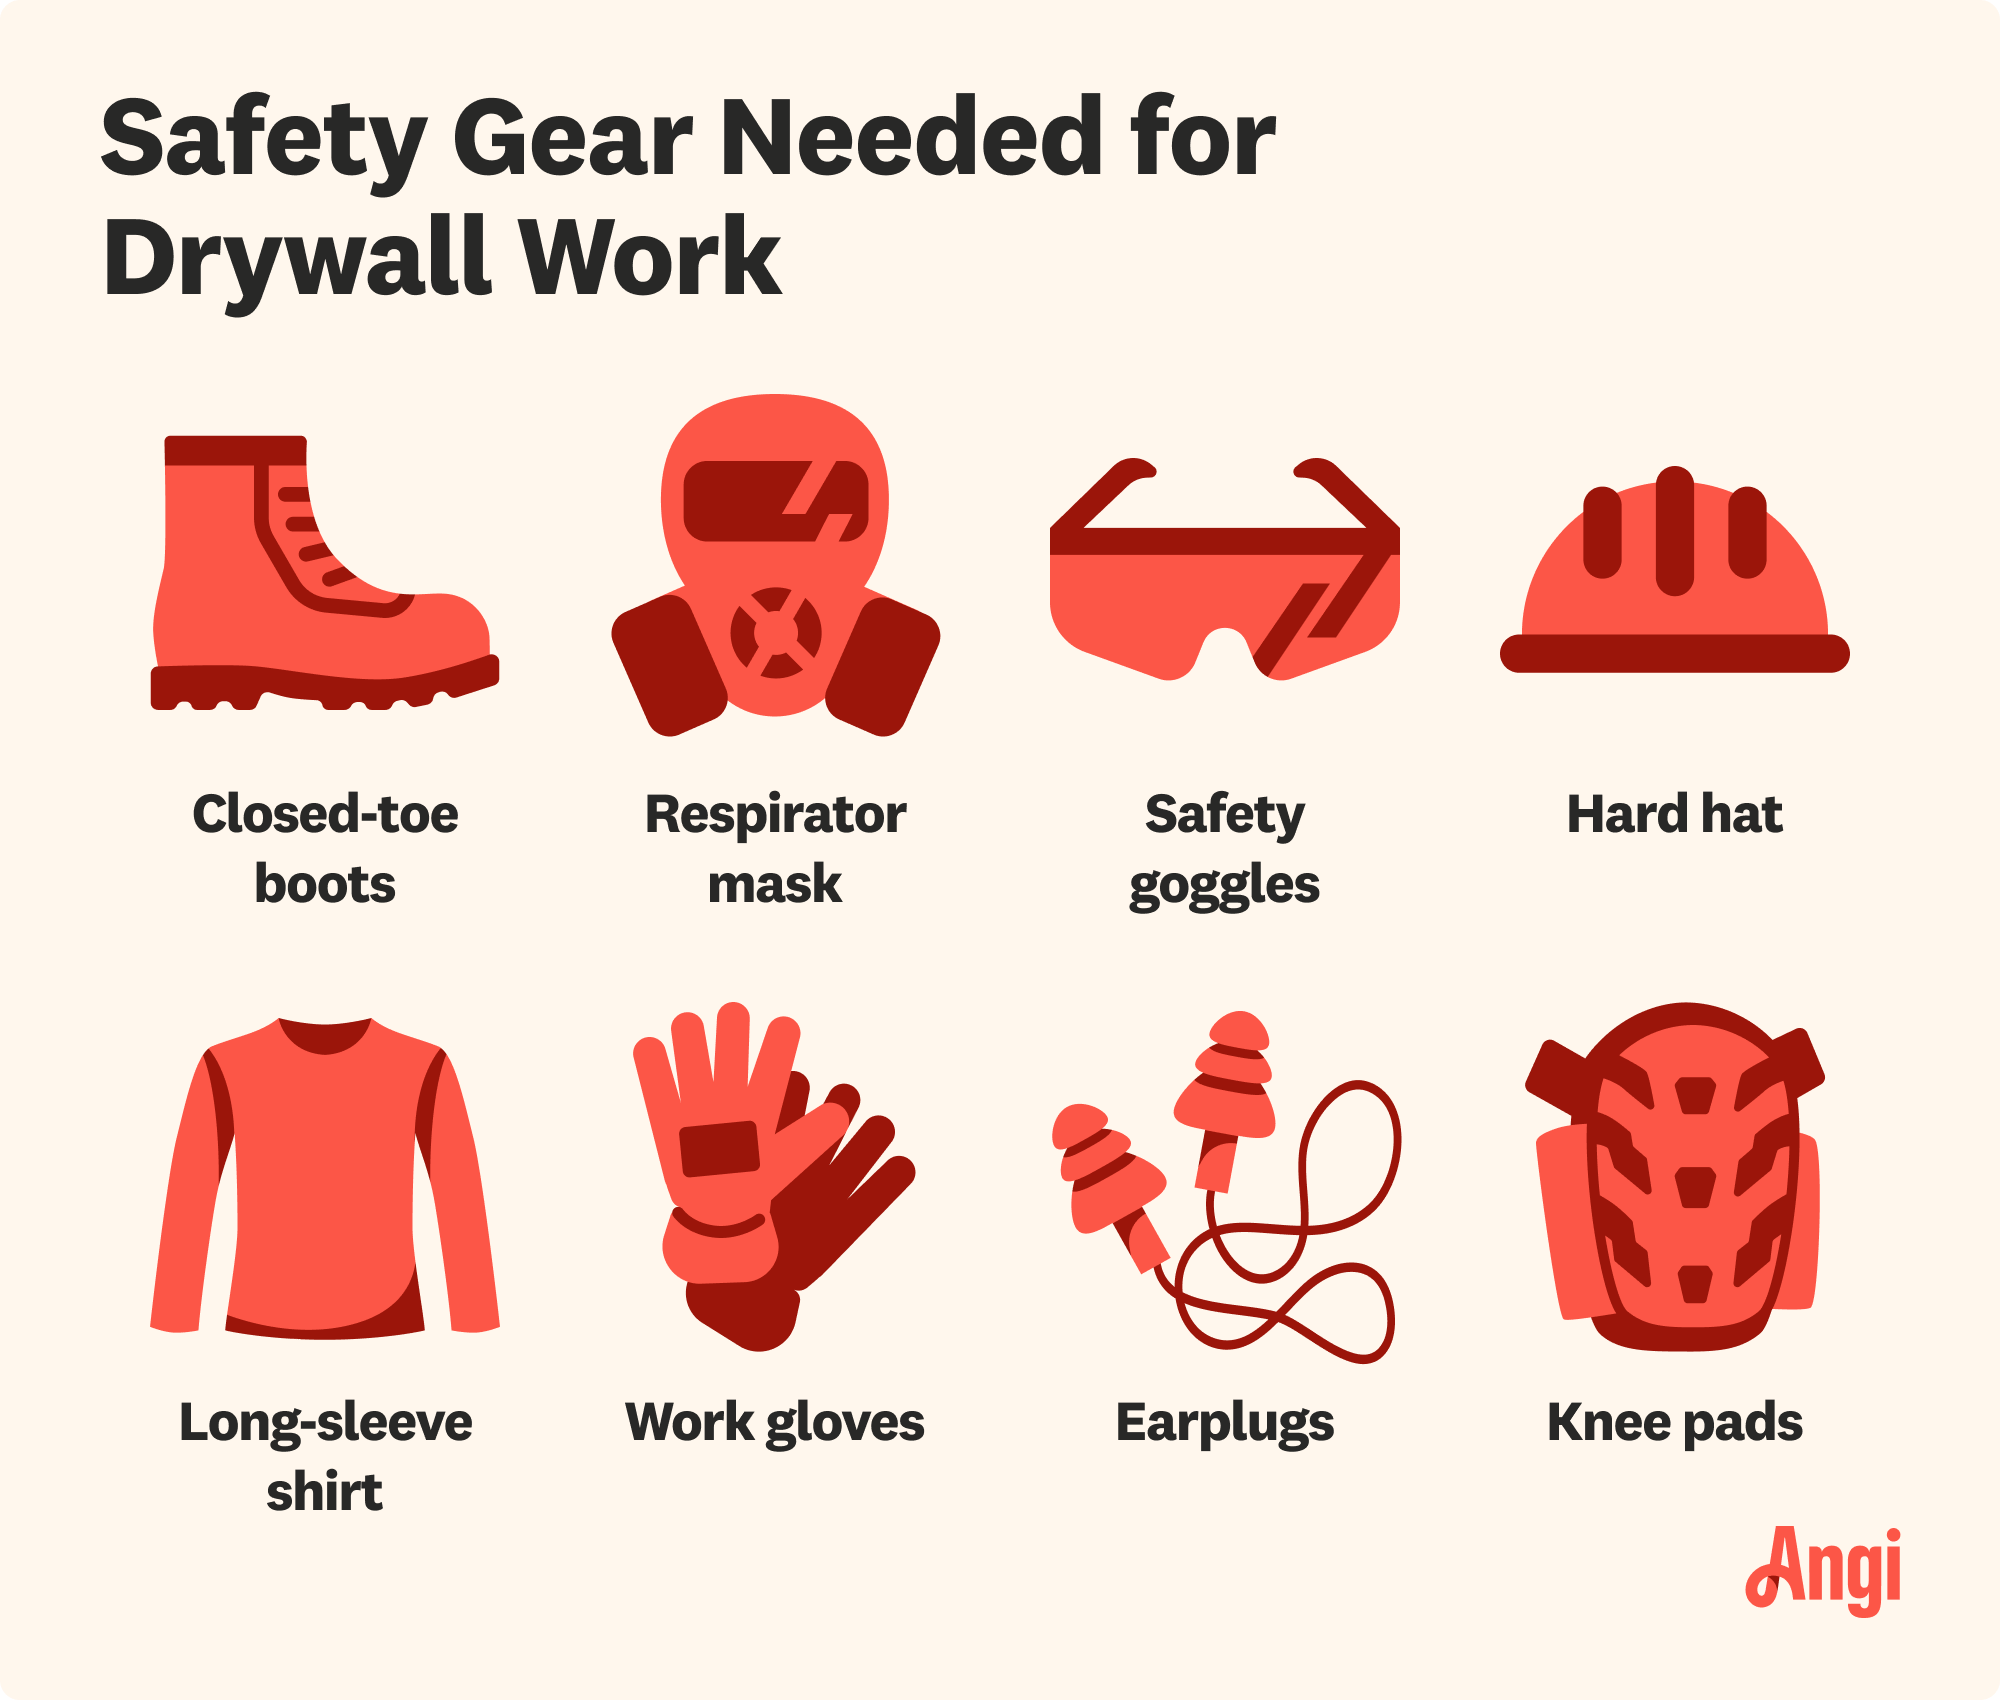
Wet-sanding drywall produces much less dust than dry-sanding, but it’s still important to protect yourself while working. This means putting on safety glasses, gloves, and a dust mask to limit your exposure to silica dust, which can lead to health issues over time.
Add clean water to your bucket, then dunk the sponge in it. When the sponge is fully saturated, wring out some of the water. Avoid squeezing out too much water, though, because drywall sponges can dry out quickly. It should feel damp—but not soaked.

Gently sand any bumpy or ridged parts of the drywall with the abrasive side of the sponge. Work in a circular motion, using broad strokes. Don’t use too much pressure in any particular spot, or you could end up with depressions in the drywall mud and problems with the drywall finishing.
As you work, rinse the sponge occasionally to get rid of excess drywall mud and keep it clean.
You may need to use a ladder to reach higher areas. If so, make sure to follow proper ladder safety while working.
When you’re done sanding the uneven spots, rinse off the sponge and dampen it again in the bucket of water. With the sponge’s smooth side, feather the edges of the drywall mud outward to help it blend in with the rest of the wall. Use even pressure to avoid damaging or denting sections of the drywall.
Throughout the process, rinse and re-moisten the sponge often. This will keep the surface wet, which helps reduce drywall dust and delivers a smoother finish. If the water gets dirty, change it.
Once you’ve completed these two passes, let the wall dry completely. You may have to wait up to 24 hours for the re-moistened drywall mud to dry.
When it’s dry, inspect the wall for any remaining uneven spots. If you find any, you’ll need to use sandpaper to smooth them out. Don’t repeat the wet-sanding process again because it can make the drywall too wet and potentially damage it.

After you finish, wipe down the area with a damp cloth or sponge to remove any remaining dust or debris. Once everything is clean and dry, you can prime and paint the walls or apply the drywall texture of your choice.
Even if you aren’t an experienced DIYer, wet-sanding drywall is a simple enough project to tackle on your own. However, it’s time-consuming and requires patience—especially if you’re sanding drywall in multiple rooms or throughout an entire home.
Crystalline silica is a toxic dust that's often generated during drywall installation, which can cause respiratory issues if exposed over time. A professional drywall installation company has the right tools to protect your home and ensure safe air quality after your project is completed.

If you’re short on time, consider hiring a drywall installer near you instead of taking on this job yourself. On average, drywall pros charge between $50 and $100 per hour.
From average costs to expert advice, get all the answers you need to get your job done.
Skim coating drywall is a great alternative to replacement, and is often more affordable. Use this guide to estimate the cost to skim coat walls in your home.

Pre-drywall inspection costs vary depending on the home size, build complexity, and reporting you receive. Estimate your budget with this cost guide.

The cost to replace plaster with drywall can quickly add up. This guide will help you budget for this project and decide if it's worth the effort and cost.

With a drywall repair kit, you can fix small holes in an hour or so. Ready to get started? Here’s how to patch a hole in drywall in 10 easy steps.

Confused about drywall screws versus wood screws? Learn their key differences, best uses, and which one to choose for your next project.

You're down to the nitty-gritty of drywall supplies and now you need to know if paper vs mesh drywall tape is the way to go. Here's how to choose.