How to Set Up a Well Pump and Pressure Tank for Your Home
Set yourself up as a DIY success story


You’ll definitely be feeling some pressure if your well water system is suffering from low water pressure or worse, no water at all. Pump the breaks on stress—if you’re handy with a plumbing wrench, you can install a new well pump or replace your well pressure tank yourself. Up to the task? Follow this guide to learn what you need to know about setting up a well pump and pressure tank at home.
What Is a Well Pump and Pressure Tank?
How a well works is dependent on two vital components—the well pump and the well pressure tank. Think of a well pump as the heart of your well water system. Its purpose is to draw water from the well and either push it up a pipe or pull water through suction. The well pressure tank is designed to store water, send water into your home, and regulate water pressure so it flows through your taps at an even rate.
The well pump and pressure tank work in tandem to supply water to your home. When a faucet is turned on, the air pressure in your well pressure tank pushes water toward your tap until the pressure drops to a certain level. This activates the tank’s pressure switch, which signals the well pump to turn on. When the faucet is turned off, the pressure tank refills with water, increasing the air and water pressure inside the tank. Once the right amount of water and air fills the tank, the pressure switch signals the well pump to turn off.

How Much Does It Cost to Replace a Well Pump and Pressure Tank?
Unfortunately, like most mechanical systems, well pumps and pressure tanks don’t last forever. If either shows signs of failing, it’s a good idea to get a new well pump or pressure tank ASAP to prevent your entire well water system from going dry. A well pump replacement costs between $975 and $2,800 depending on the type, size, well depth, and installation. A well pressure tank replacement costs $500 on average.
How to Prep for Setting Up a Well Pump and Pressure Tank
There are a few things to keep in mind when preparing to set up a well pump and pressure tank at home:
Buy the Right Well Pump and Pressure Tank
If you are replacing a well pump and/or a pressure tank, experts recommend you find the same size and brand as the ones you have already. This will make for an easy plug-and-play installation for your well pump as well as eliminate any guesswork on setting up the connections on your well pressure tank.
Know Which Type of Well Pump You Need
Generally, the size of your home will determine your well pump size —the bigger your house and the more faucets you have, the bigger pump you’ll need to efficiently deliver well water throughout your home.
The type of well pump you need also depends on your well’s depth.
Submersible: Water-tight, durable, and energy-efficient, submersible well pumps are among the most commonly used. They’re designed for wells between 110 and 400 feet deep.
Jet: Designed to operate outside of water, a jet well pump uses a suction pipe to draw water into a well pressure tank. They’re available as a single-drop jet pump, used for shallow wells less than 25 feet deep, or a double-drop jet pump, which has more impellers and diffusers to draw water from wells up to 110 feet deep.
Centrifugal: Small in size, centrifugal pumps draw water in with impellers and use rotational energy to eject it from an outlet. This type of pump is best for shallow wells no deeper than 25 feet.
Know Which Type of Well Pressure Tank You Need
Your well pressure tank size or capacity is also determined by your home’s size—the bigger the house, the more pressure is needed for the water to flow throughout your home. It’s also important to keep in mind that there are three different types of pressure tanks to choose from.
Bladder tanks: Among the most common, bladder tanks contain a bladder that expands as water fills the tank, creating pressurized air.
Diaphragm tanks: This type of tank has a fixed rubber or vinyl diaphragm to separate water from air. The diaphragm extends as water enters the tank.
Air-over-water tanks: Unlike diaphragm and bladder tanks, air-over-water tanks don’t have a barricade separating water from air. Instead, their single-chamber design compresses air into a smaller volume near the top of the tank as water fills it.
Gather Everything You Need
When it comes to dealing with electricity and groundwater, you should practice safety first. If at all in doubt, hire a local well pump contractor to do the job. But if you’re confident with your DIY skills, you’ll need the following tools and supplies:
Pliers
Pipe wrenches
Pipe vices or clamps
Wire strippers
Crimp connectors
CSA/UL-approved electrical tape
Teflon tape
PVC primer/cement (optional)
Check valves (depending on well pump depth)
Copper wire
Tire gauge or digital pressure checker
Garden hose
Non-slip gloves and safety glasses
How to Install a Well Pump

Setting up a well pump involves installation, wiring, and testing to make sure it works. Before you do anything, it’s important you carefully read and follow the manufacturer’s instructions for proper installation and setup.
Cover the Well
Ensure the well is covered to prevent debris from falling into your well and contaminating your well water system.
Connect the Pipes and Fittings
When you connect the pipes and fittings to your pump, they must be tightly secured to ensure proper water flow. Wrap Teflon tape around the threaded ends of the pipes and fittings to create a water-tight seal and prevent leaks. You can also reinforce the pipe connections with PVC primer and cement.
Add a Check Valve
Install a one-way check valve in the water line between the well pump and the well pressure tank. A check valve prevents backflow and helps maintain constant water pressure.
Install a Pressure Switch
Following the manufacturer’s instructions, connect a pressure switch to the pipe leading to the well pressure tank. The pressure switch is essential to control the well pump’s on-and-off cycling.
Secure All Connections
Double-check to make sure all connections are secure. Tighten any loose unions and fittings with a pipe wrench.
How to Wire a Well Pump
Once all the piping and fixtures are connected with your check valve and pressure switch in place, you’ll need to wire your well pump to run it. Most well pumps operate as either a two-wire or three-wire well pump, which requires a separate control box. However, if you’re unfamiliar with or have no prior electrical experience, you should leave this task to a qualified well pump specialist.
Cut the Power
Switch off the power at the circuit breaker panel to the well pump and the pump control box (if there is one).
Ground the Well Pump System
Ground the system to metal plumbing, the control box (if you have a three-wire pump), and the pump’s motor frame using thick copper wire. There should be a wiring chart within the manufacturer’s manual to help guide you. Be sure you don’t ground the system to a gas supply line.
Splice the Wire Connections
Splice the wires to the pump’s motor by matching the wires’ colors. For two-wire pumps, black wires go to black wires and the green ground wire connects to the motor’s ground wire. With three-wire pumps, it’s red to red, yellow to yellow, and black to black. Wrap the spliced wire with electrical tape to create a water seal.
Test the Well Pump
Once the wires are connected, test the well pump to test the connection and ensure the pump is running. For deep submersible pumps, the spliced wires need to be properly water-sealed with electrical tape to operate underwater. To test them, submerge the spliced wires in a bucket of water and run the pump for around 30 seconds.
How to Set Up a Pressure Tank
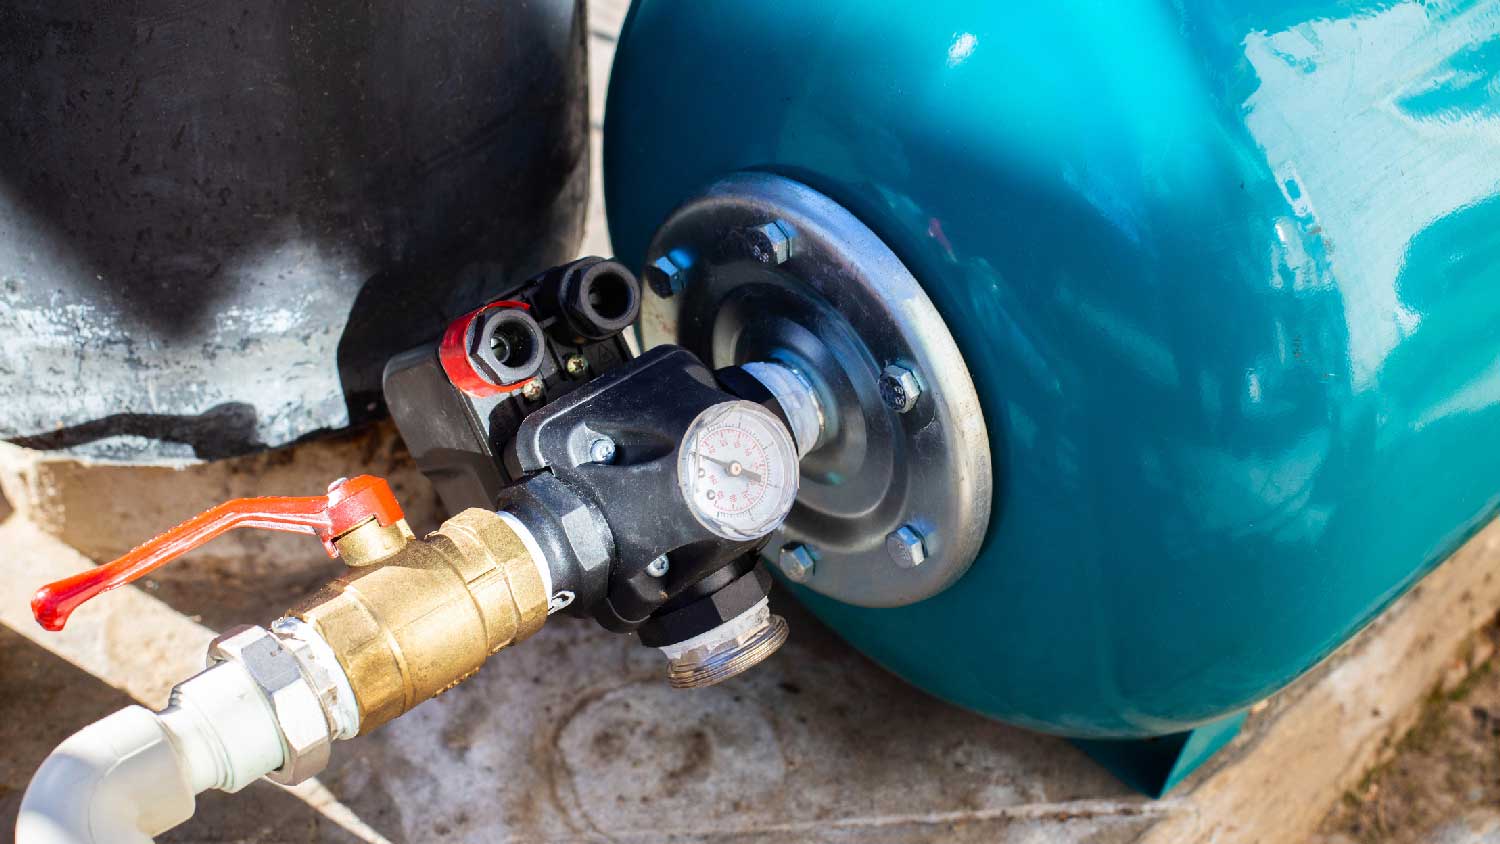
Once you’ve replaced and installed your well pressure tank, you’ll need to check its air pressure and make any adjustments, if necessary.
Cut the Power
Switch off the power by turning off the circuit breaker to the well pump.
Depressurize the Tank
With the power off, drain the tank of all water to depressurize it. Attach a garden hose to the pump’s drain valve to prevent water from spilling all over the floor. Open a faucet in your home to help speed up the draining process.
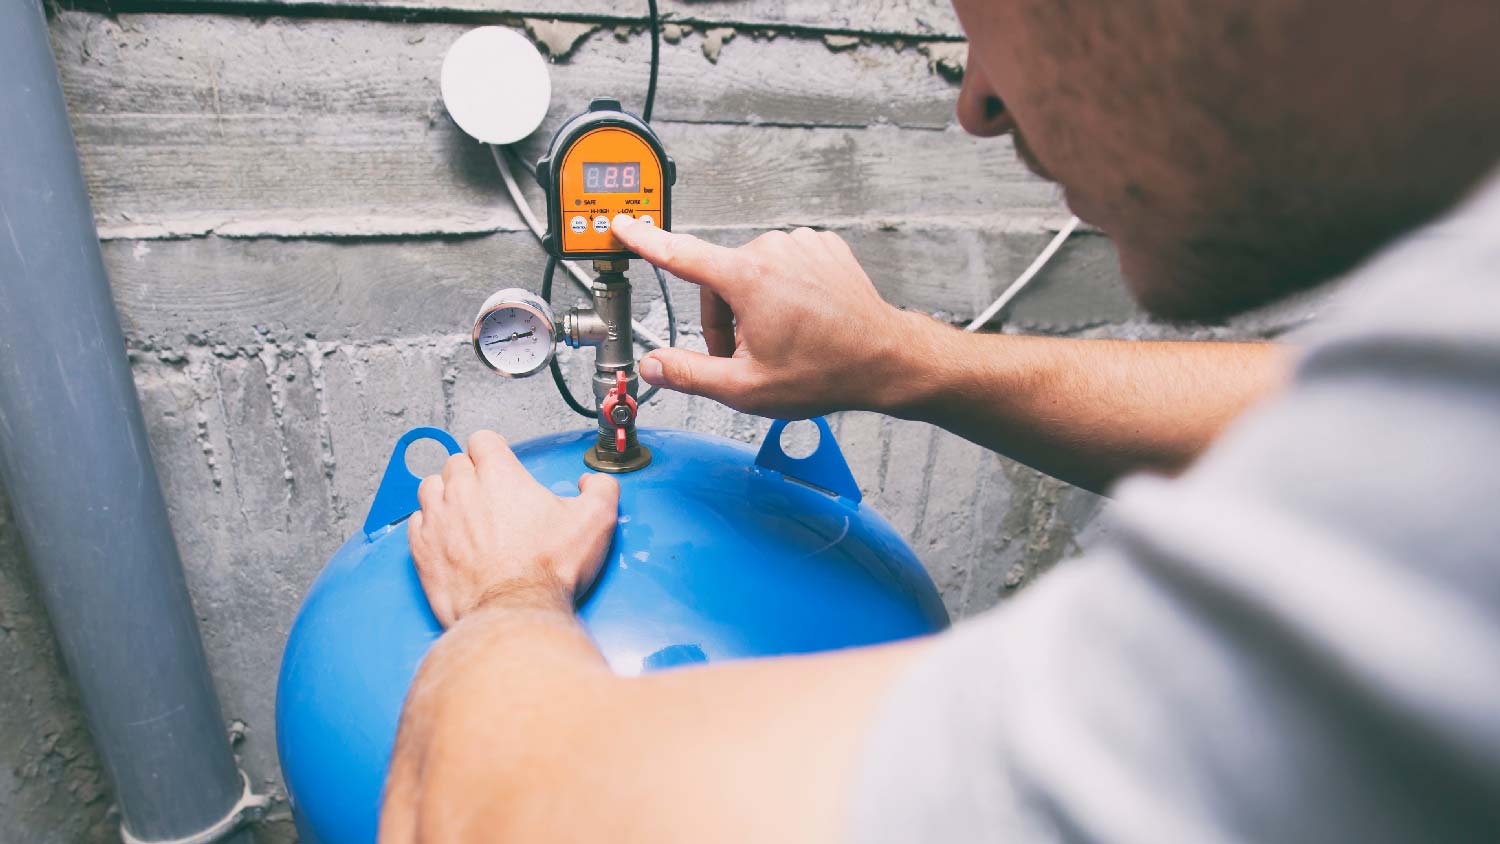
Check the Tank’s Air Pressure
Unscrew and remove the cap from the air pressure release valve located at the top of the tank. Use a tire gauge or digital pressure checker to measure the air pressure in the tank. Your tank will be 20/40, 30/50, or 40/60 psi. The cut-on pressure for the well pump is the lower number and the cut-off pressure is the higher number. The air pressure measured at the top of the tank should read 2 psi below the cut-on pressure—for instance, if you have a 30/50 tank, it should read 28 psi.
Adjust the Pressure if Necessary
If your pressure reads as more than 2 psi below, carefully use an air compressor to add more air pressure until it reaches the appropriate setting. Make sure you don’t add too much air—an overpressurized tank will hold less water and won’t signal the well pump to switch on.
Taking Care of Your Well Pump and Pressure Tank
Regular maintenance is key to ensuring your well pump and pressure tank perform properly and last for years. Check the pressure in your well pressure tank at least once a year. It’s also a good idea to have it looked at by a well pump professional as part of your well system inspection.
To keep your well pump in good working order, check your well’s pipes for rust, corrosion, visible leaks, or cracks. Damaged pipes can cause your well pump to work harder to maintain water pressure. Also, listen and watch for any unusual changes to your well water system at home. Frequent low water pressure, pulsating water from the tap, dirty water, and constant cycling are all telltale signs something is wrong with your pump.
DIY vs. Hiring a Pro
If you plan on setting up a well pump and pressure tank yourself, and you have the right tools to do the job, the only costs you’ll have to worry about are the price of a new well pump and pressure tank.
Submersible well pumps cost from $200 to $1,550, while jet pumps cost between $230 and $1,000 for a single-drop unit and from $440 to $1,500 for a double-drop model. Depending on the pressure tank, expect to pay $200 to $500 for a diaphragm tank, $150 to $400 for a bladder tank, or $100 to $300 for an air-over-water model.
If you choose to have your well pump and pressure tank set up by a professional, your costs will go up. Labor for installing a new pressure tank is around $125 to $200, while installing a new well pump costs from $250 to $1,000, depending on the complexity of the job.
Frequently Asked Questions
With regular servicing and general upkeep, both a well pump and pressure tank can last for years. The average lifespan of a well pump is around eight to 15 years. A well pressure tank can last from seven to 10 years. How long a well pump and pressure tank lasts also depends on a variety of factors such as type, size, material, and brand.
If you’re going away on vacation or leaving your home for a long time, it’s a good idea to switch off your well pump and pressure tank before you go. This way you can prevent any damage from unexpected leaks that may occur or unforeseen electrical issues while you’re away.


- How Much Pressure Should a Well Pump Have?
- Well Water Stopped Working? Here Are 5 Troubleshooting Causes and Solutions
- When and How To Test Your Well Pressure Tank
- How to Check Your Well Pump: Troubleshooting and Fixes
- How To Increase the Water Pressure From Your Well
- How To Install a Well Pressure Tank the Right Way
- How to Choose the Right Pressure for Your Well Tank
- How To Get More Pressure From Your Well: Everything You Need To Know
- Common Well Pump Pressure Switch Problems and How To Fix Them
- What Size Well Pressure Tank Do You Need?
Get our Angi-powered app


