

Cisterns can save you money and help the environment. So what’s the cost of a cistern and how does it compare to other rainwater collection systems?
Keep your water pressure in check


The pressure of your well tank determines how fast water is pushed through your home.
You can check your tank’s pressure by using a digital pressure gauge.
The pressure should be 2–3 pounds per square inch (psi) lower than your cut-on setting.
You can adjust the pressure by turning the nuts attached to the rods of your tank.
The pressure of your well tank affects how water flows through your home. Pressure that’s too low can cause your water flow to stop, and pressure that’s too high can put unnecessary strain on your plumbing system. Learn how to check and adjust your well pressure to keep your showers running strong and your well repairs to a minimum.
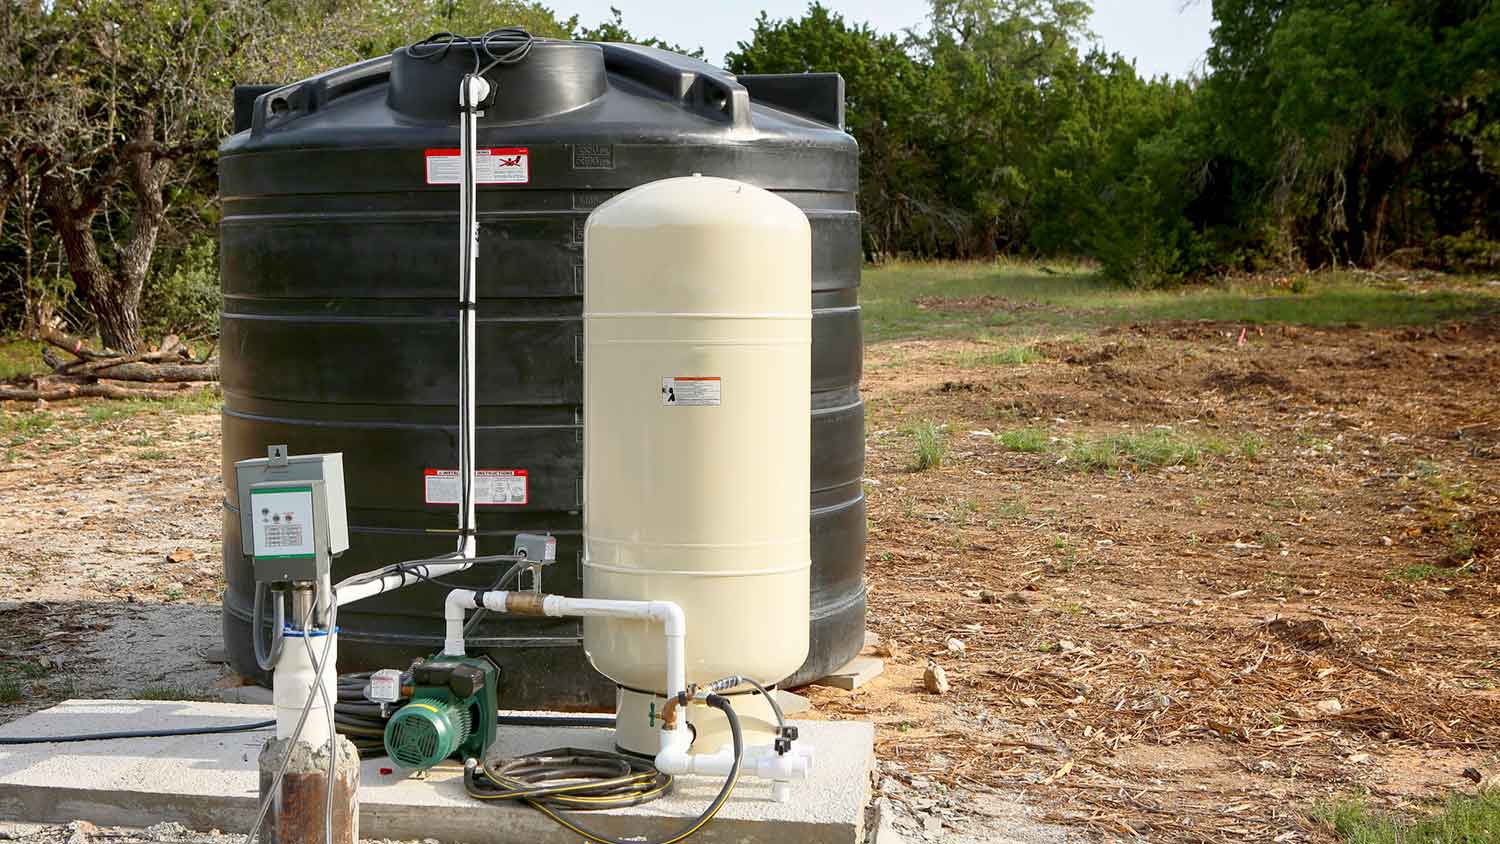
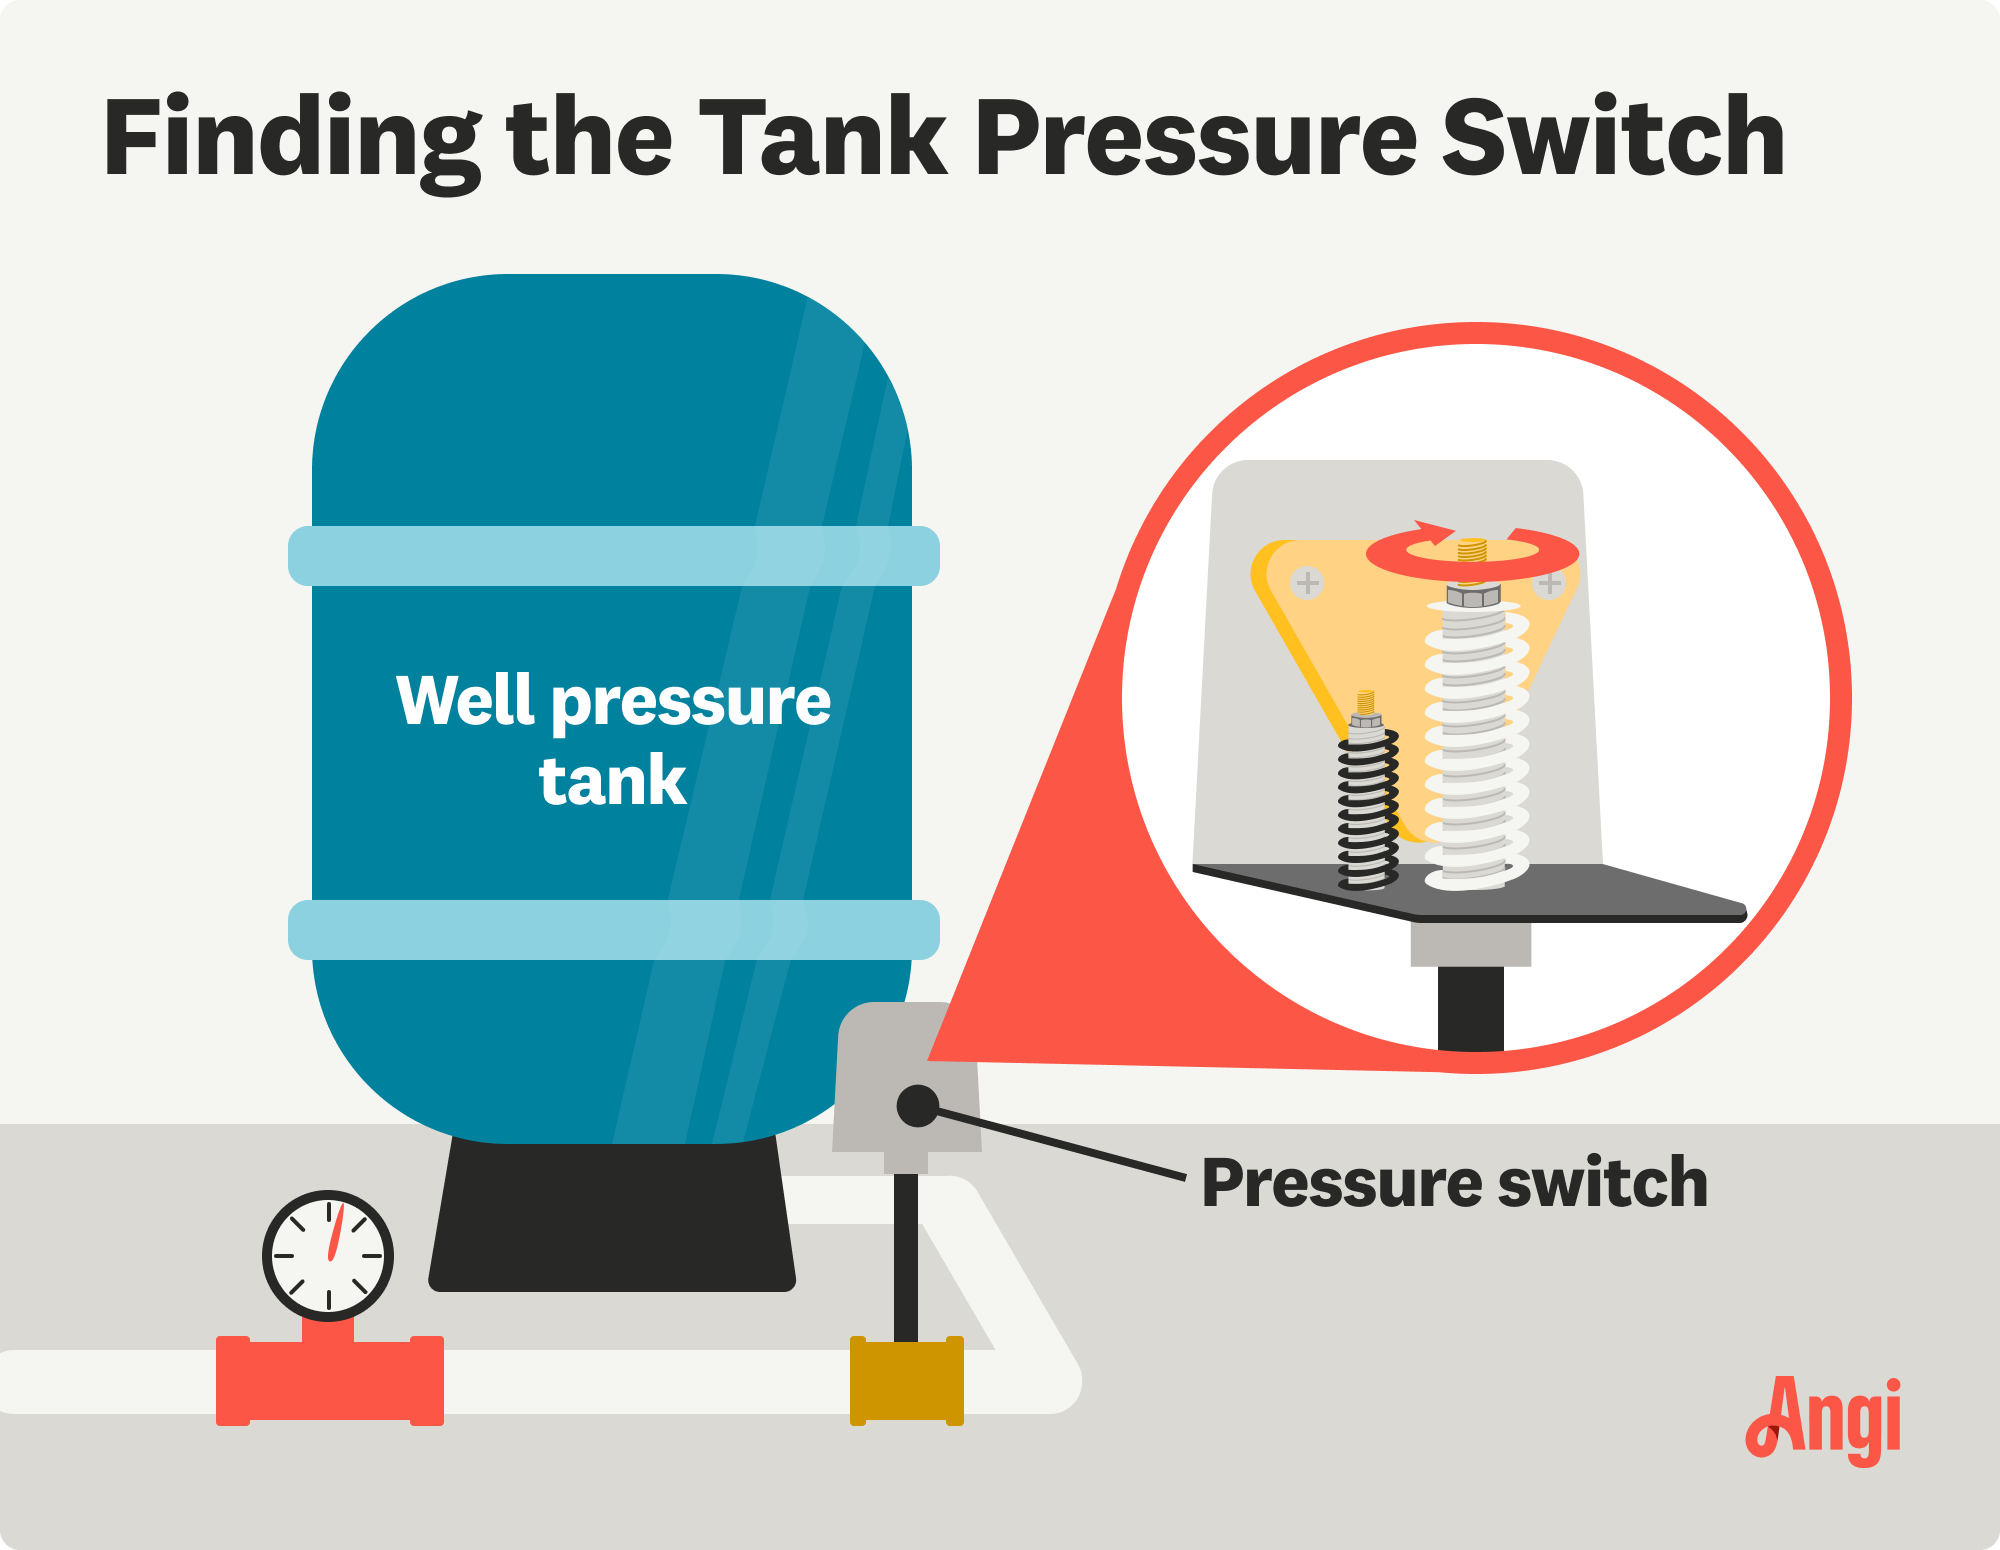
Your well pressure tank is one of the main components of your well system and is responsible for pushing water from the tank into your home. The tank is set to a specific pressure, measured in pounds per square inch, or psi.
When the tank fills with water, the air in the tank compresses and the psi builds. When the psi hits the specified target, water stops filling the tank. Then, when a faucet is opened in your home, the water pressure that has built up in the tank pushes the water through your pipes. Once the water is pushed out, the pressure drops which activates the pump to start filling the tank again.
Your pressure tank has two settings: the cut-on pressure and the cut-off pressure. The cut-on pressure is the low setting that initiates the pump to turn on, whereas the cut-off pressure is the high setting that tells the pump to turn off.
For example, if your tank is set to 40/60, the pump will turn on when it reaches a pressure of 40 psi and turn off when it reaches 60 psi.
Most pressure tanks have three settings: 30/50, 40/60, and 50/70. The larger your tank, the higher the pressure will be. You can find out what pressure yours is set to by checking the manual of your tank.
If your tank is set to a pressure outside of these three settings, be cautious. If the pressure is set to over 70 psi it can begin to cause damage to your pipes and put strain on your plumbing system. If the pressure is too low, you’ll notice low water pressure or no water at all.
Your pressure tank for the well should always have a 20-psi difference between the cut-on and cut-off pressure.
A gap that is too large will cause your pump to cycle constantly, which can lead to earlier replacements than normal. The average cost for a well pump replacement will run you $1,900.
A gap that is too small will cause the pump to cut off before the tank can fill with water. If this happens, you’ll see a loss of water or extremely low water pressure.
You should check your well tank’s pressure during installation and at least once a year to ensure it’s working properly. You’ll need to purchase a digital pressure gauge from your local hardware store to complete the reading.
To check the pressure:
Turn off the power to your tank
Open a faucet to drain the tank by running water until the pressure reads 0 psi
Locate the air valve, also known as the Schrader valve, at the top of the tank
Take off the top cap and use your pressure gauge to see the reading
If your pressure tank settings need to be adjusted, you can do this with a:
Ruler
Measuring tape
A 3/8-inch socket
Begin by turning off the power to your pressure tank. Locate the two rods at the top of the pressure switch with springs and nuts around them.
The large rod sets the cut-in psi level
The smaller rod sets the difference between the cut-on and cut-off psi
You will only want to adjust the larger rod and leave the smaller rod as is.
To decrease the cut-in psi level, turn the nut counterclockwise. To increase the cut-in psi level, turn the nut clockwise. One full rotation of the nut will cause the cut-in level to increase or decrease by 2 to 3 psi.
For example, turning the nut one full rotation counterclockwise would cause a tank with a cut-on level of 40 to decrease to 27 to 28 psi. This will also cause the cut-off pressure to change by the same amount, ensuring that your tank levels stay 20 psi apart.
If your pressure is too high, you can run into issues with your pump and valves. High pressure will cause the pump to turn on and off too quickly and may burst valves within the tank.
When reading your pressure, if it is more than 2 to 3 psi below the cut-in level, you’ll need to bleed the tank. To bleed the tank:
Locate the pin in the center of the Schrader valve
Press this pin to release air for one or two seconds
Check the pressure reading again and repeat this process until it reaches the right psi
If your pressure setting is too low, you may be noticing extremely low water pressure throughout your home. This is due to water flowing more slowly through your pipes since there’s not enough pressure behind it.
To increase water pressure from a well, you’ll need to adjust the cut-in psi to raise the pressure. If adjusting the cut-in psi doesn’t fix the problem, it’s recommended to contact a local well pump service, as your tank may need repairs.
Common issues that can cause your tank to lose pressure include:
General leaking
Broken bladder
Pipe leaks
If the technician finds that the repairs are extensive, you may need to replace your pressure tank. The cost of a new well pressure tank averages around $400.
From average costs to expert advice, get all the answers you need to get your job done.
Cisterns can save you money and help the environment. So what’s the cost of a cistern and how does it compare to other rainwater collection systems?

The cost of a well inspection depends on the design of your well, the location of your property, and the add-ons you select. Use this guide to plan your budget.

Your solar well pump cost depends on your well depth and flow rate. Explore these cost factors and more to budget for an eco-friendly pump.

Learn what to do when your sump pump float switch isn't working. Discover common causes and tips to keep your basement dry and safe from water damage.

Don’t put up with low pressure or unsafe water—learn more about signs of well pump failure and how to deal with it proactively and efficiently in this guide.

What do you do with a natural spring on your property? Natural underground springs are a good source of clean, free water. But how do you tap into it? Keep reading!