

A water pressure booster can add a lot of volume for a small price. Discover booster pump installation costs and cost factors in this guide.
Get pumped up and keep the good times flowing


Labor costs for installing a well pressure tank are typically below $200, and ensure a safe installation and long-term reliability.
DIY mistakes like poor sealing, incorrect wiring, or misaligned fittings can cause leaks or pump issues.
DIY installation requires multiple tools, from wrenches and drills to thread sealant and pressure gauges, and can be a complex and time-consuming project.
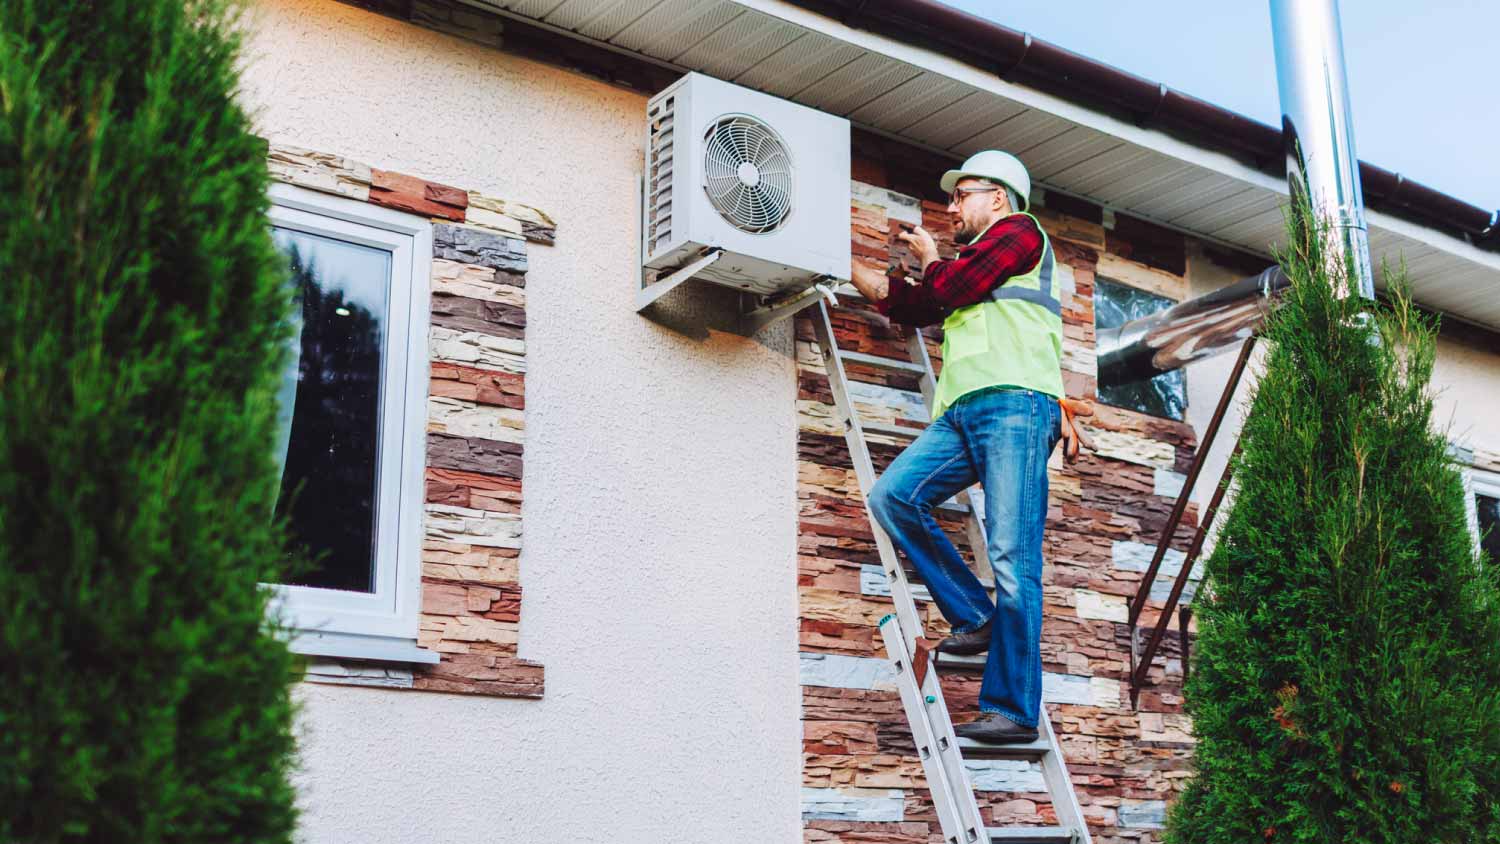
A professional local well pump contractor can properly mount the pressure tank, connect water lines, connect the pressure switch, and set the tank’s precharge pressure to ensure optimal performance.
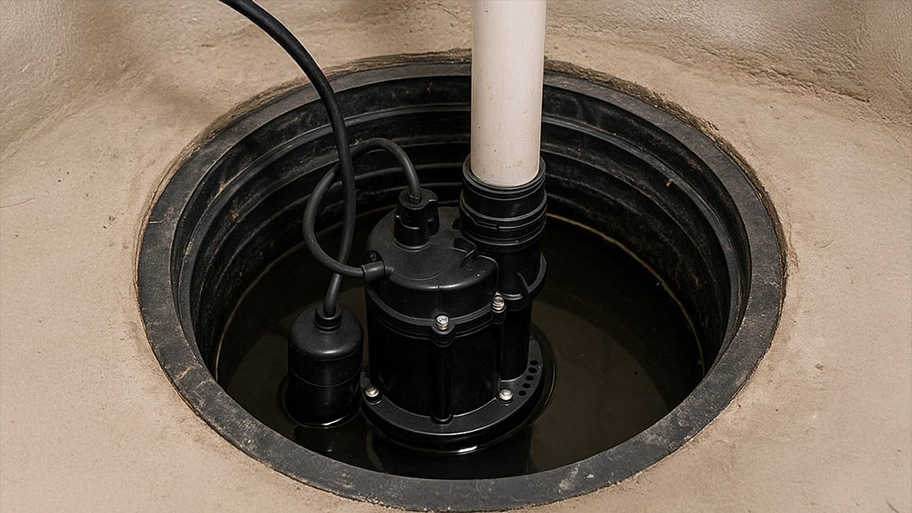
By design, water well pressure tanks endure a fair bit of stress. As a result, they often have to be replaced every five to seven years. Well tank replacement isn’t an overly complex project, but it is important to do it right and pay attention to the little details along the way. Roll up your sleeves and follow this guide on how to install a well pressure tank safely.
There’s no sense in taking on the cost of a water tank replacement if you don’t need to. Double-check that you need to replace your well pressure tank and not that something else in the water supply system is the root of your woes. Look for signs you need a new well pump before buying a new pressure tank.
Check if your existing tank is waterlogged. To do this, you can:
Shake the water tank gently. If it feels very heavy, it may be full of water (waterlogged) with little to no air.
Open the pressure release valve slightly. You can do this by depressing the valve using a screwdriver. If water comes out instead of compressed air, the tank is full of water.
Tap on the outside of the tank. If it doesn’t sound hollow where there should be air, it’s likely waterlogged.
It is easiest if your replacement well tank is the same size as the one currently in your well pump pressure tank setup. Sticking with the same brand will make your life easier, too, as the connector configuration will easily line up.
If you are buying a new well pressure tank, consider the amount of drawdown (usable water capacity) you need. The total size of the well pressure tank is about three times the drawdown volume. In other words, a 50-gallon tank will provide about 14 gallons of usable water at pressure.
If you’re replacing an existing well pressure tank that has failed, it’s easiest to install the new one in exactly the same place. If you are installing a tank for the first time, some factors to keep in mind for the tank’s location include:
Easily accessible for maintenance, like in the basement
Preferably indoors or in an enclosure to lower the risk of corrosion and damage
Out of sight, to be less of an eyesore
Downstream from the well pump
Once you are confident to move forward, get everything you need for this plumbing project. This includes a number of tools and supplies, such as:
Well tank replacement unit
Pressure tank installation kit
Plumber’s tape (Teflon tape) for sealing pipe threads
Thread sealant (pipe dope) to secure the seal between connectors
Two female PVC connectors
Pipe fittings, supports, and hangers, as needed
Pipe cutter or hacksaw
Garden hose
Two pipe wrenches
Screwdriver
Tire pressure gauge
Air pump
Power drill
Before you’re able to install a new tank, you have to get rid of the old one.
Turn off the electrical power to both the old pressure tank and your well pump. Shut off the water supply from the well, too.
Connect a garden hose to the old tank’s drainage valve. Position the other end of the hose outside or in a floor drain. Drain all the water from inside the tank. You can open a few taps in your home to speed up the process.
Disconnect the union connecting the tank to your home’s water supply. This may involve both the supply line from the well to your tank and the line from your tank to your home. If needed, use two pipe wrenches in opposite directions to loosen these tight fittings.
Reuse your existing pressure relief valve and pressure gauge, if possible.
Lift up the well pressure tank and remove it.
Next, get your new water well pressure tank ready for installation. You need to attach the plumbing and water lines yourself using the threaded couplings.
If your new tank uses a T-junction, wrap the threaded end in plumber’s tape and thread sealant. Thread it into the bottom of the tank.
Thread the drain to the front of the T-junction.
Thread the pressure relief valve next to the drain.
Install the pressure gauge into the smaller hole at the top of the T-junction. The pressure switch goes into another hole at the top of the junction.
Thread the female PVC connectors to either side of the T-junction for the input and outline water lines.

Now that your new tank is ready, you can start the actual installation process.
Mount the pressure tank. If you are replacing an old unit, mount it the same way as before. If you have a new one, be sure to mount the tank with brackets on a stable surface. It should be level and well-supported.
Connect the input and output water lines to the T-junction. Use pipe wrenches to tighten. Make sure these connections are watertight using plumber’s tape and pipe dope.
Follow the manufacturer’s instructions for the pressure switch’s electrical connections.
Set the tank’s desired precharge pressure, a few psi below the cut-in pressure on the pressure switch that would trigger the well pump to start.
Turn the water and power back on. Allow your new pressure tank to fill with water.
Check to ensure the system is operating correctly and without issue.
Inspect all connections and look for leaks. If you see any, turn off the pump and fix the leaks.
Adjust the cut-in and cut-out pressure settings, if needed, so your well pump cycles on and off when it should.
Test the taps. Open the taps to see if you are getting consistent water pressure. The tank should fill and pressurize correctly, triggering the well pump accordingly.
To help your pressure tank installation project flow as smoothly as possible, keep these useful tips in mind:
The rubber bladder may trap the water, preventing the drain valve from fully emptying the tank. If you cannot remove the tank partially full of water, you may need to drain your old tank manually by drilling a hole in the top half of the tank.
The average lifespan of a pressure tank is about 15 years. Smaller, cheaper tanks may only last five years, whereas larger, higher-quality tanks may last up to 30 years. Sediment and debris in your well water will reduce the life of your tank, too.
It is possible to bury a pressure tank underground, but it is vital to bury it below the frost line to prevent water from freezing.
It is generally better to get a pressure tank that is too big rather than one that is too small. A small well pressure tank will short-cycle the well pump, as you will quickly use up the drawdown capacity, causing it to turn on and off too often.
Replacing a failed tank with an identical unit is a project you may tackle as a DIY. It helps if you already have some plumbing and electrical experience. But, if you are installing a new well pressure tank for the first time, local well pump companies may be a better bet. Other factors, like changing the brand or size of the tank, may justify hiring a pro for the job. Labor usually costs $200 or less.
Even if you decide to do the job yourself, you may consider calling a pro to inspect your work. This can help you avoid common well pump repairs in case you make a mistake along the way. It also helps to ensure a safe installation. This can be a good opportunity to inquire about well pump replacement costs if you’re due for an upgrade or replacement.
From average costs to expert advice, get all the answers you need to get your job done.
A water pressure booster can add a lot of volume for a small price. Discover booster pump installation costs and cost factors in this guide.

Drilling a well is no small feat. You’ll need to plan for excavating, a pump, and more. This guide will help you estimate and manage your well drilling costs.
Find out the average heat pump repair cost, what impacts pricing, and how to save. Get transparent estimates and tips for homeowners planning repairs.
Is water constantly running into your sump pit? We’ll break down 5 possible problems with your sump pump—and how to fix them.

What causes no water in a house with a well? Learn about the causes, warning signs, and troubleshooting tricks for when your faucets seem to be dry.

Learn about the pros and cons of installing and using a cistern vs. a well so you can choose the best water supply system for your home.