
Your well tank replacement cost will vary depending on a few key factors, such as the size and capacity of the well pressure tank.
Take the pressure off your wallet with a little manual labor


Doing the labor yourself goes a long way.
Does your water sound like a DJ scratching a record when you turn on the tap? Or perhaps you’re experiencing constant low water pressure throughout your home? Chances are it’s time to replace your water well pressure tank. While this may sound like a job for a professional plumber, this is also something you can do yourself at home if you’re handy with DIY plumbing. Our guide walks you through how to replace your well pressure tank at home, either on your own or with the help of a pro.
When shopping for a replacement, it’s best to choose the same well pressure tank size and brand as your old tank. This helps ensure a relatively easy installation because you’ll be using the same connections, which saves you considerable time, energy, and unnecessary stress.
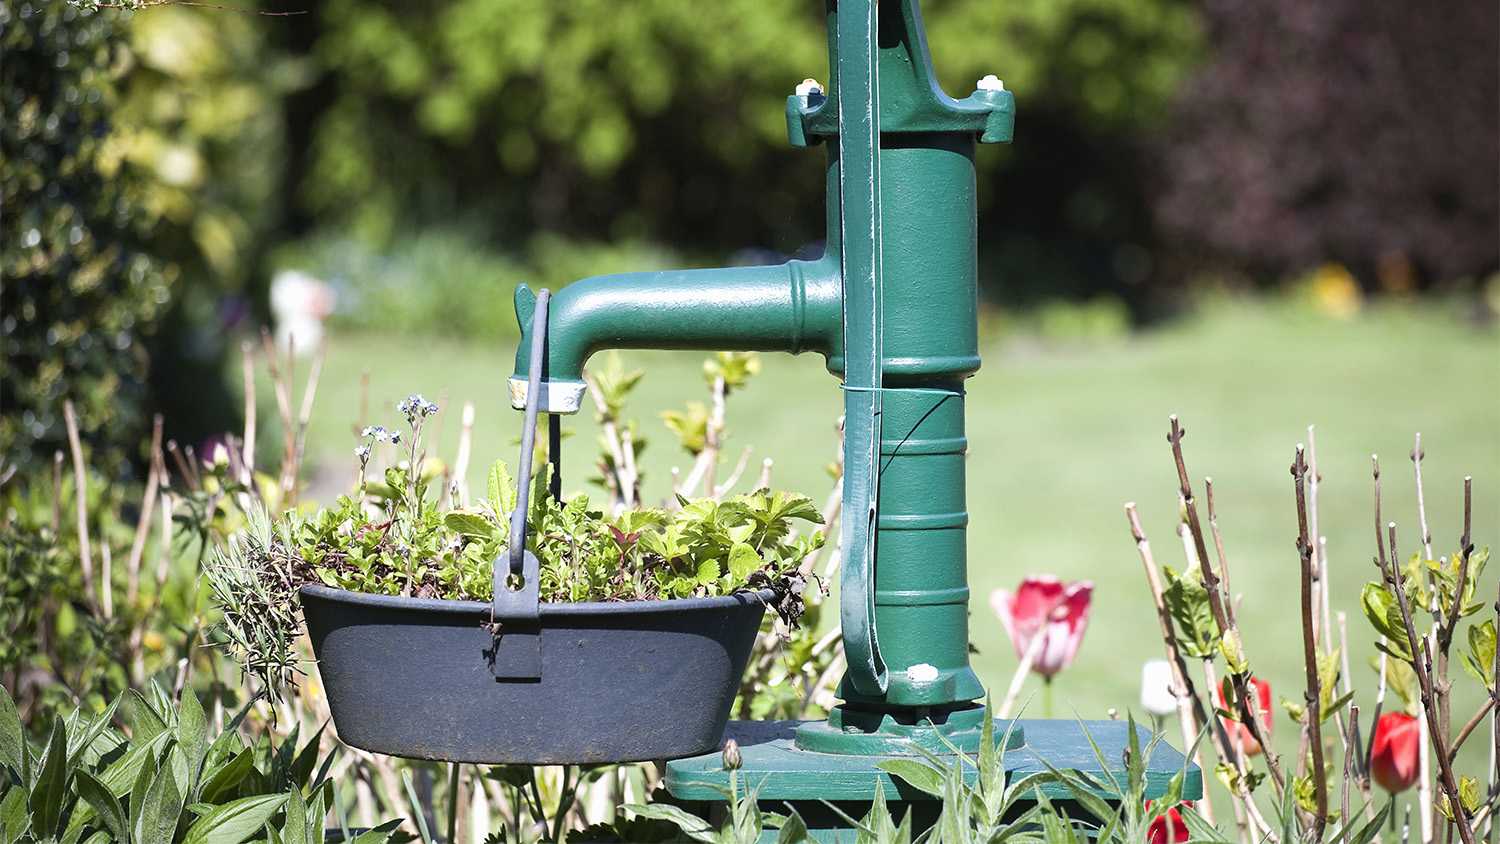
Your well pressure tank will likely be one of these three types:
Bladder tank: This pressure tank is among the most common and uses a bladder to pressurize air above the tank’s water.
Air-over-water tank: Consisting of a single chamber, an air-over-water tank is filled with pressurized air and water, however, there is no bladder or diaphragm separating the two.
Diaphragm tank: A diaphragm tank features a permanently attached barrier, which expands as water enters the tank, creating pressurized air.
Start by cutting the power to the well pressure tank. Switch off the circuit breaker to the well pump from your home’s electrical panel, and turn off the electrical box located near the tank.
If your tank is waterlogged, it will make it heavy and difficult to move, so it’s important to drain it before going any further. To test if your water pressure tank is waterlogged, open the pressure release valve at the top of the tank, and use the tip of a screwdriver to press the valve down gently. If water jets out, your tank is full of water. Another option is to give your tank a couple of taps—a hollow sound means little to no water.
To drain your tank, attach a garden hose to the drain valve, then open the valve to release the water into a large bucket, or use the floor drain in your basement. To speed up the process, open a few faucets in your bathroom and kitchen while draining.

Once the tank is drained, remove the pressure switch cap and disconnect the wires. Use a pipe wrench to loosen the ring nut on the union where the inlet pipe connects to the tank. Then, loosen the ring-nut union to the outlet pipe using the same process. Don’t remove the nuts as you’ll need these for securing your replacement tank.
If your pressure tank is fastened to a concrete pad, loosen and remove the bolts with a socket and ratchet in order to lift it free.
With the old tank removed, you’ll need to get the replacement tank prepped in order to install it. If the T-junction pipe connected to the bottom of your old tank is in good shape, you can use it with your new tank.
Wrap the threaded end of the pipe with Teflon or vinyl plumber’s tape, then insert it into the bottom of your tank and tighten it with a pipe wrench. Make sure the end of the pipe is facing the right way, so it will connect with your home’s water line.
Be sure to wrap the plumber’s tape around all threaded junctions, including the inlet and outlet pipes, as you go to make connections easier.

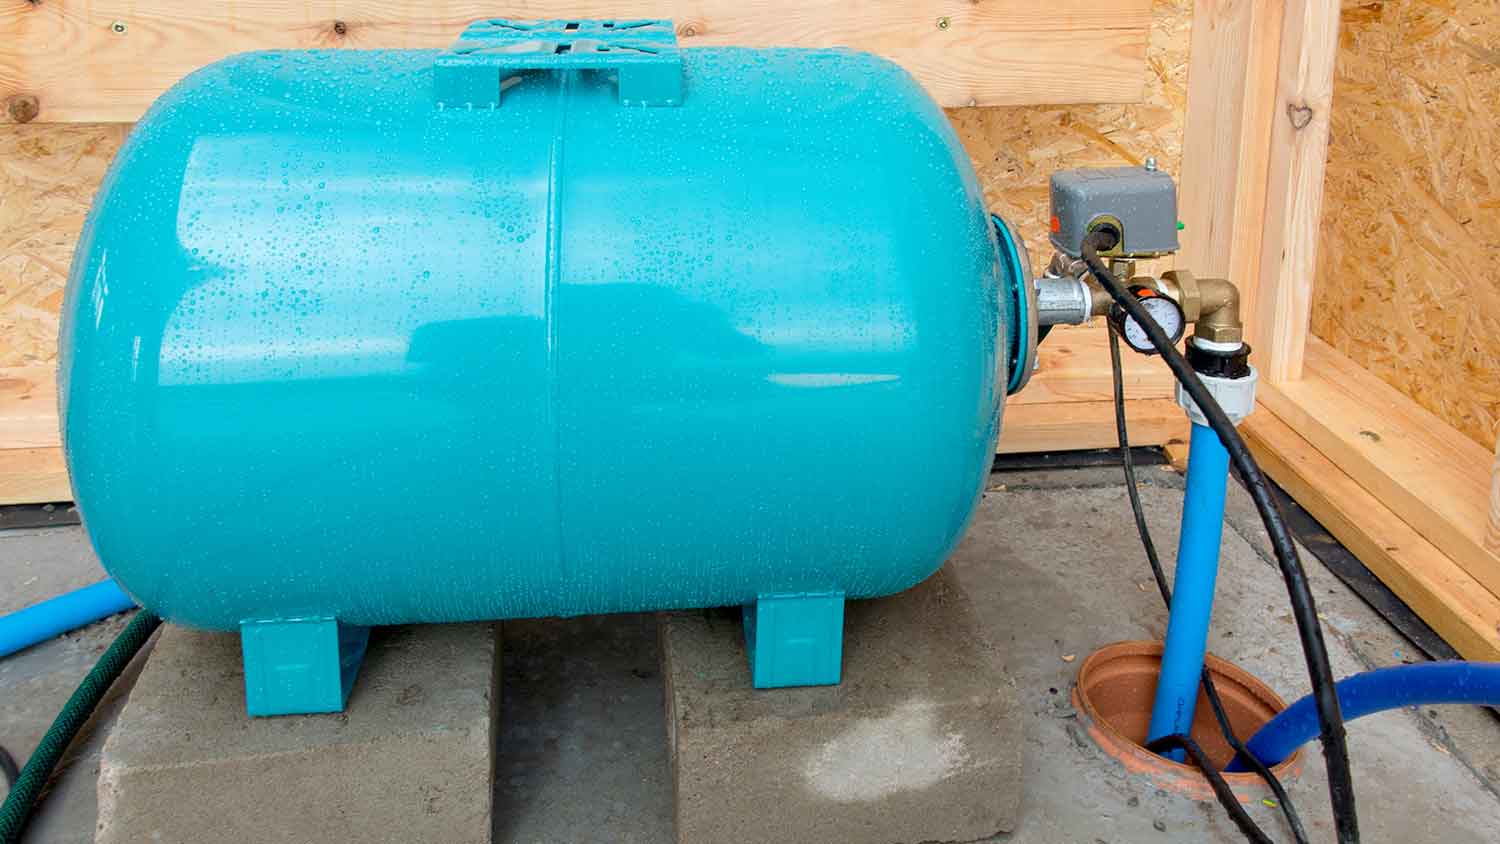
If your new pressure tank is exactly the same as your old one, replacing it will be a breeze. Position it in the same spot as your old tank and thread the inlet pipes, outlet pipes, and the water line into place, tightening them with a pipe wrench.
If you have a concrete pad, use a socket and ratchet to anchor bolt the tank down. With everything fastened to the tank, reconnect the wires to the pressure switch. Turn on the circuit breaker to your well pump. Allow the tank to fill with water until the pump shuts off before using your home’s faucets.
Replacing a well pressure tank yourself not only gives you a chance to flex your DIY plumbing muscles but can save your wallet, too. Your only cost to replace a well pressure tank will be the price of a new one, which is around $400, on average.
But if you’re completely new to plumbing and feel uncomfortable tackling this project yourself, look for a well pump service professional near you to ensure the job’s done right. Expect to pay between $125 and $200 for labor.
Joseph did a great job with the staircase and trim. Timely and efficient, clear communication about the work, very fair pricing. For the stairs in particular, done very skillfully in an old house (1893) in a tight spiral, and very creative with how to do the handrail. Did a nice job with...
Great experience!! Dion was prompt, professional and very polite. He is hands down the best plumber I have ever used.
Cole has been handling plumbing and general contracting for our four properties over the past three years, and he’s always done a great job. Most recently, he installed a sink and countertop in our retail store where none existed before, and it turned out exactly how we needed. He’s...
 ANB Renovations LLC
Matt is a consummate professional. The work turned out to be far more difficult than expected and rather than turn the job down, Matt rose to the occasion and completed a near impossible task. I can not recommend Greene's Plumbing Service more highly. On a scale of 1-5 I would give Matt a...
The technician was very professional and friendly. He answered all my questions and was very thorough. He left the fireplace area very clean . He inspected from the roof and advised me as to other work that might need to be done. There was no pressure there. I was very satisfied with the...
 Supreme brick & chimney
Custom Paint Jobs LLC pays attention to every detail, ensuring a job well done every time.
When we had the winter freeze, I called Quantum Waterworks Waterline & Drain Cleaning Services and within 1 hour I received an e-mail and he sent someone out the next day and he was on time, he was nice and did the job quickly and cleaned up after himself. We had a leak in our kitchen from...
From the beginning , every appointment was met with punctuality! The day of installation, they arrived on time and worked tirelessly all day until the job was finished. ( Even through a very heavy down pour) Ilia, the owner is a professional, knowledgeable, and fair man. He is absolutely, and...
The service was excellent! They gave me a quote, and had it done 4 days later. My driveway looks amazing, very professional! I would definitely recommend their service to anyone. I have had neighbors stop by and ask for their information as well.
 All Star Paving and Sealing
They are very reliable and available. They the drains all the time
 The Waterworks
From average costs to expert advice, get all the answers you need to get your job done.
Your well tank replacement cost will vary depending on a few key factors, such as the size and capacity of the well pressure tank.
The cost of a well casing replacement depends on materials, well depth, and labor. This guide will help you find the right casing for your well and budget.

If you have a well, you might need to replace the well pump to have great-tasting water. Well pump replacement costs depend on your well size and other factors.
Extend the life of your well pump with a healthy water well pressure tank. Learn the steps to install a new well pressure tank successfully in your home.
A pressure tank keeps your well system running smoothly. Follow this guide to determine the specific well pressure tank size needed for your home.

Is your water pressure too low? Learn what pressure your well tank should be to get your system running smoothly and your showers and faucets back on track.