8 Secrets to Spray Painting Like a Pro
Shake and spray like a pro


If you’ve been thinking about jazzing up that vintage mirror for a while and sprucing up those armchairs, spray paint can be the key. While spray painting takes some know-how, it can bring life to so many items in your home. Taking the time to learn these spray painting tips will cut your time (and money!) in half and make room for more exciting spray painting home projects.
1. Purchase the Right Products

First off, you’ll need to figure out what kind of spray cans you’ll need for your project and what materials you will be working with. Visiting your local hardware store will help get all your questions answered so you’re coming home with the right products.
For example, you’ll want to know how much primer to use and if you’ll need sealant when finishing up your paint job. Not all stores carry a large selection of colors and metallics but they can often order them for you if they are not available.
2. Work in a Well-Ventilated Area
As with any paint job, you should always work in a well-ventilated area. You can take your items outside to paint or if you decide to stay indoors open all your windows and bring in fans to keep the air circulating. Not only does it allow your spray paint to dry faster, but it prevents you from inhaling paint fumes, which can cause dizziness and nausea. Wearing a mask is key when working with spray paint.
3. Clean Up the Working Surface

Before you begin to paint, you’ll need to clean, scrub, and sand the surface you’ll be working with. Look for dust, particles, and rust that needs to be removed with a brush. After that, wipe away any excess debris with a cloth. If you’ve used any cleaning spray or water, make sure it dries completely before adding your spray paint.
4. Protect Your Area
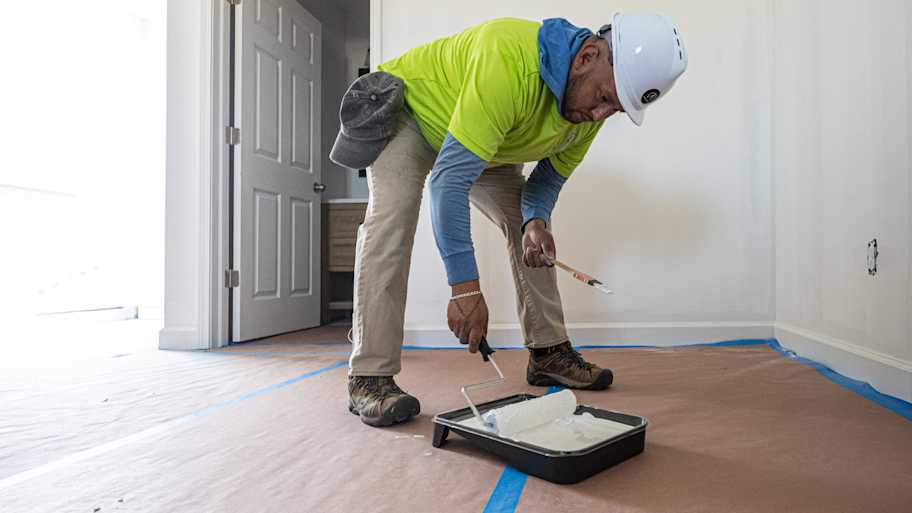
There are several things you can purchase in order to protect your furniture, walls, and floors. A canvas drop cloth is reusable and handy to have but there are also plastic covers available. Cardboard and newspapers can also be an option if you already have those at home, but they tend to get a bit messier and have the potential to bleed through, so several layers are necessary. Don’t forget to cover up doorknobs with painter’s tape and remove light switches if you’re spraying close to your doors.
If you get spray paint on an unintended surface, there are ways to remove spray paint when you clean up your work area.
5. Prime Your Surface

Depending on what you are painting, you may or may not need a primer, though it is strongly recommended. A primer helps the paint go on smoothly and allows for an even finish complete coverage. Not priming first can result in needing extra coats of spray paint to get a good finish. Always read labels before starting any project as the primer may not be compatible with the type of spray you are using.
6. Always Test Your Spray
No matter how big or small the project is, test the nozzle before you start. You can do this by spraying onto your dropcloth, a piece of cardboard, or a patch of wall you’ll cover later. This is important not only to make sure that the nozzle doesn’t sputter but also to practice your spraying technique.
7. Figure Out Your Technique

The ideal distance between the object and your spray paint is about 6 to 8 inches. You’ll want to apply the same pressure on the nozzle throughout as well as work the same speed with every line you paint. Any extra pressure or slower stroke can result in blotches that will need to be covered up. Don’t forget to pause and shake the can between strokes to get that even gloss.
8. Watch Your Coats

A good spray paint job requires about three coats of paint. Several thin coats are much better than one heavy coat as that can cause the paint to drip or crack while it’s trying to dry.
When spray painting, do left and right strokes first followed by top and bottom. Make sure to slightly overlap the strokes to avoid striping. Once you apply the first coat, wait about 10 minutes before applying the next. All three layers should be done within the hour. Once you are done painting, let it dry completely for 24 to 48 hours.
- 10 Common Painting Mistakes Homeowners Should Avoid
- How Long Does Spray Paint Take to Dry?
- How to Remove Spray Paint From Anything
- 9 Easy DIY Spray Paint Ideas Even Beginners Can Do
- 11 Painting Tips and Techniques for Your Home Painting Project
- How to Paint Furniture to Get Beautiful, Long-Lasting Results
- Is It Better to Spray or Roll Exterior Paint? How to Decide
- Essential Supplies to Paint a Room: What You Really Need
- How to Paint Hardwood Floors for the Best Results
- How to Prep a House for Exterior Painting in 8 Steps


