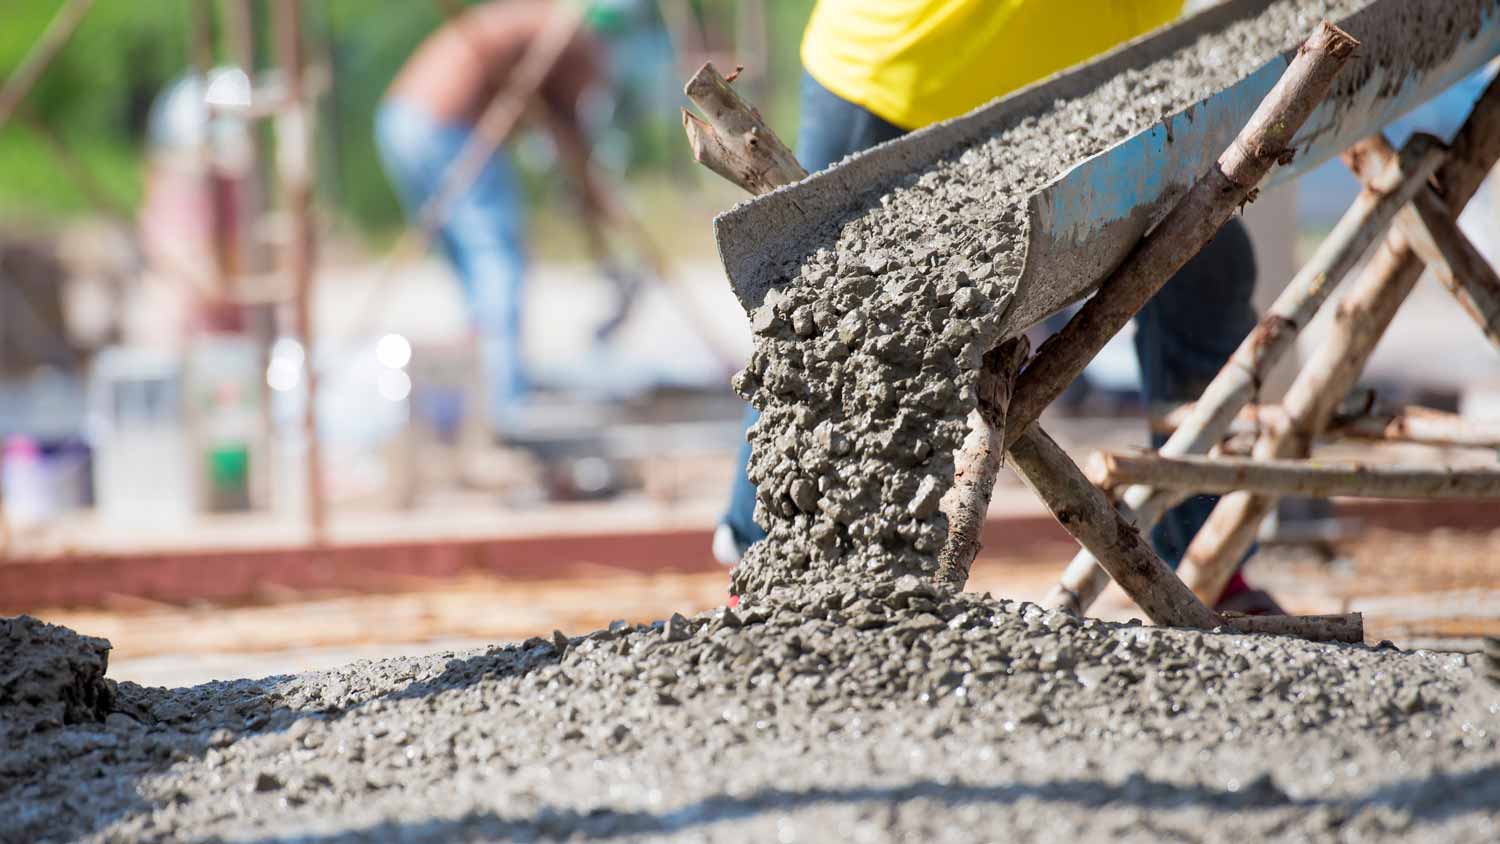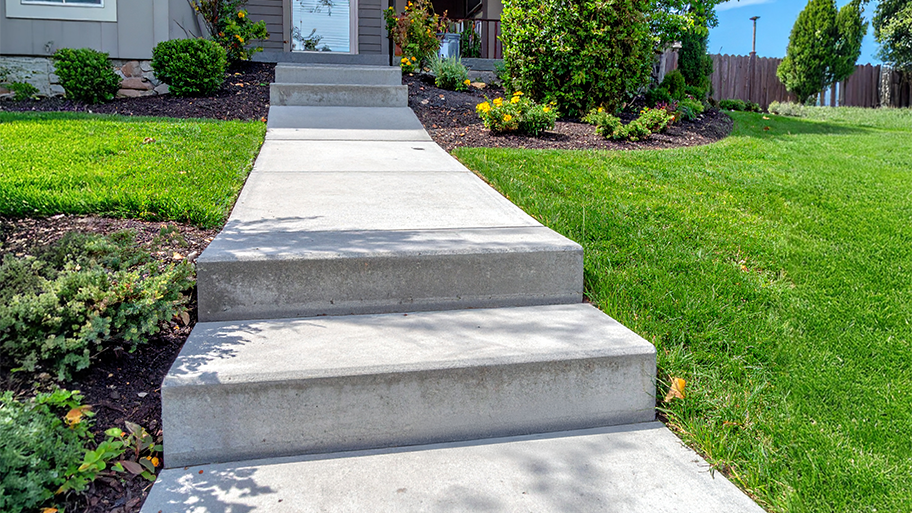
Whether you’re planning on putting in a concrete driveway, patio, or staircase, use this concrete delivery cost guide to get an accurate estimate.
Here’s what you need to know when working with concrete, from mixing to molding to pouring


While working with concrete can seem intimidating at first, understanding the basics of mixing, finishing, and staying safe can take you far in your home project endeavors. Here are nine quick tips and tricks to help you become comfortable working with concrete and conquer your next concrete project.
Between lifting bags of gravel, mixing materials, and transporting the mixture in a wheelbarrow, working with concrete can be a labor-intensive project. Protect yourself by keeping your back straight and lifting with your legs when lifting heavy materials.
Concrete can also cause chemical burns, so be sure to wear the proper protective clothing, such as long sleeves, pants, waterproof gloves, protective safety goggles, and high rubber boots. You’ll also want to wear goggles and a face mask when sanding concrete to prevent inhaling concrete dust. If concrete dust or the mixture comes in contact with your skin, wash immediately with warm water and soap.
If you need to remove old concrete while completing your project, look up your local guidelines on how to dispose of concrete. There may be specific landfills that will accept concrete or local businesses willing to collect it.

Did you know that the weather makes a difference when working with concrete? Before you start your project, make sure the climate conditions won’t affect your chance to get strong, smooth concrete as an end result.
When temperatures are below freezing, the water in the mix can freeze and expand, causing cracks in the concrete. In warmer temperatures above 80 degrees Fahrenheit, water in the mix can evaporate. This may cause concrete to shrink or crack.
The optimal temperature to pour concrete is about 60 degrees Fahrenheit. If you’re working on your project in the summer, work in the early morning hours to avoid hotter temperatures in the afternoon.
There are different types of concrete mixtures you can choose, depending on the project's needs. Each mix has a different strength, setting time, and optimal project use. Here are three of the most common concrete mixes and how they’re used:
Fast-setting concrete mix: This type of concrete mix works best if it’s a smaller project, such as supporting a fence or mailbox post.
High-strength concrete mix: Use this mix when you need the concrete to be extra durable and sturdy. This type of mix is typically used for foundations, footers, and heavy equipment bases.
All-purpose concrete mix: As the name suggests, this kind of concrete mix does it all. Use this for making repairs, pouring concrete sidewalks, or creating steps.

Your project mold can make all the difference in a clean-looking concrete project. A mold holds the mixture in place while the concrete forms and hardens. The biggest tip to keep in mind is choosing a sturdy mold. Avoid using cardboard or another porous material since it will be unable to hold the mixture in place and could disintegrate into the concrete mix. The best molds are made from melamine or wood so the concrete stays put within the mold’s frame.
You can include additives or admixtures in concrete to increase the performance of the concrete mixture. Some concrete admixtures increase the mixture’s strength, slow or speed up the setting process, or increase the freeze-thaw durability to make concrete more workable. Pick the additive that best fits your project’s needs and follow the directions for adding it to your concrete mixture. Most additives are added before or during the mixing process.
As you begin to make concrete, it is essential to keep the water-to-concrete ratio in mind. Too much water and the mix will be too runny to fit into the mold. Adding too much water also reduces the strength of the concrete.
On the other hand, too little water causes the mix to be clumpy and difficult to smooth. Concrete should have a consistency similar to cookie dough. As a general rule, 80 pounds of concrete mix will require about 3 quarts of water. Always start with less water and gradually add more until your mixture reaches the ideal consistency.

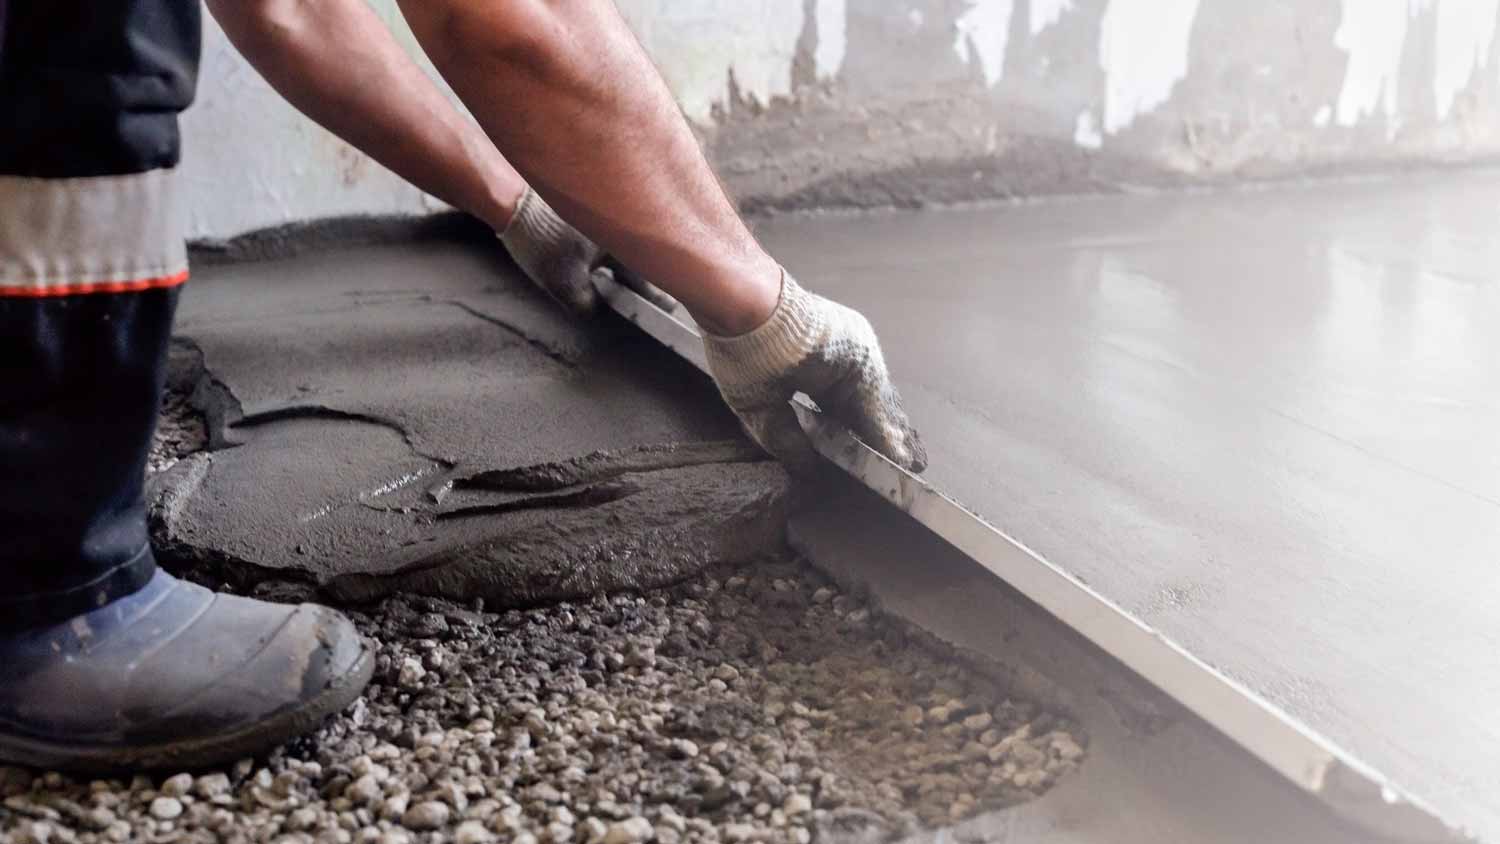
If you want your concrete project to be level and smooth, you’ll need to use a screed when working with concrete. Screed your project after pouring concrete but before finishing the surface.
A screed levels the concrete and removes excess mixture from the edges. You can use a 2-by-4 to screed concrete if you have one on hand, but an aluminum screed tool is a better option since it is perfectly straight and won’t chip or splinter. Aluminum concrete screed tools often come with handles for more control, and you can buy them at your local hardware store.
A large area of poured concrete is likely to crack. To control those cracks and where they show up, you can make planned cuts into the concrete to allow the cracks to form underneath the surface. These preplanned cuts are called control joints.
Not sure how to cut concrete? Cut control joints at a quarter of the total thickness of the concrete slab (1 inch deep for a 4-inch pour) and placed at distances 24 to 30 times the thickness of the slab. A 4-inch pour should have control joints placed every 8 feet to 10 feet.
For most concrete projects, control joints should be cut six to 18 hours after the project has been poured. Avoid cutting after 24 hours, as that can damage the concrete slab.

Concrete doesn’t have to be boring. Don’t be afraid to give your project some personality! There are multiple ways you can add some pizzazz to your concrete finish, from stamps to concrete dyes. For example, you can use a liquid color in your mixture if you want to add color to your project. Simply add the liquid color to the water first and then stir it into the dry concrete mix.
Let all the bleed water evaporate before finishing your concrete. This can take anywhere from 20 minutes to four hours.
After you’ve poured the mixture, use an orbital sander or sandpaper to sand the concrete to a smooth finish (sandpaper is a better option for small projects). Then, coat the area with a few light layers of sealant to make the surface easier to clean.
While working with concrete for smaller projects isn’t as hard as some may think, it is still a good idea to leave bigger, structural projects to the concrete professionals. If you are replacing your driveway, for example, consider contacting a concrete driveway expert near you to take on the job.
From average costs to expert advice, get all the answers you need to get your job done.

Whether you’re planning on putting in a concrete driveway, patio, or staircase, use this concrete delivery cost guide to get an accurate estimate.

Between the endless customizations and decades of strength, the cost of a concrete driveway may be worth the investment. Let's break down your bottom line.

Learn about how thick a concrete driveway should be and what factors affect the thickness before pouring concrete to ensure safety and durability.

Pouring concrete steps can add to your home’s curb appeal or lead out to your patio. Learn how to build concrete steps that will last.

Not sure what type of concrete is best for your project? Learn about the differences between fiber concrete versus rebar-reinforced to get started.

Did you know there are different types of pre-mixed concrete? Learn what project each type is best for, important terms, and more.