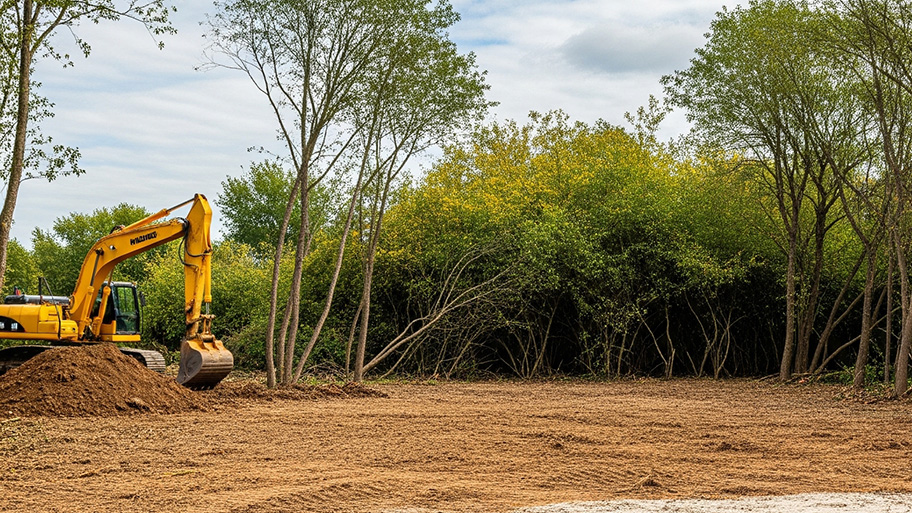
Going from an undeveloped plot to your dream home can be expensive. Learn about the cost to develop land and what factors can affect your total.
Turn down the heat with these solutions


Look no further if you’re looking for ways to cover your popcorn ceiling. We’ve gathered a few tried-and-true strategies for covering up the bumps and lumps that popcorn ceilings are known for. Some require a lot of work, while others take a bit of creativity and a few weekend hours. If you’re ready to get to work, check out these six ways to cover a popcorn ceiling.
If you’re not ready to remove your popcorn ceiling, you can install ceiling tiles to cover rather than remove it. Some DIYers choose to install ceiling tiles directly onto the popcorn ceiling using the proper adhesive, but if you do this, you risk of the adhesive not fully bonding with the ceiling because of the popcorn “bumps.”
If you want to install tiles over a popcorn ceiling, choose a track installation system with clips to connect the tiles to. This is also a good option if your ceiling isn’t level because you can shim the tracks to create a level place for the ceiling tiles.
If you’re working on a tight budget and don’t want to cover the popcorn ceiling removal cost, fabric is a budget-friendly alternative. Fabric draped across the ceiling can create a dreamy, soft vibe.
It’s a pretty easy DIY project that won’t create a big mess. To achieve this look, you’ll need to purchase enough fabric panels to cover the length of each wall. Then, attach the fabric to the top of the walls and pull it all to the center of the room, anchoring it with a light fixture or decorative medallion.

Instead of repairing a popcorn ceiling, you can create a barnwood ceiling using natural wood planks, screws, and nails. You can also choose ceiling planks from other materials like medium-density fiberboard (MDF), PVC, or styrofoam. There’s a wide range of colors and designs to choose from that can complement the look of any room.
The planks you choose will determine the installation method, such as a track system, adhesive, or screws and nails.

If you want a clean, smooth ceiling, you can cover the entire thing with drywall. You’ll install drywall across the ceiling, tape and mud the joints (which takes some practice), sand it down, and then paint it.
This method requires more skill than others listed here but will give you a clean slate and a fresh start. It’s also a good project for a popcorn ceiling remover near you who can cover it and make your ceiling look smooth and new. If you decide to remove the popcorn ceiling, always hire a professional to deal with potential asbestos and necessary repairs.
Leave asbestos removal to the professionals. Long periods of exposure to a high volume of disturbed asbestos can have harmful effects on your health, including serious diseases like asbestosis, mesothelioma, and lung cancer.
A skim coating will achieve the same result as installing drywall—a smooth surface. However, this project requires more attention to detail and patience. A skim coating is the application of a joint compound over the surface. But to achieve the smoothest result, you’ll need multiple coats, and you’ll have to wait for the previous layer to dry entirely before starting on the next. When the skim coating is finished, you can paint it or learn how to texture a ceiling.
If you prefer to remove your popcorn ceiling rather than using these DIY methods to cover it up, you can hire a popcorn ceiling removal company or a drywall contractor to do the job.
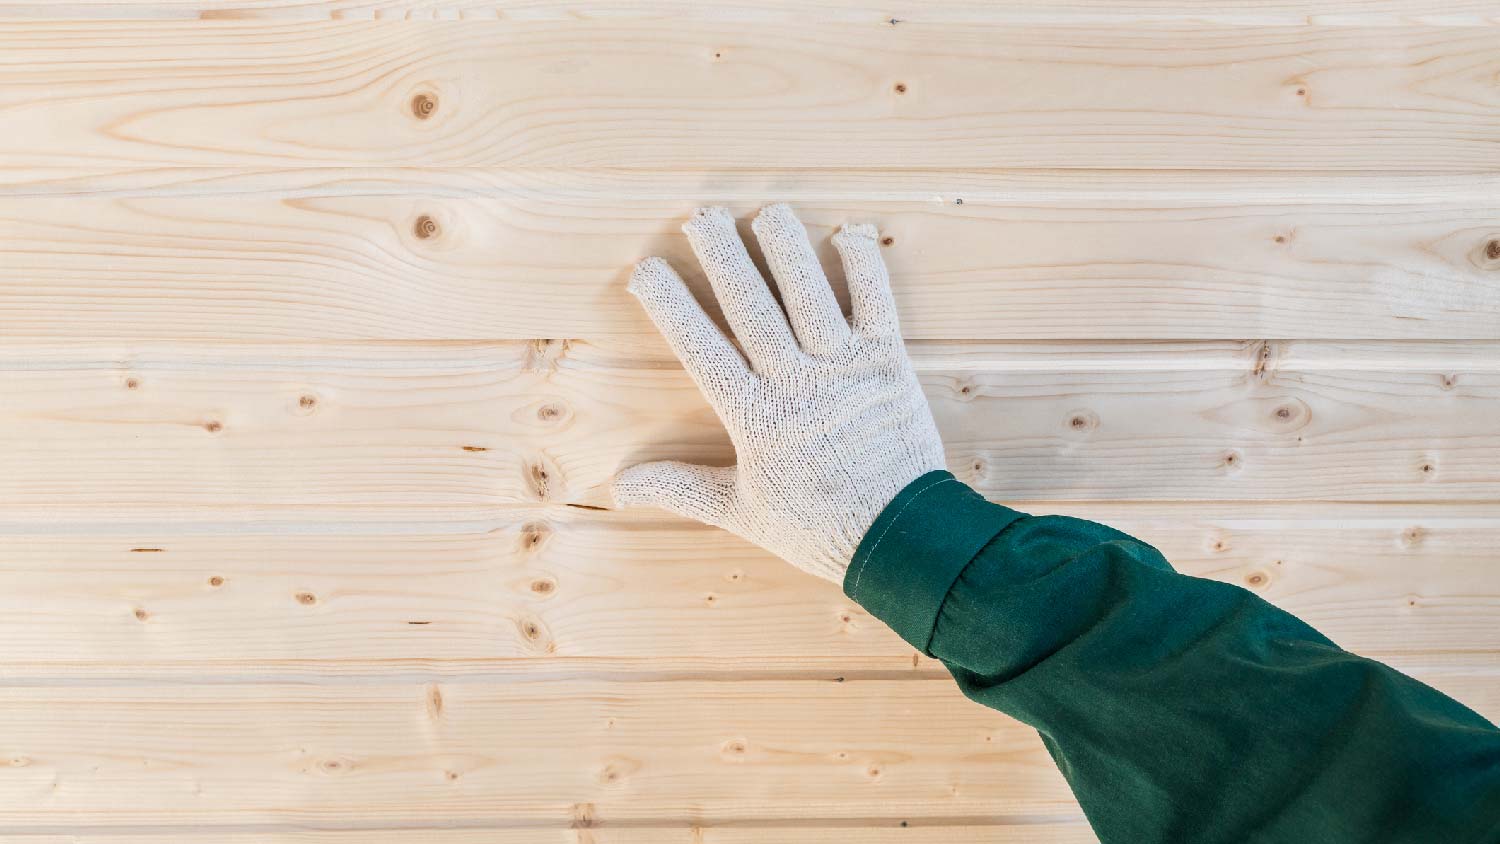
Rather than learn how to remove a popcorn ceiling, another option is to install tongue-and-groove boards on top of the ceiling. Tongue-and-groove boards or planks fit snugly together when you nestle the tongue into the groove. Installation is relatively simple, too. First, you’ll install parallel boards on the ceiling, secure them to the studs, and then install the tongue-and-groove planks by nailing them into the boards.
From average costs to expert advice, get all the answers you need to get your job done.

Going from an undeveloped plot to your dream home can be expensive. Learn about the cost to develop land and what factors can affect your total.
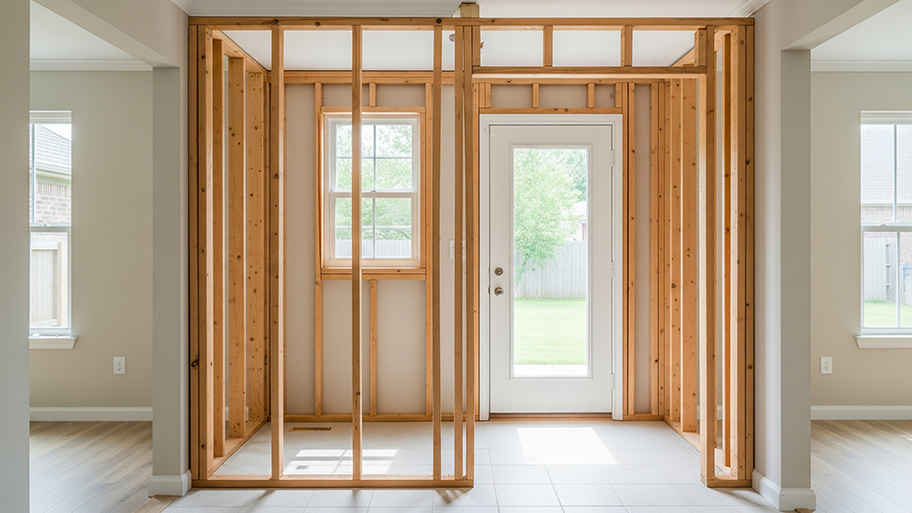
Sometimes, all your home needs is a new wall to make a room or provide an updated function to an existing space. Learn how much it costs to install a new wall.

Use our guide to calculate the cost to install a stair lift in your home. Prices depend on the type of stair lift, including the seat style and other advanced features.

Removing popcorn ceiling requires skills, patience, and safety measures. Use this guide on how to remove popcorn ceiling to get started on your project.

A textured, or “popcorn”, ceiling was once a popular home feature. Read on to learn about what a popcorn ceiling is and why it has mostly gone out of fashion.

Stair stringers support every step you take. From wood to steel, open to closed—explore the different types, materials, and whether to DIY or hire a pro.