Discover the average furniture reupholstery cost, what impacts pricing, and how to save money on your next project. Get expert tips and cost breakdowns.
Acrylic paint can brighten up tired wood furniture, here's what to know when breaking out the paintbrush


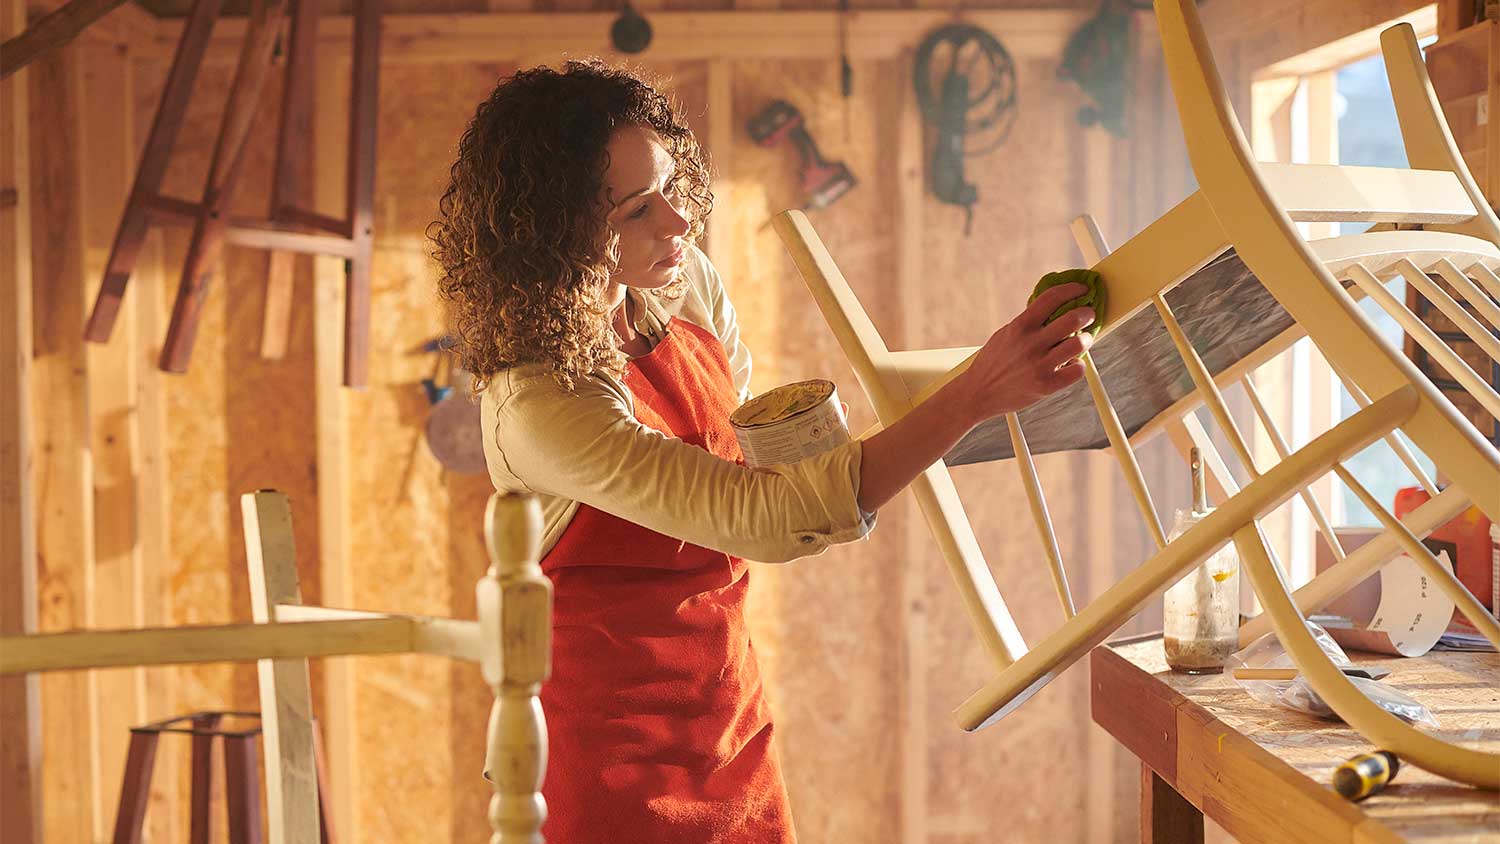
Your home is filled with decor that reflects your unique taste and style. But the ordinary wear-and-tear of daily life can take a toll on the wood furniture you so lovingly selected and arranged. A fresh coat of acrylic paint can revitalize aging wood surfaces and give your pieces new life. But before you begin, there are some tips you should know to bring out the best in your painting project and keep furniture looking great afterward.
DIYers love acrylic paints because of the wide variety of bold colors available. After all, who doesn’t adore a canary yellow Adirondack chair or a farmhouse red picnic table?
But that doesn’t mean that all acrylic paints are created equal. Because acrylics are water-based paints, they’re not entirely waterproof. That means they’re as durable as other types of paint, such as latex or enamel, particularly in outdoor environments.
So if you are looking to paint wooden patio furniture, for instance, you’ll need to choose an acrylic paint specifically designed for outdoor use.
Acrylic paints on wood generally look better and last longer when applied to a clean, smooth surface. Before you paint, give your wood a good cleaning. In most cases, plain old soap and warm (not hot) water should do the trick.
If your furniture is particularly soiled, especially patio furniture that has been exposed to the elements, then you may need something a bit stronger, such as a laundry detergent and warm water solution. You can also use a scrubby sponge or soft-bristled brush to remove stubborn dirt and grime.
Your wood furniture has probably accumulated its fair share of nicks, dents, scrapes, and scratches over the years, so it’s a good idea to give the surface a good sanding with fine-grit sandpaper. This is especially important for getting rid of those heavy dents and dings that can ruin the look of your finished paint job and significantly decrease the durability of your finish.
If you’re covering existing paint, sanding the surfaces will help eliminate any loose or peeling paint. Sanding will also help fade the original color, giving the new coat of paint a truer hue with a bit less work on your part.
The prep work involved in any paint job is probably the most tedious part of the project, and it can be tempting to skip the preliminaries to get to the good stuff. But when it comes to using acrylic paint on wood furniture, take your time to get the details right so that your hard work lasts.
Select a primer that’s made specifically for use with wood surfaces. And if you’re painting outdoor furniture, then your primer needs to also be suitable for exterior use. A primer helps your paint stick, giving it a smoother and more even finish, as well as covering any underlying finishes or blemishes.

You have several options for applying your paint, from brushes and rollers to sprayers. If you have a smaller surface area, or your furniture has lots of nooks and crannies to cover, then painting with a brush or sprayer is probably your best bet. For larger surfaces, a roller can give you a more uniform finish in less time. In general, the fewer the brush strokes, the smoother and more even the coat.
Once the first coat of paint is dry, revisit your furniture piece to see if another coat or any touch-ups are needed.
You might think that once you’ve done all the prepping and painting, that your project is finished. But when it comes to acrylic on wood, you need to take things one step further and apply a sealant. An outdoor varnish applied with a brush or sprayer is another sealant option for patio furniture or other exterior wood surfaces.
A sealant may not be quite as essential for indoor wood furniture because it isn’t exposed to the punishing conditions that outdoor furnishings face. However, applying a coat of polyacrylic or polyurethane to seal your painted indoor wood furniture can’t hurt, especially if you have rambunctious little ones who constantly mistake your furniture for a jungle gym.
From average costs to expert advice, get all the answers you need to get your job done.

Discover the average furniture reupholstery cost, what impacts pricing, and how to save money on your next project. Get expert tips and cost breakdowns.

Wondering how much it costs to refinish a table? Get average prices, cost factors, and tips to help you budget and choose between DIY or hiring a pro.

Get transparent furniture refinishing cost information and learn average prices, cost factors, and ways to save before hiring a pro and starting your project.

Explore Murphy bed installation costs, including average prices, key cost factors, and tips to save. Learn what impacts your project budget and make informed decisions.

Discover custom furniture costs, including average prices, cost factors, and tips to help you budget for your next custom piece.

Discover average furniture repair cost, key price factors, and ways to save. Get expert tips to budget for your next furniture repair project.