The cost to paint the interior of a house in Orlando, FL depends on size, layout, type of surface, and more. Learn what factors can influence your total in this guide.
Peel back the layers to solve your peeling paint problem
Paint can peel if you don’t prepare the surface properly before painting.
Choosing the right paint quality and type for your project will help avoid issues.
Old or sun-damaged paint can peel, in which case it’s time to refresh your walls.
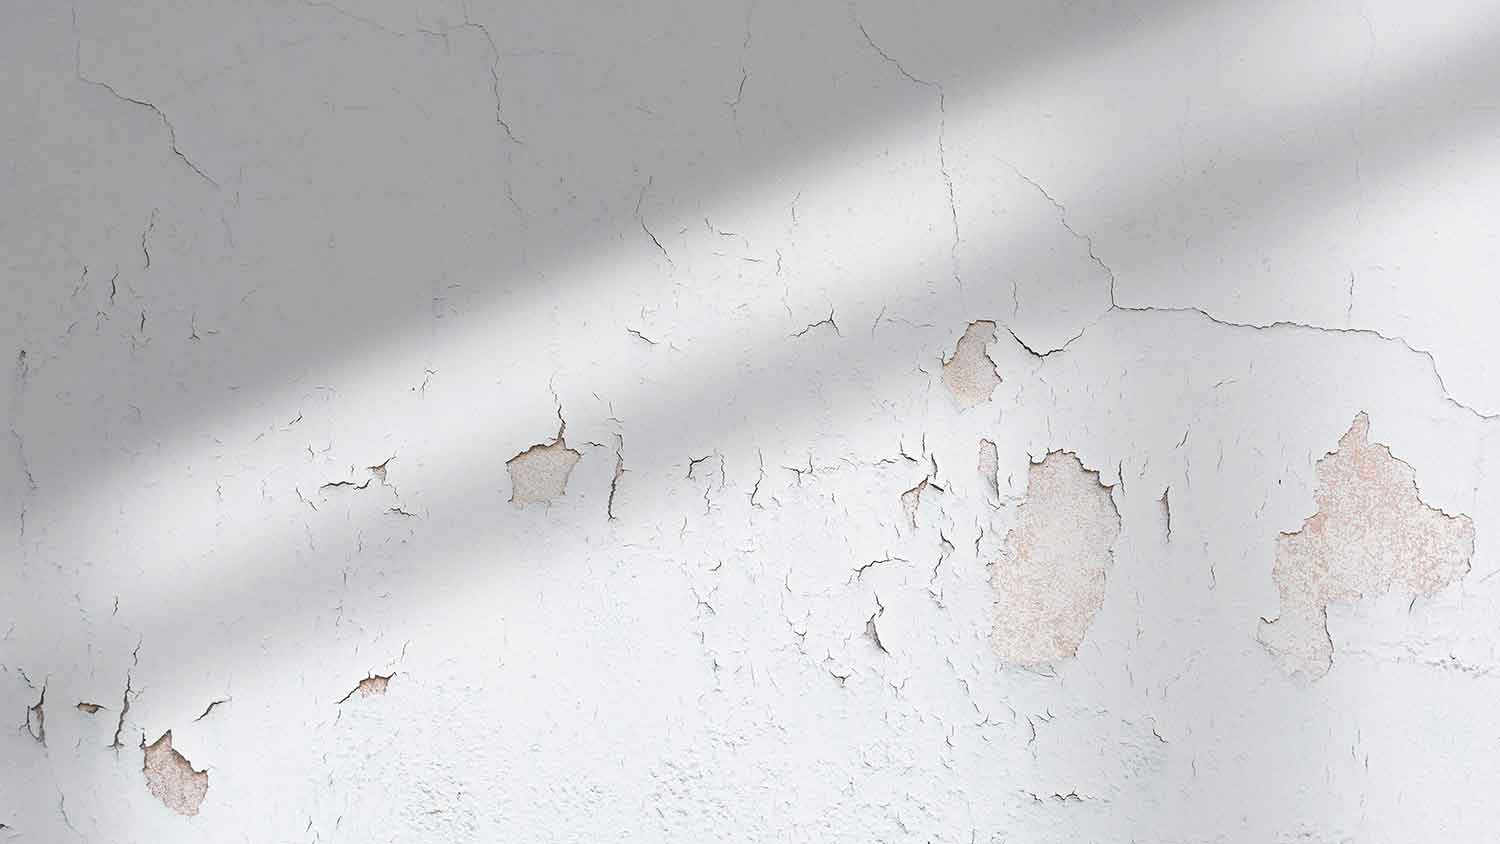
If paint is peeling off the walls in your home, the first thing you should do is figure out why so that you can correct the issue. Sometimes, it comes down to wall preparation and paint selection, and other times, it might just be time for a new coat. In this guide, we’ll explain why your paint might be peeling so that you can implement the proper solution.
One common reason for peeling paint is improper wall prep. For your paint to adhere well to the wall, you need to make sure you’re applying over a clean, dry surface. If you paint over dirty or moist walls, you’ll inevitably run into some issues with peeling or flaking paint. If poor prep is your issue, you may notice just an area or two where the peeling is occurring rather than over the entire surface.
Unfortunately, the best option for fixing this issue is to do a light sanding of all the areas that are peeling and then apply new paint over the prepared surface. This can be a time-consuming process, but it will ensure the new paint adheres properly and prevent recurring issues. If you don’t have the time or want to ensure the new paint lasts a lifetime, call an interior painting company near you for help.

Applying paint over a moist surface will trap the moisture beneath the new coat. Moisture prevents the paint from adhering properly, so if your walls are wet or damp while you’re painting, you’ll very often see peeling shortly after the project is complete. This can be an issue in humid climates but also in bathrooms and kitchens where moisture from hot water and steam keeps the paint wet after application.
Moisture issues often also cause blistering or “alligatoring,” which is when the surface cracks and looks like an alligator’s skin. If you know you have a plumbing leak around the affected area, it could be the resulting water damage affecting the paint.
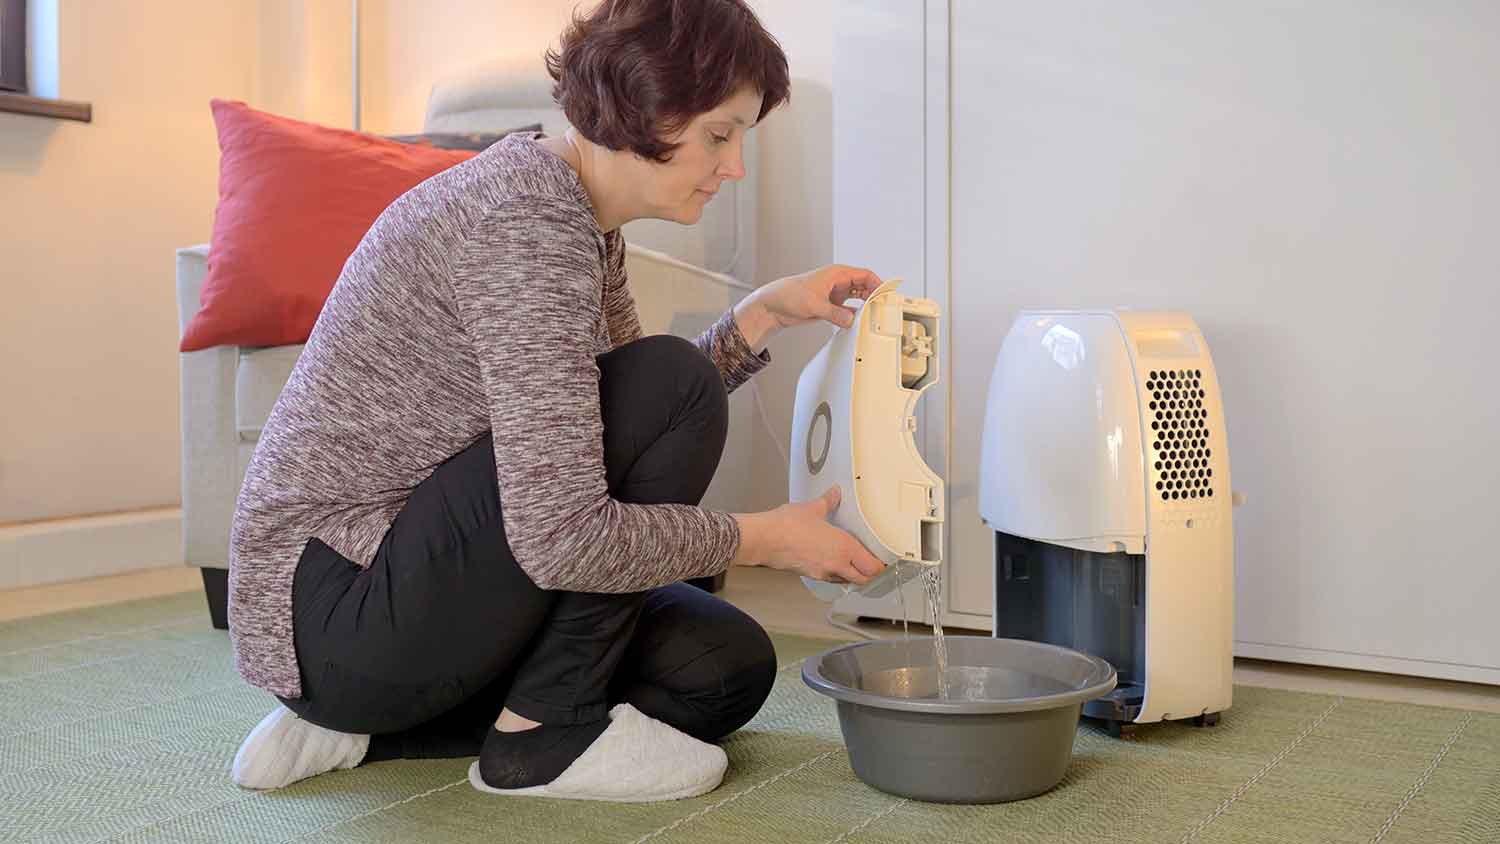
To fix this paint problem, you’ll have to sand down the peeling areas with high-grit sandpaper, reduce the humidity in the room using a dehumidifier, and then reapply paint over the affected areas.
Paint warranties cover defects like peeling, blistering, or cracking for a specified period, often 2-5 years. It's essential to read the fine print, as coverage may vary based on the type of paint, application method, and environmental factors.
Sometimes, the moisture that prevents paint from adhering properly can come from the paint itself. If you rushed the application and didn’t allow for enough drying time between coats, the moisture from the first coat can cause peeling in the second coat.
You may notice blistering or alligatoring if this is your problem, or peeling when you remove the painter’s tape after the application.
The best way to fix peeling paint if this is your underlying issue is to sand down the affected areas and repaint once you’re sure the surface is dry.

Not all paint is created equal—low-quality paint often has less flexibility than higher-quality paint. It might be tempting to save some money by choosing a lower-quality product, but this can often lead to having to redo the work soon after the initial application.
Identifying low-quality paint as the underlying issue can be challenging, but if you know you went with a more affordable option, the quality could be the culprit.
If you think this might have been the issue in your living space, sand down the affected areas, clean the walls, and reapply a high-quality latex paint once the surfaces are dry.
Choosing the wrong type of paint for your project can also lead to peeling and cracking. Latex paint is typically the best option for interior walls, as it maintains some flexibility even as it ages, so it’s less likely to peel and crack as the wall behind it expands and contracts with changes in humidity. It’s an especially good option in humid or arid climates, where building materials can shrink or expand more readily.
Using oil paint on wood surfaces can also lead to cracking, as oil paint hardens and doesn’t flex, while the wood behind it will expand and contract quickly in response to changes in humidity. Another common issue results from applying latex paint over oil-based paint, as the latex paint will expand and contract, but the wood paint below won’t. This combination can quickly lead to the top surface cracking and peeling.
The solution to all of these issues is to sand down the waxy layer on top of oil paint and apply the right type of paint over it. It’s a good idea to address your entire wall surface and not just the affected areas, as the peeling will likely occur again if you just touch up the parts that are peeling. Make sure you also choose the right type of paint for the surface you’re covering, and hire a painter to help if you’re unsure how to proceed.

Having an interior that’s soaked in natural sunlight is appealing, but UV rays from the sun can damage your paint and lead to peeling over time. UV-A rays, specifically, will dry out the resin in your paint and cause it to harden. If the wall behind it then expands or contracts with changes in humidity, you’re likely to see some peeling. If you’re also noticing the color fading around the affected area, sun damage is likely the culprit.
The best course of action in this case is to sand the peeling areas, clean the walls, and apply a new coat of paint once the surface is dry. Choose a UV-resistant interior paint to prevent the problem from occurring again. While it might be a tempting solution, avoid using exterior paint inside, as this can lead to other issues.
From average costs to expert advice, get all the answers you need to get your job done.

The cost to paint the interior of a house in Orlando, FL depends on size, layout, type of surface, and more. Learn what factors can influence your total in this guide.

A new coat of paint can transform your bathroom and improve home value. Learn about the cost to paint a bathroom and what factors affect the total.

The cost to paint the interior of a house in Austin, TX depends on size, layout, type of surface, and more. Learn what factors can influence your total in this guide.

When selecting the best paint for garage walls and ceilings, consider aesthetics, durability, ease of cleaning, and conditions in the space.

Knowing what paint to use for your bathroom ceiling can prevent mold and mildew. Learn how to choose the best paint for your bathroom ceiling.

A faux wall finish done correctly can transform an entire room. Discover the pros and cons of 15 of the most popular faux painting techniques with Angi.