The Ultimate DIY Beginner’s Guide to Remodeling Furniture
Old furniture in need of a glow-up? It’s time for a total makeover


A local pro will charge between $300 and $5,000 to restore old furniture.
Many homeowners remodel furniture on their own to save on labor costs.
Refinishing will let you pick a wood color that pops.
Swap out legs, hardware, and upholstery for a totally brand-new look.
Antiques can be really valuable, so consult a professional before remodeling.
In a perfect world, we’d be able to buy new furniture to fit our every interior design whim. Unfortunately, most of us are on a budget. That’s where furniture remodeling comes in. Bored of your boring old dresser? Love that cozy armchair you inherited from your grandma but can’t stand the print? You can give your old furniture new life with a makeover.
A furniture restoration professional will charge between $300 and $5,000 to restore old pieces, but remodeling is something you can do at home; sometimes all it takes is a little spray paint and creative flair. This guide can help you get started.
The Three Main Types of Furniture Restoration
Not every restoration is a full-fledged remodeling—sometimes, it’s just a much-needed refresh. The three main types of furniture restoration are:
Rejuvenating: If your furniture is in good condition, you may just want to clean it, wax it, and give it a good polish.
Repairing: This includes minor furniture repairs (like covering scratches with a furniture marker) to more extensive repairs (like fixing the broken legs of table).
Refinishing or reupholstering: Furniture refinishing (for wood furniture) or reupholstering (for fabric) is a total remodel. You remove the existing finish or fabric, make repairs, and then add a new finish or fabric.
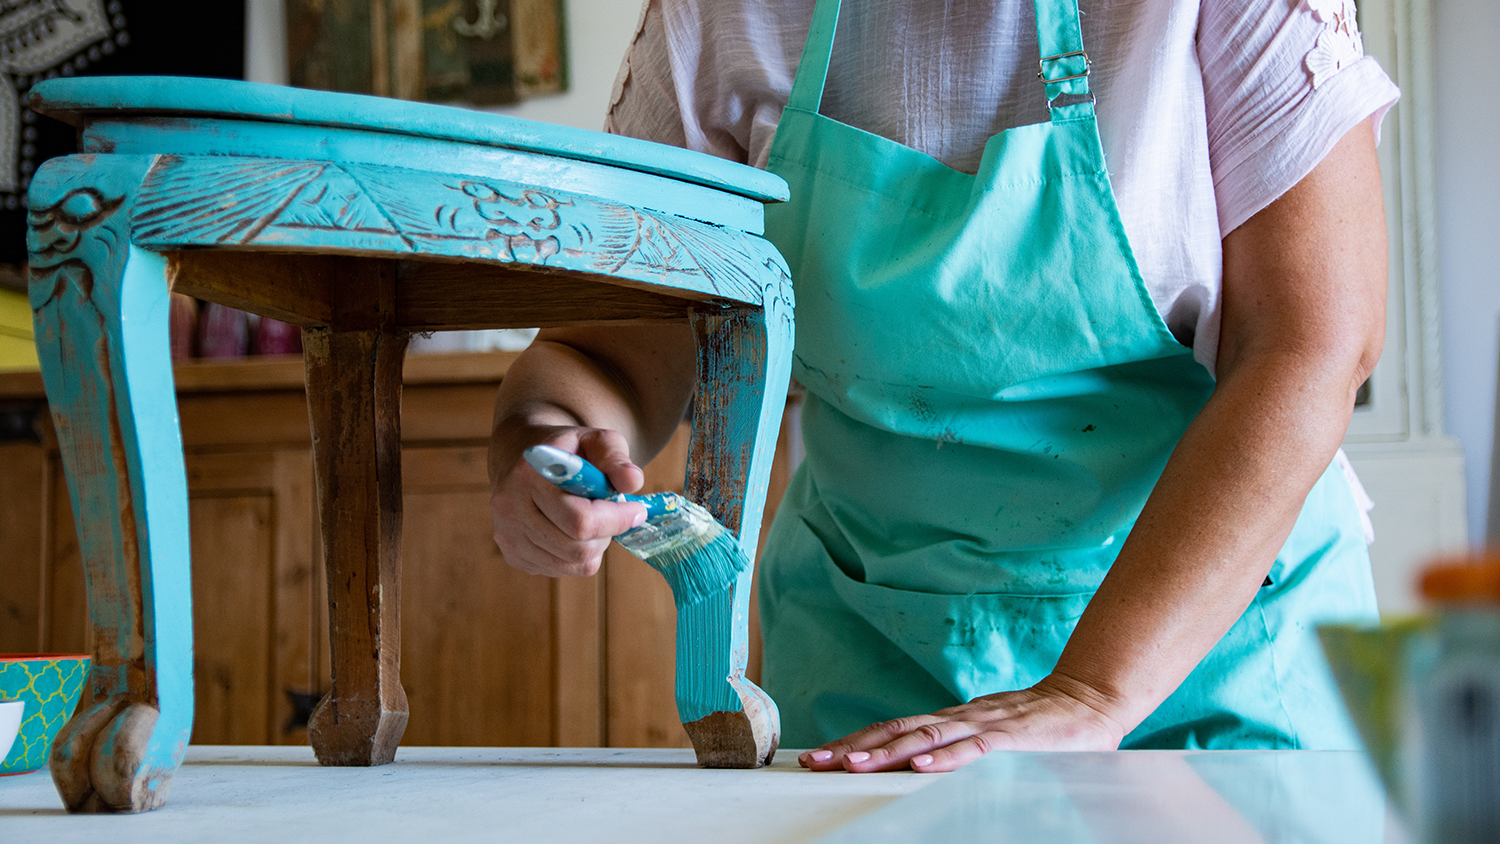
You know the phrase, “if it ain’t broke, don’t fix it?” That’s not quite true for remodeling furniture. While furniture repairs can restore precious antique pieces, it’s all about personal preference. If you want to paint that end tabe you got a yard sale bright blue, paint it bright blue.
Should I Refinish My Furniture?
What type of furniture can be refinished? Just about anything, but just because you can doesn’t mean you should. Before you start, ask yourself the following questions:
Is It Well Built?
Pieces that predate the 1960s are usually made from solid wood, which means they’re probably worth restoring. New furniture isn’t usually solid wood; it’s often made from lower-quality materials like particleboard or laminate. You may want to replace it rather than remodel it.
How Much Is My Furniture Worth?
Antique furniture (pieces that are more than 100 years old) usually has a substantial value—especially if it dates back to the 1800s. You may want to use some easy DIY tips to restore your antique furniture rather than completely renovating it. And before you jump into a remodel, consult an antique expert.
Is It Painted?
If your furniture is painted, there might be a reason—paint is often used to cover up stains or dents. Don’t expect gorgeous wood grain under old, painted furniture.
Does It Need Repairs?
Some furniture repairs are simple to DIY, but others require a local expert furniture refinisher. Consider what needs to be repaired before you take on the project yourself.
What Will It Look Like When It’s Refinished?
When you’re remodeling furniture, will you use a new color of paint or stain? This can drastically change the appearance. Consider how it will look with your other decor.
How to Prepare Your Furniture For Refinishing
Whether you’re flipping furniture or revamping an heirloom, preparing your piece for refinishing is an essential step to remodeling. Basically, you’re undressing the wood—you want to strip it down completely, so you can dress it back up in brand new clothes.
1. Clean Your Furniture
Before refinishing, clean your furniture with dish soap, warm water, and a cloth rag. Dry it thoroughly with a towel.
2. Strip the Wood
You’ll have to remove the old finish before you can apply a new one. Strip the wood with a power sander (an orbital sander, random orbital sander, or belt sander work well) and fine-grit sandpaper.
Instead of sanding your piece, you may want to use a chemical stripper. This is available at most hardware stores. To strip your wood with a chemical stripper:
Put on rubber gloves and protective eyewear.
Take your furniture to a well-ventilated area.
Apply the chemical stripper per the manufacturer’s instructions.
Peel it off with a scraper.
Rinse (if you chose a wash-away chemical stripper).
After chemical stripping, you’ll still want to sand your furniture to remove slight imperfections. Use tack cloths to wipe up any sanding dust.
3. Apply Grain Filler
If your wood has an open grain, you’ll need to apply grain filler (also known as wood filler) to achieve a smooth finish. This is a creamy paste available at most hardware stores.
4. Apply Wood Sealant and/or Primer
Sealant will protect your wood and create a base for the finish. Apply per the manufacturer’s instructions, allow the sealant to dry completely, then sand with a fine-grit sandpaper.
If you’re planning to paint your furniture, you’ll also need to use a primer. Some primers are meant to be used with a sealant, while others are used instead of a wood sealant. Make sure your primer is compatible with your paint.
Staining Highlights the Wood’s Natural Texture
Stain will change the color of your furniture without losing the natural wood grain. You can apply it right over your wood sealer. Wood stains come in all different colors (even ones like blue or green). The types include:
Oil-based wood stains: a long-lasting finish ideal for hardwoods
Water-based stains: breathable and ideal for softwoods
Gel stains: vibrant stain best for woods that are prone to blotting
Painting Furniture Provides a Pop of Color

Paint is a versatile tool that can transform a neutral item into a brand new accent piece. The best type of paint for furniture depends on the project—but remember to think about the finish. Paint can have a matte, eggshell, satin, semi-gloss, or high-gloss sheen.
Latex Paint
Comes in a wide range of colors and finishes (from matte to high-gloss)
One of the most affordable and widely available types of paint
Prone to chips and scratches, so best for pieces without heavy use
Chalk Paint
Matte finish that dries quickly
Ideal for creating a vintage look
Difficult to conceal brush strokes
Prone to scratches and marks
Milk Paint
Non-toxic and environmentally friendly
Thinner texture that’s ideal for a distressed or antiqued look
Dries quickly and can be used on most surfaces
Can be patchy and prone to scratches
Acrylic Paint
Easy to apply and comes in rich colors
Satin, glossy, or matte finish
Non-toxic, durable, and stain-resistant
Can be expensive to paint large pieces
Oil (or Alkyd) Paint
Very durable and won’t easily chip or scratch
Easy to apply and can adhere to oil or water-based paint
Banned in some states because it emits high levels of VOCs
Long drying times and more expensive than most furniture paint
Finish Your Furniture with Wood Finish
After you stain or paint your furniture, you can finish it for extra durability. Finishes are either surface types or penetrating types. Surface finishes sit on the surface of the wood, while penetrating finishes sink into the pores and fibers.
Polyurethane
Highly durable and water-resistant
Range of finishes, from matte to satin
Water-based polyurethane can be used on bare, stained, or painted wood
Oil-based polyurethane is more durable but shows water spills
Ideal for a clear coat that won’t yellow
Shellac
May need to be thinned with alcohol before applying
Hard, protective finish ideal for antiques or fine furniture
Quick-drying but may break down with moisture
Lacquer
Glossy or matte finish that’s stronger than shellac
Doubles as a wood sealer
Does not perform well over old paint or varnish
Must be applied in a well-ventilated area
Penetrating Finishes
Includes wood oils like tung oil, linseed oil, and lemon oil
Takes longer to dry than surface finishes
Not as durable as surface finishes
Low-sheen, decorative finish
What About Reupholstering?

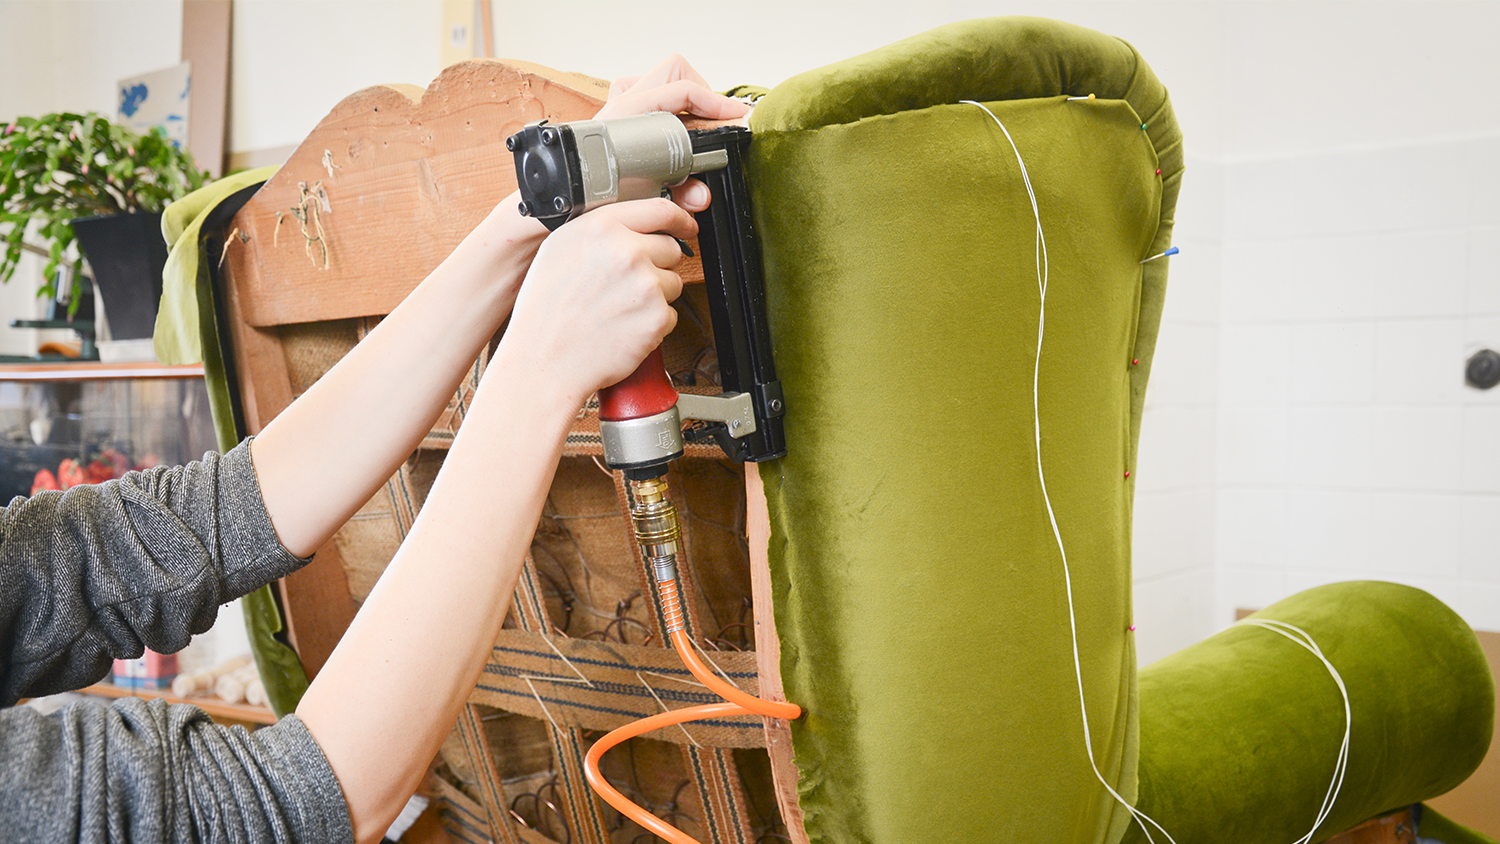
Reupholstering is a popular method of remodeling fabric furniture. Basically, you replace damaged or outdated padding and fabric with brand new padding and fabric.
Reupholstering can transform a dated thrift store find into a mid-century modern masterpiece, but it’s an involved process. Unless you know your way around a sewing machine, you may want to leave it to a professional upholsterer near you. They’ll have the right tools for renovating furniture on hand.
Try Swapping Out The Hardware
Changing the hardware is one of the simplest DIY projects for remodeling furniture. You can easily detach most hardware (like handles and knobs) using a screwdriver. Replace it with a funky vintage find, something more unique, or something higher quality.
New Legs Go a Long Way
You may be able to easily unscrew the legs on some furniture, and swapping them out can make it feel like a brand new piece. Purchase legs to mix and match different styles (like putting modern hairpin legs on a vintage piece) or match your antique reproductions by time period (like putting flemish scroll legs on a baroque-style desk).
Don’t Underestimate the Spray Paint
When in doubt, spray paint gives the excitement of furniture remodeling without the fuss. It’s hard to recommend spraying a priceless antique, but it can be used to quickly remodel inexpensive furniture that’s not worth the effort to refinish. Spray paint adheres to most surfaces and gives a smooth coat. It’s one and done (though prepping and priming is always recommended for longevity).


- Bathroom Remodeling
- Kitchen Remodeling
- Shower Installation
- Stair Installers
- Bathtub Installation
- Shower Door Installers
- Kitchen Design
- Bathroom Design Companies
- Storm Shelter Builders
- Pre-Made Cabinets
- Kitchen Refacing
- Bathtub Replacement
- Ceiling Tile Installation
- Suspended Ceiling Companies
- Residential Designers
- Stair Builders
- Remodel Designers
- Shower Enclosures
- Home Renovations
- Kitchen Renovations
- Garage Remodeling
- Grab Bar Installation
- Walk-In Tub Installers
- Tub to Shower Conversion
- Balcony Contractors
- How to Paint Furniture to Get Beautiful, Long-Lasting Results
- Drab to Fab: Should I Restore or Refinish Furniture?
- How to Fix Water-Damaged Wood Furniture
- 6 Tips to Follow When Painting with Acrylics on Wood Furniture
- How to Remove Paint from Wood: 7 Methods to Try
- These Are the Best Types of Paint for Outdoor Furniture
- 11 Tips for Furnishing Your Patio to Make It Fresh, Fun, and Inviting
- How to Handle Furniture During House Painting
- Should You Reupholster or Buy New Furniture?
- 9 Easy DIY Spray Paint Ideas Even Beginners Can Do


