Crawl space insulation costs vary by size, insulation type, and material. Read this guide to learn how much your crawl space insulation could cost.
Remove old blown-in insulation from your attic and prep for your next upgrade


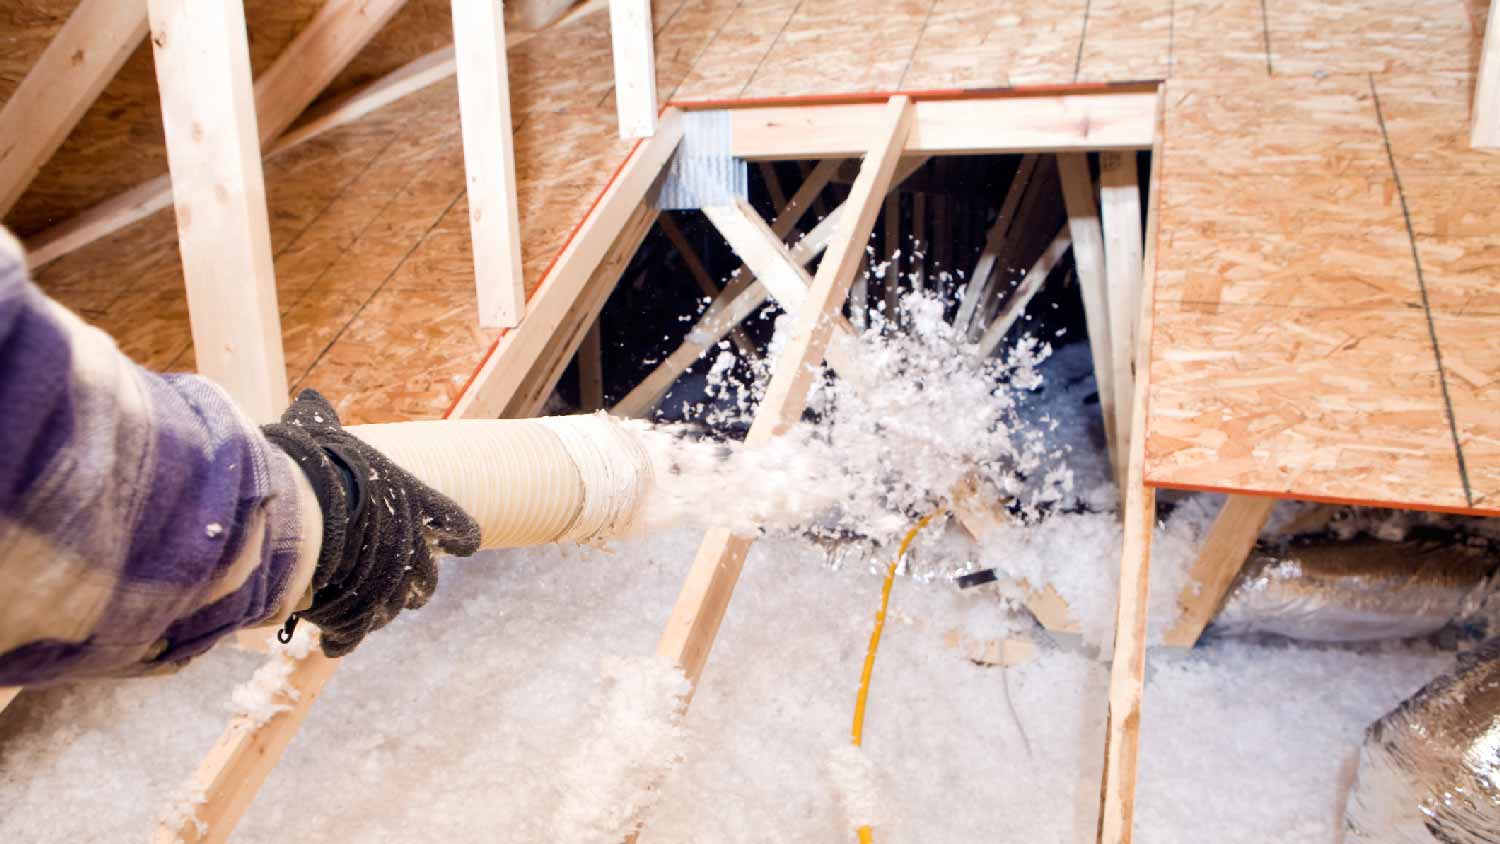
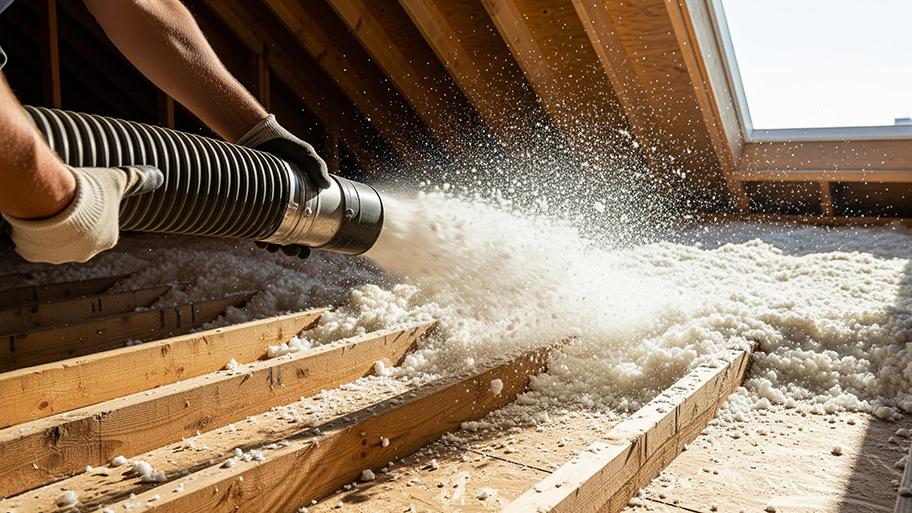
Many homes use blown-in insulation in the attic as an efficient way to insulate unfinished attic spaces, especially since they are easy DIY projects. Except it is not the easiest to remove compared to other insulation methods. The following steps will provide a brief outline of what it takes to remove blown-in insulation. If it sounds like too much of a hassle, hire a professional.
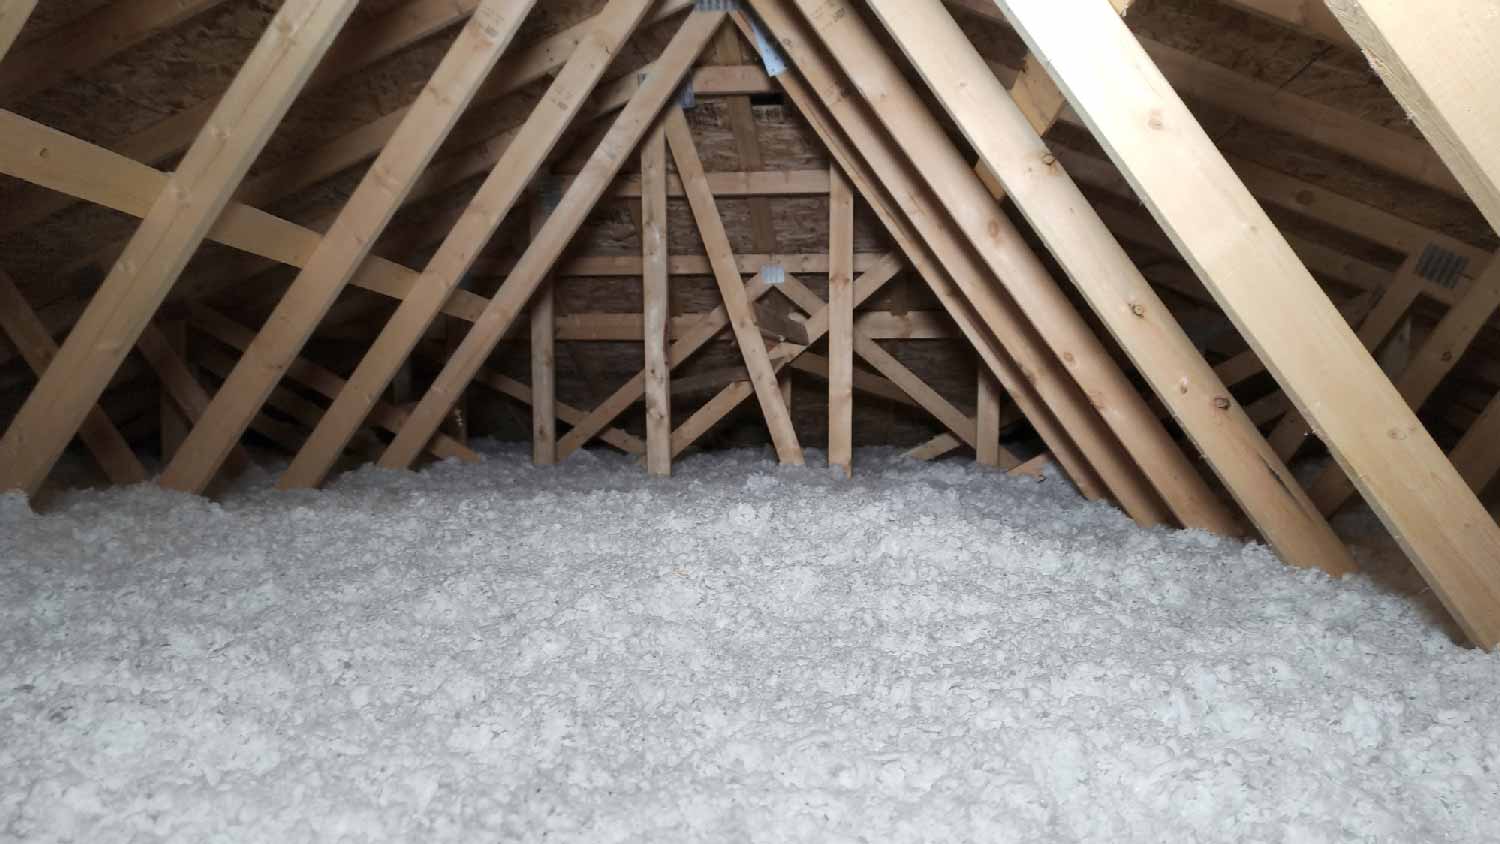
Unfortunately, you can’t just leave blown-in insulation as-is. The primary reason is that blown-in insulation in the attic fails over time, regardless of the attic condition. As your insulation settles due to material weight, the insulation loses its effectiveness and calls for a redo or upgrade.
Another reason making it necessary to remove blown-in insulation is deterioration due to mold growth or wildlife damage. If your attic has suffered water damage caused by a leaking roof, burst pipe, or moisture buildup due to temperature changes, mold can take over your insulation and eventually expand into the rest of the house. Similarly, wildlife may invade your attic and tear up your insulation. They also leave urine and feces behind, contaminating your indoor air, and even causing mite, flea, and tick infestations.
Finally, you may simply have decided to finish your attic space. In that case, you must remove blown-in insulation and choose a different insulation method to make that space useable.
On average, insulation removal costs about $0.75 to $2.30 per square foot, or $800 to $1,700 for a regular attic space. There will be additional costs if you want the contractor to put in new insulation.

Almost all red flags on blown-in insulations are noticeable, including:
Packed insulation settled to the ground
Strange odors or wet smell
Visible traces of mold, such as black streaks or spots
Animal droppings or brown discoloration
Holes and tears caused by wild animals
If unattended, failing insulation can turn into a structural problem, which would be much more difficult and costly to fix.
Most equipment needed to remove blown-in insulation is rentable from your local hardware store. If you are removing by vacuum, you should rent a high-powered insulation vacuum with an extra hose and connectors for better accessibility. You also want to rent a good set of protective gear. If you are using a vacuum, ask a friend to keep an eye on the equipment to ensure proper operation. Also, set up a trash area outside with tarps before you start so you have a dedicated disposal area.
Secure a good entry point for the vacuum from outside of the house since the machinery is usually inside a truck or trailer. Make sure you have plenty of available hoses for extension, and the vacuum can reach every corner of the attic.
Next, remove any obstructions in your way. This includes any nails or objects above your head due to the limited space your attic provides. You would also want to disconnect the power in your attic prior to removing any insulation. If there are ducts, pipes, and wiring lying around, move them somewhere along the edge so they stay out of your way.
Using a vacuum is the easiest way to remove blown-in insulation from your attic. Move the vacuum as close to the entry point as possible. If you have to run the hose through your living space, lay down a protection layer to make a path. Your friend should stay by the machinery to ensure everything runs properly.
Segmenting your attic into smaller zones will help you stay on track. It also makes the tedious process more tolerable. You may need to pause to allow the machine to breathe, address clogging and leakage in the hose, or further move obstructions out of the way. Once you’re done, dispose of all insulation bags and move the hose out of the house so you can return the machine.
Vacuum in a molded room is never a good idea. If your insulation is compromised by mold or harmful chemicals released from animal waste, using a vacuum may spread the contamination to the rest of your house.
Additionally, water-damaged blown-in insulation tends to turn into chunks, which can clog your vacuum hose. The same goes for insulation compromised by animal waste or with foreign objects such as broken wood, plaster, and tape wrapped inside.

You should wear full protection gear regardless of your method of removal. Blown-in insulation is a health hazard even under the best circumstances. Regardless of the material used, breathing in insulation can cause respiratory issues. If the insulation is compromised by mold or other problems, the health threats become more dangerous.
To remove blown-in insulation by yourself, you will need the following protection:
Coveralls
Protective gloves and eyewear
Ear plugs if you choose to use a vacuum
Respirator
Headlamp
Once you’ve completed the project and disposed of all waste, remove all protection and thoroughly clean yourself.
According to Angi data, 54% of homeowners report having blown-in insulation in their attics. Considering that it’s easy to install in an unfinished attic, it’s not surprising that most homeowners would use this type of insulation. But since walls need to be closed to effectively install blown-in insulation, it’s not the most common choice during new building construction and remodels.
Hiring a professional blown-in insulation contractor is the most ideal given the technical difficulties, time consumption, and potential health risks that come with removing blown-in insulation. Working with a professional also means any underlying issues, such as wood rot or mold growth, will also be addressed. Overall, removing blown-in insulation is an intermediate-to-advanced project and can be challenging for most.
When looking for the proper contractor, always shop and compare before making a decision. Most contractors can help you lay down new insulation, finishing two jobs in one project.
From average costs to expert advice, get all the answers you need to get your job done.

Crawl space insulation costs vary by size, insulation type, and material. Read this guide to learn how much your crawl space insulation could cost.

The cost to insulate a basement varies based on materials, size, and other factors, as well as how much of the work you wish to perform yourself.

The cost of blown-in insulation costs varies depending on the type of insulation, labor, prep work, and more. Learn more about the cost factors in this guide.

Learning how to install insulation requires technique, patience, and safety training. Read our guide to see if it’s a DIY project you should take on yourself.

The best insulation for your basement depends on the insulation location, budget, and climate. Here’s what you need to know about insulation for basements.

Your home likely loses most of its heat through your attic. This guide on different types of attic insulation can help you boost your home’s efficiency.