Insulating your attic can massively improve your home’s efficiency and reduce electric bills. Use this guide to find out what attic insulation will cost you.
The right type of attic insulation will help keep costs down and boost home efficiency


There are five primary types of attic insulation available for residential use, and each is ideal in specific situations and climates. Choosing the best one for your home will help maximize energy efficiency, thus saving you money on energy bills over time.
In this guide, we’ll discuss the upsides and drawbacks of different types of attic insulation, including how much they cost and whether or not they are DIY-friendly to install.
According to the EPA, homeowners can save significantly on monthly heating and cooling bills by installing insulation in their attics, floors, and crawl spaces.

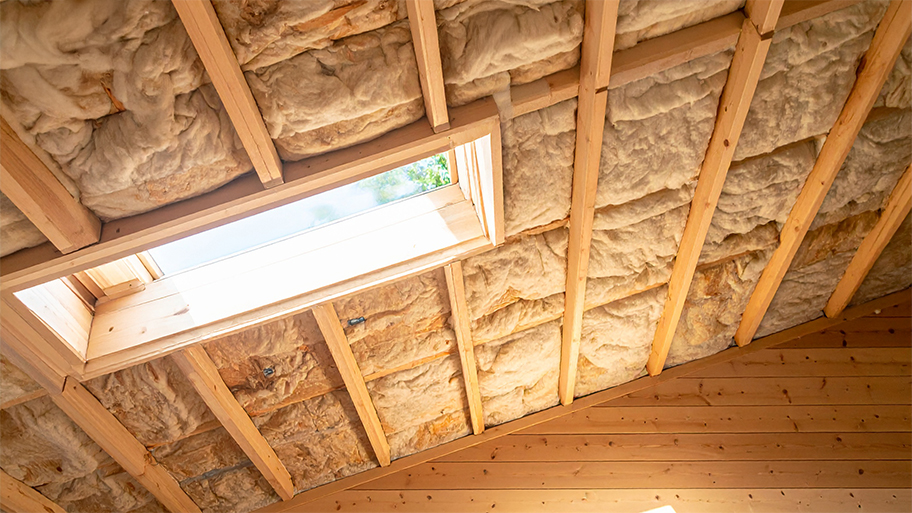
Fiberglass batt insulation often comes to mind when you picture home insulation. It’s also called blanket insulation because it comes in thick sheets, usually with a paper-like material on either side of a pink center made of fiberglass. Fiberglass batt insulation is what builders use to insulate behind exterior walls. You can either buy these in rolls or pre-cut sections.
Fiberglass batt insulation is, by far, the easiest to work with as a DIYer. But it has one of the lowest insulation R-values—between 2.2 and 3.2 per inch—of any of the attic insulation types. That means it is the least efficient at insulating your attic.
You can, however, boost insulation by using it between the floor joists and the roof rafters in your attic. You can even use it to insulate your attic door, which you can’t do with loose-fill insulation.
You can buy up to eight linear feet of fiberglass batt insulation for $60 to $240, depending on the brand and the R-value, which puts the per-linear foot price at between $7.50 and $34.
Hiring a professional to install the insulation for you will raise the per-linear foot price to between $10 and $40.
| Pros | Cons |
|---|---|
| DIY-friendly | Lower R-value than most types |
| Affordable | Fiberglass can irritate skin and lungs |
| Readily available | Least-efficient attic insulator |
Best for: Budget-conscious homeowners and DIY enthusiasts.
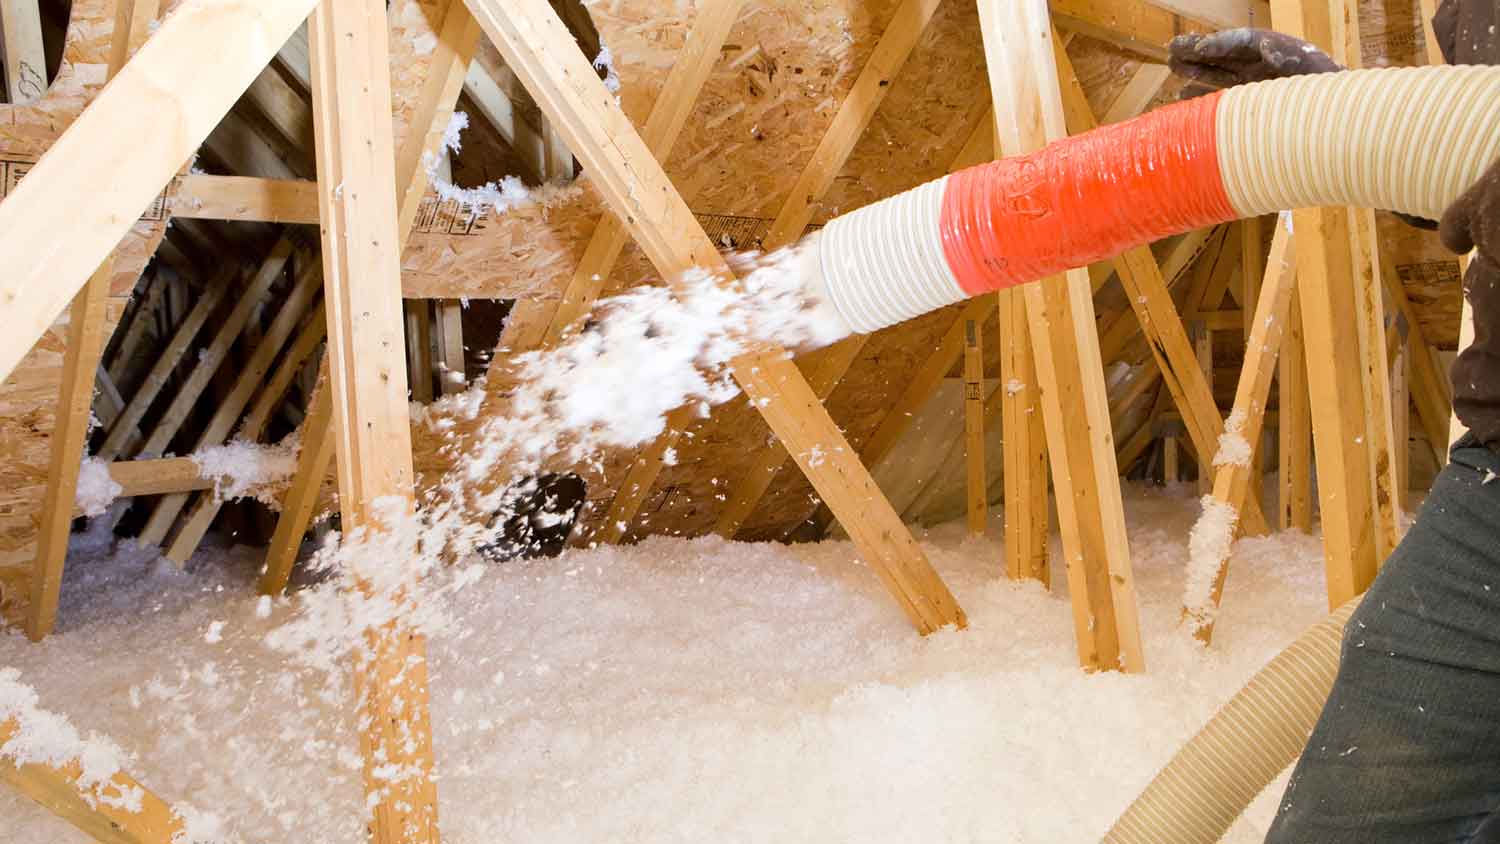
Blown-in fiberglass insulation is a loose type of insulation that you blow into the spaces between the rafters using an insulation blower. You can rent an insulation blower from your local hardware store, but you’d otherwise need a professional to handle this job for you.
Blown-in fiberglass insulation has a slightly higher R-value than batts, but it’s still relatively low compared to other options. Plus, the loose fill can settle over time, which means the insulative value gradually declines.
The typical cost of blown-in insulation made of fiberglass is between $0.50 and $1.25 per square foot for a DIY job or $500 and $1,250 per project, including the tool rental. Hiring a professional would cost between $1,700 and $2,500, on average.
| Pros | Cons |
|---|---|
| Simple installation | Lower R-value than most other types |
| Affordable | Settling can reduce insulative properties |
| Higher R-value than batts | Fiberglass can irritate eyes and lungs |
Best for: Installation in hard-to-reach areas.
According to Angi data, 54% of homeowners report having blown-in insulation in their attics. Other common locations for this essential home insulation are inside the walls and ceilings.
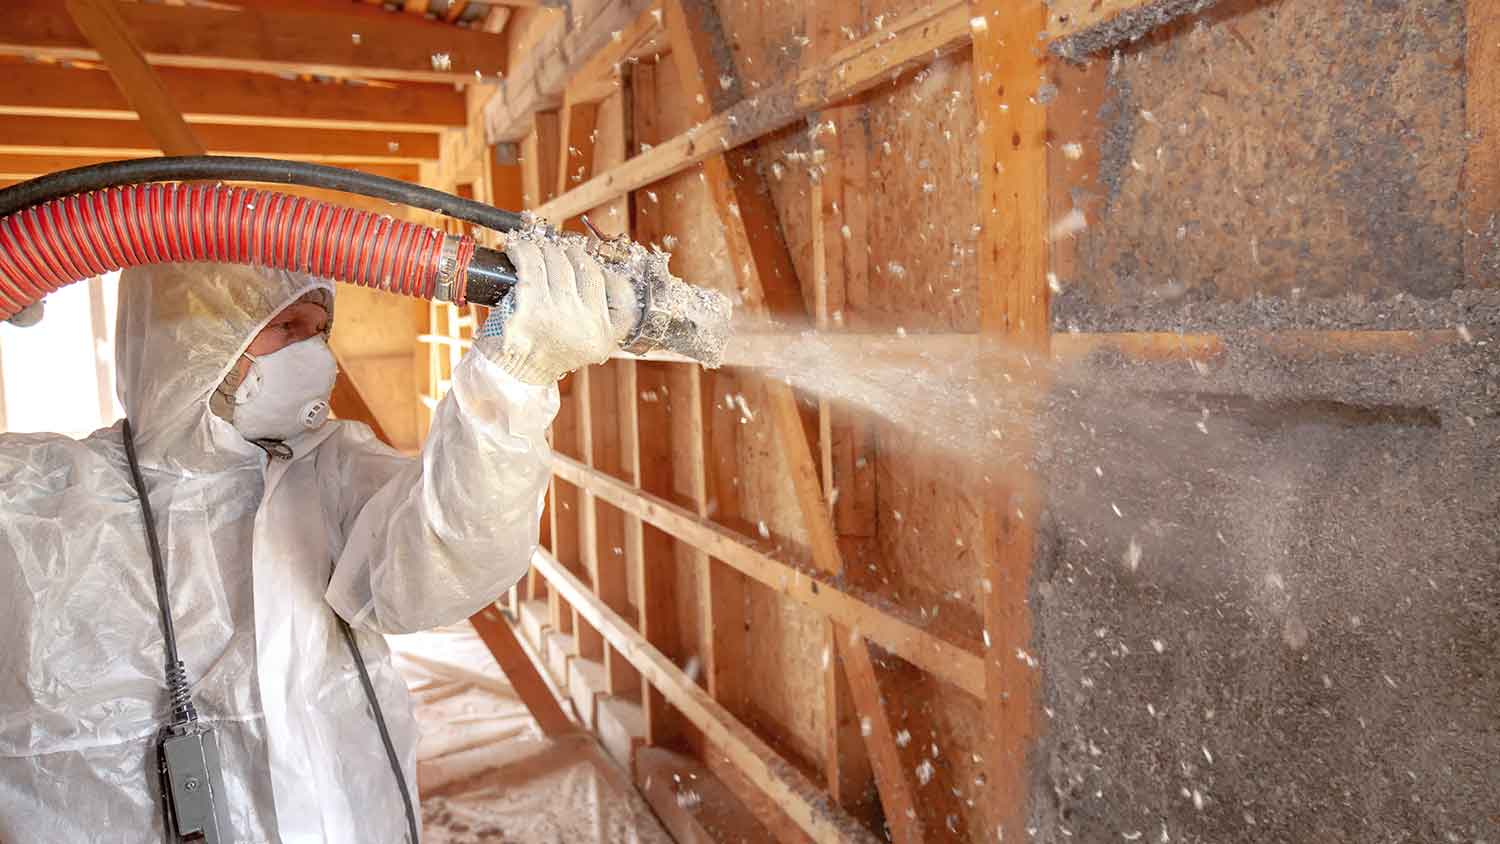
Blown-in cellulose insulation works similarly to blown-in fiberglass, with the difference being that the insulative material is made out of recycled paper rather than fiberglass. It’s a safer material to work with, as it doesn’t irritate your skin or lungs.
Most importantly, cellulose insulation has a significantly higher R-value than blown-in fiberglass insulation by depth, which means it is better for home efficiency and is more appropriate for colder climates.
Blown-in cellulose insulation done as a DIY project will cost between $0.80 and $1.75 per square foot or between $800 and $1,750 per project. Hiring a professional to install this type of attic insulation costs between $2,000 and $3,000.
| Pros | Cons |
|---|---|
| Higher R-value than fiberglass | Settling can reduce effective R-value |
| Relatively DIY-friendly | Can harbor mold if it gets wet |
| Made from recycled materials | Pricier than some other options |
Best for: Homes in colder climates.
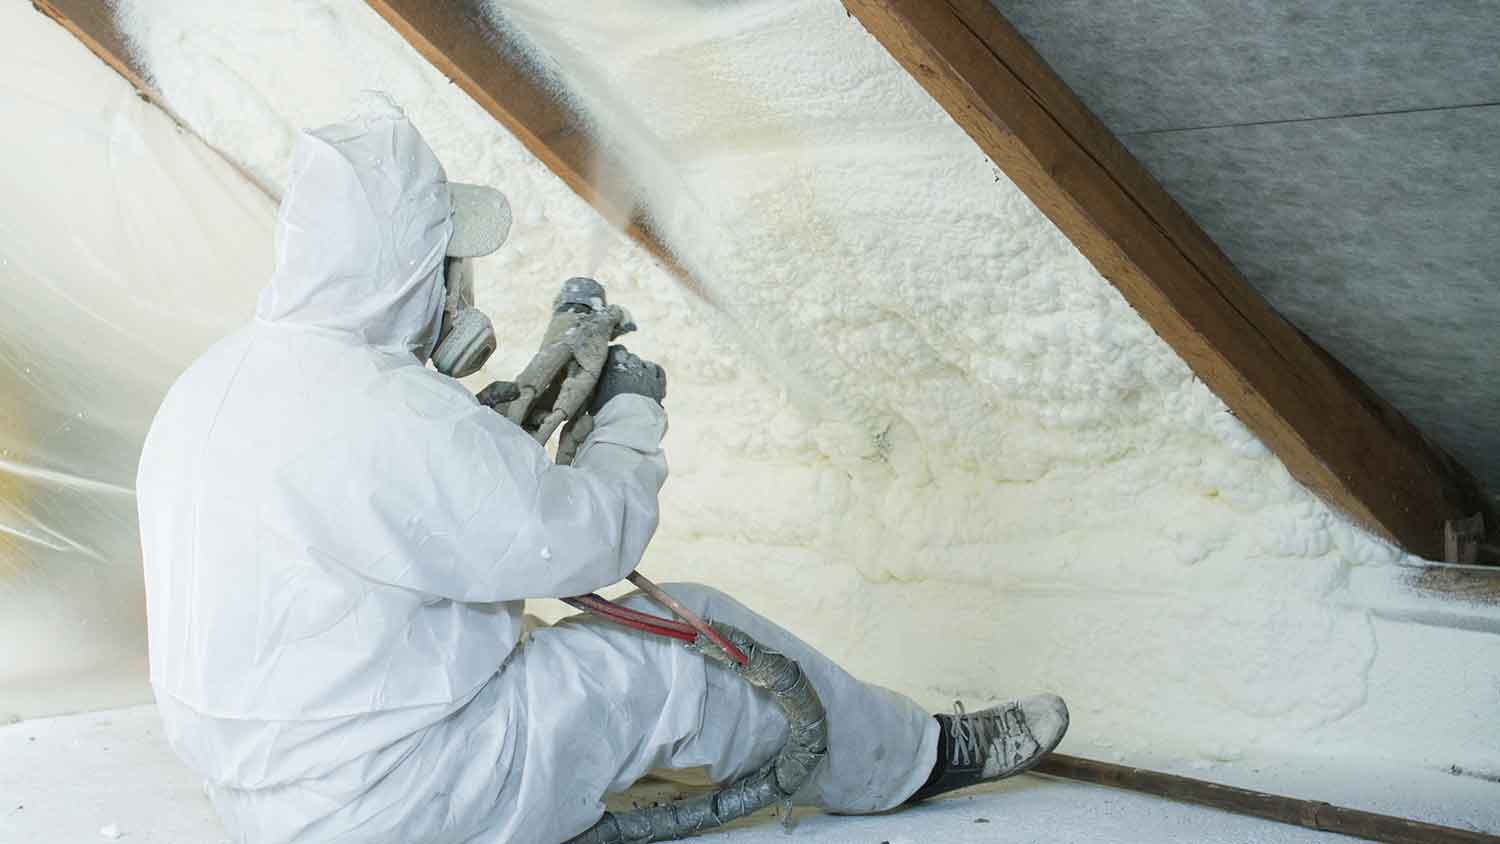
Spray foam insulation is one of the most insulative types of attic insulation, making it ideal for colder climates. It comes as a liquid and expands when it’s sprayed in between your attic rafters.
Applying spray foam insulation is involved and requires extensive experience, so it’s one of the only options we don’t ever recommend for DIY installation. It’s also the most expensive option, although its efficiency and longevity will help you recoup some of the costs over time via energy savings.
Spray foam is becoming increasingly popular in new construction primarily because of its efficiency. If you have home addition ideas, you can save some money by insulating both the addition and your attic at once.
Hiring an attic insulation contractor near you to install spray foam insulation will average between $1.25 and $5.00 per square foot or between $1,250 and $5,000 per project.
| Pros | Cons |
|---|---|
| High R-value up to 7.0 | Wet material is dangerous to touch and inhale |
| Lasts for decades | Requires professional installation |
| Adds structural stability to your home | Expensive |
Best for: Homeowners with a higher budget who are looking for long-term energy efficiency.
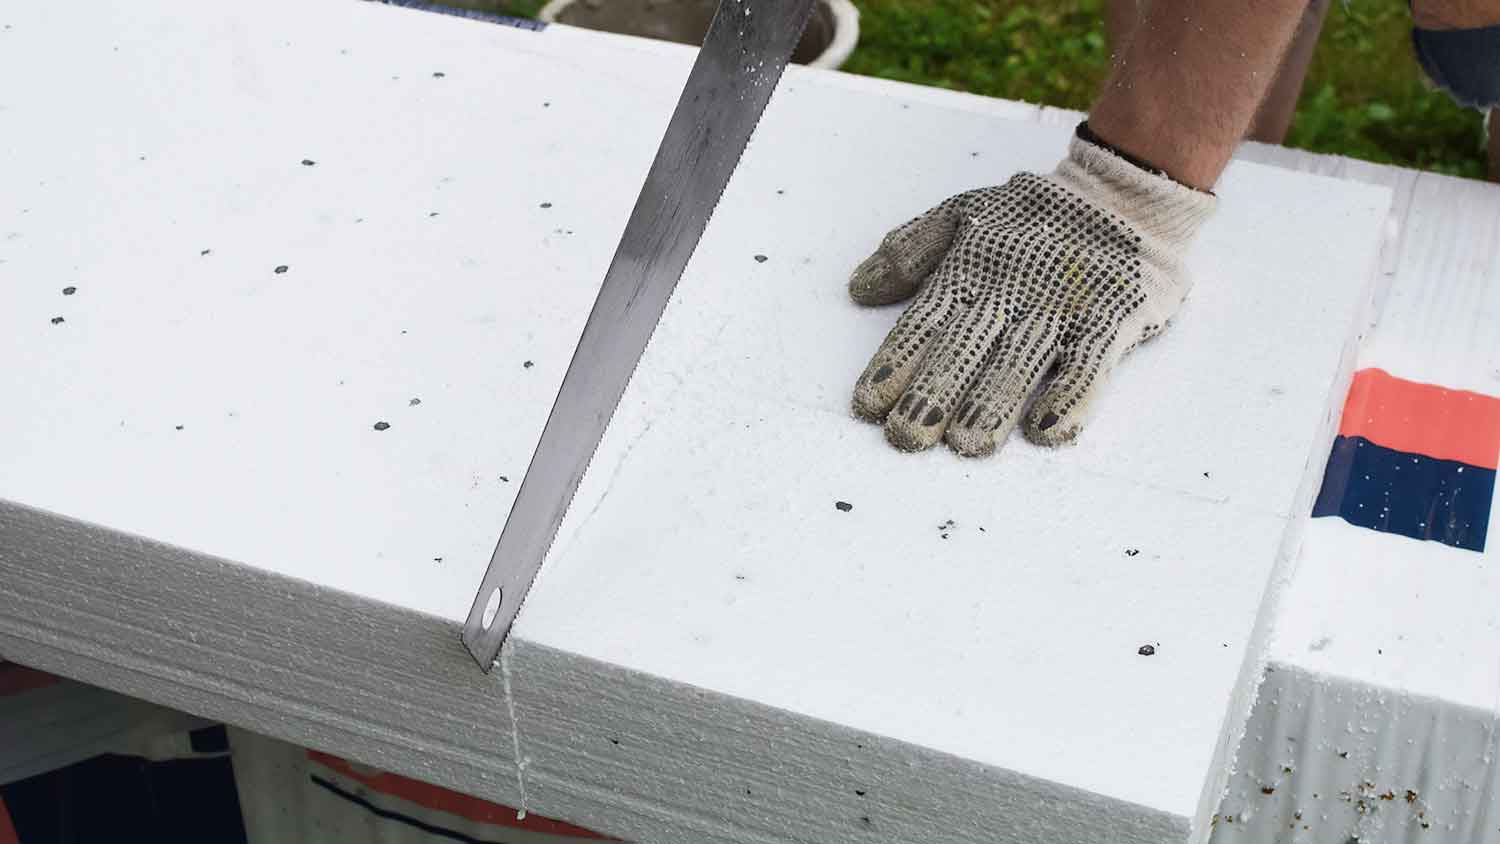
Rigid foam board is made out of foam plastics, including polystyrene, polyurethane, and polyisocyanurate. It comes in rigid boards, typically in 4’x8’ pieces that you can then cut to fit between your rafters. The installation process takes a long time because measuring and cutting need to be precise. Additionally, you need to seal gaps between your rafters and the boards with an expanding foam, which adds to the installation timeline.
The biggest upside to this insulation is the R-value, which is the highest overall. As such, it’s a popular option for roof insulation in an attic. However, rigid foam board is also one of the more expensive insulation options.
Installing rigid foam insulation yourself will cost between $1 and $1.50 per square foot or between $1,000 and $2,000 for an entire attic. Hiring a professional will cost between $2,000 and $4,000.
| Pros | Cons |
|---|---|
| High R-value up to 8.0 | Often requires additional sealing |
| Moisture-resistant | Installation is time-consuming |
| DIY installation is possible | Relatively expensive |
Best for: Homes in climates that require the highest R-value.
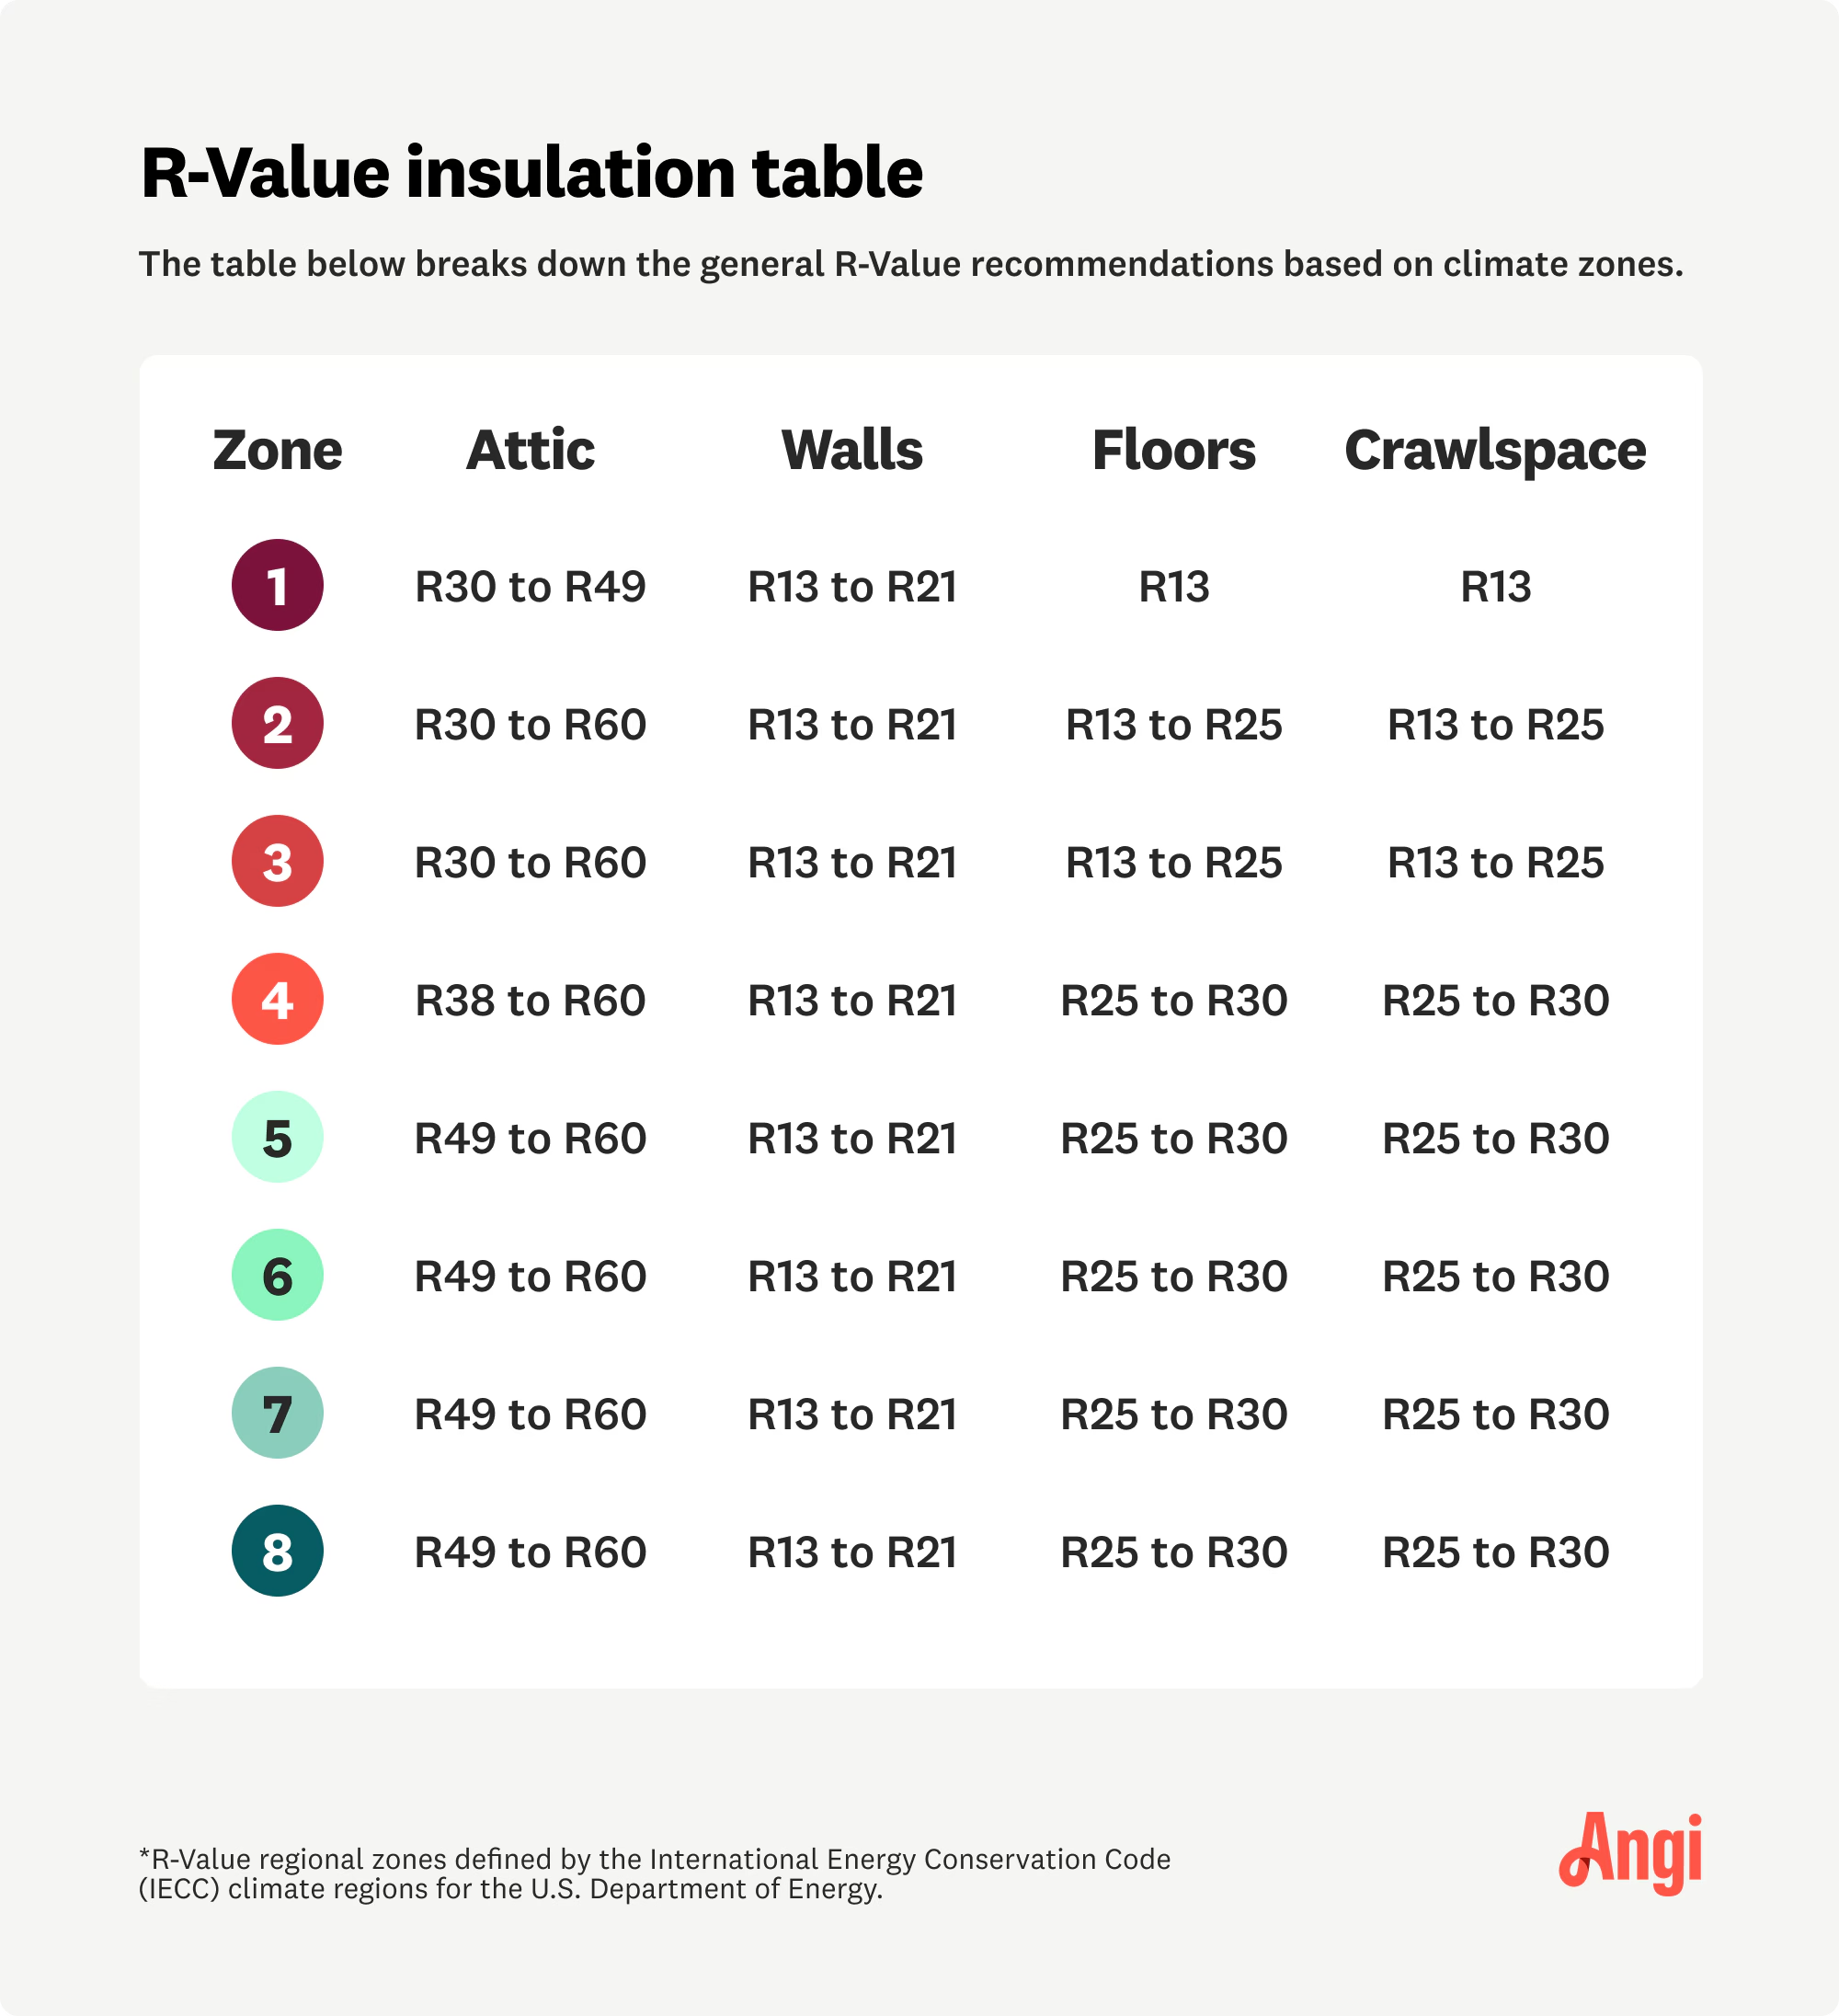
Choosing the right attic insulation for your home means thinking about the climate in your area, your budget, and whether you want to DIY the work or hire a professional. You should also consider how much time you have to dedicate to the project.
See the images below to find out what type of R-value insulation would work best for your attic space.
We had LHR install a new roof and gutter system. While they were not the cheapest, they were considered the most reliable and fetish for using only high-value products that would last for many years. Additionally, they were highly professional and never tried to push their services or any...
From average costs to expert advice, get all the answers you need to get your job done.

Insulating your attic can massively improve your home’s efficiency and reduce electric bills. Use this guide to find out what attic insulation will cost you.

Learn the key factors that influence the cost of renting a blown-in insulation machine.
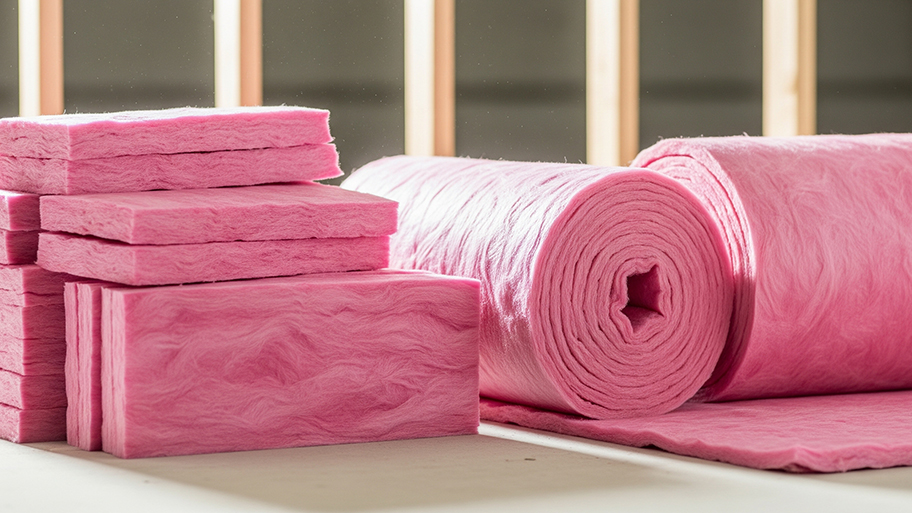
Crawl space insulation costs vary by size, insulation type, and material. Read this guide to learn how much your crawl space insulation could cost.

Most people don’t know the whys and hows of home insulation; they just know their house is too hot. Ready to cool down? Learn why you need proper insulation in your home.
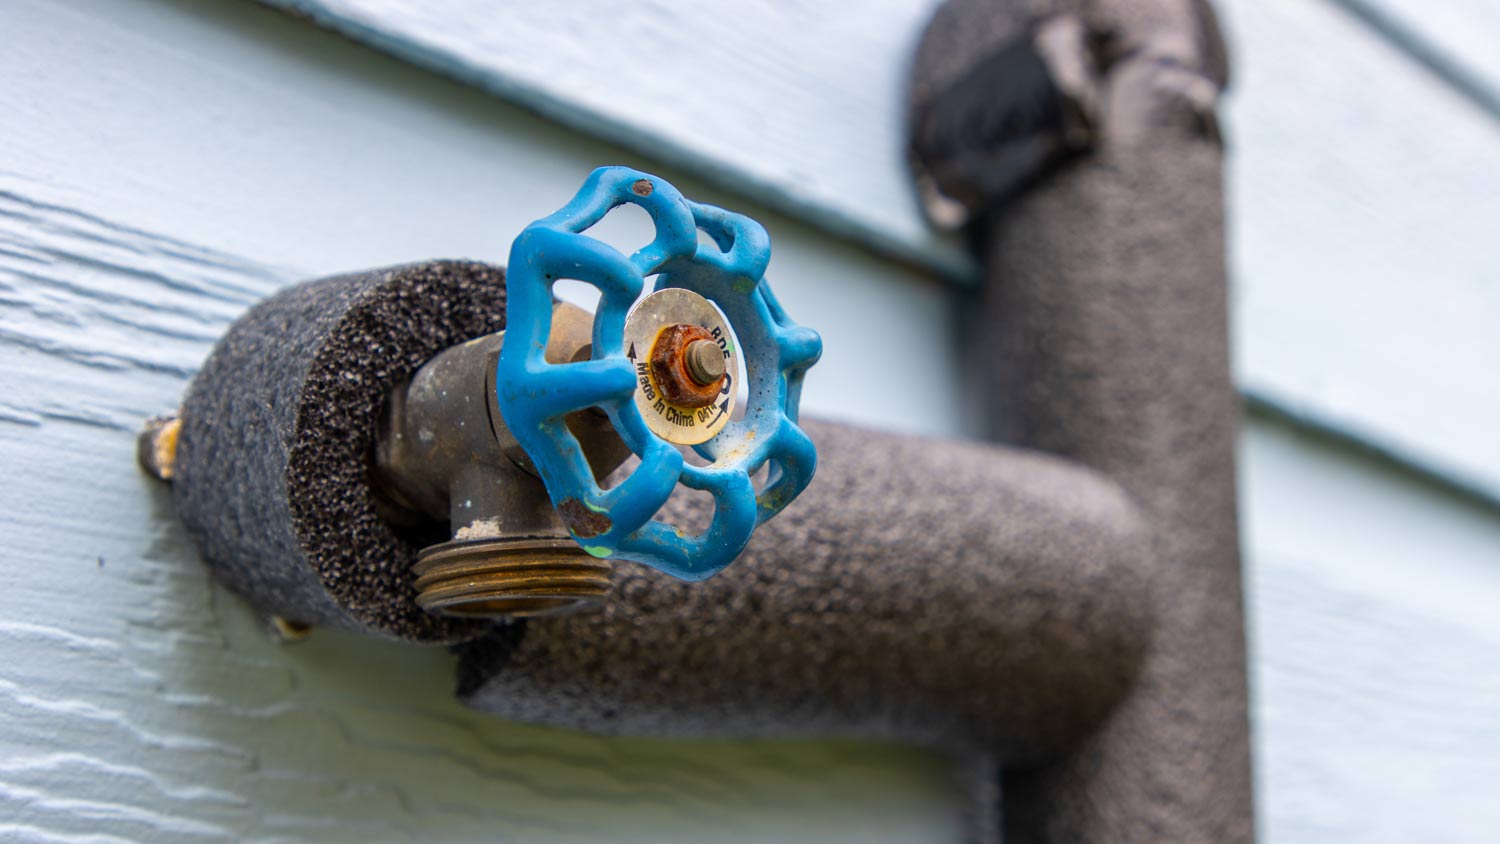
Find out the average pipe insulation cost, including material and labor prices, plus tips to save money on your project.

Remove blown-in insulation from your attic safely and efficiently by following this step-by-step guide and prep for your attic remodeling project.