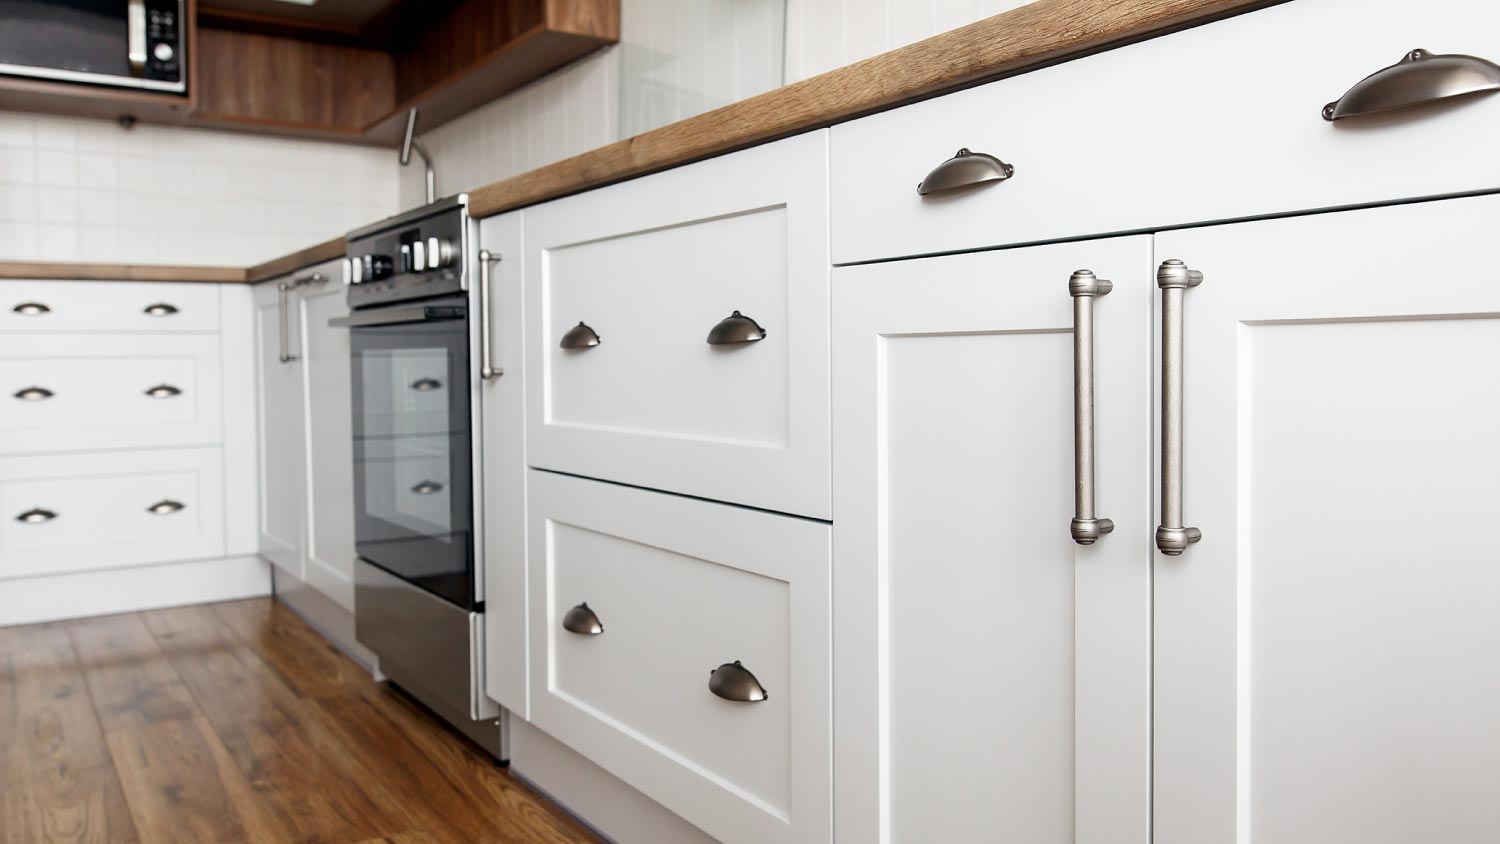
How To Install Kitchen Cabinets: 10 Steps to Success
Add beauty, function, and some new skills


Installing kitchen cabinets only looks difficult. While the project can appear intimidating, you can learn how to install kitchen cabinets by following our guide with some patience. Whether you're looking to minimize the cost of painting your kitchen cabinets, updating the look of the space, or installing cabinets in another room, learning how to install kitchen cabinets is an excellent skill to add to your DIY toolbox.

Why Should I Hang My Own Kitchen Cabinets?

The most apparent reason to install your own kitchen cabinets is to save some money when you would typically hire a cabinetry contractor to perform the task. However, installing them requires several DIY and carpentry skills that could come in handy for a whole list of other household repair and remodeling tasks. Learning these skills and doing the work not only saves money but offers a sense of satisfaction and increases your DIY capabilities.
How Much Does It Cost to Install Kitchen Cabinets?
Typical professional kitchen cabinet installation costs are between $50 and $450 per linear foot, plus the cost of the cabinets. By eliminating the cost of labor, you could save a bundle if you're willing to give up a weekend to do the job.
You'll spend somewhere between $2,000 to $20,000 for the cabinets themselves, depending on the size of your kitchen, cabinet quantity, and specific brand pricing. However, tool purchases and the price of some hardware will be your only other costs if you choose to install them.
How to Prep for Hanging Kitchen Cabinets
Preparing to hang kitchen cabinets means removing existing cabinets and repairing the walls if necessary. Beyond that, you should ensure the room is entirely free of clutter and that you have a large enough space to stage the new cabinetry and work safely. You should also ask one or two other people to help you install the cabinets, especially the sections that require lifting the cabinetry pieces.
How to Install Kitchen Cabinets
After purchasing or building your kitchen cabinets, unpackage them and stage them in an area large enough to move them around and remove the doors and drawers before starting work. Place them in order of installation, or label each one's destination.
1. Locate Wall Studs
Use a stud finder to locate the studs along each wall where you'll install your cabinets. Mark each stud with a pencil or pieces of painter's tape. You'll use these marks as a guide later.
2. Determine Base Cabinet Height
Identify the highest point of the floor using a level and shims. Mark this point's location and height on the wall as a reference. Remember to add the height of the finished flooring material if you still have the floor to install. Measure up from the reference point and mark a spot equaling the height of the tops of your base cabinets. Use a level to extend a reference line at this height on each wall where cabinets will go.
3. Determine Wall Cabinet Height
Measure 19½ inches from the base cabinet top-height reference line and make a mark. Extend the mark around the room where wall cabinets will go using a level and pencil line.
4. Prepare to Install Wall Cabinets
Use screws to install a one-by-four ledger board that will be a temporary support and reference for the wall cabinets. Screw the board into the wall studs at your stud reference marks. Ensure the top of the ledger board lines up with your wall cabinet height reference line and is perfectly level.
5. Install First Wall Cabinet
Starting in a corner or at a wall intersection, place the first wall cabinet on the ledger board and drive a single screw through the cabinet's support structure and into a wall stud behind. It may help to transfer the stud markings on the wall to the back of the cabinet first.
Check the cabinet with a level, then install a second screw in the same manner at the next stud. If only one stud is present, use a toggle bolt as the first fastener, followed by a second screw into the stud. Install two more fasteners at the bottom of the cabinet box for a total of four screws or fasteners for each cabinet.
6. Install the Remaining Wall Cabinets
For the second and subsequent cabinets, install them in a similar fashion. However, as you go, secure each cabinet to the one before it. To secure them to each other, place the cabinet box on the ledger board and drive the installation screws into the wall studs, but leave them a little loose.
Clamp the two cabinet frames together so their front edges line up perfectly. Add a second clamp before pre-drilling and countersinking at least two holes from one face frame to the other. Drive a screw into each hole to hold the boxes together before tightening the wall installation screws.
Continue these steps until all the wall cabinets are in place. Use a filler strip attached to the face frame of the last cabinet to fill the gap between the cabinet frame and the wall.
7. Install the First Base Cabinet
Starting at a corner or wall intersection, set the first cabinet in place. Use shims to adjust the height of the cabinet to match the reference line on the wall. Drive one screw through the installation board into the wall stud behind the cabinet. Double-check for level and plumb using shims to make adjustments. Then, install a second screw through the cabinet rail and into the wall to secure it.
8. Install the Remaining Base Cabinets
Install the subsequent cabinets using the same method as the wall cabinets. Lightly fasten them to the wall, secure the next cabinet to the last one, and tighten them. All while checking and adjusting for level and plumb.
Install the spacer board to fill the gap between the end cabinet and the wall, if necessary, by securing it through the face frame of the last cabinet.
9. Install and Adjust Drawers
Install the cabinet drawers and adjust them for level, if necessary, by adjusting the rails using the fastening screw at the face frame.
10. Install and Adjust Doors
Install and adjust the doors depending on the type of hinges you have. Some have adjustment screws, while others require loosening the fastening screws and manually adjusting the door.
Tips for Installing Cabinets
Besides planning ahead and taking your time to ensure accurate measuring and placement, here are a few other tips for achieving a perfect installation.
When installing each cabinet, transfer the wall stud marking to the inside of the cabinet and pre-drill each hole before setting the cabinet in place.
Drive installation screws in until they're a little loose. Perform any adjustments, then tighten the screws.
Leave clamps between face frames in place until the fastening screws between the two cabinets are firmly seated.
Countersink all screw heads for a cleaner appearance.
Constantly check and double-check for level, plumb, and overall appearance. If it feels like you're checking too much, that's probably the right amount.
DIY Cabinet Installation vs. Hiring a Pro
While installing kitchen cabinets is a skill that almost any DIYer can learn and develop, there is a learning curve that requires patience. You'll likely make a few small errors along the way. While it's possible to install kitchen cabinets on your own, hiring a local cabinet contractor to take care of this task and any other cabinetry work will save you a weekend of effort and promise perfect results.
Frequently Asked Questions
While having an assistant to help ensure safety and to lend a hand is desirable, if someone isn't around to assist, you can install kitchen cabinets on your own. Normal kitchen cabinet installation starts with the upper wall cabinets. If you're working on your own, consider installing the bases first and building a temporary support structure on top of them to help you install the uppers.
The type of flooring you plan to install will determine if it goes in before or after the cabinets. It's okay to swap the order in many cases. However, hardwood floors, sheet materials, and tile often go down before the cabinets go in. Floating floors like laminate or luxury vinyl planking should go down after the cabinets are in place.


- How To Build Cabinets: 9 Steps to Follow
- How to Clean Kitchen Cabinets With Ease
- How To Install Under-Cabinet Lighting: Step-by-Step Guide
- Who Do I Hire to Paint Kitchen Cabinets?
- How to Paint Kitchen Cabinets: A Complete Guide
- Need to Hire Someone to Install Cabinet Hardware? Here’s Who to Call
- How to Hire a Cabinet Contractor
- 5 Tips for Choosing the Best Kitchen Cabinets
- The Pros and Cons of Painting Kitchen Cabinets
- Should You Install a Tile Floor Before or After Cabinets?
Get our Angi-powered app


