

The cost to paint the interior of a house in New York, NY depends on size, layout, type of surface, and more. Learn what factors can influence your total in this guide.
Learn how to paint cabinets to get the look of a kitchen renovation without the price tag
.jpg)

While hiring a pro to paint kitchen cabinets costs $840 on average, they’ll ensure the finish is smooth and durable.
Painting kitchen cabinets is a time-consuming task that requires meticulous attention to detail.
You’ll need a range of tools and materials, from mini-foam rollers to plastic sheeting, for DIY cabinet painting.
A local cabinet painting pro will know exactly what type of paint, primer, and finish suits your kitchen cabinets.
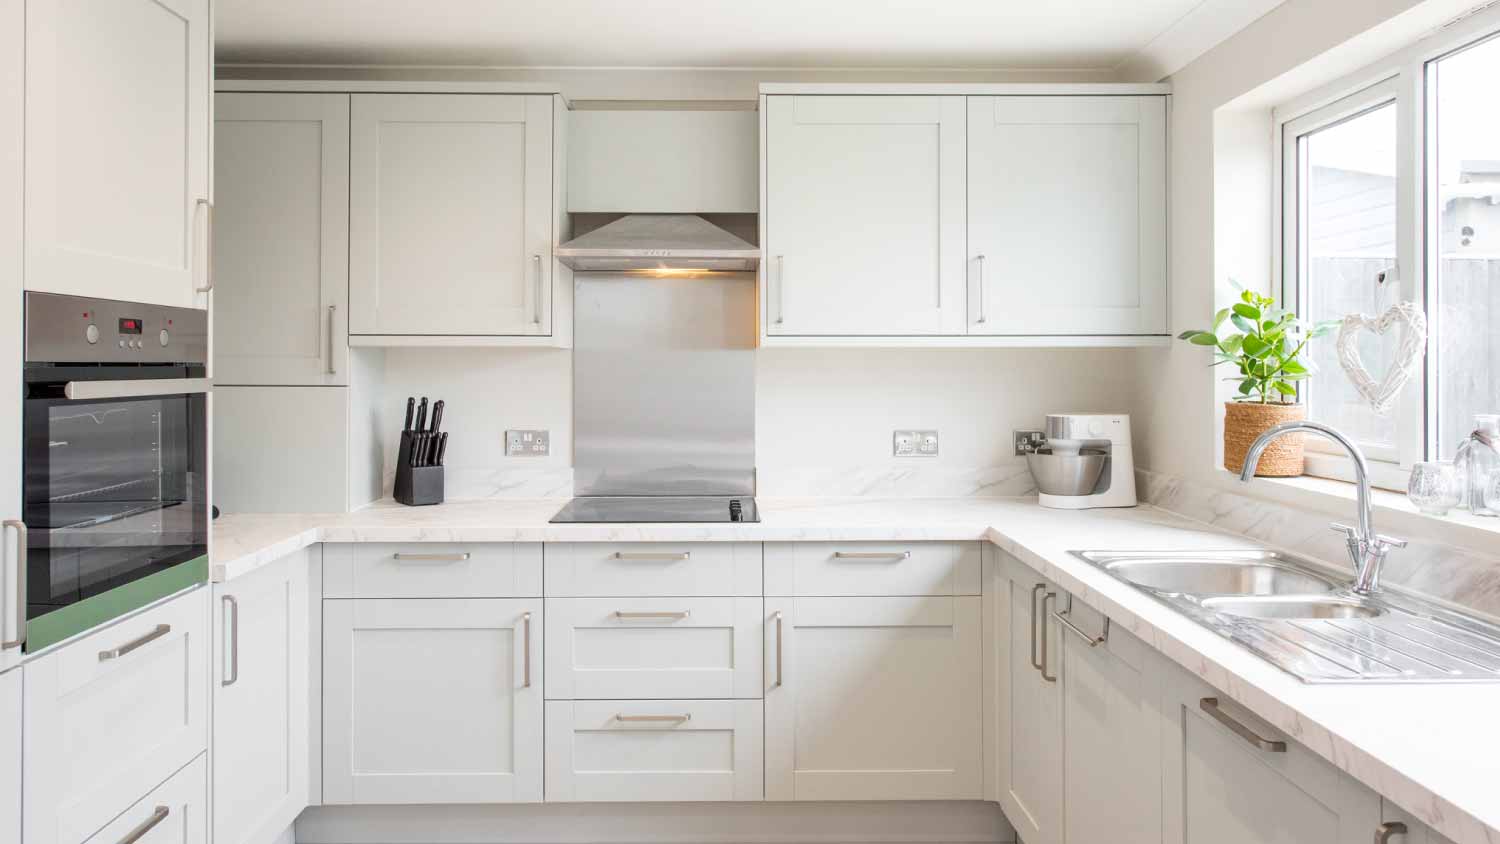
Did you know that replacing your kitchen cabinets is one of the biggest costs in a kitchen remodel? Sometimes a full renovation is unavoidable, but learning how to paint kitchen cabinets is often the better choice. Painting your cabinets takes a bit of time and effort, but it will give your kitchen a major face-lift while saving you thousands of dollars. Here’s how to do it.
Before you start, it’s important to figure out if you should paint your cabinets. If your cabinets have only minor cosmetic flaws, it’s safe to paint them. If they’re in rough shape, with peeling veneers, sagging shelves, and broken drawer corners, it’s probably best to replace them.
Painting your cabinets yourself can be rewarding, but it’s a time-intensive job that requires close attention to detail. You’ll need to set aside about three days for the project to allow for proper preparation and time for the paint to dry between coats. Remember, you’ll likely save $20 to $50 per hour by doing the project yourself.
Hire a local cabinet painter or professional painter near you to ensure your cabinets aren’t damaged and have the smoothest finish.
On average, the cost to paint cabinets is $840, though project costs can range from $300 to $7,200, depending on the size of your kitchen and if you do the work. Painting the cabinets yourself can save you anywhere from $20 to $50 per hour (the typical labor cost).
Painting kitchen cabinets requires significant prep work in the kitchen. Here’s what to do:
Because kitchens experience daily wear and tear, the best paint for cabinets is a high-quality paint that offers beauty and durability over time. Depending on the look you want, here’s what to consider when picking paint.
Latex-based paint is durable and easy to clean. It dries quicker than oil-based paint and is more user-friendly to apply. It takes longer to cure fully, so be careful in the first 24 hours. Oil-based paint tends to be more durable and offers a slightly smoother finish but is more tricky to apply.
Both oil and latex are great choices for cabinets as long as the latex paint is acrylic and not vinyl. Consider scuff-resistant or cabinet-grade paint to ensure your drawers and doors hold up well for years to come.
A faux finish can give the illusion of stone, marble, a distressed look, or a crackled finish. Consider a faux finish if you prefer a farmhouse, rustic, or antique appearance.
A regular finish looks more sleek and modern. Regular finishes for cabinets come in semi-gloss, gloss, high-gloss, and satin and have a more polished, sleek look than faux. Flat paints aren’t recommended for kitchens because they’re difficult to clean.
The final appearance of your newly painted cabinets depends heavily on how well you prep for the project. Great preparation also makes for much easier cleanup (think: no sawdust hiding in every nook and cranny).
Before you begin painting:
Empty the cabinets, clear off counters, and remove freestanding appliances, such as your fridge and oven. Clear out furniture such as tables, bar stools, and chairs.
Cover your flooring and countertops with rosin paper, and tape down the covering to ensure full protection. Tape plastic sheeting over your fixed appliances, windows, backsplash, interior doorways, and other areas to protect them from dust, fumes, and paint.
Cover the walls around your cabinets with masking paper and painter’s tape.
Set up saw horses or work tables for painting drawers, doors, and shelves.
Set up a backup kitchen using temporary kitchen hacks. Organize an area in another room with a cooler, microwave, and snacks (unless you plan on ordering food or eating out for the next few days).
Spray painting your doors and cabinets offers the smoothest result but requires special equipment and skill. You’ll need to rent a spray machine and tape off all the areas you don't want to paint, such as your walls and fixed appliances. You can also use a high-quality paintbrush and roller for a beautiful result.
No matter which route you choose, have all your tools ready to make the project faster and more enjoyable.
4- to 6-inch mini-foam roller
2 1/2-inch angled paintbrush (natural bristles for oil paint or synthetic bristles for latex)
Paint roller tray
Sanding sponge or hand sander with 100-grit and 220-grit sandpaper
Small putty knife
Painter’s tripods
Dish sponge
Painter’s tape
Marker
Plastic bags
Tack cloth
N95 mask
Goggles
Vacuum
Scouring pad (if using deglosser)
Chemical-resistant gloves (if using deglosser)
Paint sprayer (optional)
These directions are for the foam roller and brush application method. If you're spray painting, follow the manufacturer’s instructions and spray thin coats of paint.
It’s important to label each door, cabinet interior, and hinge so you can put them back together at the end. Not only do cabinets and hinges have a custom fit, but hinges can wear differently over the years.
Remove the hinges from the first cabinet and place them in a plastic bag labeled “1,” making sure to differentiate between the top and bottom hinges with a piece of painter’s tape.
Write “1” on a piece of painter’s tape and stick it inside the cabinet box.
Write “1” on your cabinet door where the hinge normally sits, and place painter’s tape over your label to prevent it from getting painted over.
Continue removing doors and hinges and labeling cabinets “2,” “3,” “4,” and so on.
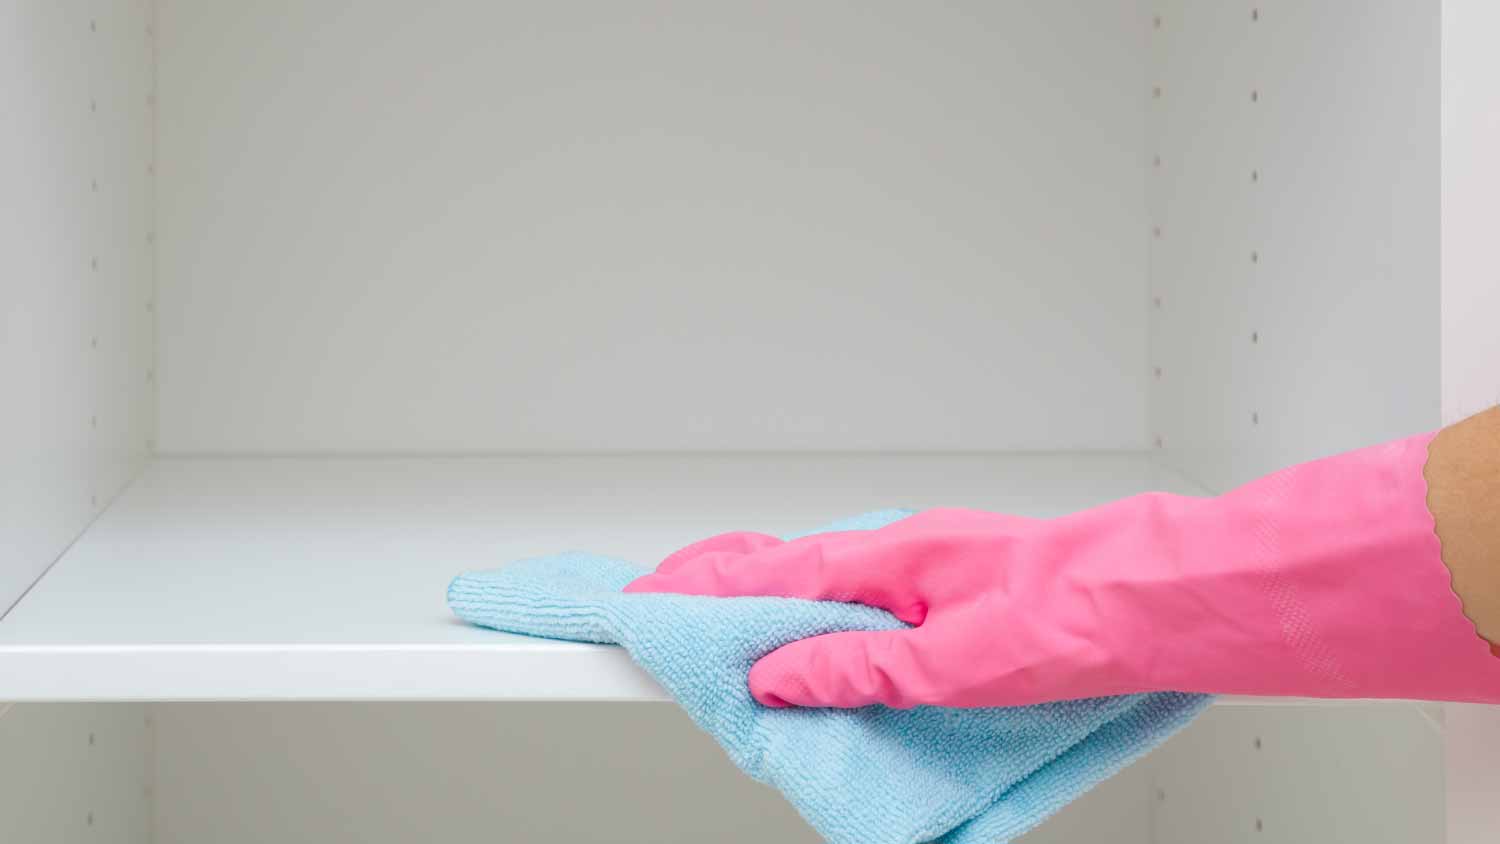
Before you can paint, you’ll need to clean your kitchen cabinets. Remove caked-on dirt, grease, and grime with a general purpose or heavy-duty TSP cleaner and dish sponge. Rinse with water and fully dry.
Open windows for ventilation and put on safety gear (N95 mask, goggles, and chemical-resistant gloves). Dip a scouring pad in liquid deglosser, and scrub all cabinet surfaces (following the deglosser directions).
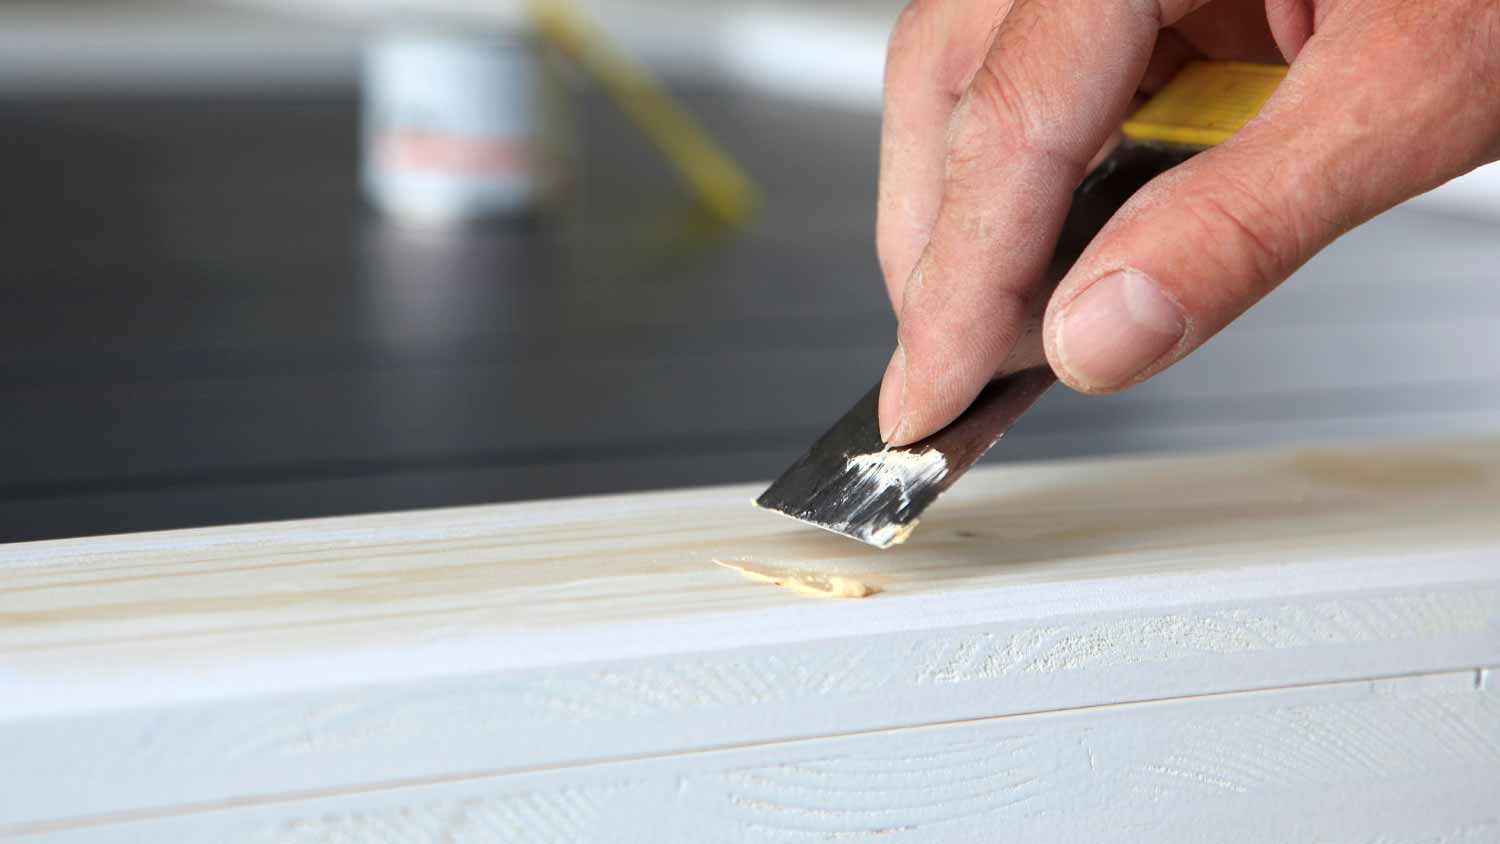
Repair minor imperfections with wood filler. Use a putty knife to smooth out the filler, and wait for it to dry.
If you applied deglosser, sand only the areas with wood filler using 100-grit sandpaper. Sand with the grain. Vacuum up the dust and run a tack cloth along the cabinets. Otherwise, sand all cabinet surfaces (see step 5).
Open windows for ventilation and put on safety gear (N95 mask and goggles). Use 100-grit sandpaper folded in half or a sanding sponge to sand all the cabinet surfaces you will be painting, from the cabinet frames to the doors. Sand with the grain.
Make sure you sand all the corners and edges. If your cabinets have laminate sides that you want to paint, it’s important to sand them too.
Clean up the dust with a vacuum and tack cloth. You don't want loose dust particles to stick to your fresh coat of primer or paint.
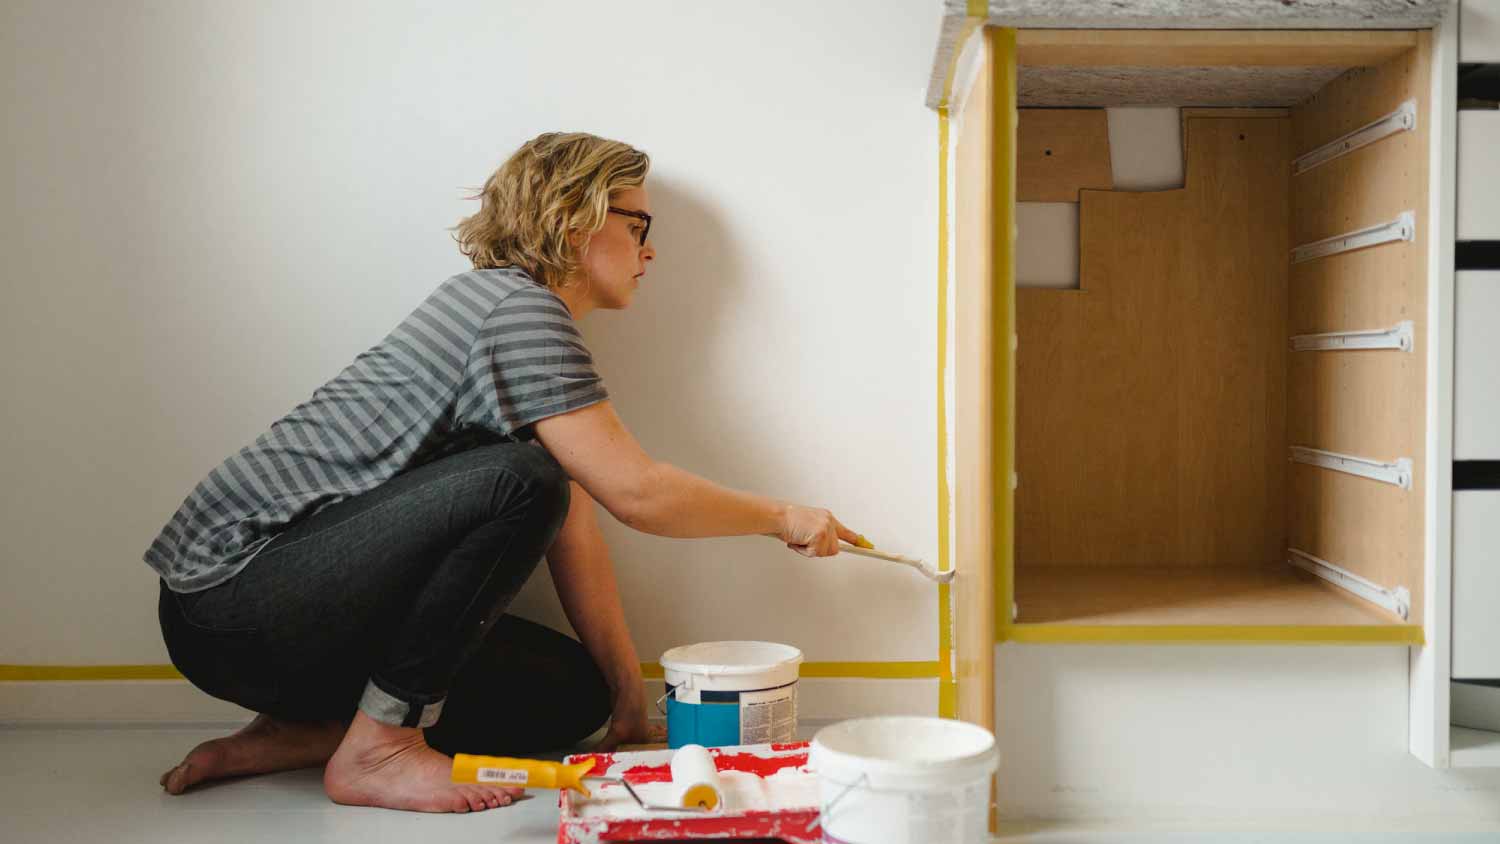
It’s time to start applying paint primer to every surface you’ll be painting.
Apply primer to cabinet frames with the grain of the wood using your small angled brush and an up-and-down motion. Use a mini-foam roller to apply primer in a “W” shape to larger cabinet box surfaces, such as the sides.
Place the first door on top of painting tripods to lift the door off your work surface. This will help you paint the sides of the doors more easily.
Use your brush to apply primer to the sides and any molding. Next, use the mini-foam roller to apply primer to the larger door surfaces. Allow the primer to dry, then flip the door over and prime the other side.
Place the drawer fronts on the tripods to keep them off your work surface. Apply primer to the drawer fronts only. Don’t apply primer to the sides, or the drawers may stick. Use a brush for detailed work and a roller for larger surface areas. Allow the primer to dry, then flip the drawer front over and prime the other side.
Note: Unlike paint, primer typically dries in 30 minutes to a couple of hours. Just make sure you read the primer instructions and allow enough time for it to dry fully before you move on to the next step.
Once the primer dries, fill any dents with vinyl spackle and any open seams with a thin bead of latex caulk. Let these dry, then sand your caulked, spackled, and primed surfaces with a 220-grit sandpaper to smooth everything out.
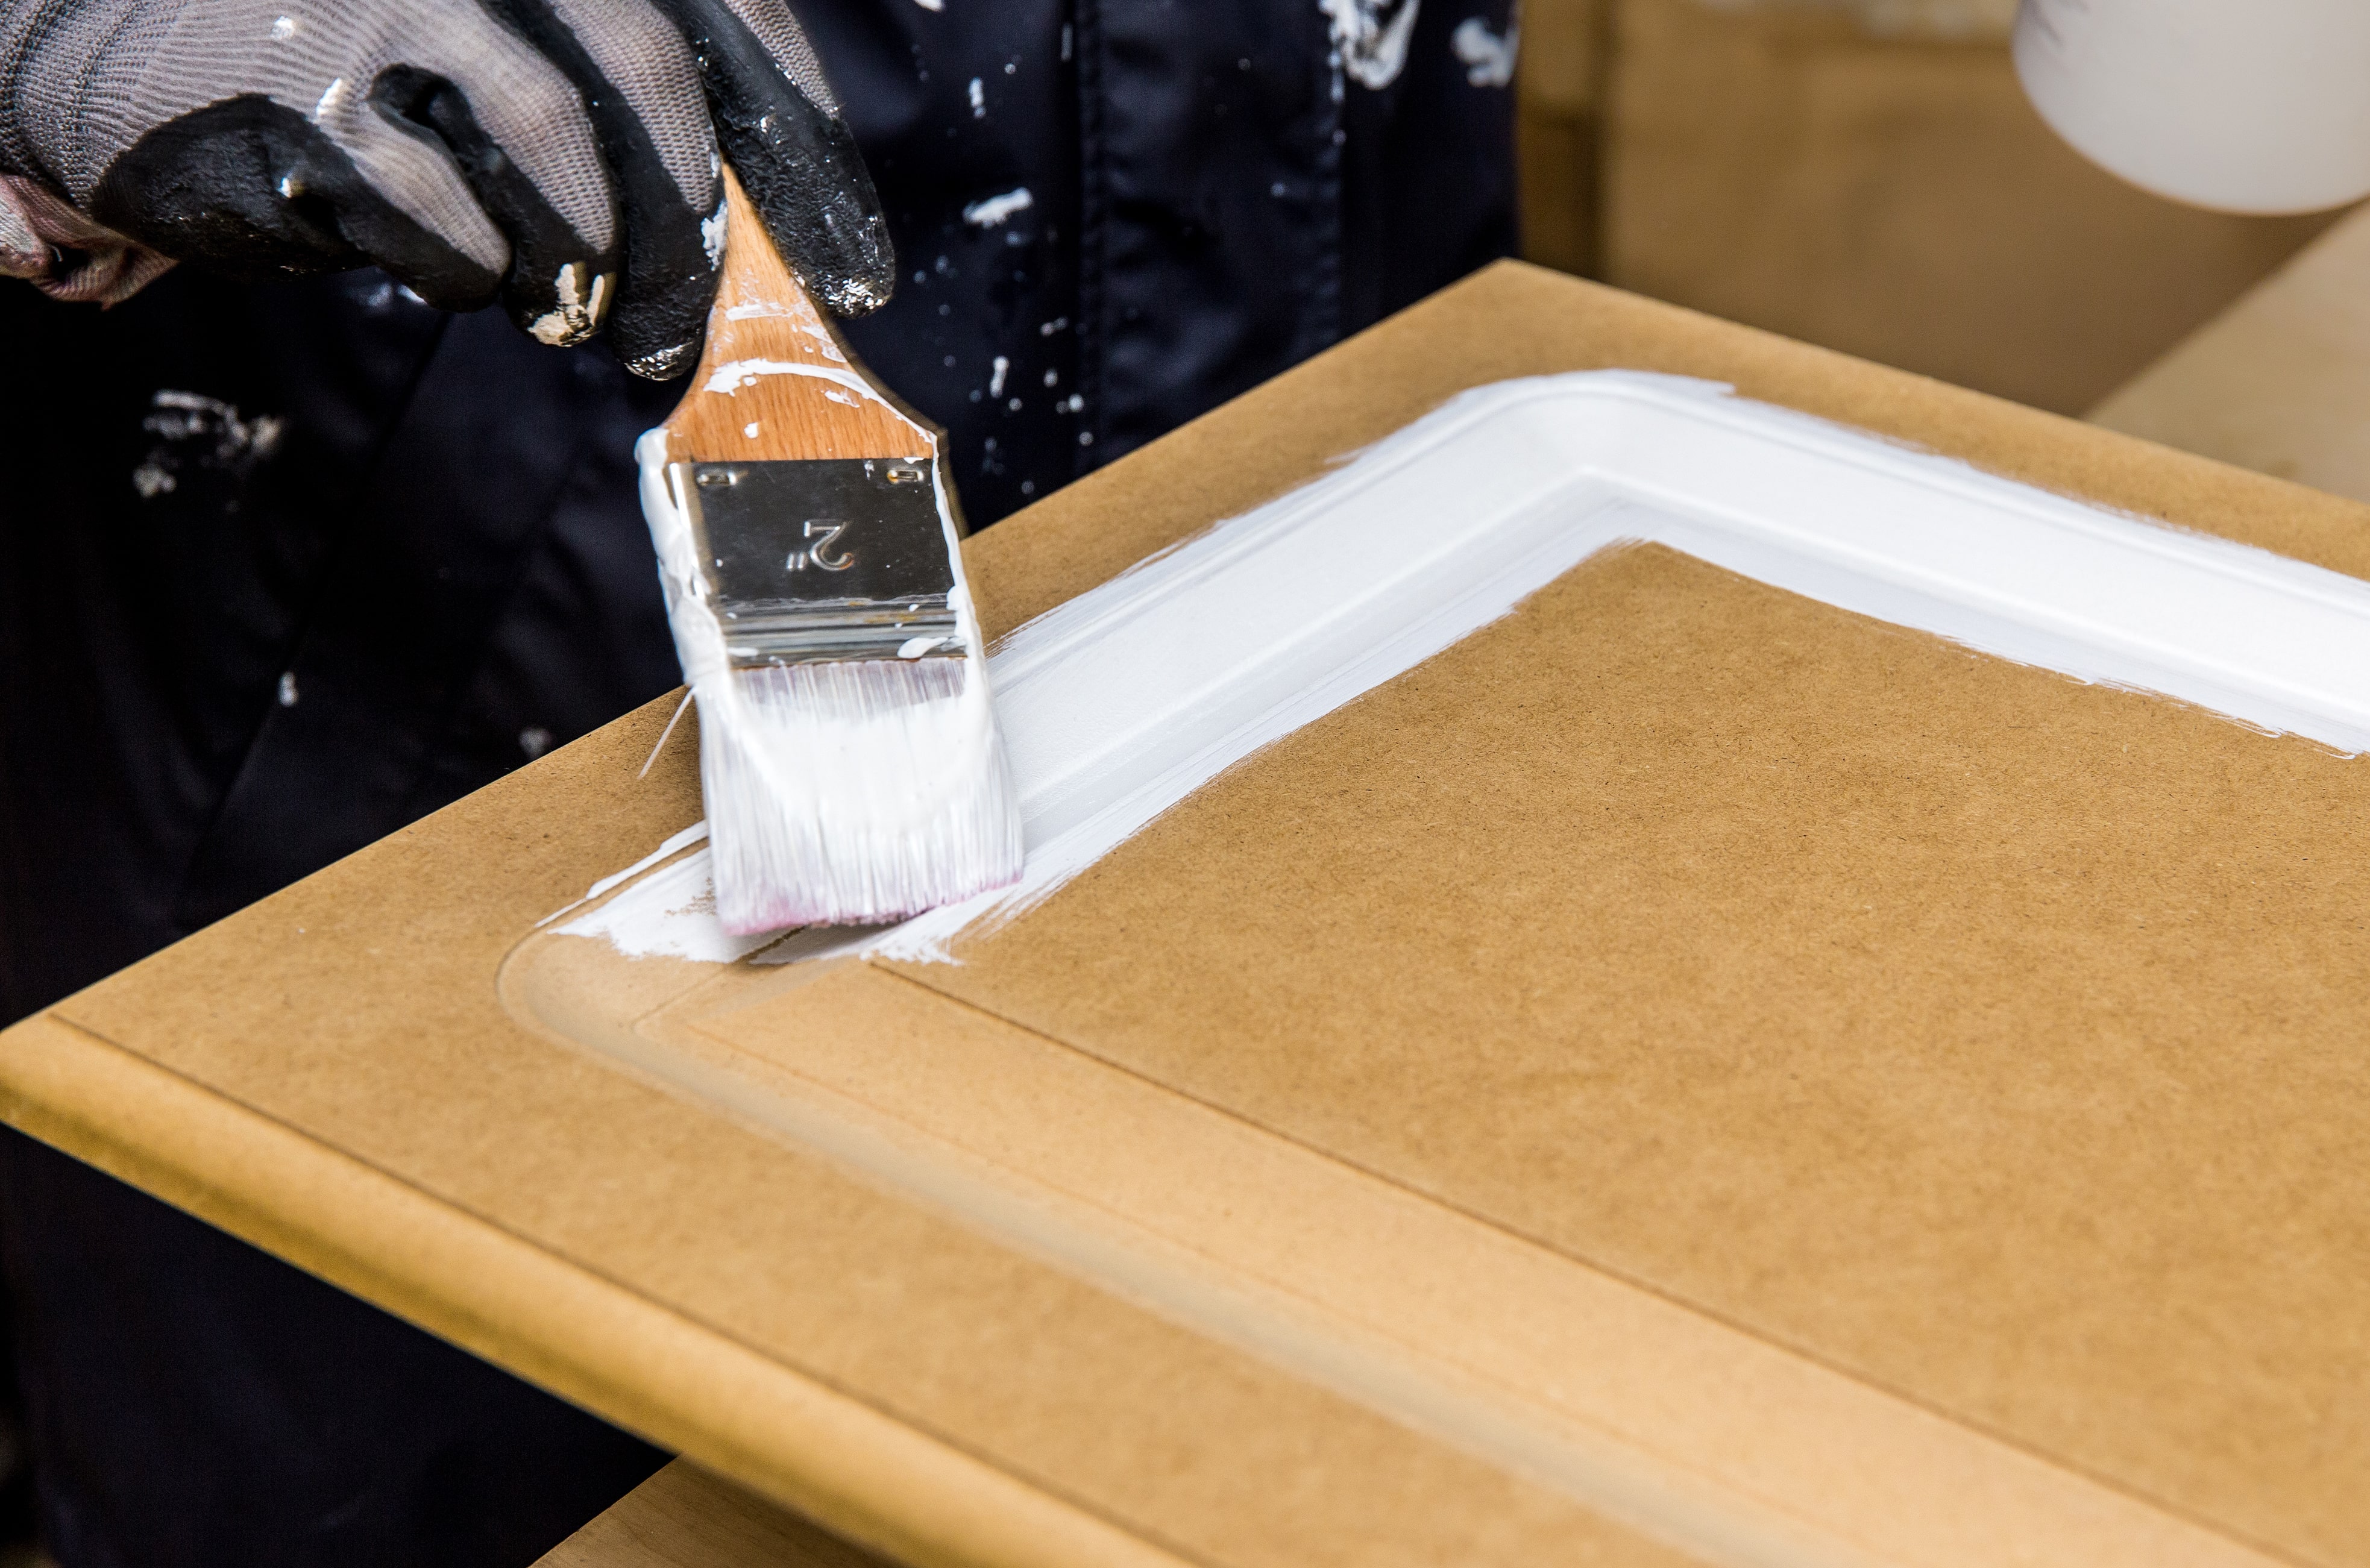
Apply the paint the same way you applied primer, using your brush for small, detailed areas and your mini-foam roller for larger areas. Place your cabinet doors and drawer fronts on tripods and wait until the first side is dry before flipping them over and painting the other side.
Make sure you lay off the paint. In other words, go back to the side you started on and apply a series of even roller strokes to remove the tool marks and make everything look uniform.
You’ll likely need two coats of paint. For a pro-quality job, lightly sand with your 220-grit sandpaper between coats to help the second coat stick better.
Consider adding a third coat of paint to further protect your kitchen cabinets from intense heat and day-to-day use.
Once the final coat of paint is fully dry, reassemble and reattach the cabinets.
Want your freshly painted kitchen cabinets to look professional? Here are the top tips for tackling this DIY.
Cover your countertops with rosin paper to avoid paint drips or spray.
Label your doors and drawers for reassembly, such as numbering them for easy match-up after painting.
Fill grain pores, dents, and divots before painting for a more finished look.
Sand the surface of your cabinets beforehand to smooth them and allow the paint to adhere, but there’s no need to sand bare wood.
Sand between each coat of paint to ensure the paint sticks and doesn't peel later.
Be sure your work area is well-lit so you can apply the paint as evenly as possible. Turn on all the lights in the room or use LED work lights for extra illumination.
Set up a DIY drying station that allows all sides of a cabinet drawer or door to dry at once.
From average costs to expert advice, get all the answers you need to get your job done.
The cost to paint the interior of a house in New York, NY depends on size, layout, type of surface, and more. Learn what factors can influence your total in this guide.

Looking to breathe new life into your space with a ceiling refresh? Learn about the cost to paint a ceiling and what factors can affect your total.
The cost to paint the interior of a house in Seattle, WA depends on size, layout, type of surface, and more. Learn what factors can influence your total in this guide.

Knowing what paint to use for your bathroom ceiling can prevent mold and mildew. Learn how to choose the best paint for your bathroom ceiling.

Need to remove old, chipping, or flaking paint before refreshing? Learn about paint removal costs in this guide to see how much you should budget.

Different paint projects require different paint rollers. Learn how to choose the best paint roller for the best results.