How to Install a Shower Using Direct-to-Stud Kits
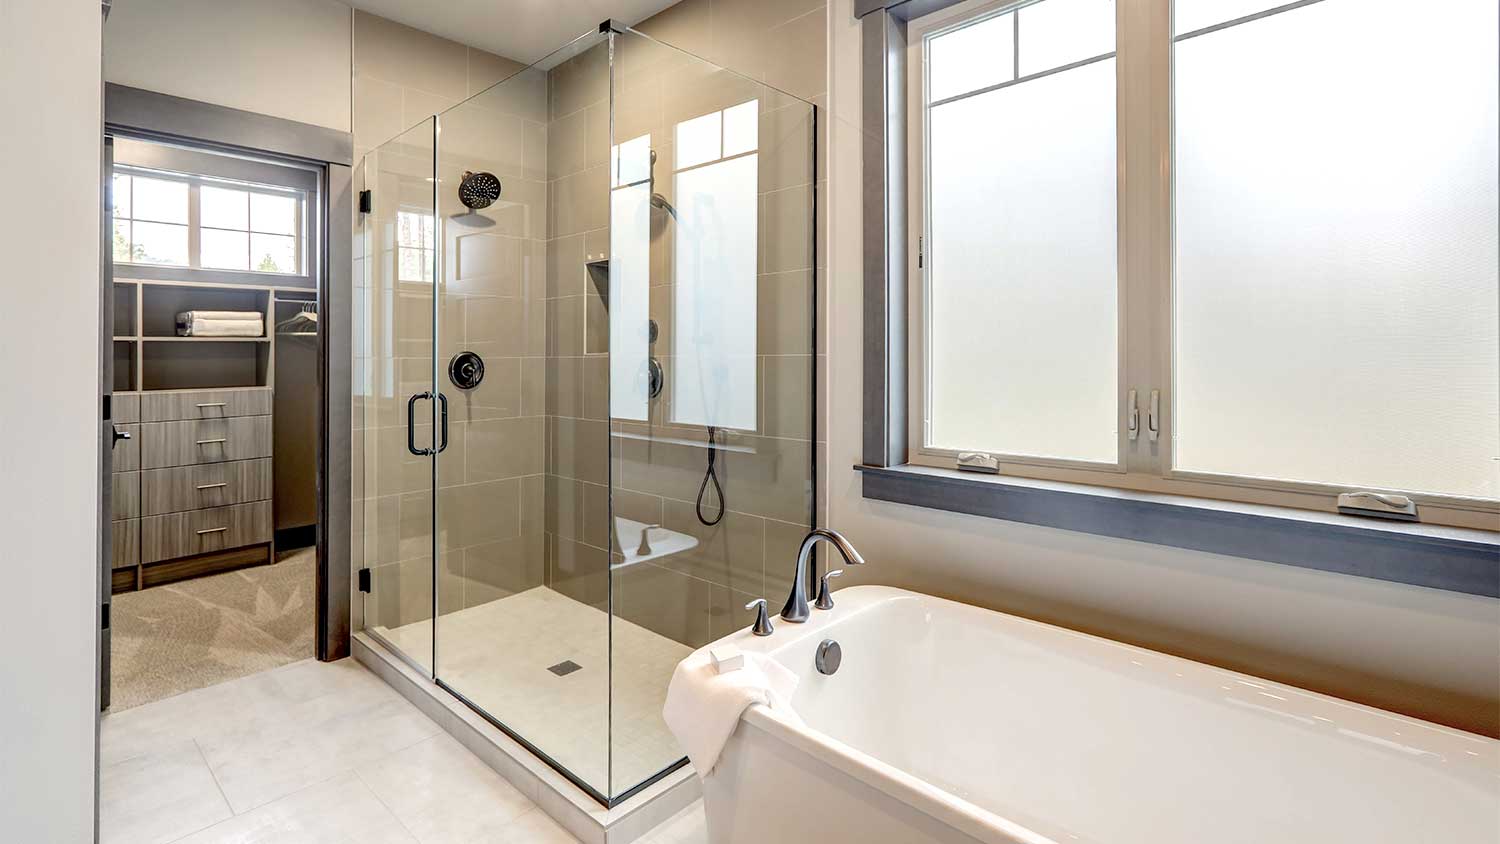
How to install a shower becomes a doable DIY with a shower enclosure


After a long day of work, picking up around the house, and preparing a nutritious meal for your family, a luxurious, hot shower sounds fantastic. You deserve better if your old, leaky shower leaves you wishing you were back at work. The following steps will help you learn how to install a shower that looks great and leaves you with the feeling of relaxation you’re seeking.
Why Install a Direct-to-Stud Shower Enclosure?
If you’ve been looking into tub to shower conversion ideas, you may have seen information on direct-to-stud shower enclosures. These shower kits allow you to attach shower panels to the wall studs. It requires you to remove existing drywall to gain access to the wood studs. Whether you’re replacing a tub with a shower or switching to a walk-in shower, a shower kit becomes part of the wall, resulting in a seamless installation, a watertight seal, and a great-looking final product.
An advantage of the direct-to-stud method for installing a new shower is that the process goes fast once you expose the studs. Removing the drywall can be a little messy and challenging, but the actual installation of the kit will go quickly with minimal fuss.
How Much Does It Cost to Install a Shower?
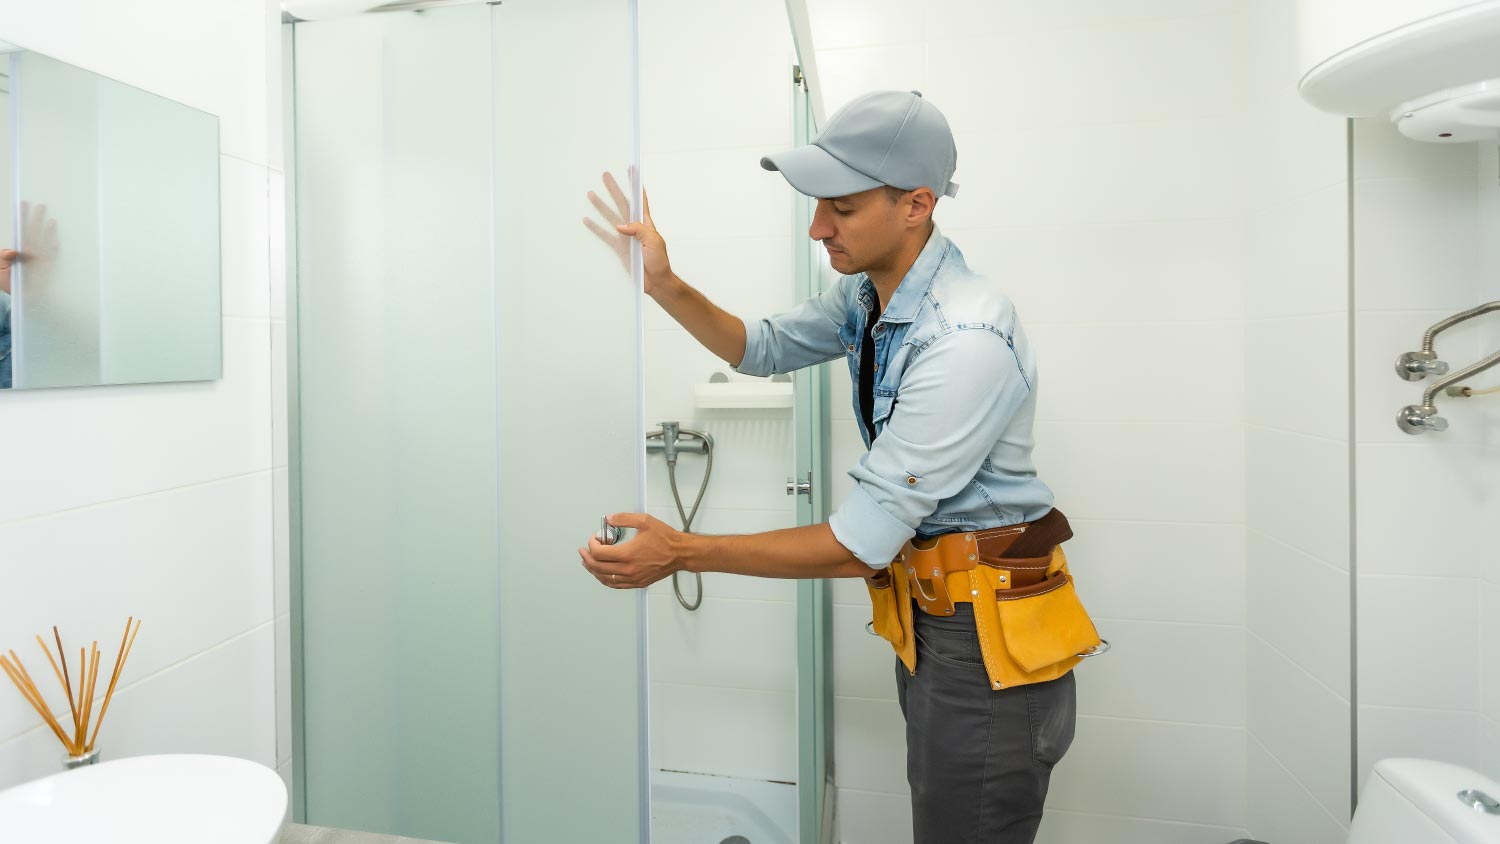
The cost of installing a new shower can run between $2,400 and $8,800, but some shower kit installs cost less if you do the work yourself.
The shower kit hardware you will attach to the studs typically costs $400 to $2,000. Some kits consisting of high-end materials may cost quite a bit more.
Beyond the cost of the shower kit, other expenses may involve removing an old shower, removing drywall, repairing wall studs, and installing or moving plumbing fixtures. You may need to hire a plumber for some of this work. Disposal of the old materials has an expense associated with it, too.
“The chance of a wall stud being at the exact location you need it to be is quite low, especially in older homes,” says Bob Tschudi, Angi Expert Review Board member and general contractor in Raleigh, NC. “In that case, you must install a new stud or studs at the right location.”
Installing a New Shower Enclosure
After checking out bathroom remodel ideas and deciding on a new shower enclosure, you’ll need to start by preparing the shower space and selecting the type of shower enclosure kit to install.
Prepare the Shower Space
Several steps will help you prepare for how to install a shower properly. These steps are extremely important to ensure a smooth installation.
1. Remove Drywall
After removing the drywall in the area where you will be installing the new shower, check the stability of the wall studs and framing. Use a level to ensure the studs are square. Repair any loose or unlevel studs, and remove protruding nails or screws.
“Our go-to tool for drywall removal is an oscillating tool with a drywall blade,” says Tschudi. “The tool is inexpensive and cuts cleanly without going in deep enough to damage any wires or pipes behind the drywall.”
The floor should be perfectly level, too. You can use shims when installing the shower pan if it's close to level. Because you will need to add mortar to the area under the shower pan to secure it, you can use the mortar to help level the space.
2. Measure the Location of the Pipes
Measure the distance from the floor drain to the pre-drilled drain hole in the shower pan. The water lines for the control valve of the shower and the showerhead need to line up with where you want them to fit on the direct-to-stud shower kit as well.
If the water lines or drain are in the wrong place, you may need to hire a local plumber to move these items for you, even if you’re DIY installing a shower.
3. Remove Debris
If you removed an old shower or drywall, remove the debris from the area. Chunks of drywall could negatively affect your ability to square up the shower pan and kit, so sweep the area thoroughly to eliminate all debris.
4. Install Waterproof Wallboard
Depending on the shower kit you select, you may need to install waterproof fiber cement boards behind the shower. However, this step is usually unnecessary if you choose a kit that attaches directly to the wall studs.
Install a Single-Unit Shower
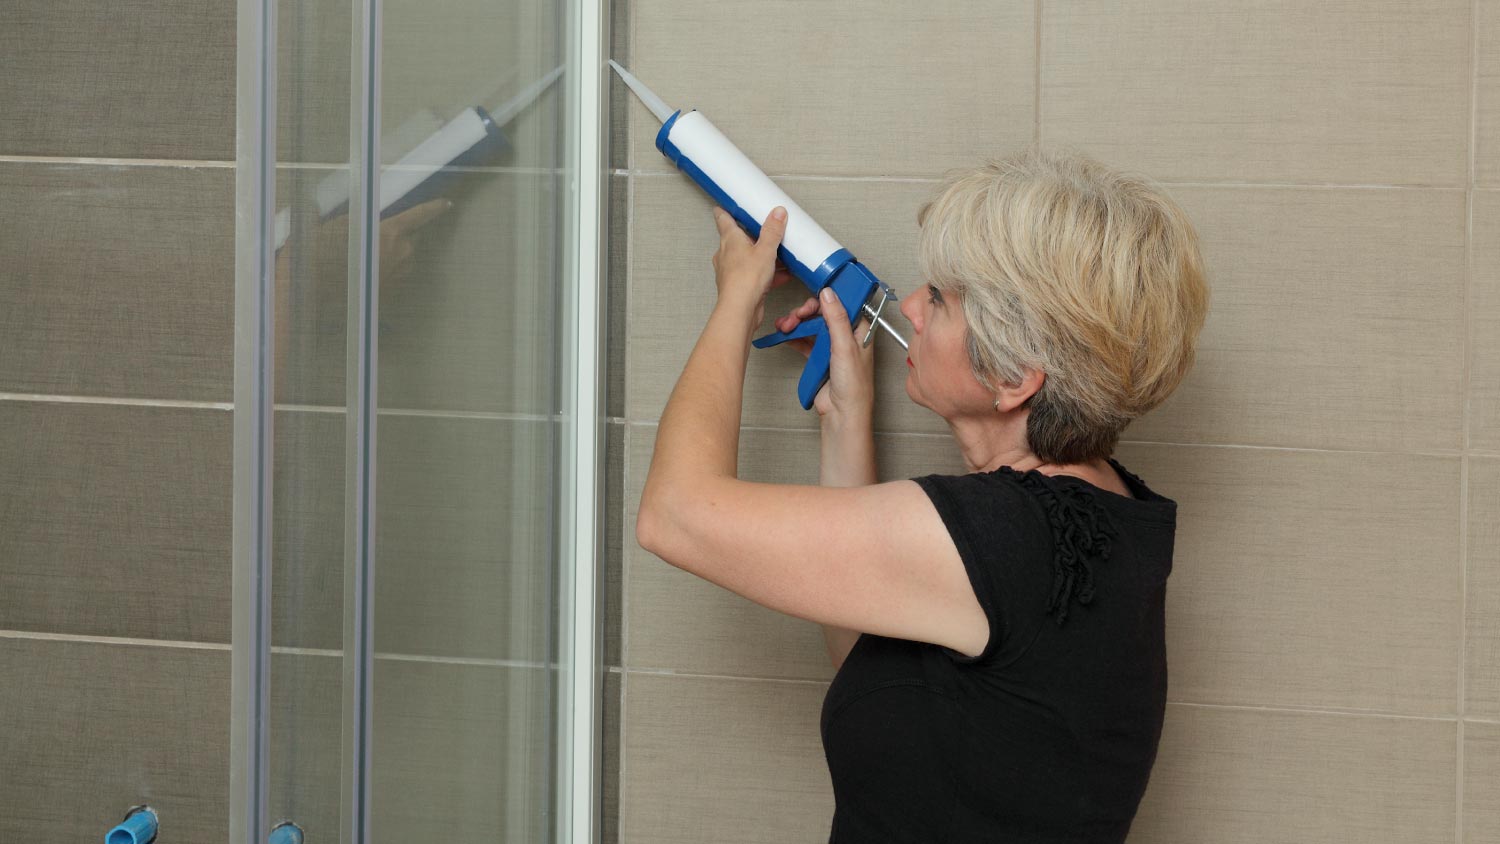
If you selected a single-unit shower kit as part of your bathroom remodel, the walls and shower pan will arrive connected. This type of kit simplifies some parts of the installation, but it can be difficult to move the single unit into place without some help.
1. Install the Drain Assembly
If the shower pan in the single-unit shower kit doesn’t come with the drain assembly already in place, you will need to install it first. You may need to access both sides of the shower pan to attach the drain assembly and gaskets.
Then lift the single-unit stall into place, ensuring the drain assembly lines up over the drain line in the floor. Add mortar to the subfloor under the shower pan to adhere it. Use a level to ensure the shower pan is level and square. If the pan is slightly unlevel, use shims to adjust it.
2. Drill Pilot Holes
To avoid cracking the wall panels on the kit with the screws, drill small pilot holes that match up with the studs. Follow the instructions that ship with the kit to determine how many pilot holes you will need.
3. Cut a Hole for the Fixture
You will most likely need to drill a hole to accommodate the shower control valves and the shower fixture. Use a hole saw for the cleanest cut for the hole. Remember that the cover plate for the shower control valves should cover up minor imperfections.
4. Place and Secure the Shower Unit
Ensure that everything is square and lined up, then screw the walls of the shower kit to the studs. Only use galvanized screws to attach the walls to the studs or screws that ship with the kit. Make sure the screws have large heads.
Depending on the height of the shower walls, you may want to attach cement boards or water-resistant drywall to the studs above the walls of the shower kit. Attach the shower kit first, and then add these pieces as necessary. These would work as finishing pieces for shower walls that don’t reach your ceiling.
Some kits ship with trim pieces you can also use for this purpose. Beyond creating a finished look, attaching these items will protect against any splashes.
5. Apply Caulk at the Seams
If necessary, apply a silicone caulk between the walls of the shower stall and any trim pieces or cement board. Check the directions that came with your shower kit for guidance regarding the use of caulk. Because single-unit shower kits ship as a single-connected piece, you most likely don’t need caulk at the corners of the stall or along the shower pan.
6. Mount the Doors
The shower doors for single-piece kits usually come in bifold, pivot, or sliding designs. Follow the directions that shipped with your kit to mount your type of shower door design. If your kit doesn’t ship with a door, you can purchase a door separately. However, if your kit doesn’t accommodate a door, you’ll probably need to install a shower curtain.
Install a Multi-Panel Shower Unit
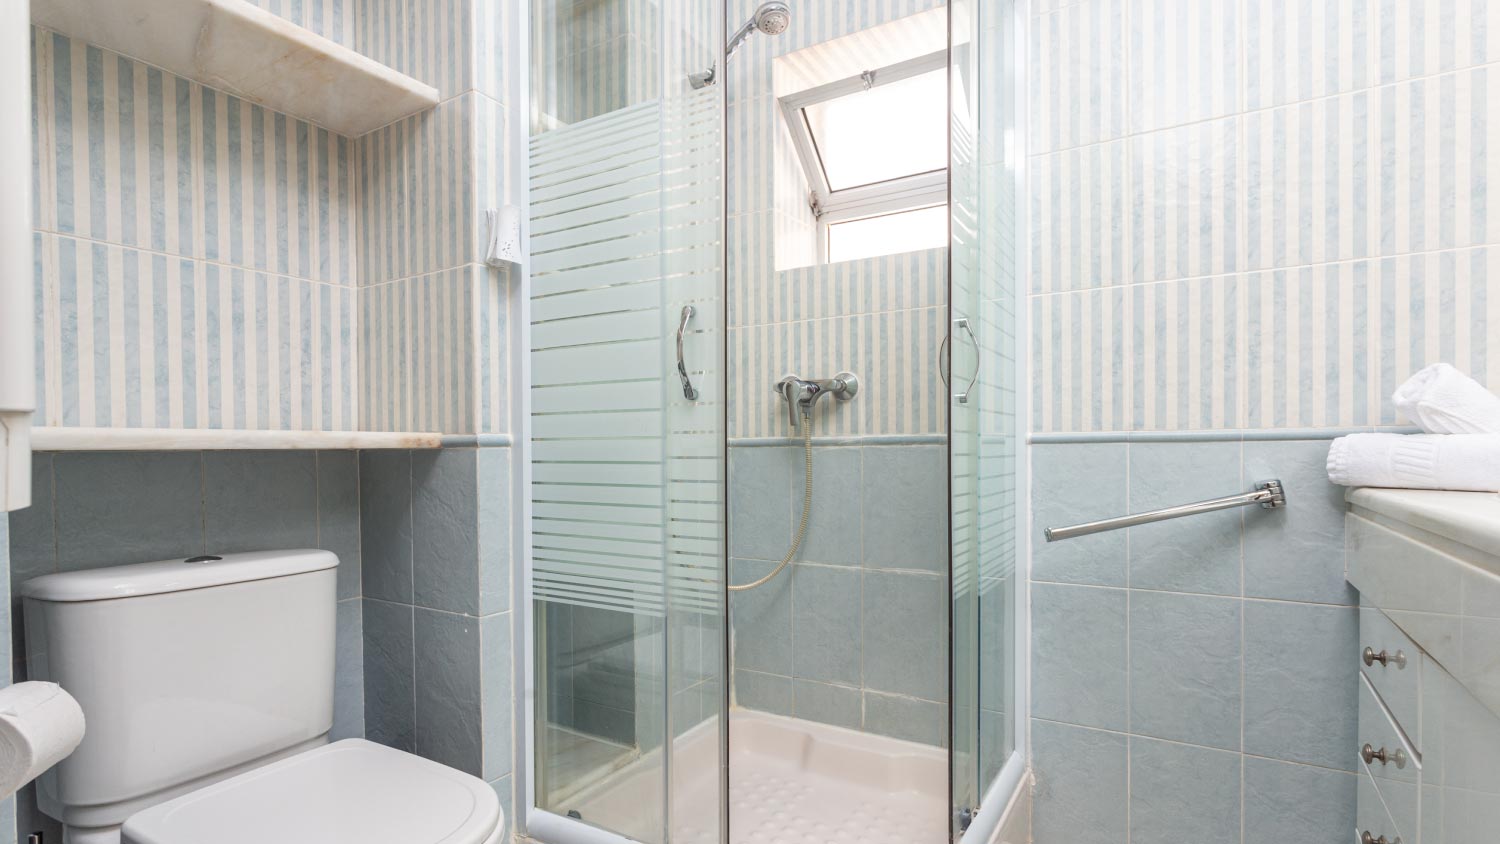
When choosing to install a multi-panel shower unit, the walls and shower can ship as separate pieces. Fitting the pieces together is a relatively easy process. However, before beginning installation, make sure the pieces will fit your space for the shower.
1. Install the Shower Pan
Align the shower pan over the drain line to make sure it fits. If so, you can then install the drain assembly, including the gaskets. You may need to access the underside of the shower pan to assemble the drain, but some shower pans ship with the drain assembly already in place.
Place mortar on the subfloor and level the shower pan over the top of the mortar to secure the pan in place. If the drain line pipe is too tall after this process, you can cut it with an internal pipe cutting tool.
With the shower pan in place, you may want to cover and protect it with thick cardboard or a moving blanket as you continue working around it.
2. Identify and Mark Each Panel
Each panel will fit in a certain location in the finished shower kit. If the panels don’t have a clear mark on them already, you can mark the back side of the panel to indicate where you will install it, so you don’t mix up the panels later.
3. Cut the Holes for the Shower Fixture
Before installing the cover plate around the shower control valves and plumbing fixtures, you’ll need to drill a hole in the wall panel that lines up with the control valve. Depending on the location and type of showerhead, you may need to drill a hole for the showerhead as well.
Measure the location of the control valve and mark it on the panel. Use a hole saw to cut the hole, but be sure you’re cutting a hole of the correct size at the correct location, as you cannot easily repair a mistake in this step. If you’re concerned about ripping the material with the saw teeth, set the drill in reverse when making the cut. Follow the same procedure if you need to cut a hole for the showerhead or other items.
4. Test Fit the Panels
Next, test fit each of the panels by lifting them in place, ensuring they fit tightly against the wall studs. Check that they will sit in place and are level.
5. Test Fit the Edge of the Panels Into the Shower Pan
The panels may have a notched edge along the bottom that allows them to fit tightly against the shower pan. Test fit this notch as well. Some panels have locking tabs that connect them to the shower pan and each other. If so, make sure these tabs will line up properly.
6. Position and Install Each of the Panels
After test fitting the panels for proper alignment, it’s time to install them one at a time. Attach the panel with the holes for the plumbing fixtures last.
Position the first panel in place, and drill pilot holes in the material (unless there are pre-drilled pilot holes). Don’t run a screw through the material without the pilot hole, or you could crack it.
It can be difficult to hold the panel in place while drilling the pilot holes, so you’ll want to have a friend or family member available to help. After drilling the pilot holes, use the screws included with the kit or galvanized screws to attach the panel to the wall studs. Follow the same process for the other panels.
Check the instructions for your shower kit. If the manufacturer recommends using caulk along the seams, you can add it after attaching the panels to the walls. You also may need to use water-resistant drywall or trim to finish any exposed walls above the shower panels.
7. Attach Shower Fixtures
Install the shower control valve, handles, and showerhead. All these items should cover the holes you drilled earlier in the panels.
8. Mount the Shower Door Kit
If your multi-piece shower kit ships with a door, attach it as the final step. The installation process will depend on the type of door you’re using, so follow the directions for your kit. If you choose a kit that doesn’t use a shower door, you’ll want to install a shower curtain.
5 Tips to Installing a New Shower Enclosure
1. Read Manufacturer’s Instructions
Before getting started, make sure to thoroughly read the manufacturer’s instructions for your particular enclosure. Although the installation process is generally the same, your kit may require special steps that aren’t mentioned in this guide.
If you have questions about anything in the instructions, don’t wing it. Research for answers online, or call the manufacturer to get clarification before you start the installation process.
2. Check for Wiring Before Drilling
Wires and water do not mix. Use your electronic stud finder to check for wires in the wall before you start doing any drilling. Failure to do this can lead to serious injury or even death, so be sure to do this. Note that magnetic stud finders will not work for finding wiring.
3. Be Thorough With Your Level
Take the time to check your level as necessary throughout the installation process to make sure that your flooring, walls, and enclosure are all perfectly level. Cutting corners or rushing when using your level can lead to poor installation, which can later lead to more serious issues like improper drainage and future water damage.
4. Don’t Drill Into Glass Tiles
If your shower has glass tiles, make sure that you don’t drill into them. No matter how precise or careful you may be while drilling, you’re bound to cause cracks.
5. Plan for the Door Swing
Check your local building codes, but in most cases, your hinged shower door is required to swing outwards. Make sure that you leave enough space for the door to easily open by taking measurements before doing the installation.
DIY Shower Installation vs. Hiring a Pro
Doing a DIY installation of a shower direct-to-stud kit can be challenging, although it can be a way to cut back on bathroom remodel costs. You need to be comfortable removing drywall, using a level, repairing wall studs, positioning shims, and using a hole saw. If you don’t have the required tools on hand, you’ll have to buy or rent them.
In certain cases, you may need to move plumbing or drain lines, which is a part of the project that’s best left to a pro. Moving pipes will take a plumber about two to three hours, but more complicated jobs can take far longer, especially if your home has older plumbing.
Installing a new plumbing fixture can cost $600 to $1,600. If you need to move the drain, it could cost another $600 to $1,600, although the final bill will depend on the cost of living and labor in your area. The national average cost of hiring a plumber is $45 to $200 per hour.
You can also hire a local shower installer to do the entire job for you. If there’s no need to move plumbing or the drain, the shower installer should be able to install the shower kit within one to three hours. The cost to install a pre-made shower kit with a shower installer or contractor will be about $400 to $1,000 for labor.
Frequently Asked Questions
Use mortar underneath the shower base. The mortar holds the shower pan in place and creates a level surface when spread properly. If your flooring is not level, you would need to use shims to create a level surface before moving forward with the mortar and base installation.
Note that installing a shower pan on an uneven surface can eventually lead to cracks and leaks.
Generally, you don’t want to install shower walls over drywall because of the moisture issues that this can cause. And if you’re using a direct-to-stud shower kit, you need to remove the drywall before you can do the installation.
However, if you’re using a glue-up shower kit or stall, you can glue the shower walls directly to drywall. Be sure to install a moisture-resistant drywall or waterproof cement board.
Yes, you should insulate behind shower walls, just as you would insulate any other wall in your home. Besides its primary function to insulate against weather and help your bathroom stay cozy or cool all year long, the insulation helps you avoid wall rot and moisture buildup.
For insulation, you should use a high R-value rated foam insulation coupled with a vapor barrier.


- Bathroom Remodeling
- Kitchen Remodeling
- Shower Installation
- Stair Installers
- Bathtub Installation
- Shower Door Installers
- Kitchen Design
- Bathroom Design Companies
- Storm Shelter Builders
- Pre-Made Cabinets
- Kitchen Refacing
- Bathtub Replacement
- Ceiling Tile Installation
- Suspended Ceiling Companies
- Residential Designers
- Stair Builders
- Remodel Designers
- Shower Enclosures
- Home Renovations
- Kitchen Renovations
- Garage Remodeling
- Grab Bar Installation
- Walk-In Tub Installers
- Tub to Shower Conversion
- Balcony Contractors
- 5 Causes of a Leaking Shower and How to Fix It
- How to Convert a Tub to a Walk-In Shower
- 6 Tips for Converting Your Bathtub Into a Shower
- 8 Common Shower Pan Sizes for Your Bathroom Remodel
- Tub-to-Shower Conversion Ideas to Inspire Your Bathroom Renovation
- 9 Shower Remodeling Ideas for an Instant Upgrade
- How to Increase the Water Pressure in Your Shower
- 9 Types of Shower Enclosures That’ll Immediately Upgrade Your Bathroom
- How to Remove a Shower Light Cover Safely and Easily
- 17 Stunning Outdoor Shower Ideas and Designs


