
Dealing with a visibly damaged roof or leak? Learn about roof repair costs in Columbus to see how much you’ll need to budget for a permanent solution.
Properly cutting roof rafters yields a sturdy, safe building structure


Hiring a roofing contractor increases the overall cost, but their experience ensures accurate cuts and safe installation—critical for a stable roof frame.
Cutting rafters requires precise measurements and math skills, and mistakes can compromise the roof’s structural integrity.
A pro knows how to calculate slope, make complex cuts (like birdsmouth and tail cuts), and ensure everything aligns with ridge and fascia boards.
You’ll need tools like a framing square, speed square, stair gauges, circular saw, jigsaw, and safety gear—and the space and skill to use them properly.
DIY errors often require starting over with new lumber or calling a pro to fix issues, which can end up costing more than hiring one from the start.
If you’re not sure if you’re cut out for the job, hire a roofing contractor near you to complete the project safely.
Think of the rafters in a garage, large shed, or home as the support skeleton for your building. You probably already know that strong rafters are the key to framing the roof’s shape and supporting shingles and the roof deck. However, learning how to measure and how to cut rafters properly also generates stability in the framed walls, giving your building the support it needs to survive for the long haul. Cutting rafters to the correct size requires significant attention to detail, but mastering this skill gives you the know-how to put up your building safely.

A freestanding building uses roof rafters to frame the roof and to support the roofing materials, like the roof deck and shingles. You can even learn how to install metal roofing or alternative roofing materials after properly framing the roof, as it can support plenty of weight. The roof rafters create the frame or shape of the roof while also connecting to the exterior walls to stabilize the entire structure.
Commonly, roof rafters consist of wood, such as pine or spruce. For extremely long rafters, you may need to use composite lumber boards to maintain the strength of the rafter over the extra distance versus pine or spruce boards.
If the person building the roof doesn’t measure and cut the rafters to the proper length, it could leave the building with a weak design. The entire structure is in danger when the roof rafters are too short or long, as they don’t connect properly to the walls or ridge board.
When learning how to cut rafters, you must cut the ends of the boards at an angle rather than using a more common 90-degree cut. The angles on either end of the rafter play a role in determining the pitch of the roof. Cut the angle incorrectly, and the rafter simply won’t fit properly.
Before cutting the rafter board, you need to know the roof slope you want to use. The slope is a ratio that expresses the roof's vertical rise to its horizontal run. The run is the horizontal distance over which the angled portion of the roof stretches. For a roof with a peak directly in the middle, the run would be half the horizontal measurement of the entire width of the building.
The slope ratio represents the distance of the rise in inches for every 12 inches of horizontal run. If the run is 120 inches, and the rise is 40 inches, the slope ratio would be 4 in 12.
Rather than using rafters, some people will choose to use roof trusses when constructing a building. A rafter is a single board that you connect to the ridge board and connect to the exterior wall after cutting a notch. The truss is a triangular-shaped frame with an angle that mirrors the angle you’ll use for the roof.
Although you can learn how to build roof trusses, most people purchase roof trusses prefabricated to match the width of the building and the desired angle of the roof. On the other hand, you’ll cut your roof rafters on-site because your cuts are unique to your building’s roof measurements.
Typically, a truss will consist of two-by-fours, typically making roof truss costs reasonable. Meanwhile, rafters are often two-by-sixes at a minimum and can be as wide as two-by-twelves. Because of the use of two-by-fours, you may need more trusses per square foot of roof than rafters.
When cutting rafters and building the roof, you may need to understand several common rafter terms:
Plumb Cut: The plumb cut, also called the ridge plumb cut, is the angled cut on the top end of the board that allows it to sit tight to the ridge board at the top of the peak of the roof.
Ridge Board: The ridge board is the piece of wood at the peak of a roof. The end of the rafter with the plumb cut connects to the ridge board.
Tail Cut: The tail cut, also called the tail plumb cut, is the angled cut on the bottom end of the board that sits tight against the fascia board. Without a fascia board, the tail cut remains visible.
Birdsmouth Cut: The birdsmouth is the cut in the rafter board that allows it to connect to the exterior walls. The birdsmouth consists of two angled cuts, resulting in a notch in the rafter board. It’s important not to cut the notch too deeply into the board, or you’ll weaken it at the birdsmouth. Leave at least two-thirds of the board's width intact after the notched birdsmouth cut.
Rafter Layout: The rafter layout refers to the precise measurements you must make to cut the rafter at the proper location and angle. It includes making measurements and drawing cut lines on the rafter boards.
Rafter Run: The rafter run is the horizontal distance from the outer edge of the exterior wall to the center of the roof. Don’t measure the angled distance to the roof's peak; only measure this distance in a horizontal line as if the roof was flat.
Because cutting rafters requires precise measurements and angles, preparation is a key aspect to performing the plumb cut, birdsmouth cut, and tail cut.
You need plenty of free space at the worksite to move the long rafter boards around. Some of the tools you may want to have on hand include:
Speed square
Framing square
Stair gauges
Circular saw
Jigsaw
Handsaw
It’s important to mention that our guide focuses on cutting rafters for a typical roof design with one centered peak. If your building has more than one peak or if the single peak is off-center, you’ll need to consult with a contractor to be certain of the process you need to follow.
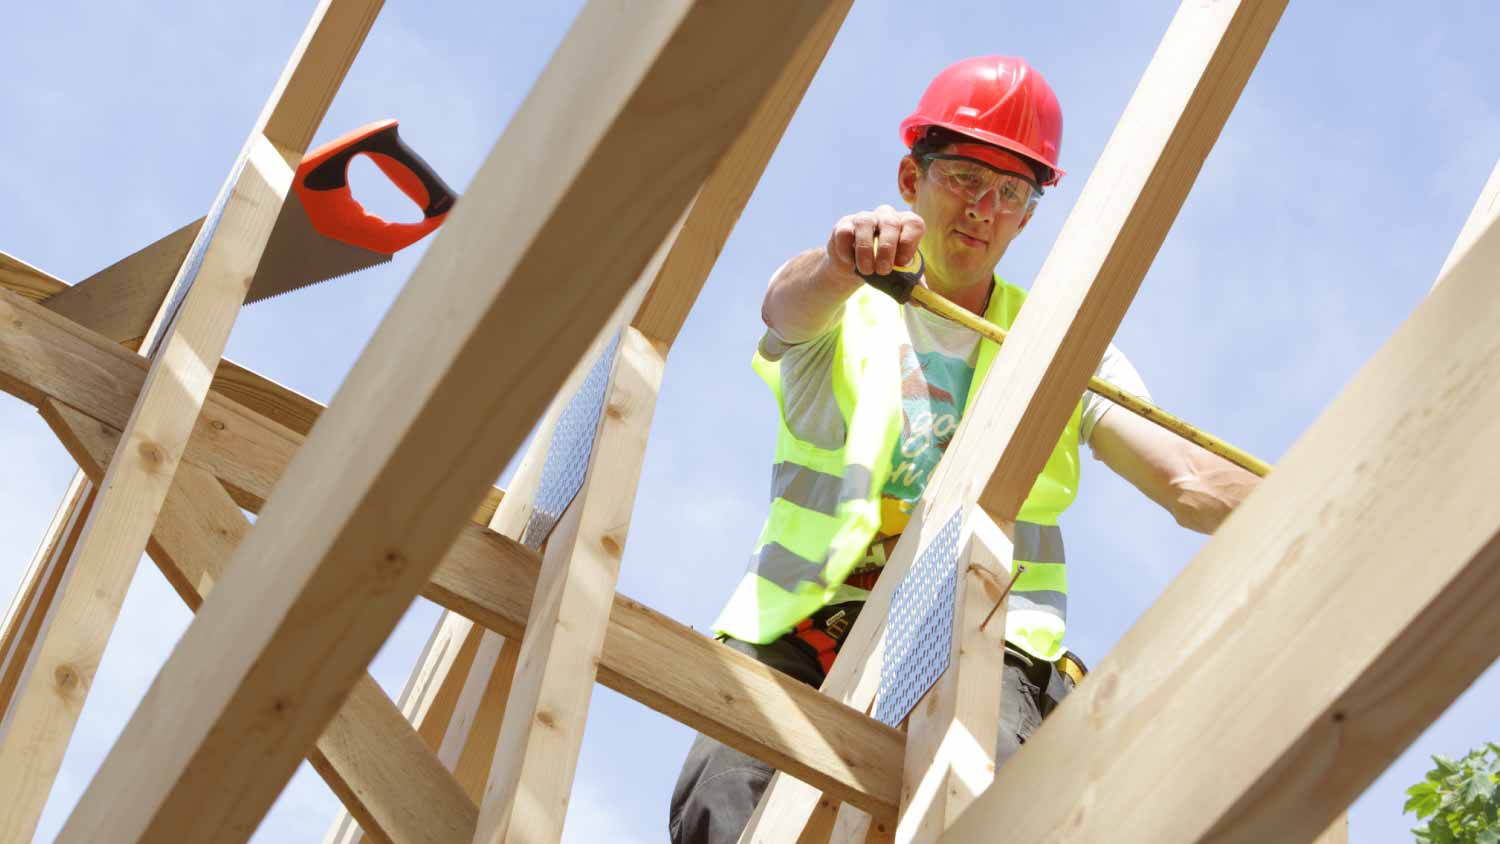
Before starting this job, do an honest assessment about whether you can handle the physical demands it requires. You will be working with extremely long pieces of wood that are heavy. You almost certainly will want to have a second person working with you to ensure exact measurements and to attach the rafters in the precise location.
You’ll also be working at a significant height for parts of the job, using large ladders or scaffolding. You may even need to climb onto and stand on existing framing to reach certain parts of the roof. You need a safety harness to perform this work as safely as possible and to try to avoid serious injuries from a fall.
Because of the significant challenges involved, many people choose to hire a professional to do this type of job.
To determine the proper length for the rafter, you need to know the distance from the interior edge of the ridge board to the outside edge of the exterior wall. Later, you will need to know the desired length of the overhang, which is the distance the rafter will extend past the exterior wall.
To make this calculation, start by measuring the width of your building from the outside edge of each exterior wall—this measurement needs to be precise. Then subtract the thickness of the ridge board. If using a two-by-eight for the ridge board, the thickness is 1 1/2 inches. Then divide the new measurement by two, but only if the roof's peak is centered along the width of the building; if you have an off-center roof peak, measure the horizontal run on each side of the roof separately.
With the slope ratio in hand, as described earlier, you’re ready to determine the proper length of the rafter. Most people will want to use a roofing calculator to make the final calculations, as doing them by hand requires knowledge of multiple mathematical formulas. You can find free roofing calculators for rafter length online. A roofing calculator should give you the roof angle in degrees, roof rise, slope factor, and rafter length.
Some calculators may also try to calculate roof replacement costs or the cost of a new roof for you based on your measurements.
With the measurements you need in hand, you’re ready to make the plumb cut first. You can use a speed square or a framing square with stair gauges to mark the space for the cut.
Before making any cuts, inspect your lumber. Find pieces of lumber that are as straight as possible. Most pieces of lumber have a slight crown, which is a small hump on the edge of the board. If you see a crown while inspecting the lumber, mark its location. Then make sure the crown is facing upward when cutting the rafter.
Use the speed square or framing square to line up the proper angle for making the plumb cut on the rafter board. The framing square needs stair gauges to maintain the proper angle, while the speed square has markings you can align to ensure the proper angle.
Use a pencil to mark this angle for the cut. Double-check your measurements and angles before cutting, as this is an extremely important cut. Then use a circular saw to cut the board along this line. You will use this same angled cut on every rafter board for your roof framing.
Place a tape measure at the top point of the plumb cut you just made. Measure the calculated length of the rafter without the overhang and mark it. As with all measurements when learning how to cut rafters, this measurement must be precise.
Now you can mark the notch for the birdsmouth cut. Place the speed square or framing square at the mark for the length of the rafter. Align the square at the same angle you used for the plumb cut earlier, and mark the line with a pencil. This line is the birdsmouth’s shoulder cut; it is an angled vertical cut.
Next, mark the seat cut line for the birdsmouth, which is an angled horizontal cut. The depth of the seat cut will be equal to the width of the exterior wall. Include any sheathing on the exterior of the building when measuring the exterior wall’s width. After you cut the birdsmouth notch, the rafter will sit flush with the exterior wall while maintaining an angle that matches the roof’s slope.
Place one edge of your square directly on the line you drew for the shoulder cut. The edge of the square now at a right angle to the shoulder cut line will measure the seat cut. Slide the square’s position up or down along the shoulder cut line until the right angle section of the square matches the width of the exterior wall, measuring from the shoulder cut line to the edge of the rafter board.
Once you have the right measurement, draw this line for the seat cut with your pencil. You can draw hash marks in the notch of the rafter board that will be discarded after cutting the birdsmouth, so there’s no confusion about where to cut.
Now determine how much overhang you need on the rafter to mark the line for the tail cut. Line up one side of the square along the line you drew for the birdsmouth shoulder cut. Measure the distance for the overhang on the segment of the square at a right angle to the shoulder cut line. Then draw a line across the width of the rafter board at this mark, using the same angle you used for the birdsmouth shoulder line and the plumb cut.
Make the tail cut first using a circular saw.
To make the birdsmouth cut, use a jigsaw or handsaw, as you only are sawing through a couple of inches of the width of the rafter board rather than the entire width as you did for the tail and plumb cuts. Going too far with your birdsmouth cuts will weaken the board.
Cut along the seat line until reaching the shoulder line. Then cut the shoulder line to the seat line, completing the notch. Some people use a jigsaw to cut most of the line before finishing with a handsaw to guarantee as much precision as possible.

Learning how to cut rafters requires quite a few steps and many exact measurements. Use these tips to have a successful rafter DIY cutting job.
Check Your Work: After completing the cuts on the first rafter, have someone help you hold the rafter in place to ensure that it should fit precisely. Just hold it in place to eyeball your work. If you made any mistakes, fix them on a new piece of lumber and discard the lumber with the errors.
Calculate the Total Number of Rafters: Typically, you’ll space rafters about every 2 feet along the length of the building. Take some measurements and figure out how many rafters you need so you don’t cut more boards than required to do the job. Don’t forget to calculate the rafters on the other side of the roof, too.
Don’t Be in a Rush: Even though it can seem tedious to have to cut a large number of rafters in the same way, don’t rush through the process. Precise measurements and cuts are key to having strong rafters and a sturdy building that will last.
Make a Soffit Cut: If the width of the rafter at the tail cut will extend beyond the width of the fascia or soffit board, you can make a soffit cut to remove this tiny chunk of the board so it won’t be visible or affect your roof drip edge. Measure the width of the fascia or soffit board. Mark this width on the tail cut and then cut it at a right angle.
Cutting roof rafters is a challenging process for a novice. The number of measurements and calculations required and the importance of making extremely precise cuts usually goes better with a bit of experience on your side. That doesn’t mean a novice should automatically skip a project like this, but having one or two people on hand who’ve done this before and can advise you may be nice.
There’s nothing wrong with seeking a price quote from a roofing contractor near you to perform this work, especially considering the roof rafters' importance to the integrity of the overall building.
From average costs to expert advice, get all the answers you need to get your job done.
Dealing with a visibly damaged roof or leak? Learn about roof repair costs in Columbus to see how much you’ll need to budget for a permanent solution.

Learn about roof replacement costs in Columbus and what factors are at play to budget accurately and make sure you’re getting a fair price.

A metal roof can defend your home against Ohio’s varying weather conditions. Learn how much a metal roof costs in Columbus, OH.
The best types of roofing materials are tailored to the local climate, energy efficient, and well suited to the roof pitch.

Painting a metal roof helps it look great and last for decades. Use this guide to learn how to paint a metal roof, whether you DIY the job or hire a pro.

Know the different pros and cons of different types of asphalt shingles, including three-tab, architectural, and luxury shingles.