
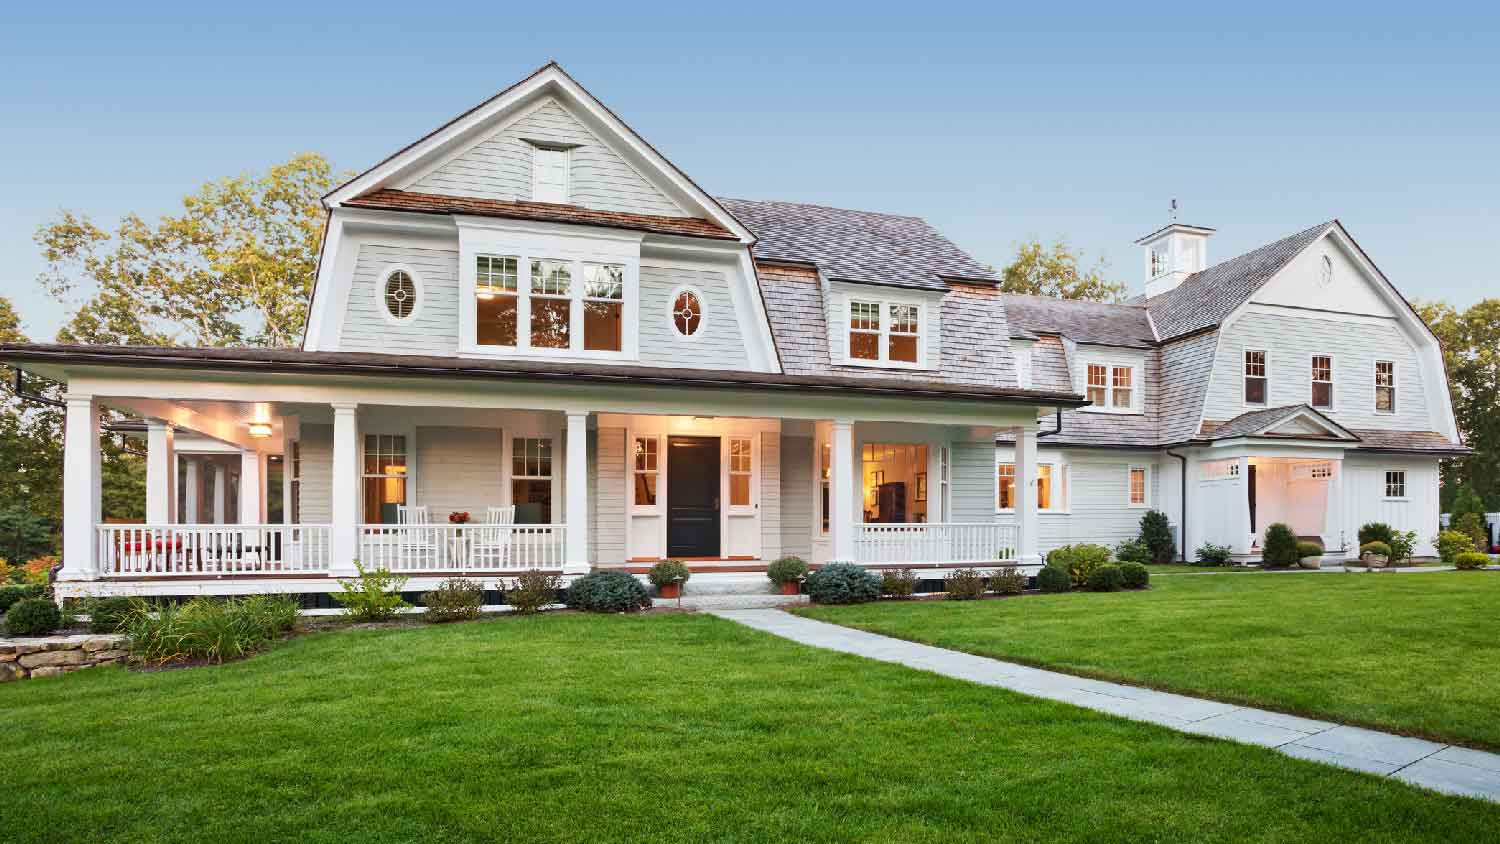
Are you wondering what factors might affect a wraparound porch’s cost? Budget for this rustic and charming addition with our cost guide.
Need your porch covered? We got it covered

Installing a bathtub liner gives your existing tub a fresh look without the full replacement cost, as long as your tub has no cracks or drainage issues.
Expect to pay $500 to $2,800 for DIY materials or around $6,400 for professional installation, while tub replacement costs $2,000 to $9,400.
You'll need to clean your tub thoroughly, remove all hardware, apply primer and adhesive, then carefully fit the liner to avoid trapping moisture underneath.
Hiring a local bathtub repair professional provides reliable help with proper sealing and adhesive application, preventing water damage and mold from improper installation.
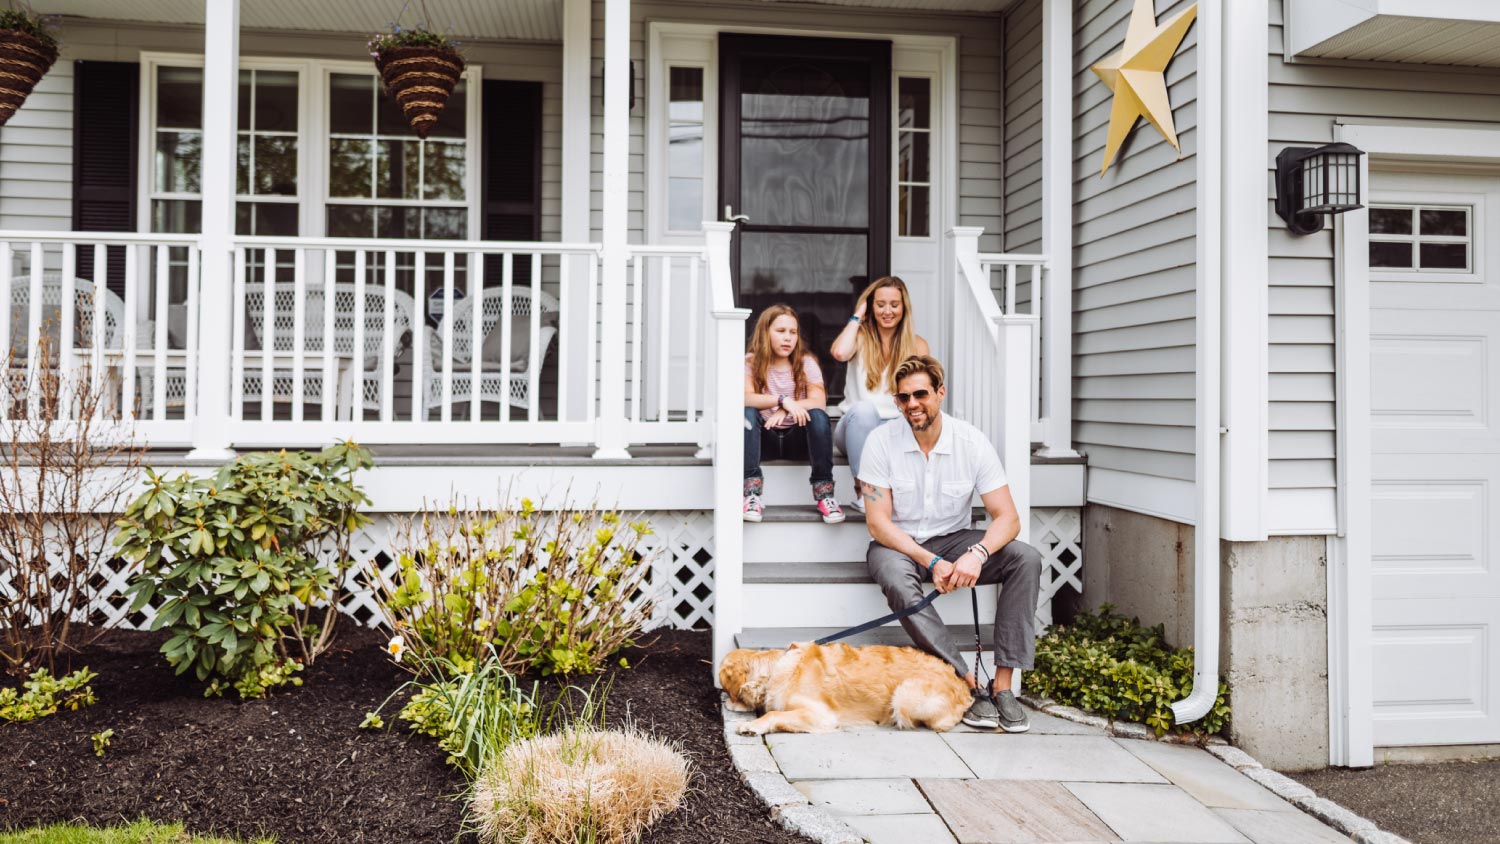
A porch is a great way to enjoy the outdoors, but what if you want to soak in nature while it’s raining, or you don’t want to bake in the direct sunlight? That’s where a porch roof comes in. In this guide, we’ll walk through the step-by-step on how to build a porch roof to help you get outside more often.
Building a porch roof requires installing foundational supports, and any project considered a “permanent improvement” like this will require permits. Head to your local building department to pull the proper permits for your porch roof to keep your project legal.
Installing a porch roof is also a major undertaking that requires lots of planning to avoid wasted materials and unnecessary trips to the home improvement store. Get all of your tools and materials together, and double-check that you have everything you need before you begin.
The ledger board is the horizontal piece of lumber that attaches to your home’s framing and supports the porch roof. You can start the installation by using your oscillating tool to cut out a piece of siding to reveal the wood behind it. Measure carefully to avoid cutting out too large of a hole.
Use 2-by-8 material for the ledger board, and attach it to your home’s exterior wall framing using 5-inch lag screws and washers. Finish the ledger board by installing deck flashing around it. Tuck the flashing behind the siding on all four sides of the ledger board for adequate protection.
Measure how far out you want your deck roof to extend and mark spots for the outer supports. Use your post hole digger to dig the holes. Check local regulations for how deep foundational supports need to be, as it varies based on the frost line and local building ordinances. Dig at least that far down.
Set the concrete building form tubes into the holes, and put down a 4-inch layer of gravel or paver base at the bottom. Mix and pour your concrete, and set the post bases into place. Double-check that the post bases are level and square to the exterior wall of your home.
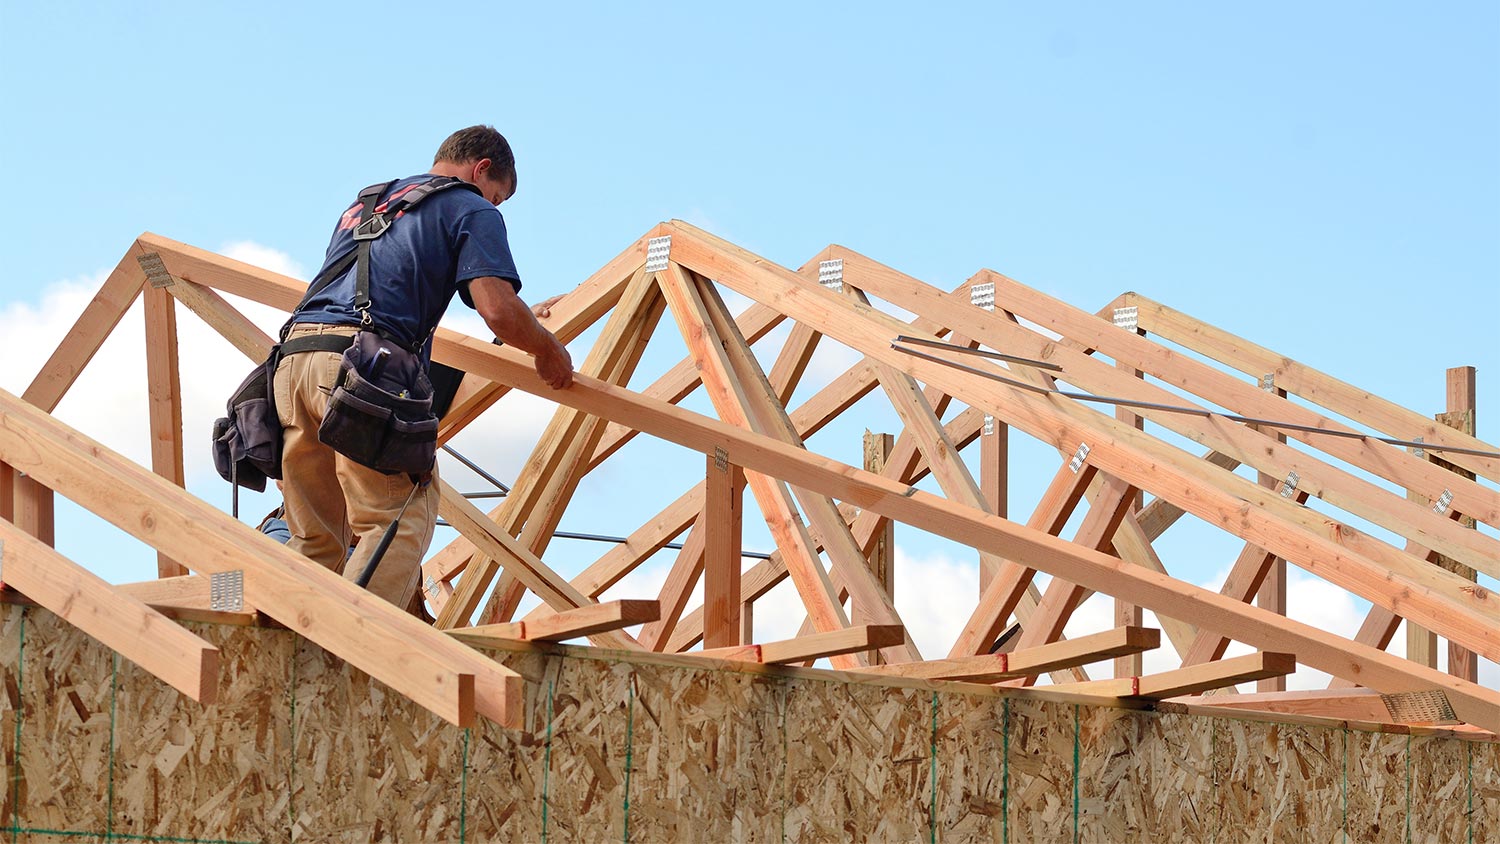
Once the concrete dries, use your circular saw to cut the posts to the proper height. You’ll need to determine what roof pitch you want to get the right roof measurements.
Connect the two posts using a header beam made of 2-by-10 material and plywood. To make the header, cut two 2-by-10s to the proper length, sandwich a piece of plywood between them, and use a framing nailer to nail them together.
Next, you can attach the rafters. If you’re using rafter hangers on both sides, you can just cut the proper angle on the ends of the rafters and attach them to both the ledger board and the header. If not, you’ll need to notch the rafters on the ends nearer to the header to get them to sit properly. Use your circular saw to create the notches.
With the rafters in place, you can install the plywood or OSB roof decking. Be sure to review ladder safety tips before you begin. Use your table saw or circular saw to cut the sheets to size, and use your framing nailer to attach them. Always line up the edges of the plywood or OSB so that they rest on a rafter.
Install drip edge flashing along the length of the header and the two side rafters. Use roofing nails to secure the flashing in place. You can use tin snips to cut the drip edge flashing to length. Leave an additional inch of flashing so that you can cut at the corner and fold over the side and top pieces for a cleaner look.
Lay down your roof underlayment and attach it to the decking using the method recommended by the manufacturer. For roofing felt, you’ll usually use plastic cap nails. Ice and water shield has a pre-applied adhesive that just sticks to the underlayment. Be sure to extend the edges of the underlayment over the top of the drip edge flashing on all sides of the roof.
Finally, you can install the finished roofing material. Follow the manufacturer’s directions with respect to sealants, nail patterns, screw patterns, and shingle or panel overlap. The overhang for metal roofs and asphalt roofs on all edges of the roofing system should be between 1 and 3 inches unless you’re using gable end flashing to seal the sides.

There are many things that can go wrong when building a porch roof, but there are a few that you should be particularly careful to avoid.
Not considering roof pitch: Roof pitch is crucial for proper drainage. Check local building regulations and speak with a professional to decide on the right pitch. Remember that there are also minimum and maximum pitches for metal roofs and asphalt roofs, so stay within the recommendations for your material.
Ignoring the frost line: Not digging your post holes deep enough will mean expansion and contraction of the soil underneath, which will eventually cause structural issues with your new roof and, potentially, the exterior wall you attached it to.
Not overlapping materials properly: All of the materials you use need to sit in a specific order to reduce the risk of roof leaks. Always install your drip edge flashing first. Then install the underlayment working from the bottom of the slope to the top and extending over the drip edge on all sides. Finally, install your roofing material, again working from the bottom of the slope to the top and overlapping the materials underneath by 1 to 3 inches.
Forgoing permits: Building permits for a porch roof cost between $150 and $300 to your total costs, but proceeding without permits can leave you with much more expensive violation fines, and you may be forced to remove the roof altogether, leading to a full roof replacement cost added to your total.
Building a porch roof is a complex project that demands a high level of skill and a variety of expensive tools. If you don’t have experience with carpentry and roofing or don’t have all of the necessary tools, consider hiring a local roofing company to get the job done for you. A pro can complete the installation in just a day or two, and they’re more likely to install a leak-free roof that looks professional.
D1 Roofing delivers outstanding service from beginning to end, backed by a strong warranty and expert teams. I highly recommend them for their excellence in meeting and surpassing expectations with unmatched communication. Choosing D1 Roofing was flawless decision
This place took $25,000 for a flat roof job with a five-year warranty and never returned to fix the leaks that were caused by their work. These people are not professionals and should not be doing this type of work. They incorrectly changed the pitch of the roof, and caused more damage than...
The technician was very professional and friendly. He answered all my questions and was very thorough. He left the fireplace area very clean . He inspected from the roof and advised me as to other work that might need to be done. There was no pressure there. I was very satisfied with the...
 Supreme brick & chimney
I am really impressed with their timeliness and turnaround. Mitchell came out, and we decided to move forward with their pricing. Our roof was on within a week, and we could not be happier with their team! Amazing company, great prices and honest, dependable craftsmanship. I highly recommend...
Manuel Calvillo is the best option in the area for roofing and you won't be disappointed.
They damaged multiple items on my property, including a marble slab used as a table top, tried to hide it, and refused to pay or replace. Arrived day one without a ladder to access roof & delayed a day. Left a mess in back yard; didn't wear face masks; no show by owner to property to see damages
I've hired Gary/Cherokee Roofing for two different homes, work quality, responsiveness, and completion have been great both times. And the prices quoted were very competitive. I would definitely hire again.
Lyle did a great job removing asbestos shingles from our front porch roof. They worked together with our roofer to make sure that the new roof was able to be installed on the same day that Lyle removed the asbestos shingles.
 Lyle Environmental
Bradley Builders did a good job replacing the roof on our front porch. They color-matched the existing shingles on the rest of the house and installed a metal ridge roll since we live in a historical neighborhood. They did the job while we were out of town. When we got back, everything was...
 Bradley Builders, Inc.
I would absolutely recommend this business. They offer a variety of services, including: painting, roofing, and refinishing wood flooring. I hired them to refinish the original hardwood flooring in my home built in 1874. The job was quite challenging, as the floors were extremely aged and...
From average costs to expert advice, get all the answers you need to get your job done.
Are you wondering what factors might affect a wraparound porch’s cost? Budget for this rustic and charming addition with our cost guide.
A porch can expand your living space and add curb appeal. Find out what to budget for the cost of a porch on your home with this guide.
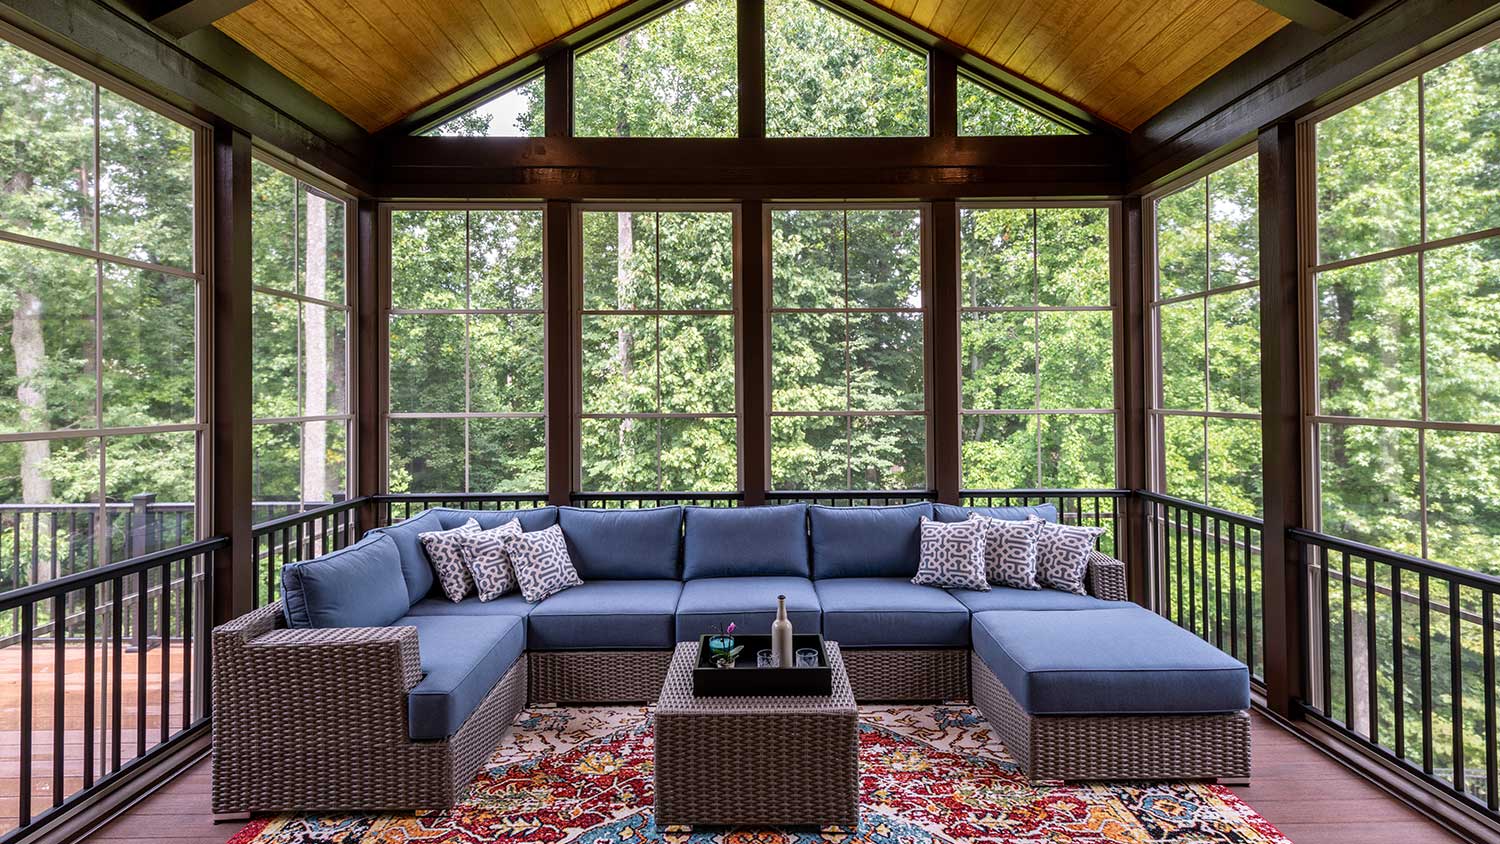
Considering adding a screened porch to your home? Discover the average cost of a screened-in porch, depending on its size, location, and more.
Building a roof is a serious but rewarding project. If you're up to the task, use this step-by-step guide to learn how to build a roof without the help of a contractor.
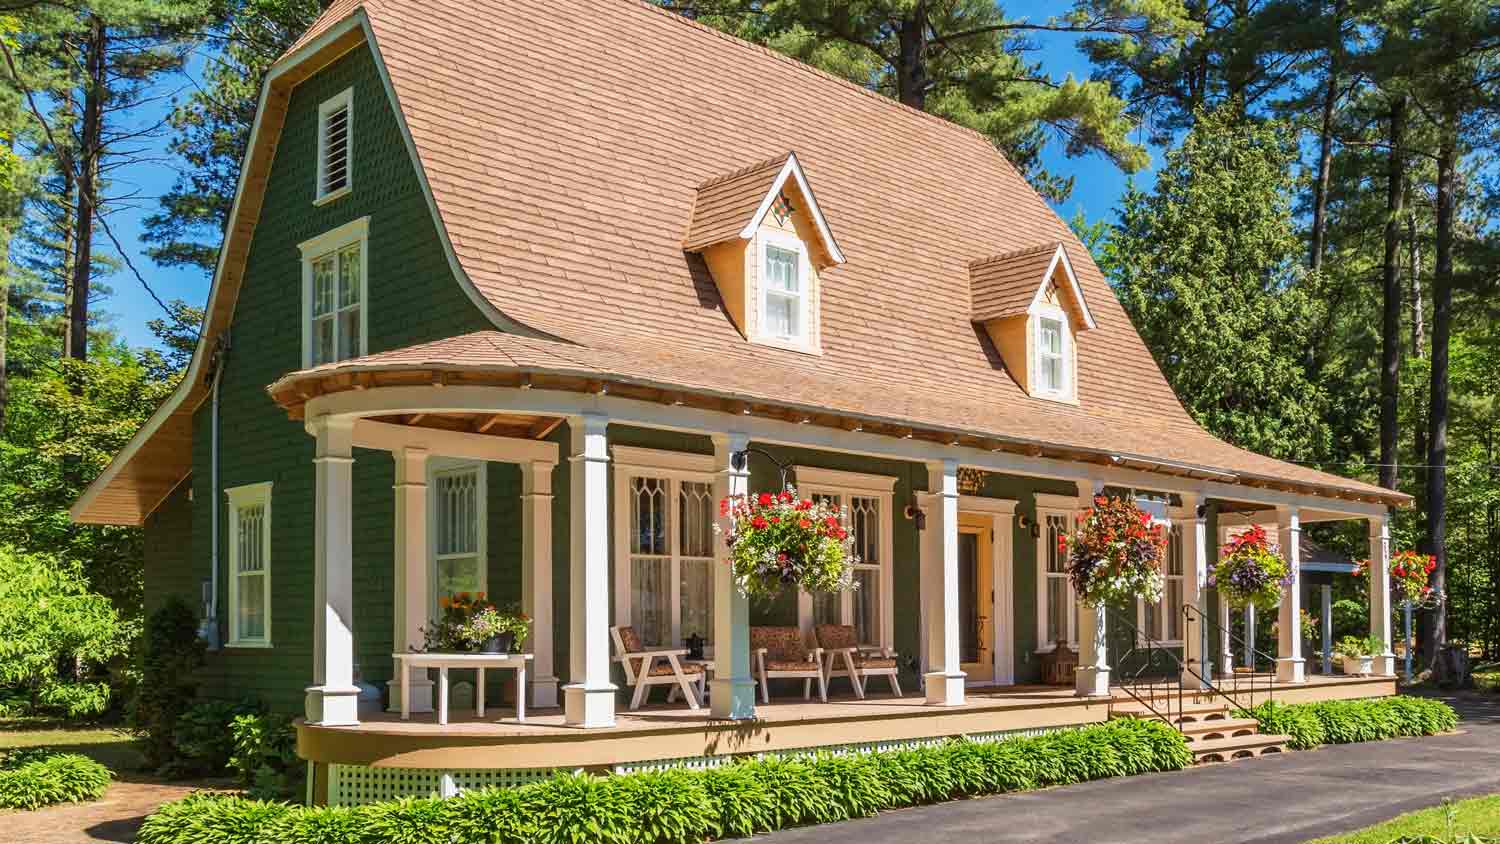
A front porch enables you to enjoy the outdoors from the comfort of your home. Learn how to build a front porch with this DIY-friendly step-by-step guide.

Take the mystery out of replacing old exterior stairs or installing new ones by learning how to build porch steps using this helpful guide.