
Looking to spruce up your outdoor area? Learn how much paver sealing and cleaning costs in Indianapolis, IN, and what factors to consider when budgeting.
Seal the deal with paver sealer to keep your patio floor looking new

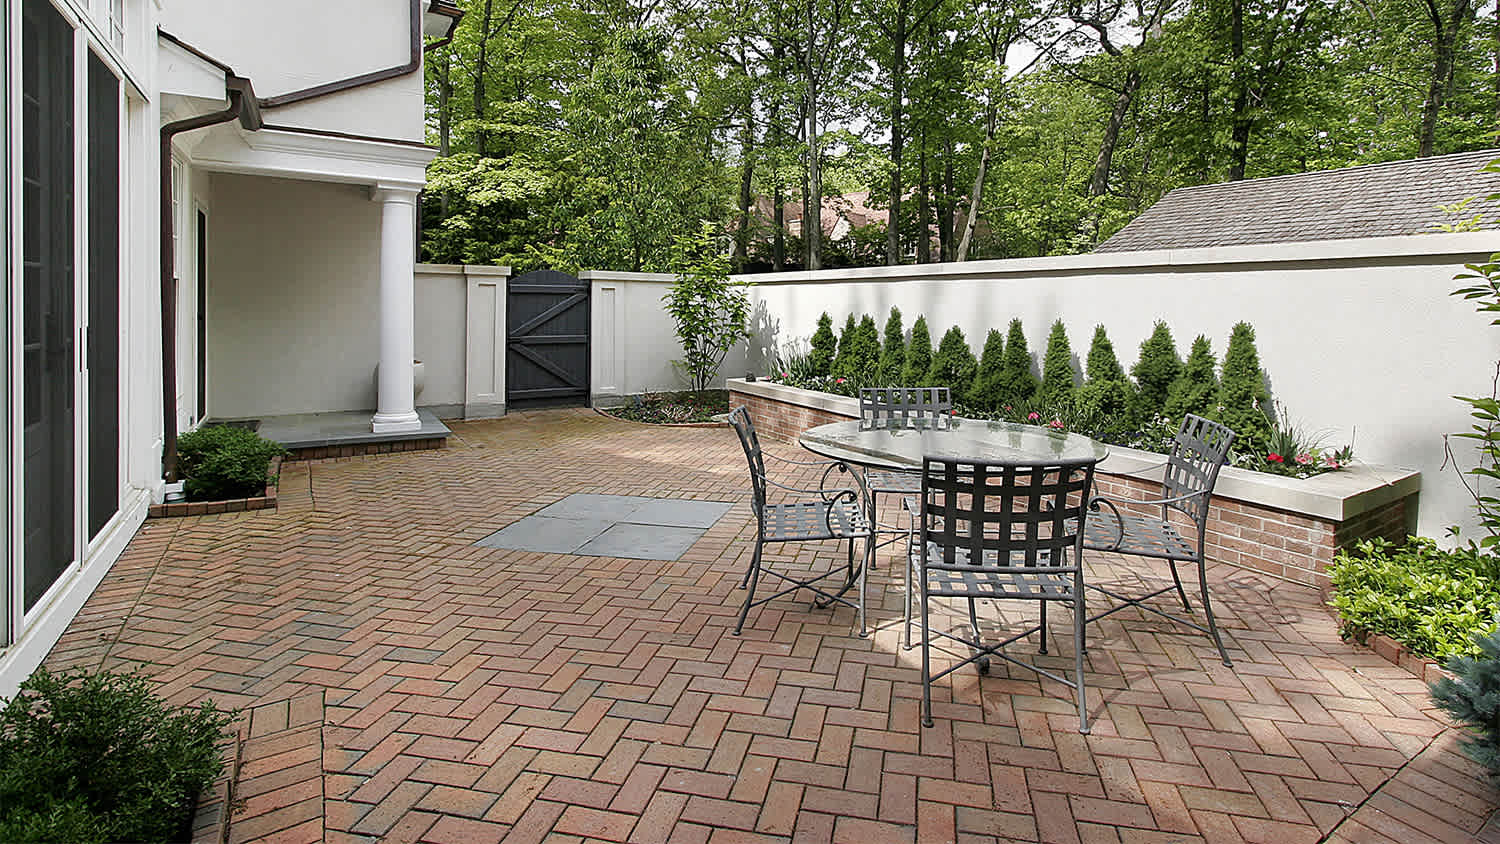
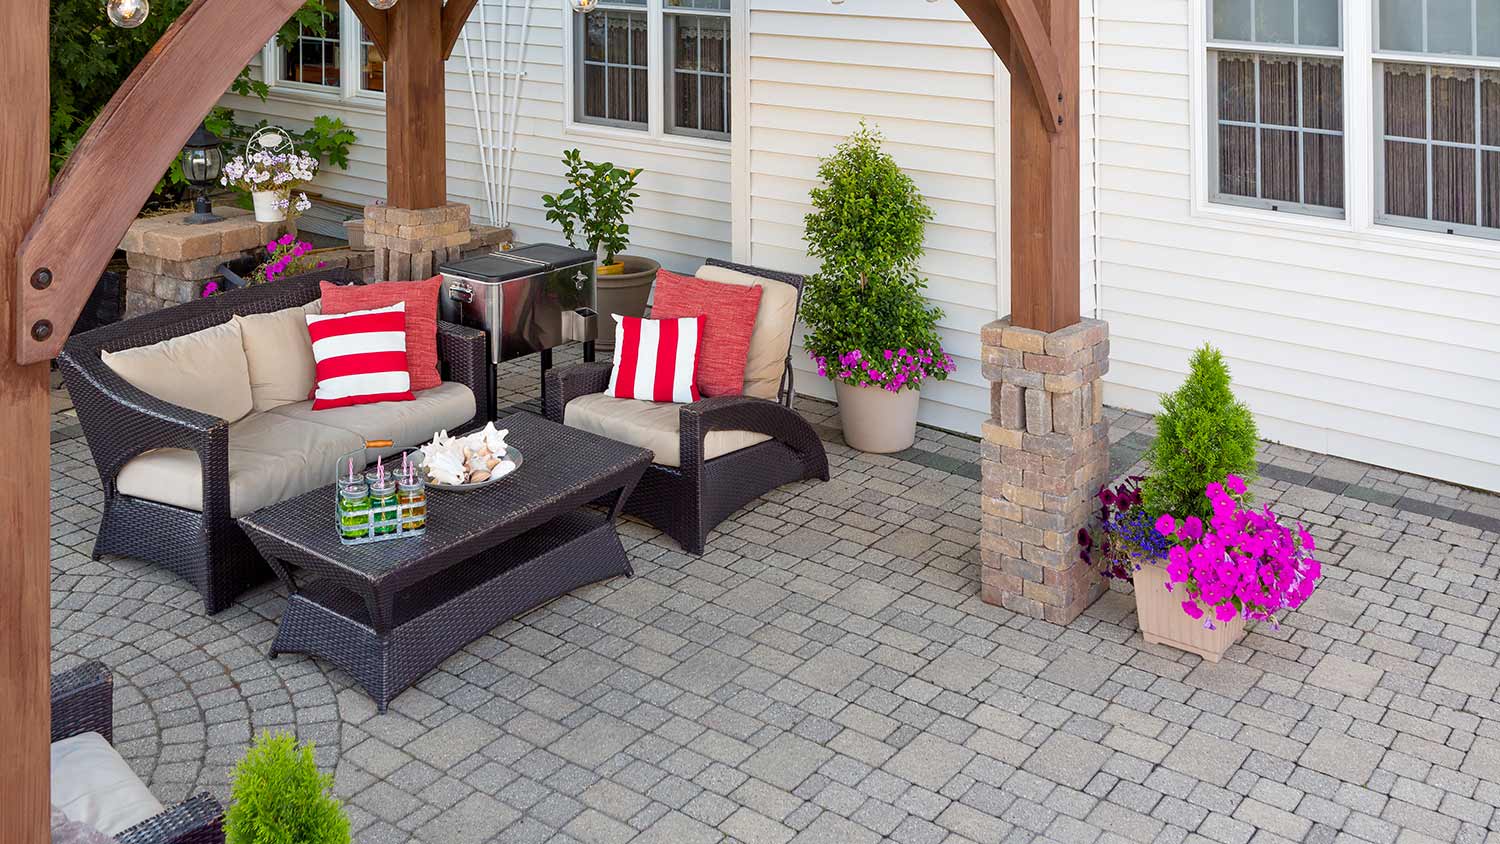
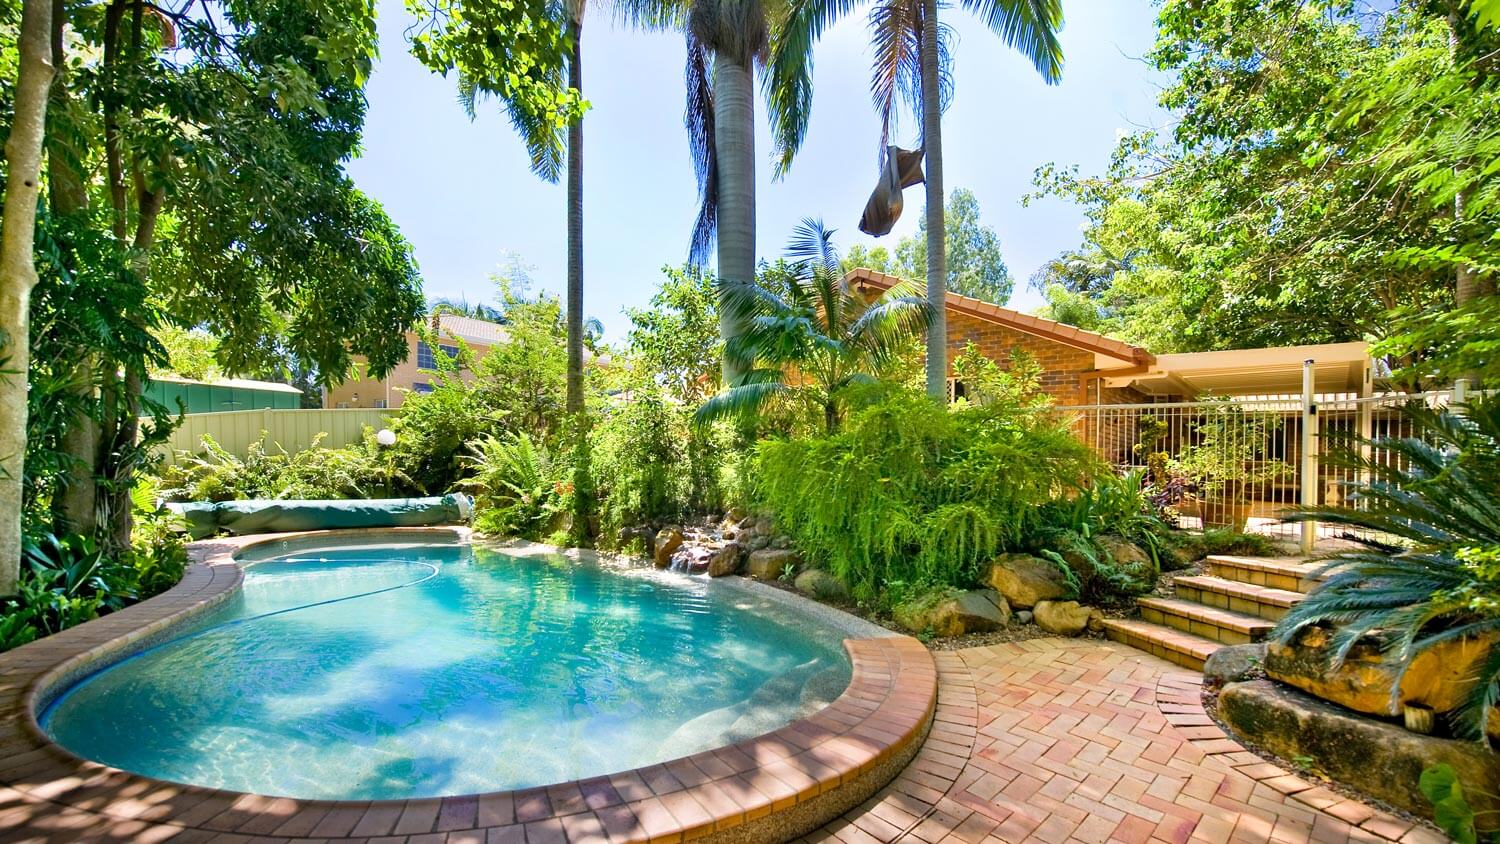
Paver patios, driveways, and walkways can last decades. But they also tend to look dingy after years of bare feet, spilled drinks, and arts and crafts projects. Applying a sealer can freshen up your outdoor space, making it feel new again. It’ll also hold paver stones in place and prevent the edges from chipping.

Here’s a look at what you’ll see when you stare at the options in the home improvement aisle:
The first choice to make is film-forming or non-film forming sealer. The film-forming kind leaves a protective layer on top of the paver, while non-film forming penetrates the stone, leaving little or no film. Penetrating sealers generally last longer than filming varieties.
Choose your paver sealer from a variety of finishes, including:
Clear
Matte
Glossy
Natural
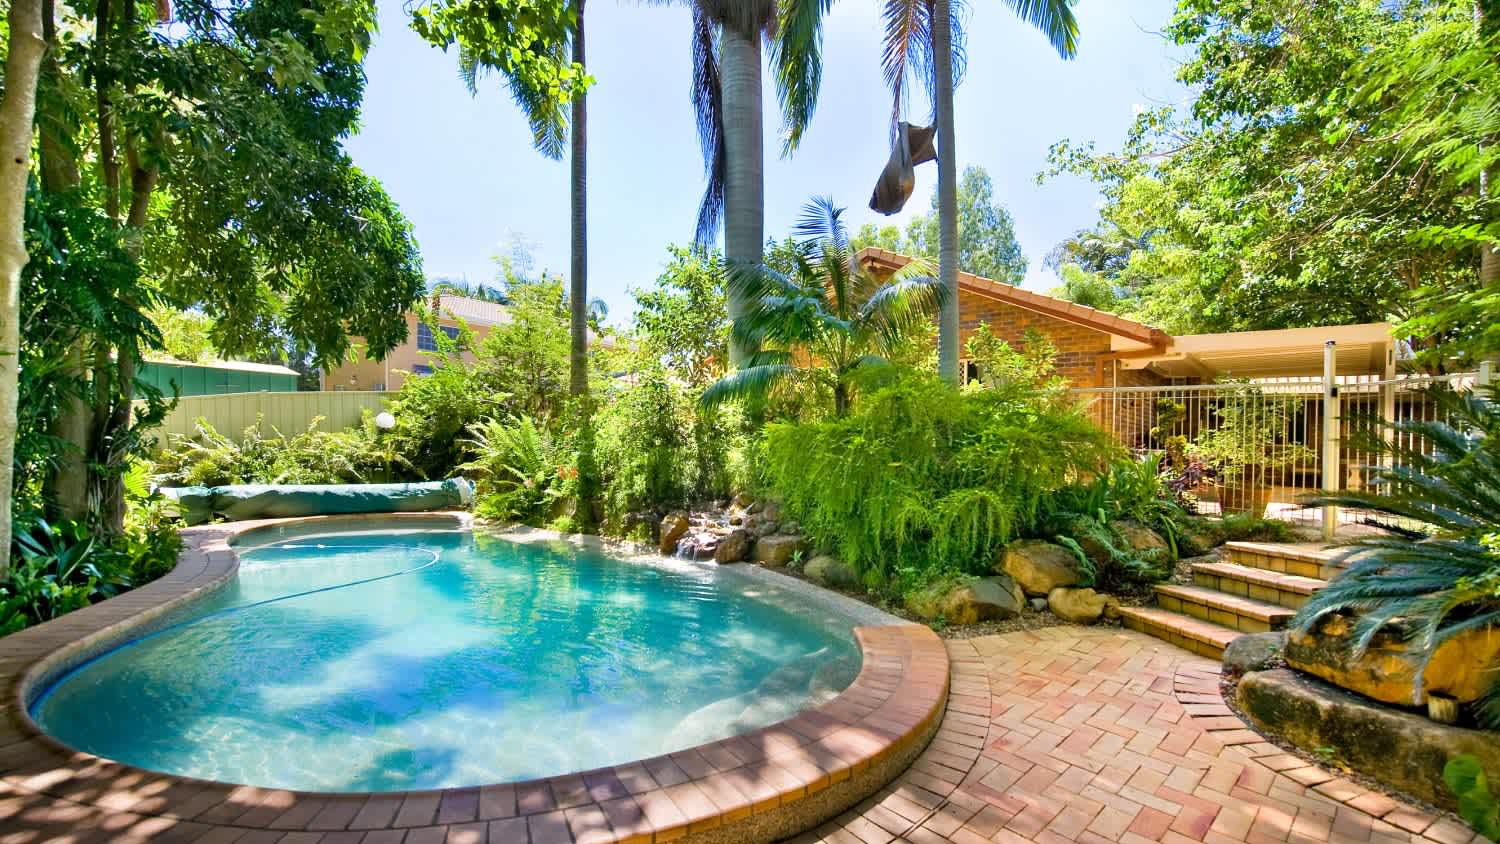
Glossy finishes will have more slip, so avoid them near pools and where the kids run back and forth all summer. For pool surroundings or high-traffic areas, look for a paver sealer marked non-slip to prevent injuries. You can also add grit with a layer of non-slip additive.
If your pavers have settled, shifted, or broken, it’s time to even them out. To pry the problematic pavers out, you can use two flat-head screwdrivers or putty knives if you have them. Special paver pullers are also available for about $30.
Level the surface with some fine-grain sand and reposition the pavers. Add more sand as needed to fill in the space.
Leveling existing pavers is the most difficult part of the job, but well worth it. Broken pavers can lead to trips and falls. Plus, the surface will look like new with crack-free stones.
Many products can be applied directly to the top of an old sealer, making the reapplication process quick and inexpensive. Check the product packaging to ensure you can apply sealer directly to the old layer.
Otherwise, you’ll need to strip off the old layer before you can apply a new one. A gallon of liquid paver sealer stripper costs $20 to $50 per gallon and cleans 100 square feet of patio space.
Work in small sections to remove the old sealer:
Use a paintbrush or roller to apply the sealer stripper.
Use a nylon paintbrush to work the liquid remover into any uneven or stubborn spots.
Wait 3–24 hours, or as recommended on the packaging.
Before applying the new sealer, clean your pavers to remove any stains. Take your time here. Any iron stains from patio furniture or burn marks from a fire pit will become permanent if covered in sealant. Use a store-bought masonry cleaner ($25) to spot-clean, or dilute it with water and clean the entire surface.
Depending on how dirty the patio is, you can spray away debris with a hose, scrub with some dish soap, or pressure-wash. Clear any mold or weeds growing through the cracks, too.
Once the surface is clean, walk away. Let it dry for at least 24 hours on a non-humid day when it’s above 50 degrees Fahrenheit.
With time, the sand between pavers settles or rinses away with the rain. Now is the time to fill it in with a polymeric joint sand. This is a special sand designed to be swept between pavers’ joints. After it’s swept in, it’s watered in, using the shower setting on a garden hose. After it’s watered in, it will harden like concrete and won't wash away.
The sealant container may suggest applying it with a sprayer or roller. Either way, use your tool to apply a smooth, thin layer. Wait about 2 hours after the first coat to apply a second thin layer.
Then, walk away and let it dry for at least 24 hours. It could take up to three days to cure enough to walk on the surface. For driveway sealing, it’s best to wait three days to drive a car over it.
The ideal day for paver sealing (and for human happiness) is 75 degrees Fahrenheit and sunny. “It’s also important to look at the forecast for the next few days after sealing, to make sure no rain is expected,” says Tara Dudley, owner of Plant Life Designs.

While a paver sealer is designed to protect pavers from harsh elements—like heavy rainfall, sun heat, or freezing temperatures—sealing isn’t intended to fully prevent pavers from aging.
Reapply paver sealer to your driveway or patio every 3 to 5 years to give your pavers a long life. If you live in an area prone to heavy rain or intense sun exposure, or the surface sees heavy traffic, you’ll need to apply a new sealer more often.
Rolling up your sleeves to seal your patio pavers might save you a chunk of change upfront, but it comes at the cost of time, effort, and possibly your weekend plans. DIY paver sealing costs about $200 for enough sealant to cover 1,000 square feet. That’s usually plenty, even if you don’t get it right the first time. For a smaller area—about 200 square feet—you’re looking at roughly $40 for a one-gallon jug.
If you’d rather not spend summer weekends maintaining your patio, you can hire a professional patio paver to handle the job for around $50 to $80 per hour. In total, pros typically charge between $300 and $550 for the full job, labor and materials included. That also includes cleaning, sealing, and the know-how to get it done quickly and efficiently.
Plus, while a DIY project can take days if you make a mistake, a professional can complete it in hours. If you have the time and patience, DIY works, but if you’d rather trade sweat for peace of mind, a professional might be the smarter long-term decision.
Supreme Brick & Chimney did a great job with a cleaning and inspection of the fireplace! He was efficient, on time, and very pleasant. The space was kept very clean, and the fireplace was spotless when he was done. He also performed a thorough inspection, and did a great job talking us...
 Supreme brick & chimney
Koby & team weâ re great! Moved our two bedroom apartment in about 4 hours, and weâ re super friendly, quick, and careful with are things.
We had our houses windows and back door replace this summer by Window Depot USA of Central. He gave us grate advise and saved my family lots money. The team did a fantastic job with installation. If you need help, they sure get job done right!
Wonderful. I am going to have them remove and replace my driveway in the spring.
 All Star Paving and Sealing
We were having 2”x 2” tile installed . There was a small installation error and the new additional replacement tile was from a different lot and the colors didn’t match. Joe assured us that he would rectify everything , which he did without hesitation. We decided to go with the 18” x 36” tile...
 CarifaTile
Did an amazing job transforming my yard. Also installed sod in places, would recommend to everyone.
Ed did a great job in installing stone to the outside of our house at a fair price
Manuel Calvillo is the best option in the area for roofing and you won't be disappointed.
All around they have done a really great job. <br /> I have used JL Landscapes for the past 8 years. I own and operate my own commercial/residential real estate company where we own, operate, and maintain our own properties. JL Landscapes has been our exclusive landscaper for both our...
 J.L. Landscapes
Outstanding experience! I needed my yard/garden/patio prepared for a party the coming weekend. I contacted Rick and he was able to schedule service that same week. He and his crew did a wonderful job removing the fall foliage, weeding, trimming back plants and hedges, even cleaning up the...
 Distinct Designs Residential Enhancements
From average costs to expert advice, get all the answers you need to get your job done.
Looking to spruce up your outdoor area? Learn how much paver sealing and cleaning costs in Indianapolis, IN, and what factors to consider when budgeting.
Looking to spruce up your outdoor entertaining area? Learn how much it costs to seal pavers and what factors to consider when estimating your total.
Discover travertine pavers costs to learn about installation, materials, and labor prices, plus tips to save on your travertine paver project.
Pavers are a popular option for homeowners redoing their hardscaping. Learn everything you need to know about what pavers are in this guide.
Learn how to hire a hardscape contractor for your project, including what to look for and red flags to watch out for to get the best results possible.
Pavers can turn an ordinary driveway, walkway, or patio into a thing of art—but how do you protect your investment? Find out if pavers need to be sealed and learn pros and cons.