How to Remove Concrete Sealer and Give Surfaces a New Look
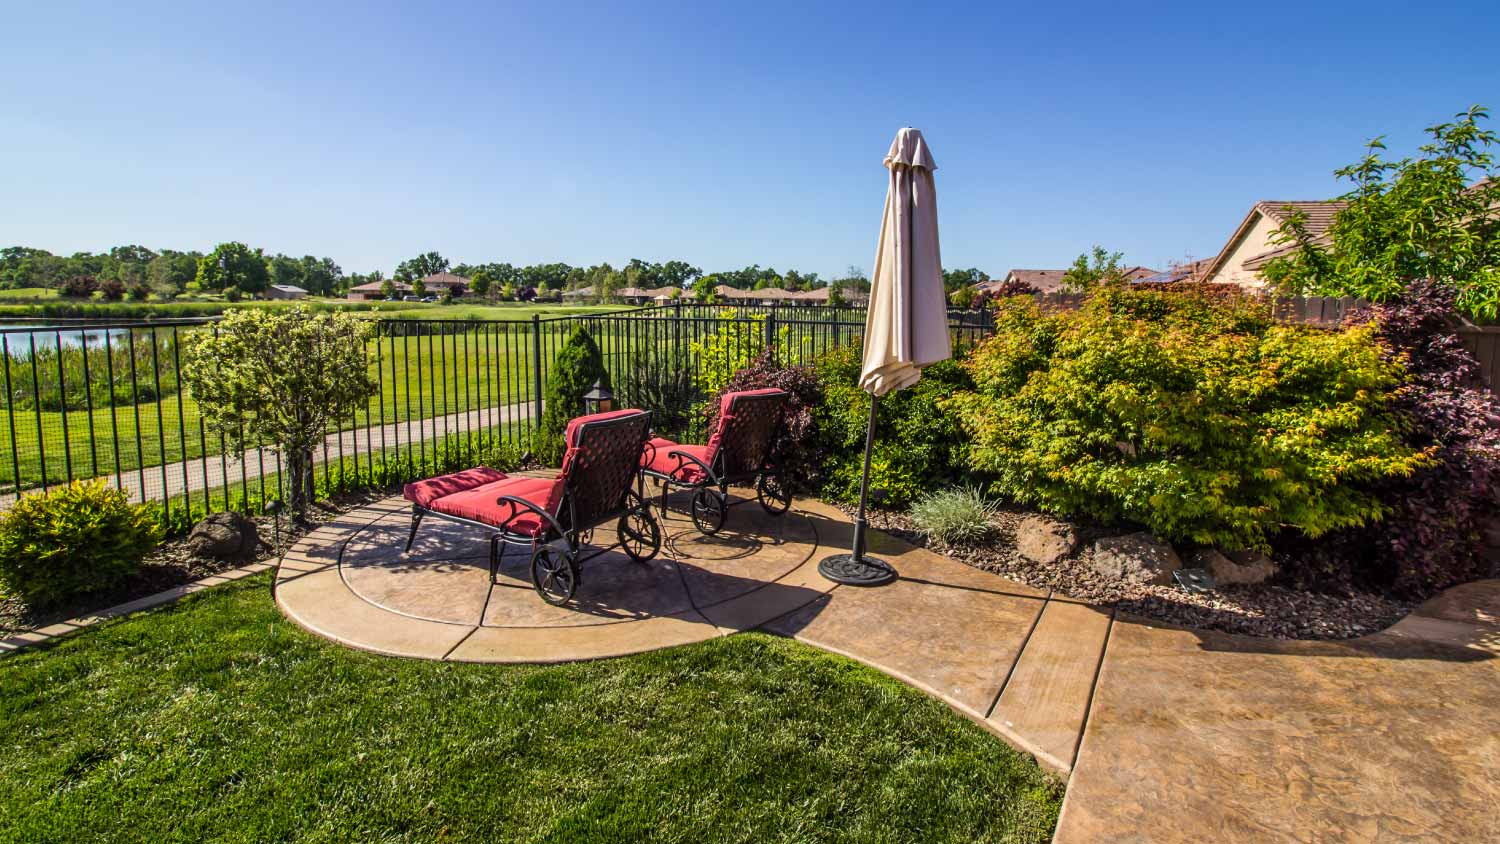
Removing old concrete sealant paves the way for a new look


Surface sealant helps concrete stay strong in the face of UV rays, weather, and wear and tear. But every two to five years, it needs to be replaced—and before you apply new sealant, you’ll almost always need to remove the old concrete sealer. While you can hire a professional to seal concrete and remove the old layer, experienced DIYers can also take on the job themselves.
Do I Have to Remove Old Concrete Sealer?
Eventually, no matter the concrete floor finish it’s on, concrete sealer gets old and begins to fade, flake, or fail. If you’re removing a surface sealant from your concrete, you’ll need to remove every trace of it before applying a new sealer. Any old sealant left on the concrete will prevent the new sealer from properly adhering, leaving your concrete unprotected.
You should seal concrete every one to five years depending on the external conditions and level of wear and tear. A masonry contractor can advise on how often your surface will need resealing.

How Much Does It Cost to Remove Sealer From Concrete?
The cost of sealant removal depends on the types of concrete sealers used, method of removal, location, and other factors unique to each job. However, the national average cost to remove old sealant ranges between $1 and $3 per square foot.

Prepping to Remove Concrete Sealer
Before you begin, gather the necessary safety equipment for removing the concrete sealer. Whether you opt for the mechanical or chemical method, you should always wear a construction-approved respirator, protective clothing, and thick work boots. Proper ventilation—and, in some cases, fans and dust collectors—are also crucial.
Next, determine the type of concrete sealer on your floors to choose the right removal method. Concrete sealers often fall into four categories: acrylic, epoxy, polyurethane, and penetrating sealers. Most sealants also break down into either solvent or water-based categories.
If you're not sure which type of sealer was used, add a small spot of xylene to the floor in question. Allow it to sit for about 20 seconds. Using gloves, wipe it away and check if the spot is sticky to the touch. If so, you have a solvent sealant. If not, it's likely water-based or a penetrating sealer. You do not need to remove a penetrating sealer before starting, and you can move right on to exploring how to apply a new sealer.
How to Remove Old Concrete Sealers
If you’re ready to tackle the job yourself, these steps will get you started and keep you on task. Keep in mind, though, that it’s always better to hire a professional concrete resurfacing contractor if you’re unsure about doing the work yourself.
Chemical Method
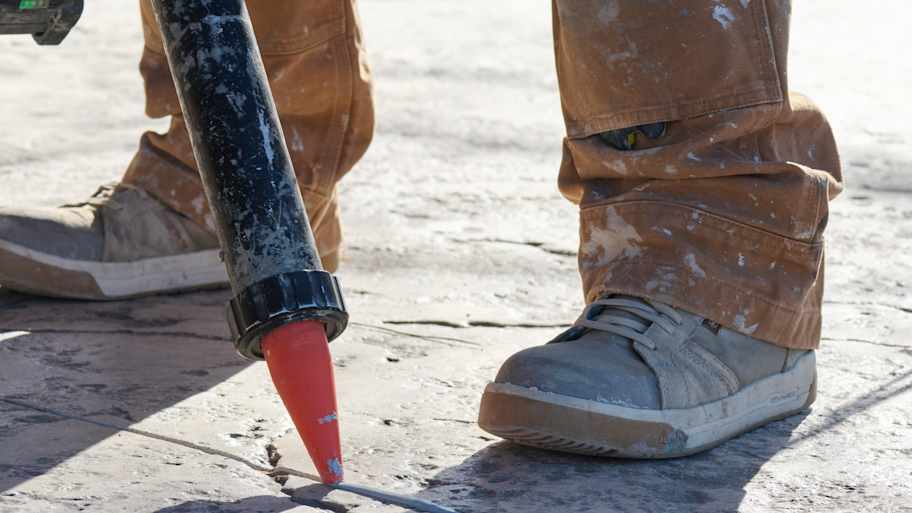
The chemical method of removing concrete sealer is, by far, the easier and more dependable choice, especially for solvent-based sealers. After you've determined the type of sealer on your concrete, head to the store to purchase a sealant remover specific to solvent or water-based sealer removal. Be wary of using muriatic acid to remove the concrete sealer, as it can permanently damage the concrete surface below.
Remove all debris and flaking concrete sealer from the surface with a hard-bristled push broom or a leaf blower.
Check the label of your remover to check for temperature preferences. It's often best to wait for a relatively warm day, preferably over 65 degrees.
Follow all instructions carefully when opening and prepping the remover. Some varieties, such as acid-based removers, require neutralization after applying.
While wearing your protective equipment, either apply the remover by pouring a thin layer over a medium-sized area or use a solvent-approved sprayer for the job.
With a push broom, brush, or large piece of steel wool, move the remover around to apply it evenly to the sealer.
Allow the remover to sit for several minutes according to the instructions on the bottle.
Depending on the type of sealer and remover, you can now wipe away the old sealer with a cloth, power washer, strong hose, or a putty knife.
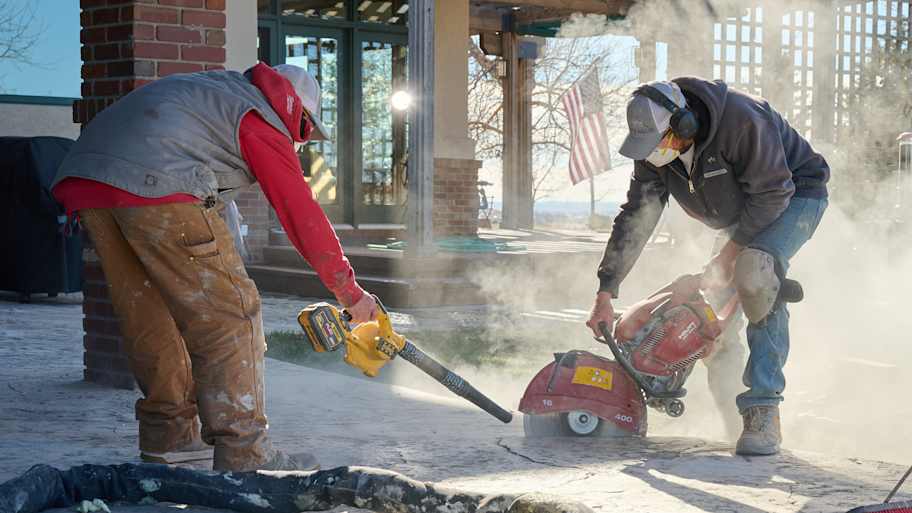
Mechanical Method
You can remove water-based sealers and even some solvent-based sealers with a range of mechanical methods, with a few caveats. These methods are labor intensive, can produce large amounts of dust, and can even damage the concrete below. They will also completely remove the color from your concrete. That being said, it’s a good option for those looking to avoid chemical use.
Remove all debris from your concrete with a push broom before starting.
Take extra care to clear the area, and if you're working indoors, rent a dust collector to remove particles kicked up in the process.
Depending on the thickness and location of your concrete sealer, use a power washer, a belt sander, or a disc sander.
Move back and forth across the area slowly and with care to remove the top coat of the sealer.
You may need to go over the area twice to remove the whole sealer.
Tips for Removing Concrete Sealer
Removing concrete sealer is a big project that yields big rewards when you do it correctly. Here are additional tips to help you get the most out of your hard work:
Know what you’re getting into before you begin. Research your options, the type of sealant you’re removing, and what it will take to do the job right.
If you doubt your skills, consider calling a professional concrete contractor. Damaging your concrete can cost more than simply hiring a contractor.
Have all the materials you need on hand and ready before you begin the job.
Follow all manufacturer’s instructions. Ignoring instructions can lead to mistakes that permanently damage your concrete and make the process harder or more toxic than necessary.
Give the process time. Chemical strippers take time—removing them too soon means repeating that step.
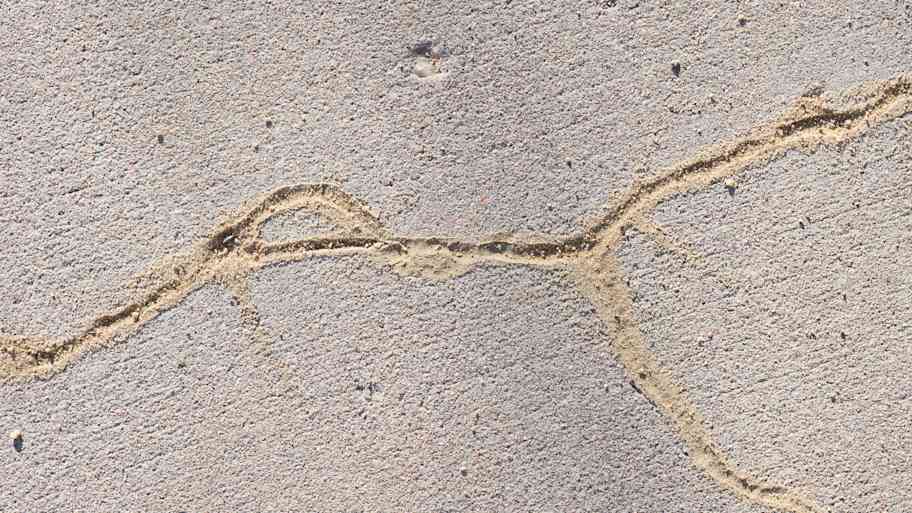
Note any joints, low spots, and areas where the sealant has pooled or is thicker. These areas will need extra time to loosen.
If you’ve chosen a mechanical removal method, use a lighter touch and go over the area more than once rather than grinding down into the concrete base. This can prevent unnecessary wear and damage.
DIY vs. Hiring a Pro to Remove Concrete Sealers
While you can remove concrete sealers yourself, you can hire a concrete contractor to take care of the dirty work for you. In fact, many homeowners go this route because of the mess, noise, specialty equipment, and chemicals needed to do the job right. The cost of professional concrete sealant removal is often less expensive than buying or renting the right equipment for the job, and the complexity and nature of the task means it often takes homeowners much longer than a professional to get quality results.
If you decide you’re up to removing concrete sealer yourself, it’s important that you read and understand all manufacturer’s instructions, wear proper safety equipment, and consider all the risks to you and your property before you begin. Then, while the job is underway, remember that your number-one task is following directions exactly and in the safest way possible to get the outcome you want with the least amount of risk. If you’re willing to do all this, you’re ready to DIY.
Lauren Bongard contributed to this piece.
Frequently Asked Questions
Penetrating sealer seeps into concrete pores to protect it from moisture and staining, cracking, and mold caused by water. This means you cannot remove penetrating sealers like topical sealers. The good news is that penetrating sealant doesn’t have to be removed before resealing, as most topical sealers must. Instead, you’ll want to buy a compatible penetrating sealant (often the same kind already in the concrete) and apply it. Always follow the manufacturer’s instructions.
Vinegar has become popular because it’s wallet-friendly, easy to find, and sounds like a great alternative to harsh chemicals and expensive machinery. However, vinegar isn’t strong enough to remove concrete sealant. Sealants can resist acid, and vinegar is a much weaker acid than chemical removal agents. And worse, vinegar can damage concrete by dulling it and causing pitting.
Some homeowners have luck using pressure washers, but this only works for old or weaker concrete sealants and with very powerful pressure washers. You’ll get better results by pressure washing water-based sealants. However, it’s worth trying on any sealant if you’re hoping for the least toxic, least expensive, and most DIY-friendly option. To try this method, rent or buy the most powerful pressure washer you can find and take several passes at the concrete, completely pressure washing the entire area. You may need to repeat the process multiple times to see results.


- How Long Does Concrete Sealer Last?
- 5 Types of Concrete Sealers and How They Work
- How to Seal Concrete Yourself to Help It Last Longer
- How Long Does Concrete Sealer Take to Dry?
- Best Driveway Sealers by Type for Asphalt and Concrete
- How to Dispose of Concrete 5 Ways
- How to Break Up and Remove Concrete
- Hiring Concrete Sealing Contractors: Who Seals Concrete?
- How to Clean Concrete Indoors and Outdoors
- Why Is My New Concrete Cracking, and How Do I Prevent It?
Get our Angi-powered app


