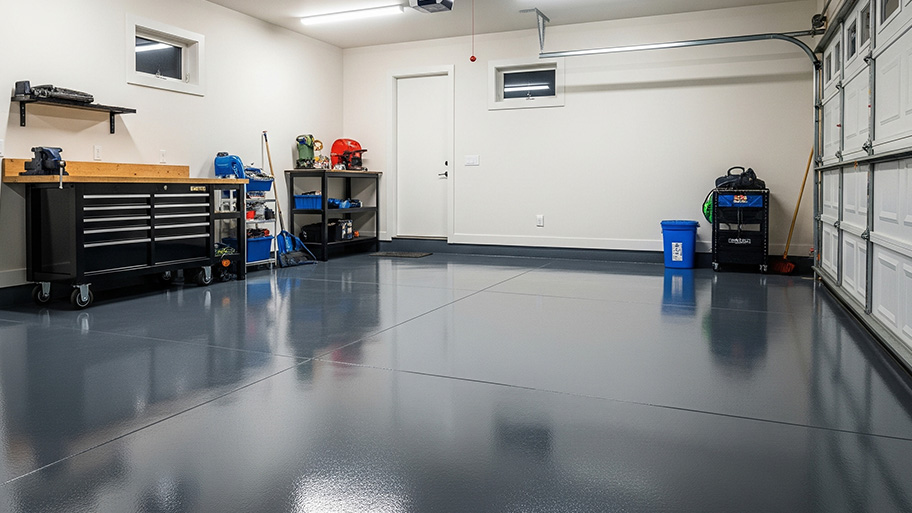
This guide breaks down the cost of installing epoxy flooring in your garage, basement, or other space. Costs depend on resin type, floor size, and more.
Give your concrete the hard-knock life it deserves


Concrete may be one of the strongest materials around your home, but it isn’t perfect. Its porous nature can lead to cracks, staining, discoloration, and flaking—especially if it’s exposed to a lot of foot traffic, water, oils, or minerals. But sealing your concrete can help protect it, add longevity, and even make it look a bit sleeker. Use this DIY guide to learn how to seal the concrete around your home to keep it looking great and save money over the long term.
Note: Many concrete sealers contain volatile organic compounds (VOCs), carbon-based chemicals that evaporate at room temperature. VOCs can be dangerous as they are highly flammable and can lead to short- and long-term adverse health effects, according to the U.S. Environmental Protection Agency, especially when used in indoor areas that are not well-ventilated. It’s important to wear a respirator approved for working with sealers containing high levels of VOCs. Apply these sealers in a well-ventilated area and away from heat sources and open flames.
In a word, no, you don’t have to seal concrete. Most concrete lasts between 10 and 50 years, depending on factors like how it’s poured, where it’s located, and how much use it gets.
However, sealing concrete not only makes it last longer and minimizes cracking and flaking that will require repairs, it also enhances its appearance. You can restore old concrete that shows signs of deterioration to excellent condition with a bit of elbow grease and effective sealing.
There are a few pros and cons to consider before tackling this DIY project.
| Pros | Cons |
|---|---|
| Seals out water | Can make the surface slippery |
| Reduces cracking from freeze and thaw cycles | Can be costly in the short term |
| Deters staining and damaging chemical intrusion | Not a permanent fix |
| Enhances overall appearance | Must cure before sealing |
| Simplifies future cleaning | Requires recoating and maintenance |
| Increases life span |
The cost of concrete sealing depends on several factors. The size of the surface and its condition are the main cost drivers. DIY concrete sealing costs between $0.10 and $0.75 per square foot, while hiring a nearby concrete company near you to perform the job averages about $1.50 per square foot.
Knowing when to seal your concrete is just as essential as choosing the correct sealer and applying it correctly. For new concrete, allow it to cure for at least 28 days before sealing it with any kind of sealer. You can seal old concrete any time as long as no old sealing products are apparent.
To know when to reapply topical concrete sealers, look for signs of wear, flaking, or discoloration. If moderate or excessive deterioration is present, it’s time to reseal. To discover if your penetrating sealer is still effective, place several drops of water on a small area. If the concrete absorbs the water within a few minutes, it's time to reseal.
“When it comes to testing for existing sealers, I recommend testing the areas with the least sunlight or traffic and wear and tear,” says Matt DiBara, Expert Review Board member and owner of DiBara Masonry. “These areas are most likely to still hold the sealer, which, if not properly stripped away, can cause the new sealer to fail.”
You should seal concrete every one to five years depending on the external conditions and level of wear and tear. A masonry contractor can advise on how often your surface will need resealing.
Concrete surfaces come in various shapes and sizes. The goal of sealing concrete is the same for all types: to protect it from deterioration due to wear and tear or moisture intrusion. The sealing process varies slightly from one concrete surface to another. Here’s how to seal concrete in different areas around your property.
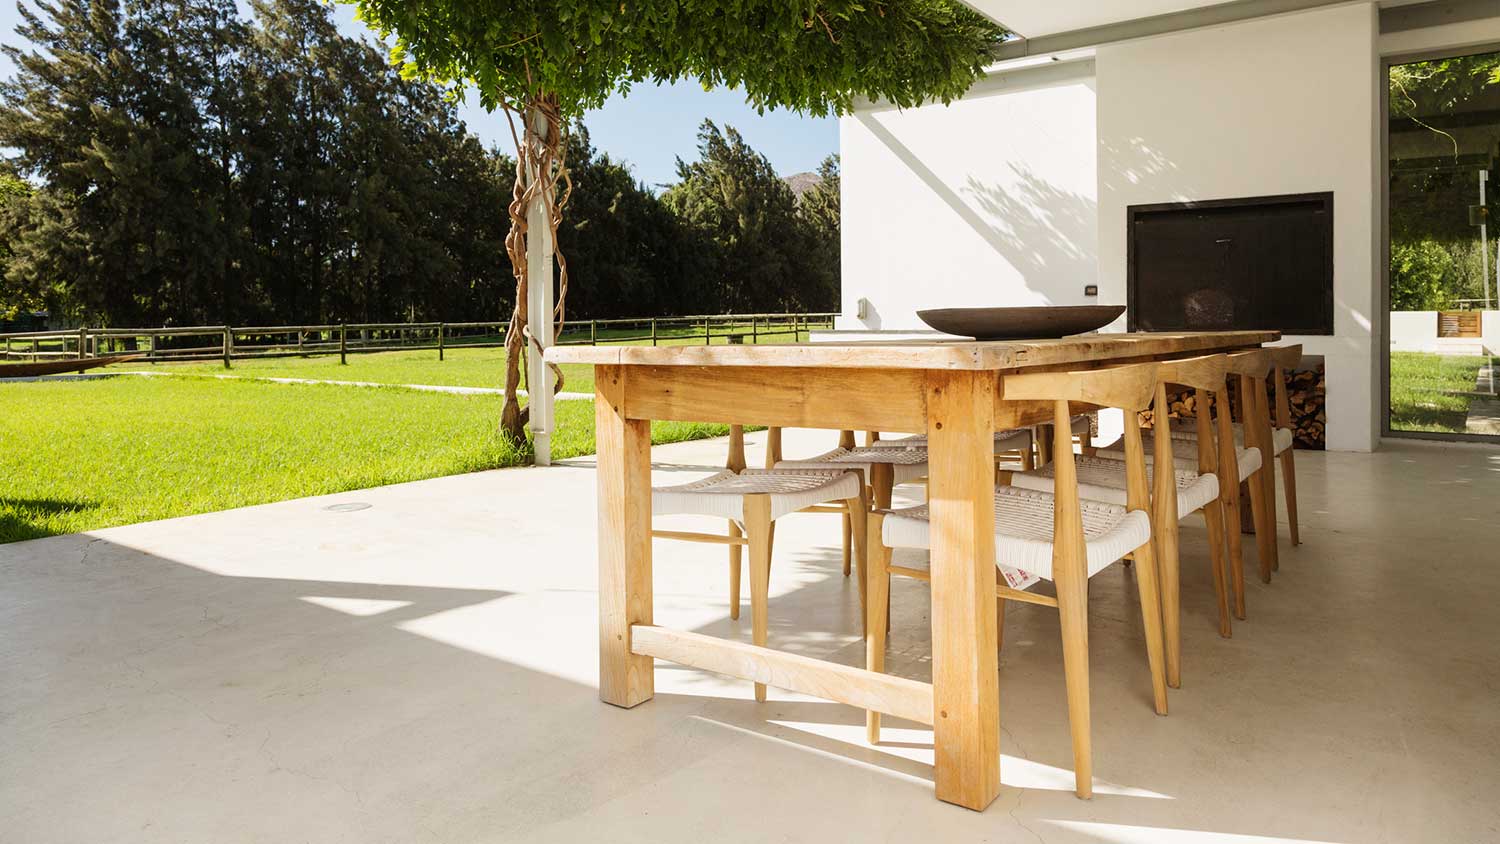
If you’re sealing a new concrete driveway or patio, be sure to wait the appropriate amount of time for the material to fully cure.
Clean the concrete surface with a power washer or chemical cleanser to remove oil, stains, dirt, and previously applied sealer. Old penetrating sealer removal may require chemical etching.
Fill in cracks, if necessary.
Etch the surface with etching acid by carefully following the product’s instructions. Wear protective clothing.
Spray or roll on a thin coat of penetrating or topical sealer.
Allow the first coat to dry.
Apply a second thin coat of sealer.
Allow the second coat to fully dry.
Similar to exterior concrete sealing, preparation is the key to success, especially indoors, where appearance may be of more concern.
Provide adequate ventilation in the space in which you’re working.
Remove any baseboards to avoid damage.
Remove any existing old sealer by scraping or chemically stripping.
Remove stains by scrubbing with a cleanser, if necessary.
Apply etching acid following product instructions.
Rinse and allow the floor to dry.
Sweep, vacuum, and mop up any dirt or dust.
Spray or roll on the sealer.
Apply a second coat if necessary for your product.
Allow the floor to dry before use.
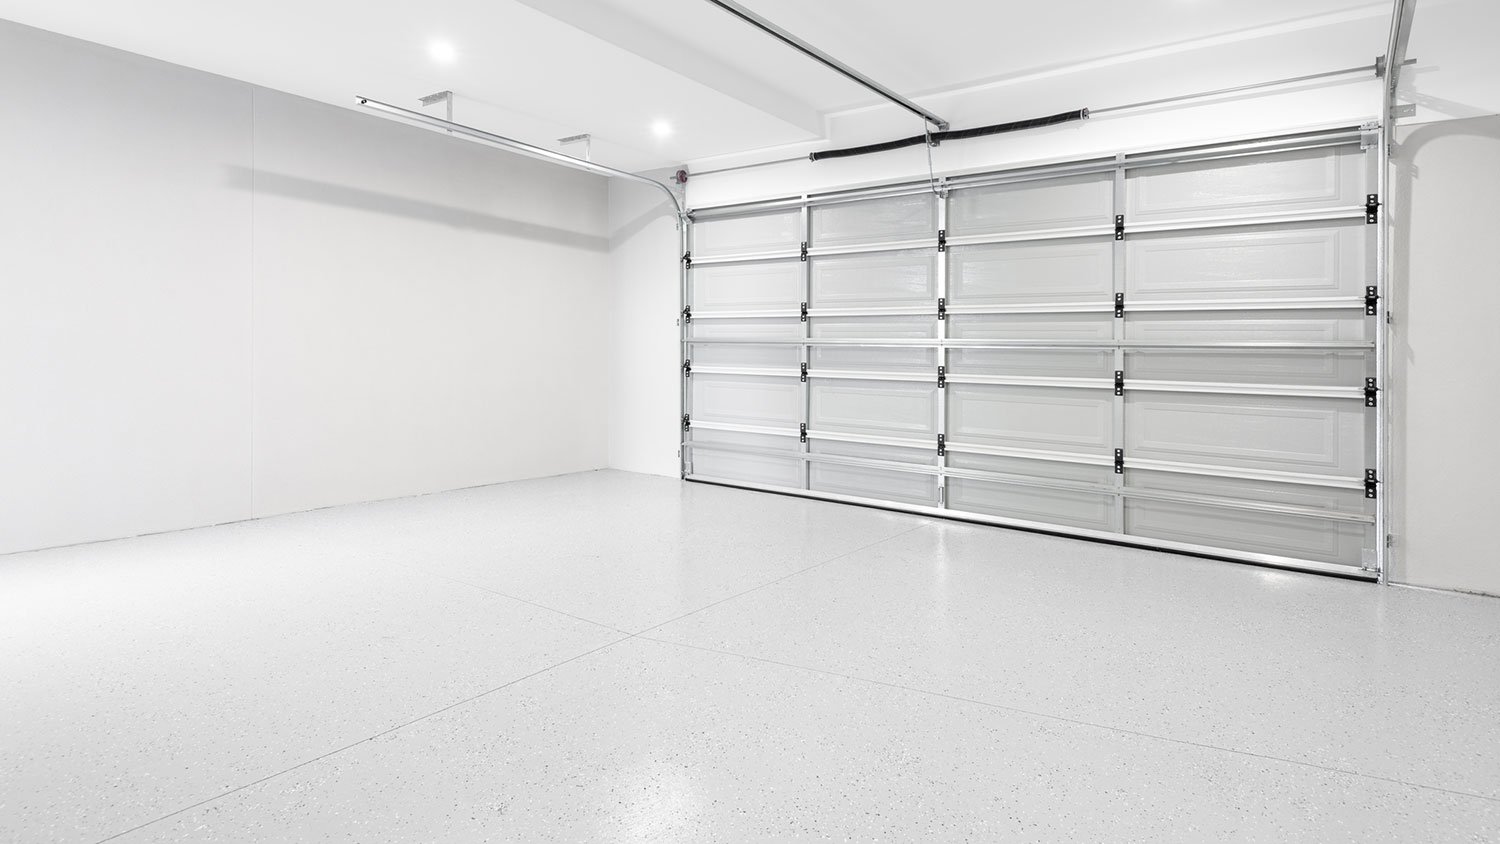
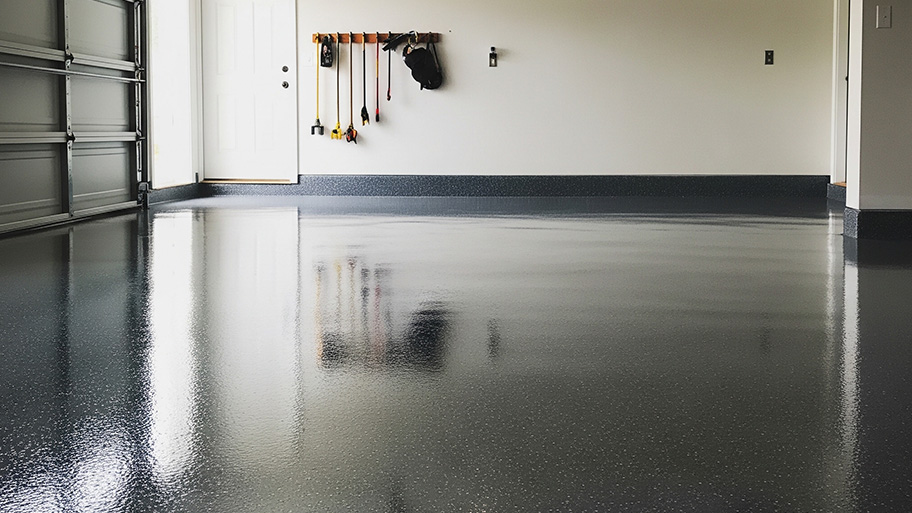
Sealing your garage floor protects it from oil leaks and salt-laden water during snowy months. If you don’t feel comfortable doing it yourself, call a garage floor coating professional.
Work on a clear day that is warmer than 50 degrees Fahrenheit.
Provide ventilation for the area.
Remove everything from the garage floor.
Clean oil and stains from the surface with a pressure washer or chemical cleanser (often called a degreaser) and allow it to dry.
Sweep and vacuum away dirt and debris.
Apply one or two coats of epoxy sealer and allow it to cure before use.
Before sealing your concrete basement walls, check with a local foundation repair expert if there’s any question about the integrity of the walls. For extensive water problems in your basement, contact a trusted waterproofing company.
Move furniture and items away from the walls and cover.
Find the source of any water leaks.
Ventilate the area.
Remove existing paint or sealer.
Repair cracks and holes with hydraulic cement or other appropriate material.
Apply one or two coats of a waterproofing sealer.
Let it fully dry.
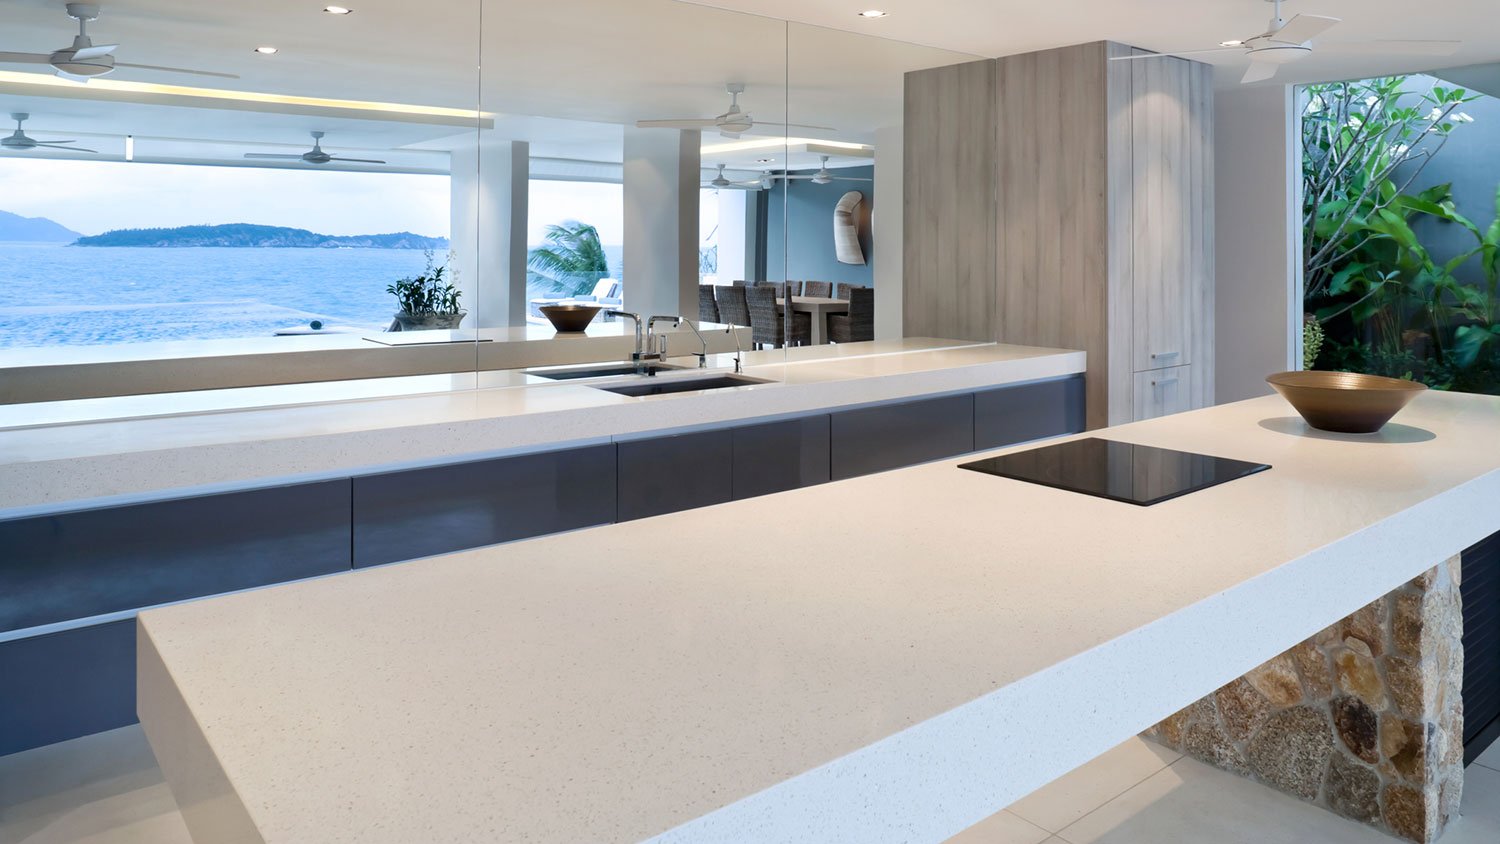
Concrete countertops require a little extra care to keep them looking their best.
Allow any new countertops to cure fully before sealing.
Choose a penetrating or topical sealer specifically for use on countertops.
Thoroughly clean and degrease the countertop and allow it to dry.
Directions vary widely between concrete countertop sealing products. Follow the manufacturer’s directions for your specific product.
Apart from sealing the top of concrete surfaces, protecting the edges between exterior concrete slabs from water is essential too.
Choose a day above 50 degrees Fahrenheit to work.
Sweep debris and dirt from the gap between the slabs.
Stuff a length of foam backer rod material into deep crevices to fill any voids.
Apply a polyurethane sealant following the manufacturer's instructions.
Allow the sealant to cure before use.
Before sealing concrete is an excellent time to repair concrete cracks to ensure an effective and attractive seal coating.
For narrow cracks smaller than 1/8-inch wide, fill the crack with liquid elastomeric concrete crack filler and allow it to dry before sealing.
For cracks between 1/8 and 3/8 inches wide, stuff the crack with foam backer rod material and apply elastomeric concrete crack filler. Allow it to dry before sealing.
For cracks wider than 3/8 inches, use a masonry chisel to remove the material below the crack’s surface to create a void below the crack. Think of an upside-down letter V.
Brush and vacuum the excess debris from the crack.
Apply a concrete patching compound following the product’s directions.
Allow the compound to cure before sealing.
Bricks and mortar aren’t concrete but are closely related to it and can suffer the same fate as concrete if water penetrates its surfaces.
Remove any existing sealer using a chemical sealant stripper.
Power wash or scrub clean any existing stains, oil, or grease.
Repair any cracks, rust, or water damage.
Apply a penetrating brick sealer following the manufacturer’s instructions.
Sealing concrete isn’t overly complicated, but it can be time-consuming and costs money. To make the most of your effort and provide the best results, here are some tips for achieving professional-worthy results.
Take your time. Concrete is long-lasting. It’s worthwhile to spend extra time making it look and perform its best. Repairing cracks can be tedious work, but it’s worth the effort in the long run.
Clean before application. Clean, clean, and clean again before applying any sealer. The sealant will go on and perform better if the surface of the concrete is immaculate.
Consult the pros. When in doubt, ask local experts for advice regarding which sealer is best for your situation and climate location.
Don’t skimp on dry time. Ensure that the concrete is thoroughly dry before applying a sealer of any kind.
Reapply. Two thin coats are always better than one thick one.
Don’t overdo it. Adding more sealer than necessary doesn’t make it work better and only costs extra time and money.
Two classes of concrete sealers are readily available and will cover any modern household’s needs—penetrating sealers and topical sealers. Both types of concrete sealer encompass several products that all have specific applications.
| Type of Sealer | Best Use | Finish and Durability |
|---|---|---|
| Penetrating | Driveway, sidewalks, patios, countertops | Invisible or slightly glossy. Breathable, reseal every 3–10 years |
| Acrylic | Any indoor or outdoor concrete surface where low cost is more important than durability | Variable sheens from matte to glossy and may include bold coloring. Needs ongoing maintenance |
| Polyurethane | Any indoor or outdoor surface where durability and ease of installation are more important than cost | Variable sheens from matte to glossy and may include bold coloring. Medium-thick appearance and feel. Lasts 5–10 years under heavy outdoor traffic |
| Epoxy | Indoor floors | Thick appearance and feel and often includes bold coloring. Lasts 5–10 years |
Sealing concrete is an excellent DIY project if you have the time available. Once you learn how to seal one type of concrete surface, you’ll be confident tackling more areas around your home. You can roughly cut the project's cost in half by tackling it yourself instead of hiring a professional.
However, concrete sealing can chew up significant chunks of free time. Many homeowners opt to hire a concrete coating professional to do the job so they can enjoy their weekends.
From average costs to expert advice, get all the answers you need to get your job done.

This guide breaks down the cost of installing epoxy flooring in your garage, basement, or other space. Costs depend on resin type, floor size, and more.

Garage floor replacement costs $2,200 on average but can vary depending on several factors. Review our guide for a more accurate estimate.

Sealing concrete floors, patios, walkways, and driveways can keep them looking fresh for far longer. Let's break down the cost to seal concrete with a pro or on your own.

Will your space thrive with epoxy floors? Make sure the room's purpose and your budget align with the pros and cons of epoxy flooring.
Looking for a way to update your concrete garage floor on a budget? From epoxy paint coatings to rubber and carpet tiles, explore the pros and cons of the top affordable garage flooring ideas, and compare prices using our helpful guide.

Whether you’re installing an epoxy floor or epoxy countertop, this calculator will help you determine how much epoxy you need to complete your project.