
Looking to elevate your backyard aesthetic with a patio? Use this paver patio cost guide to help you estimate your total project cost before you get started.
Pave the way to your home DIY-Style

Laying pavers requires 45 hours of hard work when you tackle excavation, tamping, gravel base installation, and joint filling without professional help.
Expect to pay $350 to $475 for materials and tools when you complete the project yourself, including gravel, sand, and paver edgings.
You'll need to excavate at least 6 inches of dirt, tamp the base firm, add landscape fabric, and layer 4 inches of gravel before laying pavers.
Hiring a local landscape architecture professional removes the guesswork from slope calculations and gravel base preparation, keeping your pavers level and stable for years.
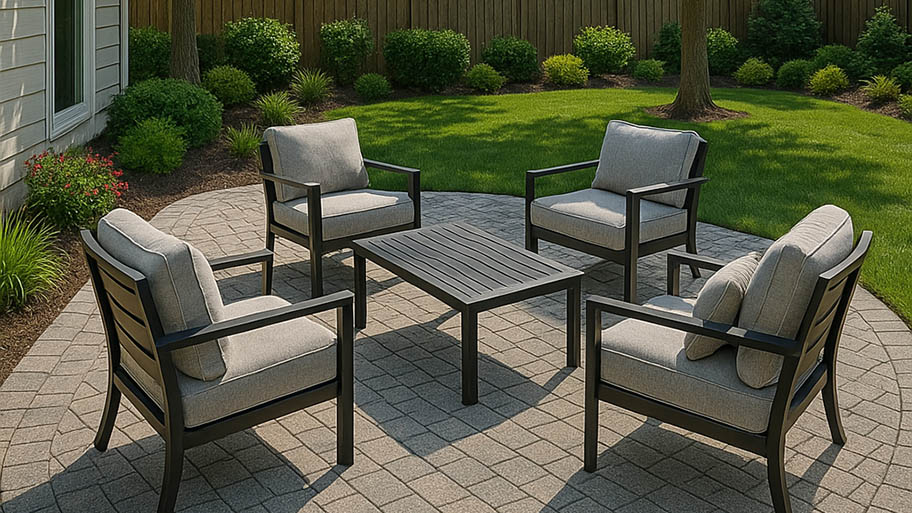
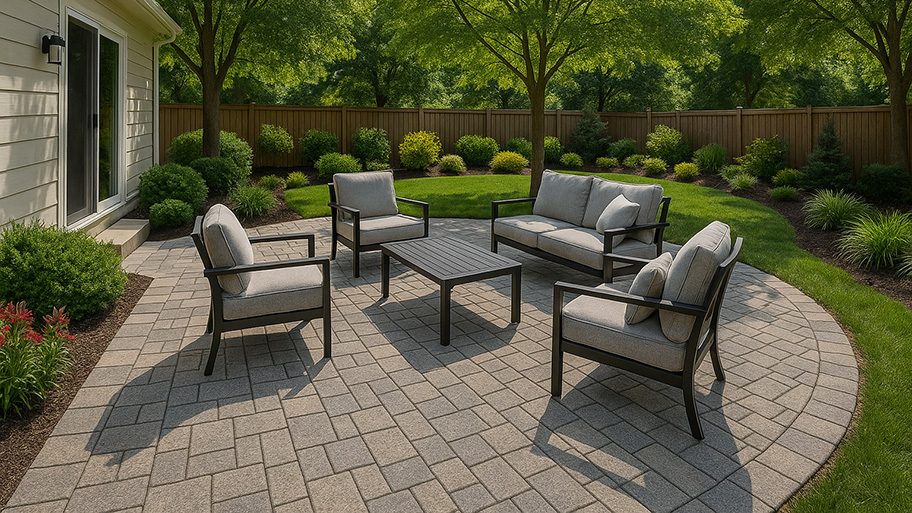
Pavers have a way of transforming even the most basic yard into an elegant and charming space. For the avid DIYer, pavers are actually one of the easiest ways to create a gorgeous walkway, driveway, or patio—but laying pavers on your own still takes some hard work and meticulous planning. So before you call in the pros, here’s how you can lay pavers for your dream landscape.
Pavers are a low-cost method for adding appeal to your yard. You can choose all kinds of styles, from complex designs to simple, clean, and modern. Not only that, but concrete pavers have a higher tolerance for pressure per square inch than their poured concrete competitors—keeping your yard looking pristine and crack-free.
Pavers cost anywhere from $8 to $25 per square foot. To put that in perspective, the average cost to install a 280-square-foot paver patio falls around $3,400 but can range from $2,400 to $7,000. Concrete pavers tend to be more affordable, whereas natural stone pavers are more expensive.
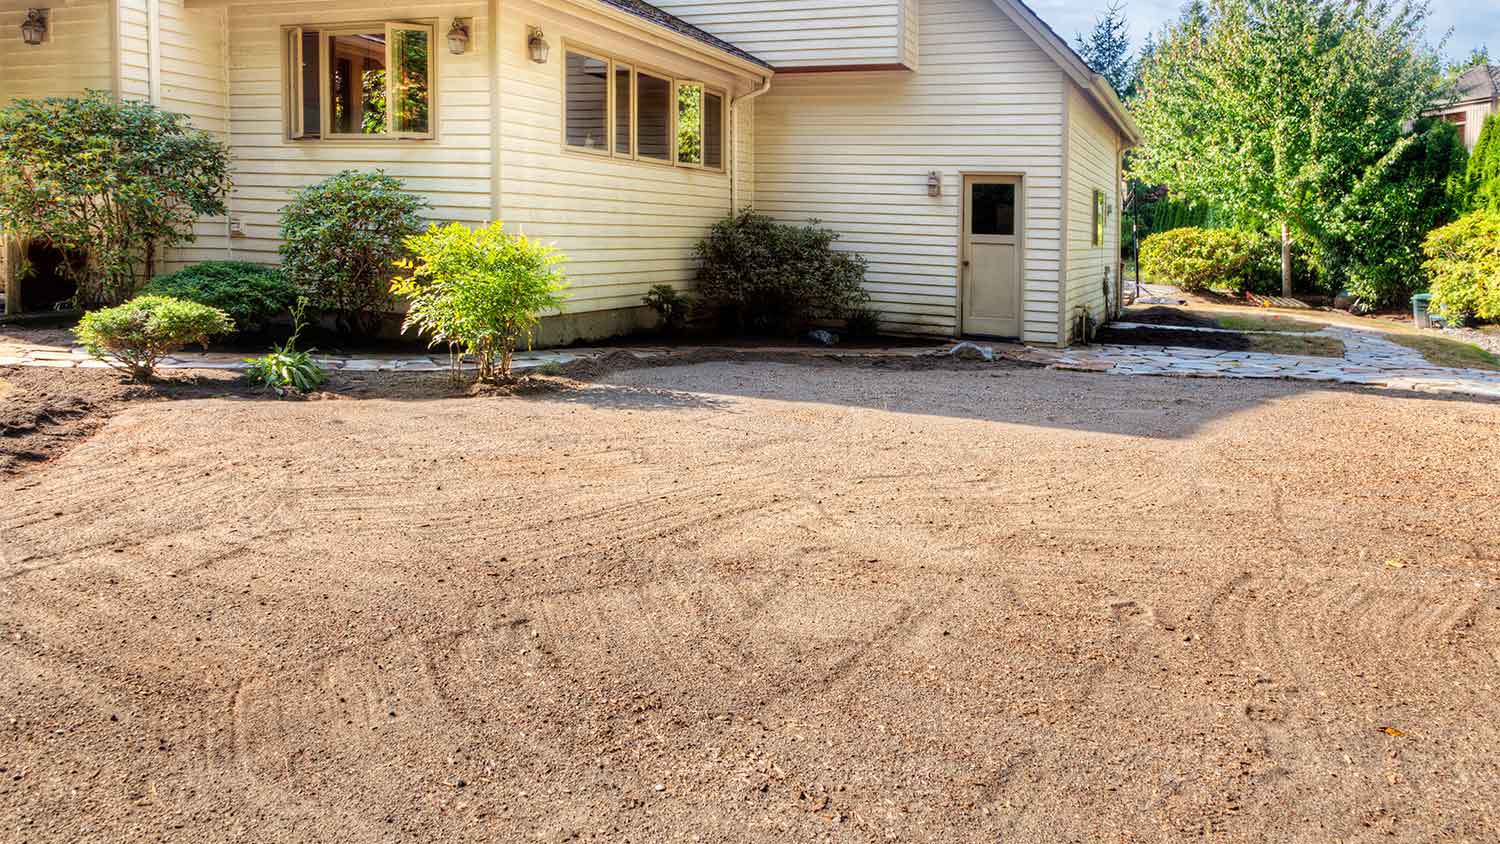
Before you get started laying concrete pavers, you’ll want to make sure you actually can lay pavers on your property. From geographical obstacles to utility lines, it’s important to plan ahead of time for your project.
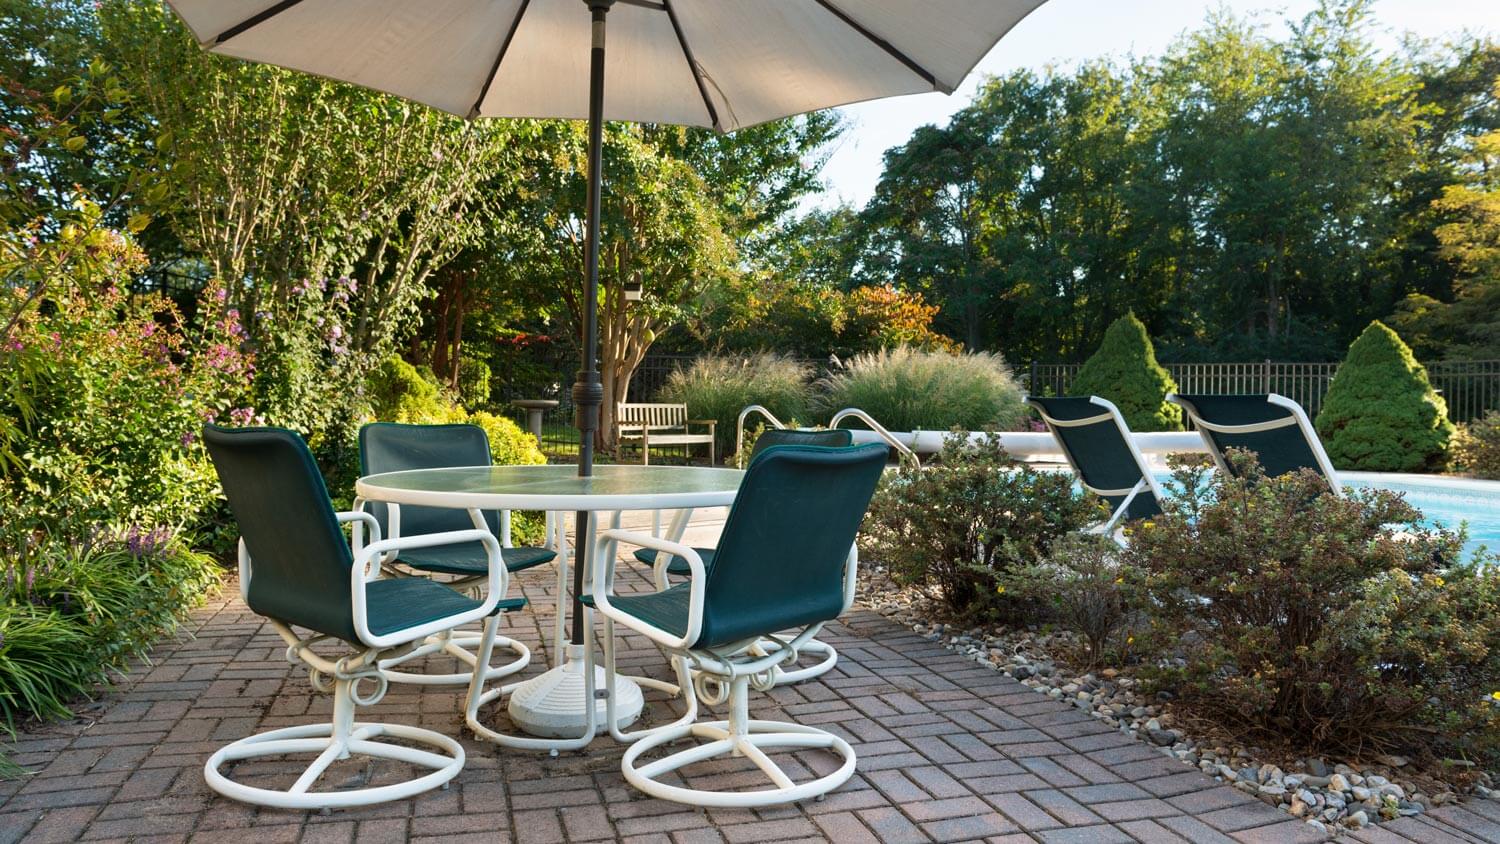
If you want to install the perfect paver area, it’s a good idea to map out your project in advance. This includes the square footage (so have your tape measure handy). There are a lot of different ways you can use patio pavers.
Examples include:
Paver patios
Driveways
Walkways
Fire pits
Swimming pool enclosures
Raised garden beds
Keep in mind that if you use brick pavers for a driveway, they’ll need to hold the weight of a car, so you’ll need to use an exterior concrete sealer to reinforce them. Paver installation is a bit more forgiving when used on a walkway or seating area. You may want to consult a local landscape architect to help you craft your plans.
That boulder might seem like the ideal focal point of your yard, but it can easily transform into a costly obstacle to remove if you plan on installing pavers. Likewise, a sloped yard or uniquely shaped paver design can add complications to the ease of your project, so plan ahead for clearing the site.
Hidden power lines can cause a power outage or even electrocution if you dig in the wrong place. It's a good idea to check with your local utility company or contact 811 Call-Before-You-Dig to make sure you’re not disturbing any pipes, gas lines, or cables.
811 is a national company that inspects your yard to determine it’s safe for digging. They can come and mark the areas you should avoid before you start to design your paver project.
Though most municipalities won’t require a permit for construction, it’s still a good idea to check and make sure you don’t need one—especially if you plan on doing other projects at the same time as your pavers, like building a pergola or installing a swimming pool in your yard.
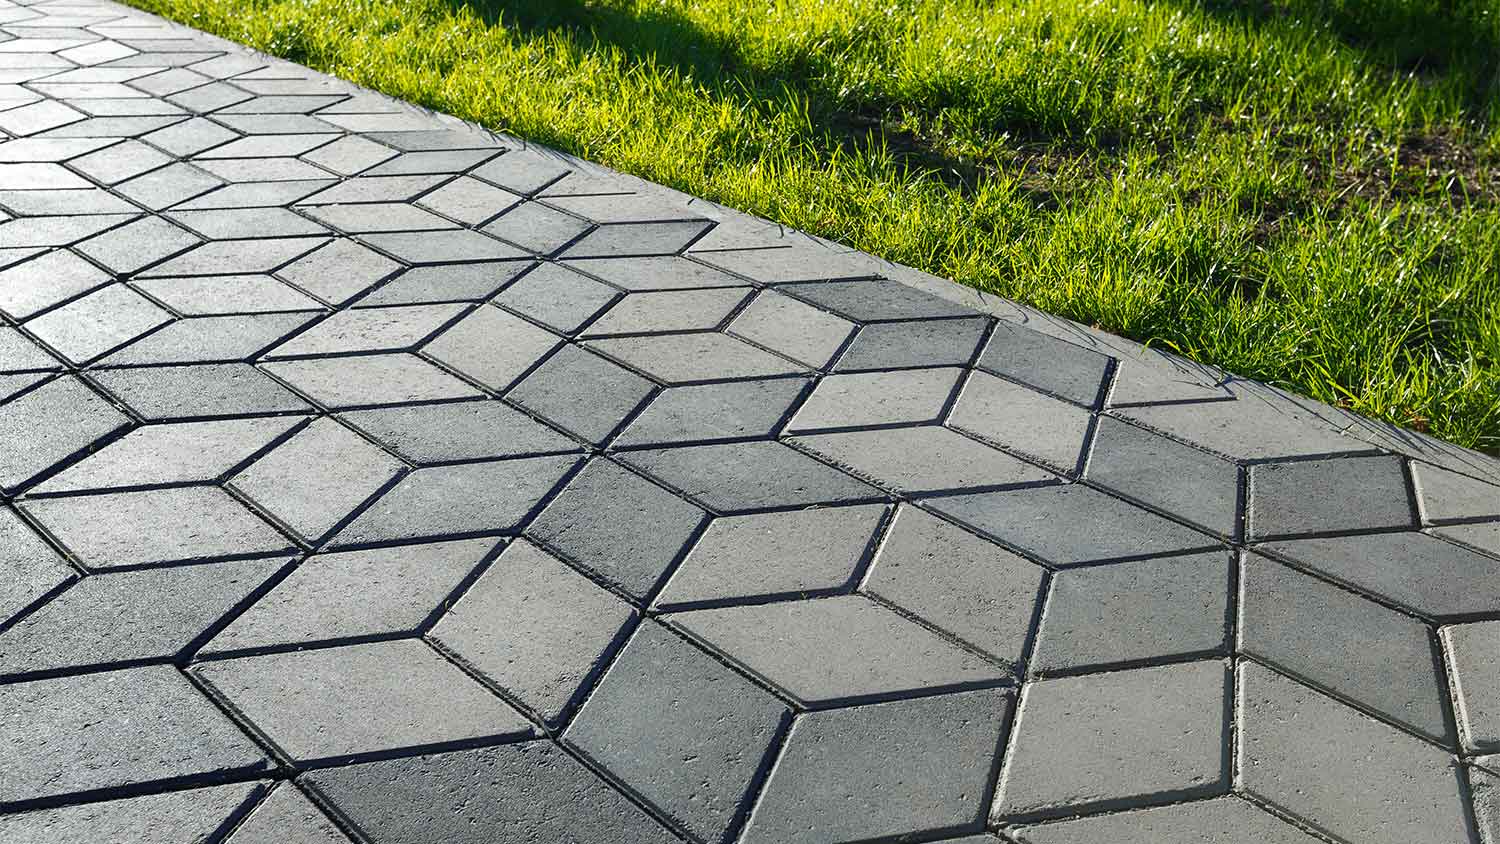
Pavers might seem straightforward, but there are several colors, textures, sizes, and concrete aggregates to choose from. You’ll want to decide which one works best with the style and properties you’re looking for in pavers.
For example, larger pavers are faster to install but also heavier, whereas smaller pavers are easier to install but take longer. Likewise, your pavers might clash with your home’s appearance or the sidewalk if you don’t have a sample piece on hand.
Once you have the square footage and have chosen a paver style that matches your vision, make sure you have the right number of pavers. To calculate how many you’ll need, take the square footage of your project’s design and divide the size of a single paver by the total square footage.
It’s a good rule of thumb to buy 5% more in paver materials to be on the safe side. You don’t want to have to put your project on pause to buy more pavers if you’re short by just a little bit.
With all of the preparation out of the way, it’s time to get started on the installation process. Here are the steps to laying the perfect pavers for your home.
Never lay pavers on uneven surfaces or concrete. Instead, excavate the site and remove grass, old concrete, plants, and rocks, either using a shovel for a small space or a rental excavator. Excavate at least 6 inches of dirt, starting at the top of your house and making a quarter-inch slope as you work toward the outer perimeters.
Next, you’ll need to pack the remaining dirt down with a hand tamper or an automatic plate compactor if you want to speed up the process. Tamping your base creates a firm foundation to help prevent your pavers from shifting over time.
Adding landscape fabric is key to preventing weeds from poking up through the joints of your pavers. You don’t want to forget this step, as it will save you time on landscape maintenance and repair.
Lay the fabric evenly across the tamped base—it’s okay if the material overlaps if you need to lay multiple rolls side-by-side, as this prevents weeds from coming through any gaps.
Adding gravel is a good way to create a stable base for your paver project. Here are a few steps to ensure you do the job right the first time:
You’ll need to spread around 4 inches of gravel for the base. A good way to calculate how much gravel you need is by multiplying the square footage of the area by one-third. This will give you the amount of gravel for your project in cubic feet.
Pour the gravel over the tamped base and rake it evenly across the entire surface area of your project. Make sure the base is level and sloping away from the perimeters of your home by using a leveler to check the slope.
With a watering hose, lightly spray the gravel and go over it with a plate compactor to increase the firmness of your foundation.
Now it’s time for sand art—adult-style! Prepare for success by following these steps:
You only need a thin layer of sand for the project. To calculate the amount of sand you’ll need, compare it to the amount of gravel you used. Generally, you’ll need a third of the gravel or a 1-inch layer of sand. Simply multiply the cubic feet of gravel by 1/6 to calculate the amount of sand.
Paver sand is looser than gravel, which is why it works so well to help keep the base of your pavers flexible yet firm. That’s why it’s also important to ensure the sand is level. You can do this by pouring the sand and putting a two-by-four over the surface of your poured sand and then checking the slope with your level.
Laying your pavers is a little like solving a puzzle—you have to place the pieces down evenly and with meticulous attention to avoid it looking like a bad game of Tetris! To lay your pavers, pick a corner of your design and line each paver up on top of the sand.
Avoid pulling the pavers across the sand or wiggling them to fit into place. If you notice an uneven surface, you can either add or remove some of the sand underneath accordingly.
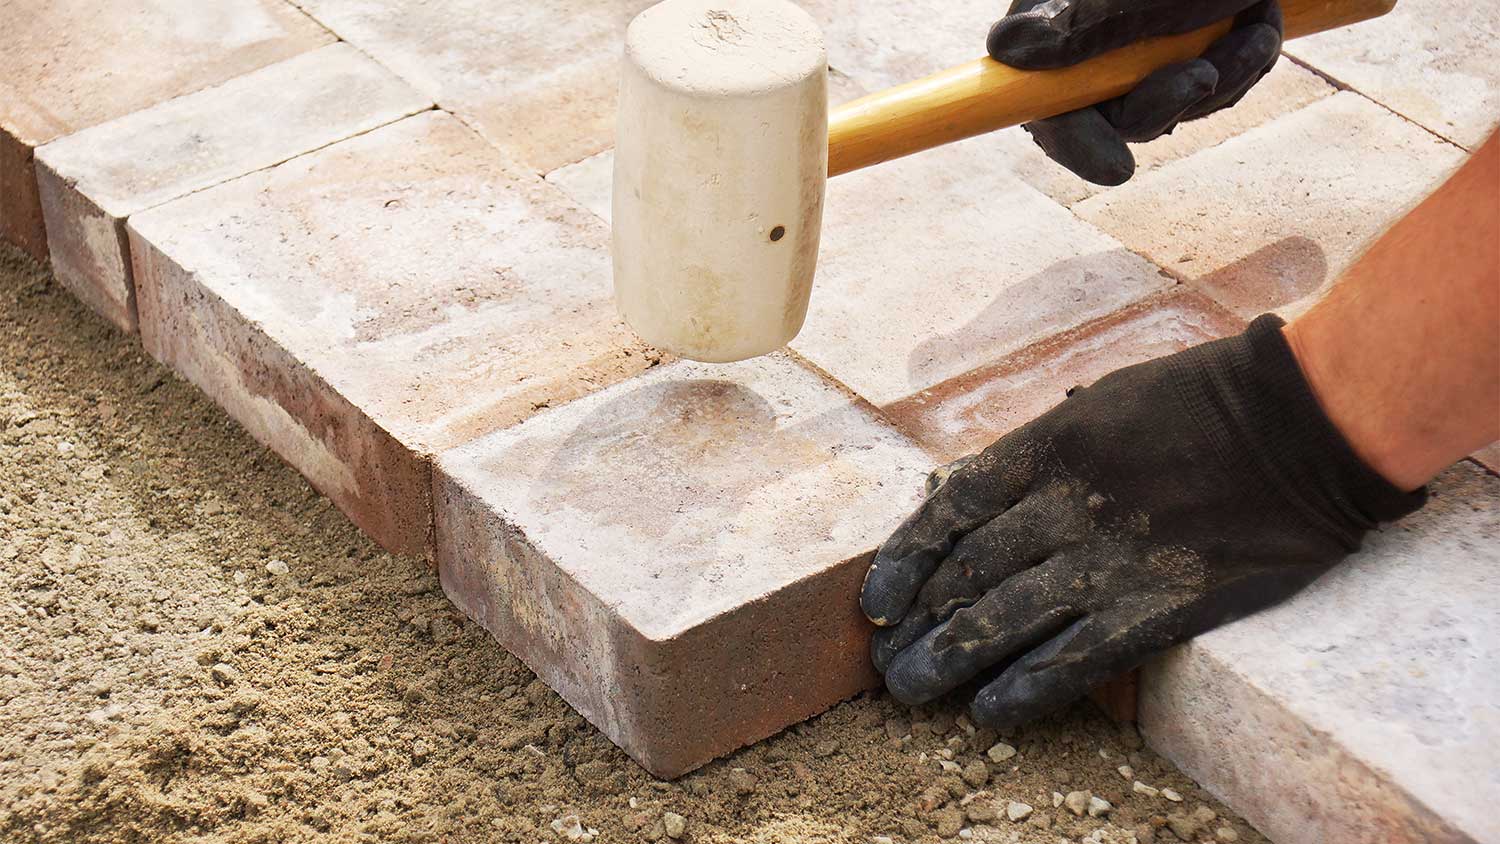
Once you’ve laid your pavers, you’re not quite done. Adding paver edgings helps to protect your new pavers from moving after the installation. Depending on the type of edging you choose, you can use edgings to enhance your overall aesthetic.
Install paver edgings around the perimeter of your pavers using a rubber mallet and stakes to secure them into the ground. From bottles to fence posts to bamboo, paver edgings are your chance to add personality to your pavers.
These options are ideal for edging the sides of a walkway or garden bed but may not work as well for driveways or patios, as your car might run them over or you might trip while walking across them.
Edging stones are another type of edging you can use. To install stones, you’ll need to dig a trench with a width of 4 to 6 inches and a depth of 4 inches around the perimeter.
Sprinkle a 1-inch layer of sand at the bottom to lay the stones without them jutting out and turning into a potential tripping hazard. Use a rubber mallet to gently but firmly tap each stone in place as you work your way around.
To further ensure your pavers won’t shift over time, apply a thin layer of paver sand over the surface. Using a push broom, evenly spread the sand over your pavers. Be sure to use the plate compactor to compact the pavers, and your pavers are all set.
The final touch for completing a concrete paver project is to seal your pavers. This optional step is a good idea because it extends the lifespan of your pavers and enhances the natural colors that fade from exposure and UV rays. Not to mention, using a sealer can add curb appeal to your yard, prevent mold growth, and even prevent scratches.
Apply sealant to clean concrete pavers with a roller or sprayer. Make sure to apply it when the weather will be dry for at least three days and the temperature is between approximately 40 and 75 degrees Fahrenheit to give your sealant the best chance of curing.
From a flower-lined walkway to a Mediterranean-inspired patio, pavers can elevate your home’s beauty. Luckily, well-installed concrete pavers require minimal maintenance, but you’ll still need to follow some basic steps to prolong the lifespan of your hard work. Here are some maintenance tips for pavers.
To clean your pavers, use a hose to spray debris off the surface, followed by scrubbing with a stiff brush to remove dirt. For high-traffic areas, you may need to use a bucket with a teaspoon of dish detergent to remove tough stains. Be sure to test in an inconspicuous area before washing the entire surface. Rinse the pavers to finish removing the soap and dirt.
Since sand fills the joints and prevents pavers from getting worn down through friction, it’s only natural that the sand starts to look a little sparse after exposure to the elements.
Wind and rainwater runoff can slowly reduce the amount of sand over time, so you’ll need to either sprinkle extra sand into the joints when they look low or invest in a sealer to prevent the sand from drifting away.
Resealing your pavers every three to five years can help protect them from the freeze-thaw cycle, wear and tear, and cracks, but which concrete sealer is right for you depends on your climate, whether the pavers are indoors or outdoors, and the functionality of your pavers.
For example, some sealers are designed to enhance the appearance of the concrete, while others are made to penetrate and strengthen the concrete from the inside out.
Even the most meticulously laid weed barrier can miss a stray weed. If allowed to thrive in the cracks of your pavers, some weeds can actually push your uniform pavers out of alignment and impair their appearance.
For this reason, you’ll want to inspect your pavers every spring to remove sly grass and other weeds by hand. Conversely, you can apply a herbicide between the joints to prevent more ambitious plants from growing.
If you enjoy a few days of hard work, laying pavers is a straightforward project that doesn’t require a professional. Be prepared to invest a good 45 hours into digging, tamping, laying the pavers, and adding sand to the joints if you don’t have a helping hand. You’ll also want to make sure you can handle heavy pavers and bending over for the duration of the project.
If time is of the essence or your back isn’t built for this work, you may want to hire a local paver installation company to do the job for you. You’ll pay an extra $50 to $80 per hour to hire a pro, whereas you’ll spend around $350 to $475 in total for all of your materials and tools to DIY the job.
Before installing pavers, you’ll want to put down a weed barrier, gravel, and paver sand. These three materials prevent weeds, keep your pavers in place, and prevent shifting and cracking.
While you technically can lay pavers directly on the soil, they’re far less likely to withstand the elements and will shift more quickly compared to pavers installed on top of gravel and sand.
I recently moved to another state and chose United Trust Van Lines after comparing several companies. Their team was punctual, professional, and extremely careful with my belongings. I was especially impressed with how they handled my home office setup and fragile items. Everything arrived on...
This company does it right. Firstly, I want to say that Landan was a joy to work with. He was so kind, transparent, and had everything under control. His entire team showed up ready to work and they were all very respectful of the fact that we were in an office space. A little backstory – we...
D1 Roofing delivers outstanding service from beginning to end, backed by a strong warranty and expert teams. I highly recommend them for their excellence in meeting and surpassing expectations with unmatched communication. Choosing D1 Roofing was flawless decision
I'm a repeat customer of All Star Paving & Sealing and I appreciate the service that all start paving has done for me in the past. I just recently had them out for an estimate and things couldn't have gone better. The staff that they send out to do the estimates are very knowledgeable. The...
 All Star Paving and Sealing
Supreme Brick & Chimney did an excellent job restoring the brick and mortar joints on my home. Their team was professional, knowledgeable, and completed the work on time. I highly recommend them and will hire them again in the future! Thanks!
 Supreme brick & chimney
On time, clean and finished fast. Windows seem sturdy and the finish is good. Caulking was done with no smudges. Would recommend.
They are very reliable and available. They the drains all the time
 The Waterworks
Mary cleaning service does an amazing job cleaning my home. They go over and beyond the cleaning services that I have had in the past. They are very punctual and thorough with cleaning my home, I’m extremely happy with the service they provide and I highly recommend them.
We had a 20+ year old landscape lighting system that needed replacement. Midwest Lightscapes worked with us to design a much improved lighting system, lighting the exterior of the house and the back yard. Installation of the 45 light system took one and one-half days, and went very smoothly....
 Midwest Lightscapes
Manuel Calvillo is the best option in the area for roofing and you won't be disappointed.
From average costs to expert advice, get all the answers you need to get your job done.
Looking to elevate your backyard aesthetic with a patio? Use this paver patio cost guide to help you estimate your total project cost before you get started.
Permeable pavers help reduce runoff, prevent flooding, and boost curb appeal. Use this guide to learn how much permeable paver installation costs based on factors like size and material.
Thinking about installing concrete or brick pavers for a walkway or patio? Learn the cost of interlocking pavers in this informational guide.

Pavers come in many styles and can create a sturdy base for your patio. This article notes all the tools and materials you need to install concrete pavers.
From concrete pavers to brick to stone, there are many types of pavers to dress up your yard. Here are some paver stone tips to transform your landscape.
Not sure how to find or hire a paver contractor? Learn everything you need to know, from questions to ask to qualifications, so you can transform your outdoor space with pavers.