Paver Installation Mistakes: 9 Common Missteps to Avoid
Pave your way to success by avoiding these common pitfalls


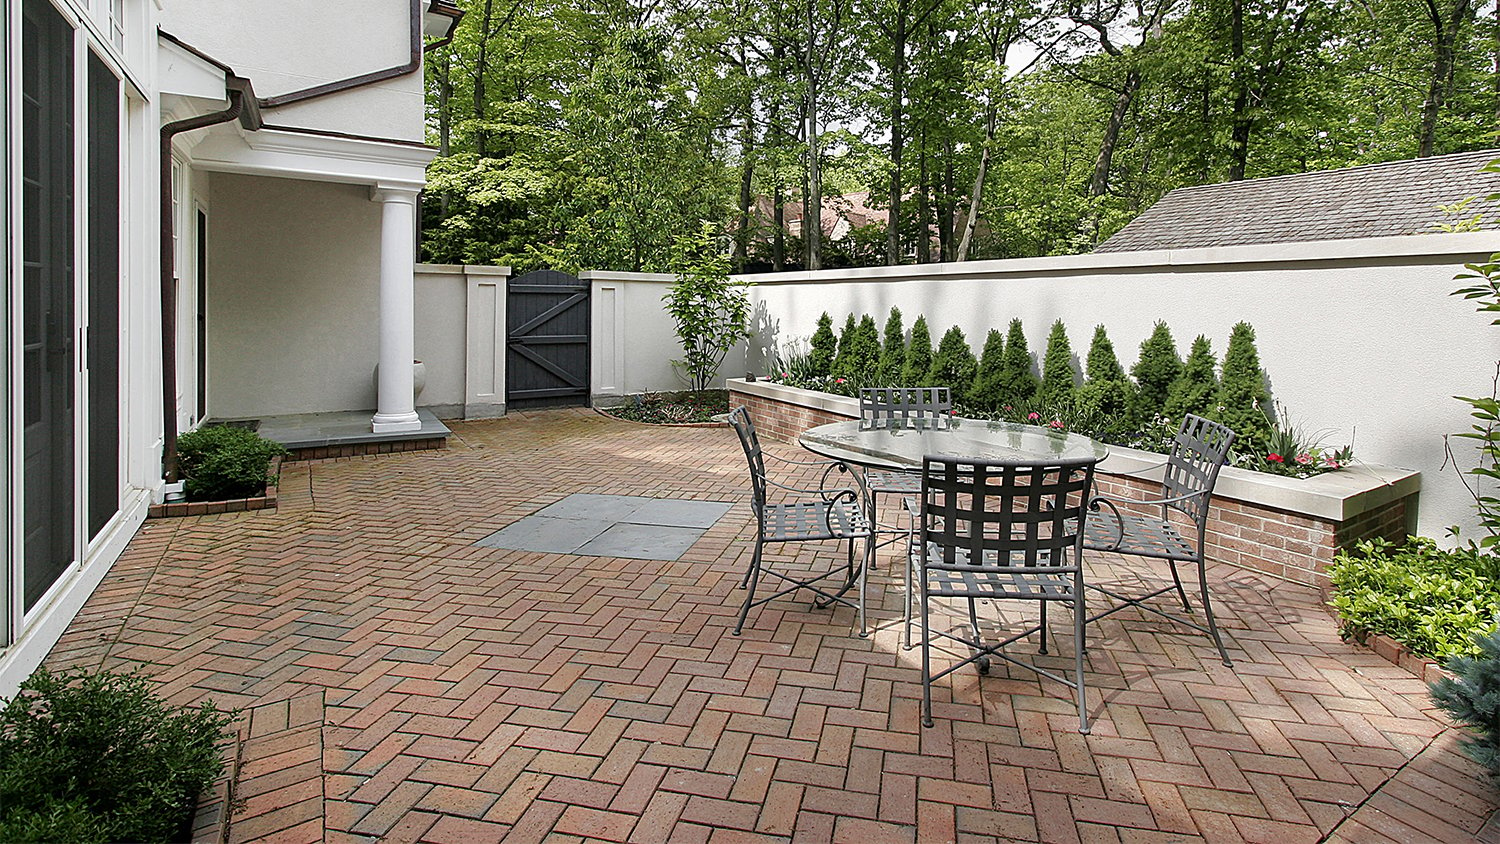
Pavers add color and texture to walkways, pool areas, patios, and more. But there are some paver installation mistakes that can turn your new patio from an “oh wow!” into an “oh no.”
While paving installation may not be the easiest DIY, the potential cost savings will likely make it worth your while. Learn some common paver installation errors to avoid when doing this project to set yourself up for success.
1. Not Creating a Slope
Whether you’re installing a paver patio or a walkway that leads to your garden, you’re going to need a slope. This step encourages water to flow out and away from your worksite and prevents damage from moisture accumulation over time.
That doesn’t mean you necessarily need to build a steep incline, though. A slight slope of approximately 1/4 inch per every foot of length will ensure proper drainage without creating a noticeable slant.
2. Backfilling Your Pavers With Dirt
Laying pavers without a base is one of the biggest paver installation mistakes you can make—but that’s not all you need to do to ensure perfection.
For one, you’ll need to use something more reliable than dirt to build your base. Since dirt shrinks by approximately 30%, it's not suitable for the base because it’ll cause your pavers to shift or look lopsided over time.
Instead, lay a base of gravel or washed concrete sand down before arranging your pavers. Both materials are superior options for this DIY project. Call a local landscaping company if you need help with laying the base.

3. Improperly Compacting the Base
A compacted base layer is key to making your paver installation last and look its very best. Whichever material you install at the base should be firmly patted down before laying any concrete.
A steel tamper for small areas can work, but we advise you to rent a gas plate compactor for larger surfaces. Although the rental might cost $150 or more, it'll be worth it in the long run.
4. Not Laying a Deep Enough Base

Another one of the top paver installation mistakes is not laying a deep enough base. Expect to dig a 4- to 6-inch base for almost any paver installation job, but in some cases, as many as 9 inches might be necessary.
The more weight you expect to cover the surfaces—think a driveway versus a walkway—the deeper the base needs to be.
Remember to account for paver size and the inch of compacted sand or gravel at the base. Conduct your research before digging, or consult a local paver installer for additional help.
5. Compacting the Sand Layer
Unlike the base layer, which you need to compact before installing pavers, the sand layer at the top doesn’t necessarily need this treatment.
That’s because sand has a granular composition that actually compacts itself, unlike stones or soil, which are often uneven in size and are more likely to contain gaps or air pockets if not compacted.
Though you don’t necessarily need to do any compacting, you should smooth out the sandy surface before laying pavers in sand. You can use a rake or a shovel to do this by hand, but a compactor also does this job nicely.
It makes the process go faster than manual smoothing methods and ensures better results as well—perfect if you already have one rented for the project.
6. Not Using the Click-and-Drop Method for Laying Pavers
One of the most common paver installation mistakes is also one that is often overlooked: not using the click-and-drop method. This method is the most reliable installation option because it eliminates gaps and creates a solid and even surface that won’t slip or slide over time.
To use this method, start by lining up the corner of one paver to the corner of your edge. Use a hammer to lock it into place. Then, place another paver along the side of the first so that the ridges on the side of each paver interlock. You should hear a satisfying click as you lay it down. Hammer that into place and continue in your desired pattern.
7. Forgetting to Apply Paver Sealer
You protected your new pavers at the base by compacting the bottom and digging a deep enough hole. But you should also be wary of protecting the surface, which you can ensure by applying paver sealant.
Sealant helps secure your paver sand and prevent pavers from shifting or becoming unbalanced over time. You'll find acrylic paver sealant for as low as $30 at home improvement stores. Applying sealant will also help you maintain your pavers for years.
8. Using the Wrong Type of Pavers for Your Project
Paver mistakes aren’t only limited to installation. With many different paver materials to choose from, it’s easy to pick the wrong one for your project.
Finding the best option for you comes down to a handful of factors. For starters, consider the weather and climate in your area. Is it rainy all the time or sunny every day? Some options, like limestone and sandstone, are more naturally resistant to water than others.
Similarly, lighter-colored pavers are better for hot spots because they don’t absorb heat as quickly as dark-colored pavers.
Looking for an easy option? Brick pavers may seem like a no-brainer, but they’re both more expensive and more likely to enable weed growth than others. Take all of these things into consideration before making your final choice.
9. Taking on a DIY Project Above Your Skill Level
Paver installation mistakes happen to the best of us. If you start to install your paver walkway and then quickly realize you’re in over your head, that’s okay.
If you have doubts about your ability to complete the project as intended, hire a hardscaper to help you. The lowest quote shouldn't be your top priority; instead, look for someone who has experience, great reviews, and gives you a fair price for the quality.


- How to Lay Pavers Like a Pro and Create Your Dream Outdoor Space
- 10 Common Paver Problems and How to Fix Them
- How to Maintain Pavers: 9 Maintenance Tips
- Who Can I Hire to Install a Paver Driveway?
- How to Hire a Paving Contractor to Transform Your Outdoor Space
- How to Cut Concrete Pavers: 3 Methods to Do the Job Correctly
- How to Pick the Best Pavers for Your Patio & Driveway
- Types of Pavers for Your Patio, Driveway, and Walkway
- 15 Ideas to Boost Your Curb Appeal Using Pavers
- How to Build a Patio: 10 Steps to Elevate Your Outdoor Space
Get our Angi-powered app


