

•
Discover natural stone flooring costs for your home. Learn about material, labor, and installation factors to budget confidently for your flooring project.
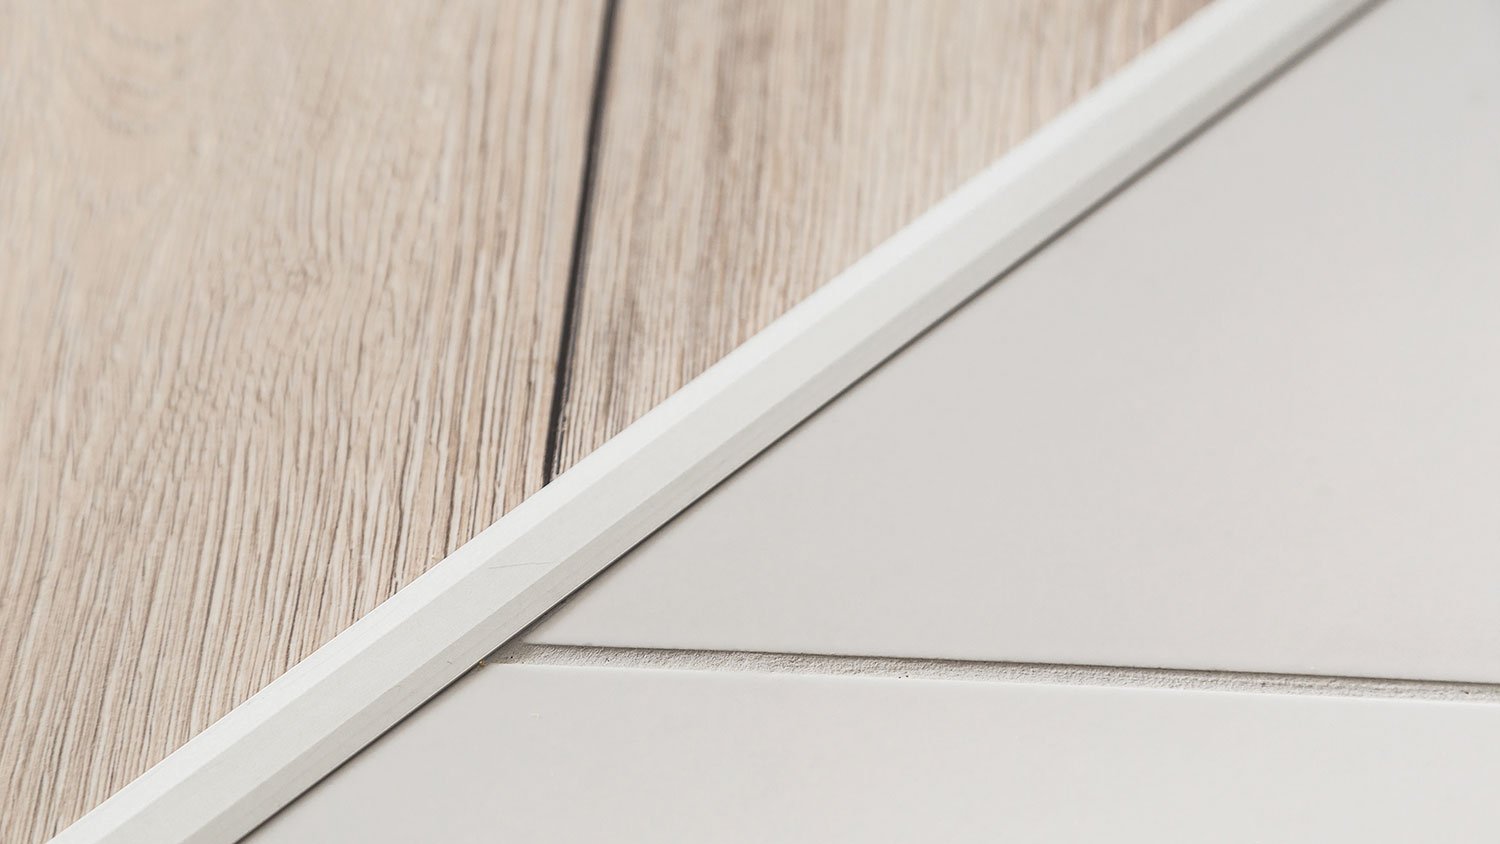
Create a smooth flooring transition from room to room


If you are installing flooring in adjoining rooms, then you will need to account for adding transition strips to ease the transition from one room to another. Learning how to install transition strips helps to eliminate the gap where two types of flooring meet. This makes it more visually appealing and reduces the likelihood that someone will trip, as well as protects the edges of the flooring. If the flooring is professionally installed, then transition strips are typically included in the flooring installation cost.
Complex, high-risk projects demand more than typical DIY projects. They require time, specialized tools, and trained expertise to make sure the job is done safely and correctly. We made it easy for you to find a local pro—with our skilled network, you'll get the job done without the stress of doing it yourself or significant safety risks.
Transition strips are small strips of wood, metal, vinyl, or rubber that are installed in a doorway where two flooring materials meet. The flooring materials can be the same or they can be different, but either way, transition strips create a safe transition between spaces.
Flooring transition strips come in a variety of shapes, sizes, and materials, so choosing the right transition strips can make the job a lot easier. To choose correctly, you must ask yourself a few questions about the project:
1. What flooring materials am I using? There are different styles of transition strips to account for transitions between carpet and tile, carpet and laminate, tile to laminate, wood to carpet, and laminate to linoleum flooring, among other combinations. Certain transition strips work best for different materials, while others are designed for joining the same materials.
2. Which way should the transition strip face? For floors of the same height and relatively the same hardness (think wood to tile), a T-molding strip is set in between the flooring materials. For different materials with different heights (think wood to carpet), a reducer joins them together and gives the appearance of one material being tucked under the edge of the strip.
3. What material do I want the transition strip to be? Transition strips are available in wood, metal, vinyl, and rubber. If you’re transitioning from wood to wood or another hard material, you would likely choose a wood strip. If you are transitioning from tile to carpet, for instance, you may choose metal or vinyl.
Follow these steps for proper installation.
If you are installing a transition strip along with the flooring, you must leave a space between the two areas of flooring where the transition rail will sit. The width of the gap will depend on the individual rail and should be measured and marked before you install the flooring, but it is typically around one inch. The rail should sit between the two door jambs at the narrowest spot in the doorway.
If your flooring is already installed and you are adding a transition strip, there is a little more to do. To prepare your subfloor, you will need a few supplies:
Dremel saw or multi tool
Shop-vac
Measuring tape
To cut the flooring to fit the transition strip, measure the width of the transition strip and mark the correct width on the floor. Using a Dremel saw or multi tool, cut through the flooring until you have cut a channel that can accommodate the transition rail. Use the shop-vac to clean the area thoroughly.

Use a tape measure to determine the distance between the two door jambs (i.e., the parts of the door frame that stop the door from closing beyond 180 degrees, also the narrowest part in the doorway). You will install the transition strip in this area so that it does not interfere with the opening and closing of your door.
You can skip this step if your transition strip only comprises a metal rail. But if you have a vinyl or hardwood covering for your strip, use a hacksaw to cut it to the same length as the rail (this will be the measurement you took in step one). Eventually, all you will have to do is lay the transition strip on top of the rail you installed and snap it into place.
Measure the length of the channel where the metal rail will go and cut it to size using a hacksaw, handsaw, or other appropriate saw.

Next, screw or glue the rail to the subfloor. The subfloor is the material found in the one-inch seam you left during the preparation step. The advantage of using construction glue instead of screws is that it offers a more streamlined appearance and simpler installation. However, screwing the rail into the floor will make it more secure, so use screws for high-traffic areas.
If you are using construction glue, apply it to the back of the rail you cut in step four, then push the rail into place, holding it down for about 30 seconds to adhere fully. If you are using screws, lay the rail in place, then use a drill to drive screws through each hole.
Pro Tip: If you have a concrete subfloor and want to use screws, you will need a masonry drill bit and concrete anchors to secure the rail.
Place the transition strip in the rail and make sure it is positioned properly and securely. It should just snap into place.
Installing transition strips requires different techniques, depending on the type of flooring you are working with.
Installing transition strips for wood or laminate floors will require you to cut a channel between the door jamb to accommodate the transition strip. Once the channel is cut, you can screw or glue the rail to the floor before installing the transition strip.
If you are installing a transition strip between carpet and another flooring material, including another area of carpet, you will have to cut through the carpet and then cut a strip off to make a large enough gap to accommodate the metal rail. You may have to remove the tack strips and then reattach them where the edge of the carpet will be. You can also use a carpet stretcher to make sure the carpet is taut when reattached to the tack strips.
If the subfloor is concrete, you will need to use a masonry bit and concrete anchors to install the transition rail. Make sure to measure where the holes are in the rail and to drill holes in the concrete at corresponding measurements.
Professionally installing transition strips costs around $0.90 to $8 per square foot. The material cost can range from $0.40 to $5.70 per linear foot, depending on the type, size, and any unique design components. As for labor, a handyperson charges $20 to $30 per hour to install flooring and related materials.
Installing floor transitions yourself is a straightforward DIY project that most people can complete in an hour or two, even with limited construction experience. The cost to DIY this project is around $25 to $40 for supplies, and varies depending on the material of the transition strip you get (i.e., wood usually costs more than a simple metal rail). If you would rather hand off this project to a pro, you can hire a handyperson to complete it.
From average costs to expert advice, get all the answers you need to get your job done.
Discover natural stone flooring costs for your home. Learn about material, labor, and installation factors to budget confidently for your flooring project.

The cost to install Pergo® flooring depends on the type of flooring you choose. This brand is known for its laminate but has other things to offer.

Warm floors, warm feet. Learn how much radiant heated floor costs, types of radiant floor heating systems, and pros and cons.

If you’re putting in new carpeting, you may be wondering if you should install your baseboard before or after carpet. Here’s how to do it the right way.

Vinyl flooring is affordable and DIY-friendly, whether you make a template or cut it in place. Learn how to install sheet vinyl flooring with this guide.

Updated flooring can make any room in your home feel brand new. Explore flooring installation costs in Los Angeles, CA, from materials to labor costs.