
It’s impossible to keep floors damage-free over the years. Thankfully, the cost to refinish hardwood floors is far less than the price tag to replace them altogether.
Don’t trip over your floor design

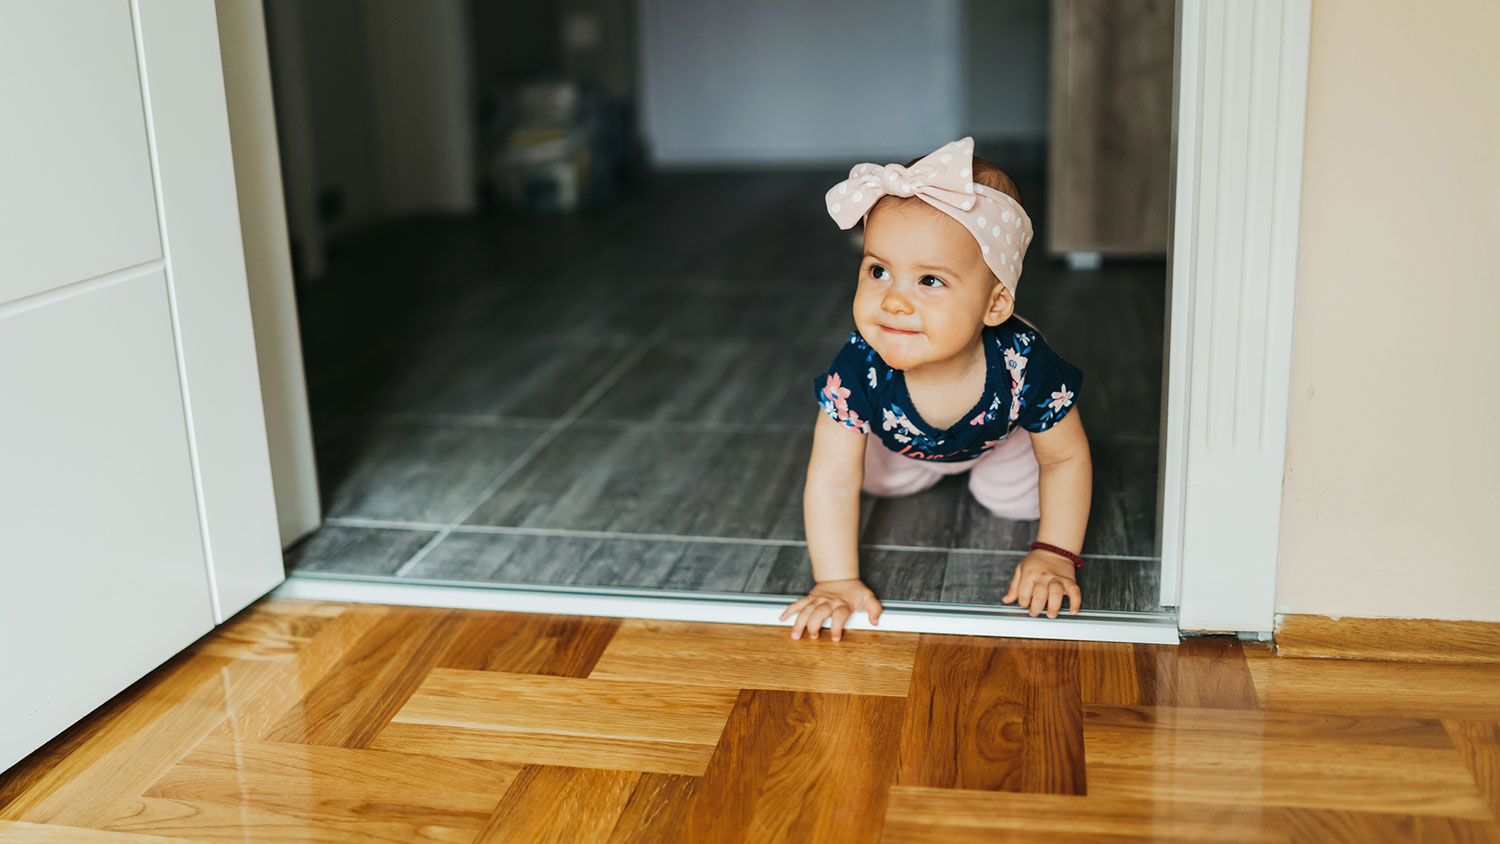
A hardwood floor transition bridges the gap where two different wood floors meet, preventing tripping hazards and allowing the wood to expand naturally.
Tile installation costs $6 to $20 per square foot when you add an accent between two hardwood floors to create a visual divider.
You can use T-molding, transition strips, or metal transitions in doorways to cover gaps and create a seamless look between contrasting wood floors.
Hiring a local wood floor installing professional removes the guesswork from measurements and ensures proper installation of transition pieces and flooring patterns.
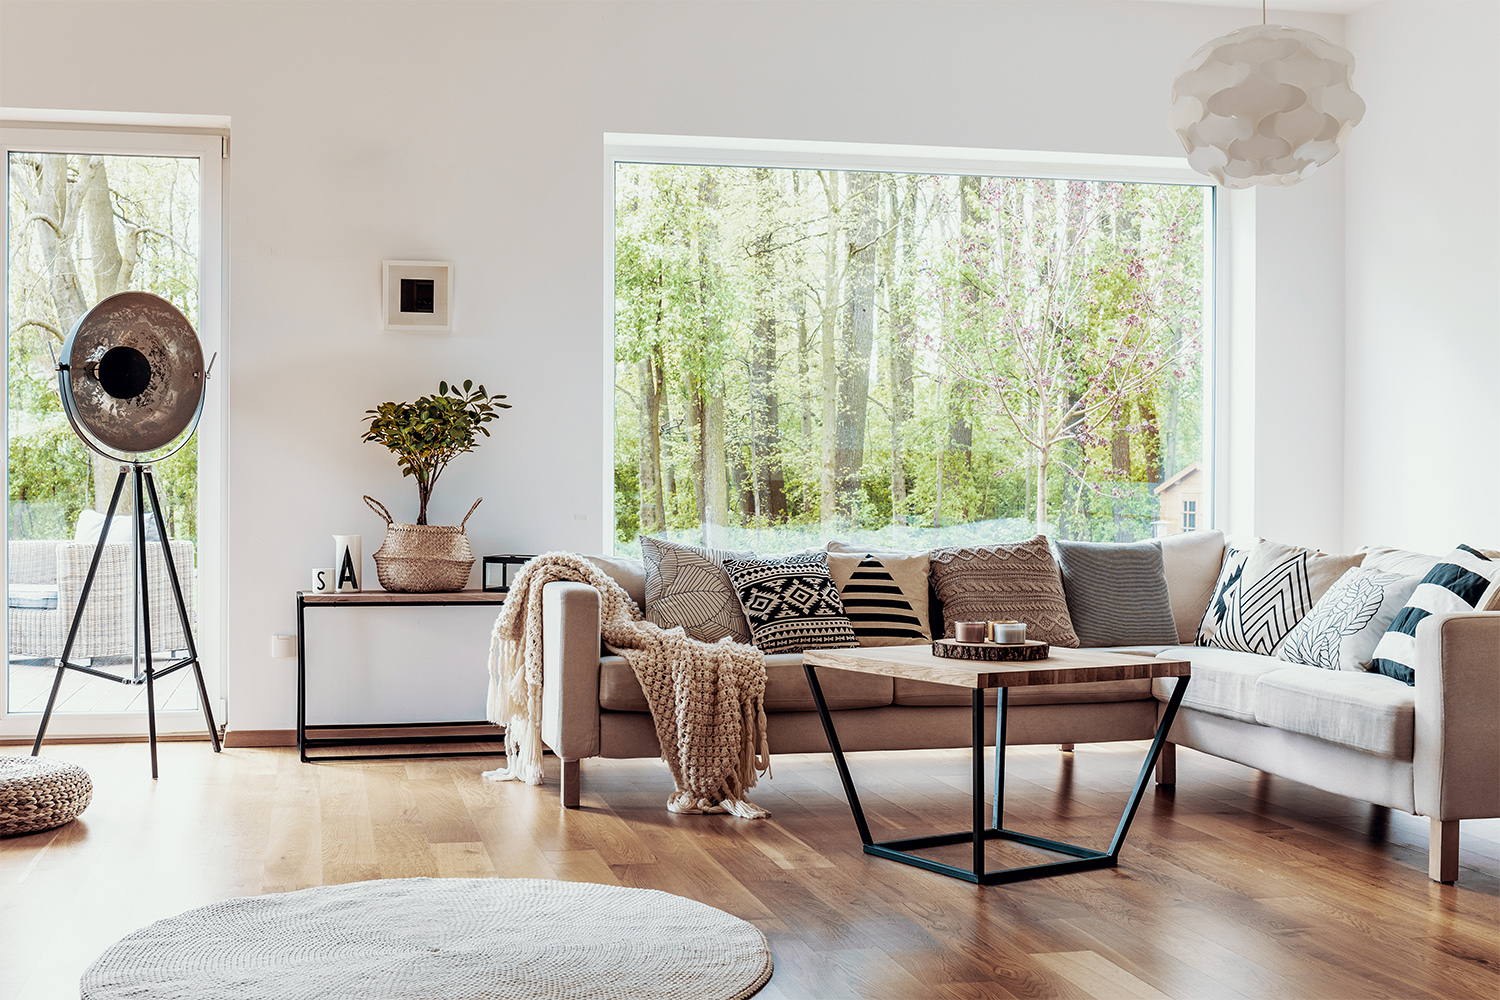
While hardwood is a beautiful flooring material, it’s also a design tool you can use to your advantage to delineate space within your home. Installing and repairing hardwood flooring is costly, so you may want to replace wood flooring in only one room. If you try to match the wood to other floors, the slight difference in tone, plank width, or finish can end up looking like an afterthought. Instead, create definition with contrasting hardwood and transition pieces. Use these five tips to learn how to transition between two different wood floors, without any awkward mismatch.

A transition occurs where two different kinds of flooring meet. You can bridge and cover a gap or joint between the two floors with a transition piece for flooring to help the wood expand and contract. The best place to transition wood flooring is a natural spot between rooms, like a doorway.
Transition pieces help blend the area where the two floors meet and make the flooring look seamless. If there’s a slight difference in flooring height, a transition piece can help prevent tripping.
A simple and cost-effective solution is using a piece of T-molding in your doorway. Also known as transition molding, it’s shaped like a “T,” with a thick piece that attaches to the subfloor (one of the many important flooring terms to know). The top piece closes the gap where the floor transitions from one hardwood to another.
It works best for flooring with a 1-inch gap. Cut the T-molding to size and attach it using screws and predrilled holes, or use a construction adhesive. Transition molding comes in various colors and finishes, so select one that visually speaks to your flooring choices.
Also called a seam binder, a flooring transition strip is like T-molding but without the thick piece attached to the subfloor. It’s a thin curved piece of wood that you can nail into your flooring to bridge the two areas. It’s not as durable as T-molding, so avoid this type of transition in high-traffic areas.
Made out of hardwood, it’s about 5 inches wide and works for wood floors of the same height. You can purchase unfinished wood transition strips and stain them to match your flooring. To install, simply place it over the gap and screw it into the subfloor using the predrilled holes.
If you can’t find a wood floor transition piece that complements hardwoods in both spaces, a metal transition is a great option to consider. Adding another material like metal can complement hardware elsewhere in the space, like doorknobs and light fixtures.
Usually around 1/8-inch wide, the sleek and shiny transition piece is a beautiful accent, especially in more contemporary homes. Using screws and predrilled holes, attach the metal strip in the narrow gap between the floors.
Another option is creating a buffer zone between both hardwoods. You can do this by using an entirely different material, like stone or tile in a doorway or along the perimeter of a room. The additional material will add visual interest and a fun design element to the space while highlighting a transition.
If you live in an older home, flooring is sometimes installed on top of existing flooring, creating a slight height difference. This is also common when floors are made from two different materials, like epoxy flooring transitioning to hardwood or tile. This gap can cause tripping, so it’s a good practice to cover it with a transition piece.
Like T-molding, this piece creates a gradual transition between different flooring heights. It typically works for small height differences of about 1 inch. Traditionally, square-nose or angled-nose molding protects the edges of stair treads, but it can also serve as a transition between two floors. To install, fasten it with construction adhesive and tack it down with nails.
If the flooring heights have a more dramatic difference, such as several inches, your best bet is to install flush stair nose molding. This molding has a rounded edge that creates the look of a short step leading from one height to the next.
There are many elements to consider when buying hardwood flooring, like existing features in a space, the size and location of the room, and what speaks to the home's architectural integrity.
For instance, it’s best to select light hardwood to make the space feel larger in a small room. In larger rooms, you can lean toward the darker side of the spectrum.
The amount of natural lighting in a space should also play a role in your decision. For instance, light hardwood—like maple, white oak, or white pine—brightens the space in dark, north-facing rooms. Meanwhile, in south-facing rooms with abundant natural light, you can select a darker finish—like rich mahogany or Brazilian walnut.
If you try to match the color, finish, and grades of hardwood flooring, the slight difference can make a transition look like a glaring mistake. In this situation, it’s best to choose a hardwood with different characteristics than the neighboring flooring.
If you’re wondering what type of wood to use, look around your home. You can use a wood tone that draws from other elements in the space—like cabinetry, doors, or furnishings—to highlight existing features in your home. You can always refinish hardwood to get the stain you like.

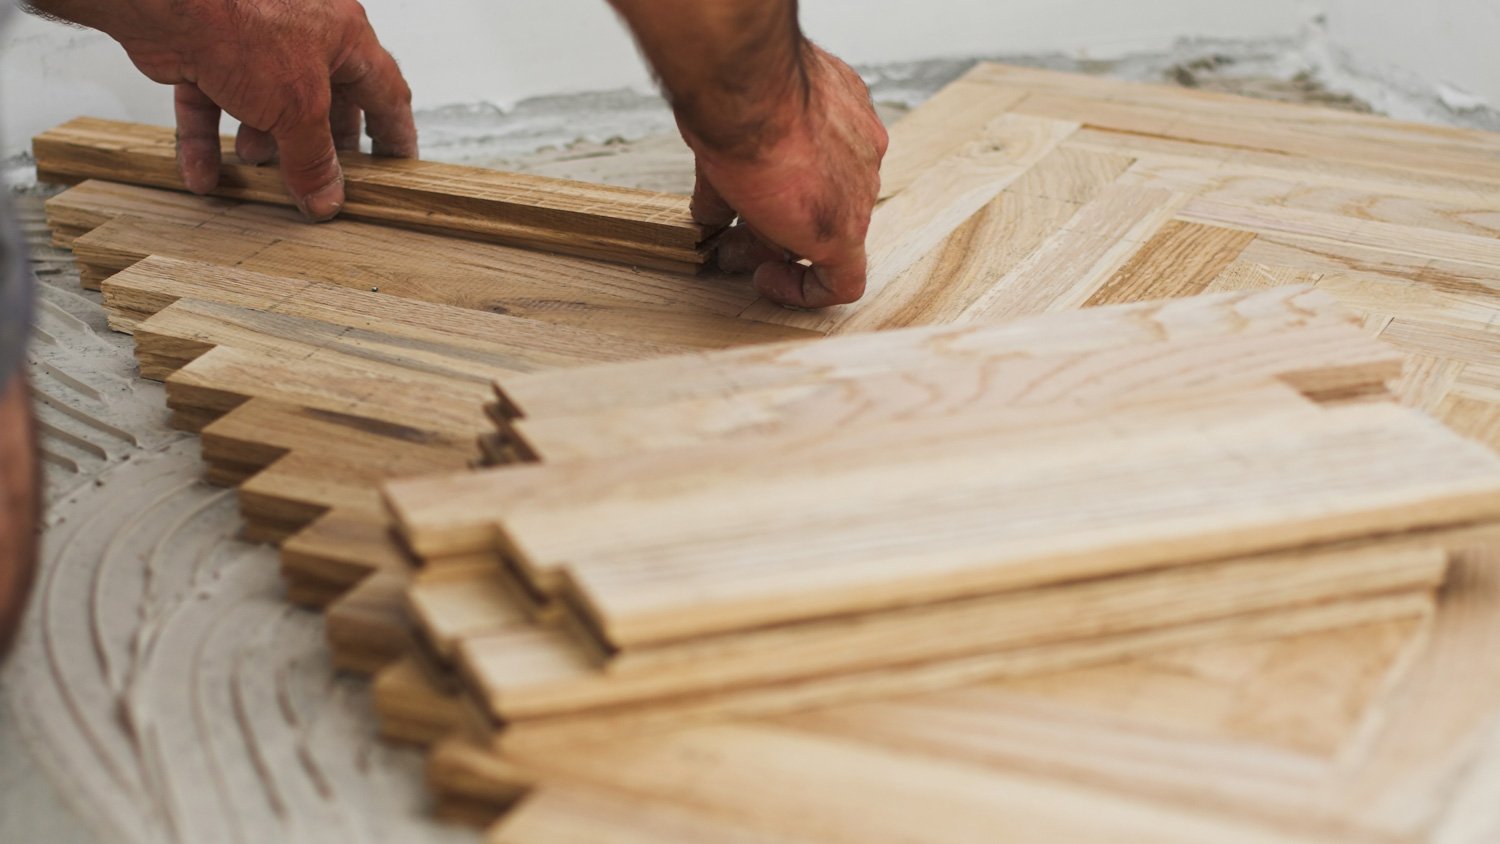
When installing hardwood floors, it’s best to lay planks parallel from room to room. It’s jarring to walk from one room to another and see planks suddenly changing direction. However, you can play with different configurations in open-concept spaces. For example, you can use patterns to create an area within a room.
Create a border: Using one or two planks of hardwood, lay a border around the perimeter of the space. Then install hardwood flooring inside. To further create contrast, install planks running different directions (e.g., diagonally).
Different patterns: In an open-concept floor plan, you can create different zones by switching up the pattern of hardwood. For instance, you can lay the planks straight in one space and install hardwood in a unique pattern like herringbone, diagonal, or parquet in an adjacent area.
If you’d like a pro to handle the installation, call a local hardwood floor installer who can help you design hardwood floor transitions in your doorways and open-concept spaces. If hardwood doesn’t work for your space, another flooring type may be best for your home.
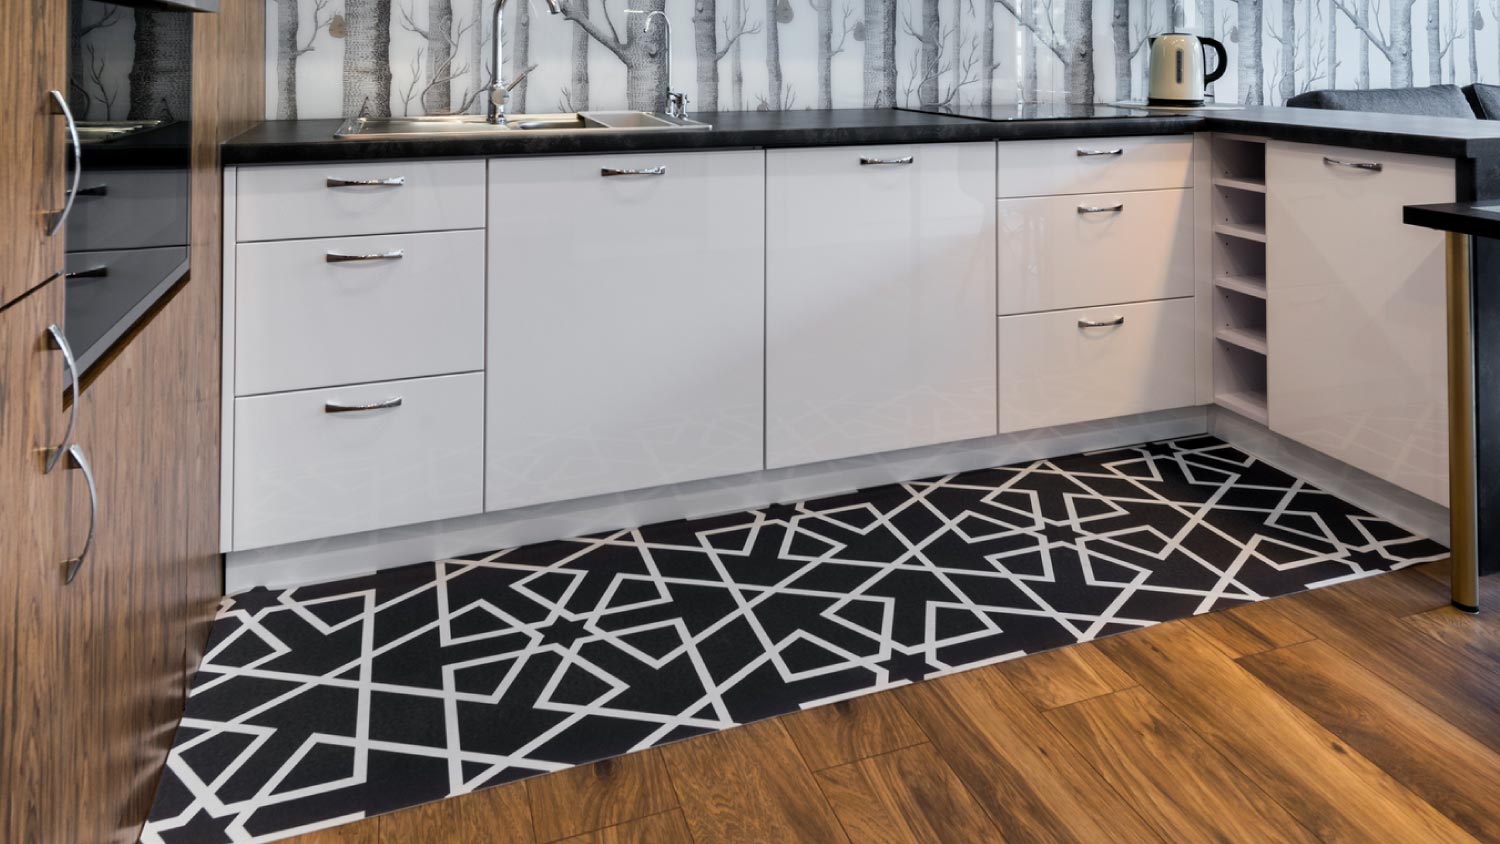
If you don’t want to use a transition strip, you can add tile between two hardwood floors to create an artistic accent that will visually divide the space. For most homeowners, tile floor installation costs around $6 to $20 per square foot, depending on the type of tile.
Mosaics are popular for open entryways. Depending on how you design them, they can serve as the central focal point of a room. They also add a classic European or antique element to a home. Otherwise, you can install linoleum, ceramic, or porcelain tiles in a uniform color and shape (think squares or hexagons). This option is more affordable but will still serve as a visual barrier to help transition your space from floor to floor.
Marissa Hermanson contributed to this piece.
This company does it right. Firstly, I want to say that Landan was a joy to work with. He was so kind, transparent, and had everything under control. His entire team showed up ready to work and they were all very respectful of the fact that we were in an office space. A little backstory – we...
Terrible experience. Walls/trim/floors/cabinets/doors all have drip marks, overspray, etc. Tiling at the fireplace had to be redone by another vendor due to incorrect and shoddy install by Profect. Contractor had his children in our house while he was on site without prior authorization or...
 Profect painting & exteriors
Finished Basements Plus was wonderful from beginning to end! First, they came out quickly for an estimate. I had 4 estimates and theirs was by far the best. (2 of the estimates were more than $20K higher than for the exact same work). Beyond their fair pricing, the work was excellent. They...
 Finished Basements Plus Inc.
AFS was excellent from start to finish. Jess, the sales associate, was fantastic...very knowledgeable and very professional. The installation crew was excellent. I couldn't be more pleased with the process. Best of all, my new floor looks fantastic!
 America's Floor Source
It was wonderful working with Yordy and his team. They were very professional and are experts in what they do. They have completed the work on time, with better quality and with in fairly reasonable price. We just started with backsplash work , but liking his work, we went on to provide...
We were having 2”x 2” tile installed . There was a small installation error and the new additional replacement tile was from a different lot and the colors didn’t match. Joe assured us that he would rectify everything , which he did without hesitation. We decided to go with the 18” x 36” tile...
 CarifaTile
We hired Jim to replace our hardwood floors with new hardwood. He and his helper Jerry did a fantastic job. Their work ethic is impeccable!! We would highly recommend McColl Floors!
Description says they handle window repair including rotten hardwood - they called me back right away but didnâ t leave a voicemail. I followed up 3 days later and they said they donâ t do that kind of work.
Chaz, the owner, was very responsive and he communicated with us throughout the entire process. The overall cost was in the middle compared to the three estimates we received. The installation crew was very professional. Chaz was considerate enough to send a crew back to our home to repair...
 Unique Hardwood Floor LLC
Despite written and verbal direction they installed floor in wrong room.
From average costs to expert advice, get all the answers you need to get your job done.
It’s impossible to keep floors damage-free over the years. Thankfully, the cost to refinish hardwood floors is far less than the price tag to replace them altogether.

Get the look of hardwood at a fraction of the cost. This guide will help you understand the cost to install engineered hardwood floors in your home.
Blending different flooring between rooms in an open floor plan can be challenging, but it’s not impossible if you follow these tips on how to transition wood floor to tile.
Learning how to install transition strips in doorways makes the transition between rooms smoother and protects the edges of the flooring.
Transition strips are vital to tying together different flooring types in your home. This guide shows you everything you want to know, including cost info.
Carpet transition strips help make your flooring safer and more aesthetically pleasing. Learn how to install carpet transition strips and eliminate gaps between flooring.