9 Great Tips for Refinishing Your Hardwood Floors
If your hardwood floors need a refresh, here’s where to start


Refinishing hardwood floors goes a long way toward updating your home’s appearance. Whether dealing with minor scratches and scuffs or a significant renovation, the project can be a manageable DIY endeavor. Follow these tips for refinishing hardwood floors and you will have a fairly hassle-free process that breathes new life into your home’s appearance.
1. Plan Your Project Ahead of Time
Ensuring that the finish on your hardwood floor lasts a lifetime requires some long-term thinking and strategizing. Ask some questions about what will happen with the room before you begin:
Do you plan to move any large pieces of furniture into the room anytime soon?
Are you going to remodel that section of your home?
Are you thinking about selling your house or getting an appraisal?
If you have any big projects coming up in the room where you plan to refinish the floor, you may want to hold off redoing the hardwood. You would not want to potentially have to undergo the process twice. It is just as important to know when to refinish hardwood floors as how to do so.
In addition, you should research different kinds of wood finish to determine which one is best to use on your floor. Look into potential risks like flammability, toxic fumes, or environmental concerns. Acquire any necessary personal protective equipment (PPE) for the job according to the risks and your needs beforehand.
2. Remove the Base Molding
The molding along the base of your walls has several purposes. It hides the gap between the wall and the floor, helps protect the wall from damage, and acts as a decorative element in a room. That said, it can also get in the way, so the first part of prepping a hardwood floor for refinishing is to remove the baseboards.
Many homes feature baseboard molding that is made from multiple pieces of trim fitted together along the wall. You can remove the baseboard with a pry bar fairly easily. Once you do so, it is a good idea to number or label each piece of baseboard so you know exactly where it goes when you put it back.
3. Sand Floor Properly
The first step to refinishing your hardwood floor is to remove the finish, a process that requires the use of a sander. It is best to use two different sanders for the job. A drum sander will get the job done for the majority of the floor, and a handheld floor edger or a small orbital sander will help with sanding along the walls.
If you have concerns about causing damage with an industrial sander, do not worry. Your floors are more durable than you think. “Hardwood floors can handle sanding and restaining very well,” says Bob Tschudi, Angi Expert Review Board member and general contractor in Raleigh, North Carolina. “We’ve refinished 40-year-old hardwood floors by simply sanding, staining, and applying three coats of polyurethane.”
4. Give Your Floor a Thorough Cleaning
After sanding, the old finish will turn into a fine powder. At this point, you will need to remove that powder and any other debris from the floor before moving forward, but it may take more than the usual methods of cleaning a hardwood floor to get the job done.
Any particulate on the floor will become trapped in the new finish and leave the hardwood feeling uneven. Start with a thorough sweep of the floor before taking a vacuum to the entire thing. Finish up your cleaning by using a tack cloth to remove as much dust, dirt, and hair as possible.
5. Smooth Out the Rough Parts of Your Floor
Sanding off the old finish will potentially leave small indents and scratches on the hardwood, which will lead to an uneven surface once you have added the finish. To prevent the feeling of tiny sanding marks under your feet, run a floor buffer over the affected areas to smooth out the wood.
You can rent an industrial buffer if you are refinishing a large room or multiple rooms. But if you are only refinishing a single room, you may find a handheld pole buffer more appropriate, especially if you need to get into tight spaces. We recommend a 120-grit sanding screen and moving along the grain of the hardwood floor.
6. To Stain or Not to Stain?
Once you have removed the old finish and cleaned your floor, you will be left with the bare wood and a decision to make. Do you want to change the color of the wood or embrace the natural appearance? If you want to darken or even lighten the wood, the next step is to use a stain.
Consider the colors and lighting throughout the room, as well as the tone of your wood. A darker stain will mute the light in the room slightly, while a lighter stain will add brightness, especially if the walls and ceiling are a darker color. Be aware that a darker stain on the floor will also make dust, hair, and stains stand out more.
If you want to improve the results of staining your floor, you can do so with a technique known as “water popping” or “grain popping”. Using clean water (preferably bottled water), coat the entire surface of the sanded and cleaned floor evenly without leaving puddles. If you do not want to use bottled water, you can use a solution of one part denatured alcohol to two parts tap water. Doing this will cause the grain of the unfinished hardwood floor to rise and accept the stain more readily.
7. Choose the Right Finish for Your Needs

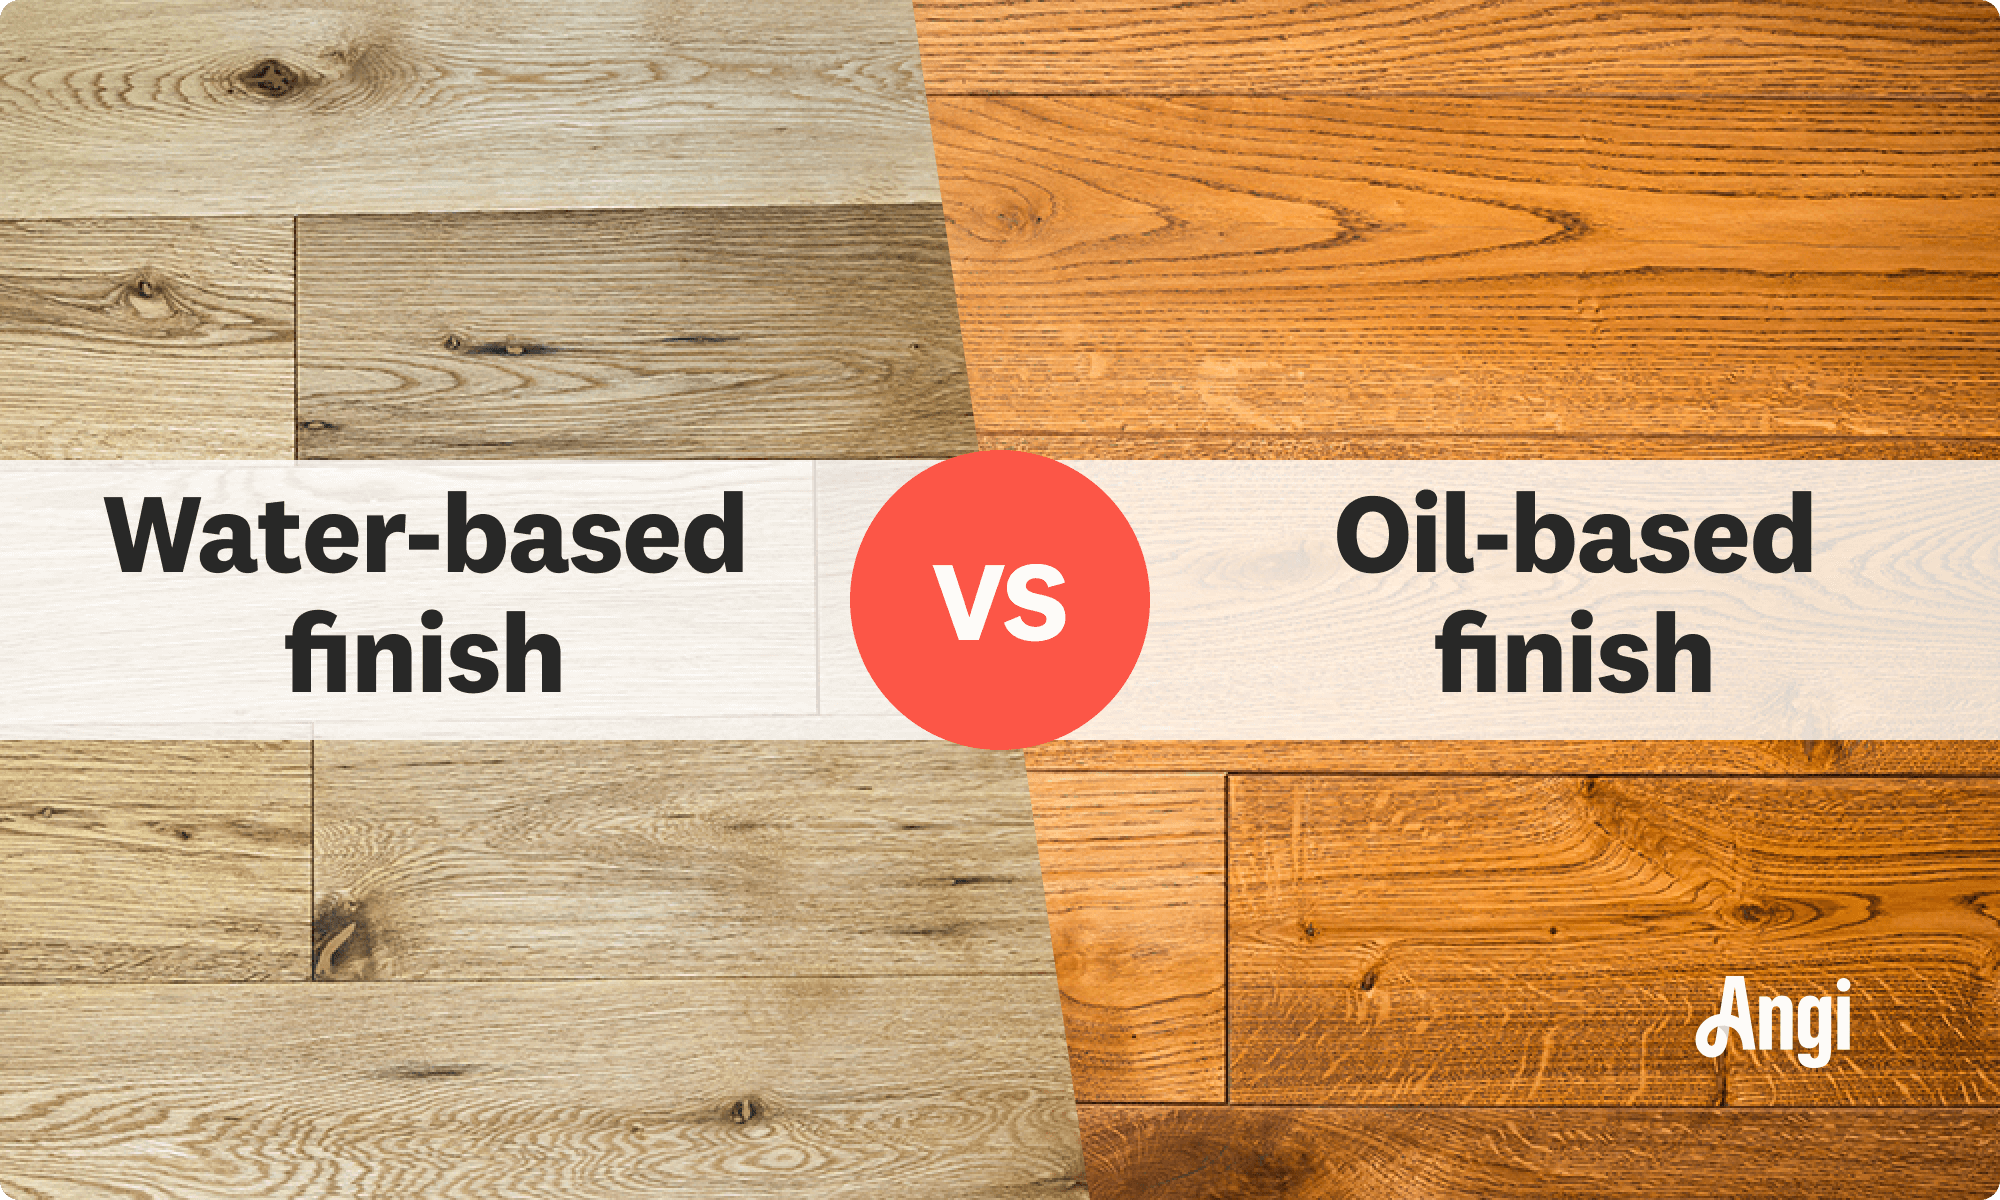
There are different kinds of finish you can use to coat a hardwood floor, and all will act as a protective layer. But each type of finish varies in appearance, cost, drying time, and other factors that you will need to take into account. Research the types and brands of finish available and try to use that information to make an informed decision.
8. Give Yourself Enough Time
Hardwood floor refinishing requires you to set aside time to get the project done, but do not underestimate how much time it will take. You will want to give yourself an appropriate amount of time to refinish the floor while making preparations to avoid using the room for a day or two. These preparations are particularly vital if you are refinishing a major room like a kitchen or bedroom.
When applying a finish, you typically want to give your floor a minimum of two coats for the best results. Each coat needs at least eight hours to dry enough to add the next layer. After the final coat, you need to give the finish time to cure. The amount of time you need to wait before moving furniture back into place varies based on the type and brand of finish, but it is generally no less than 48 hours.
9. Test Your Products Before Committing
There are few feelings worse than completing a project only to realize that it did not turn out the way you envisioned. Sometimes stains and finishes end up looking different from their appearance in the store, on the website, or even on the can. The lighting in the room, the type of wood, and the type of finish or stain can all affect the final look of your refinishing project.
To avoid a situation where you end up with a finish that does not match your expectations, you should first spot-test the finish and stain. Paint over a small area of the floor and let it fully cure. You can paint over a section that a piece of large furniture will eventually cover, in case it does not turn out the way you would like and you do not want to go through the process of removing one spot of finish.
Another way to prevent your floors from not turning out the way you want is to bring in professional assistance. Talk to a local hardwood floor refinishing professional for more information or help in completing your refinishing project.


- How to Restore Hardwood Floors Without Sanding: A Complete DIY Guide
- How to Paint Hardwood Floors for the Best Results
- How Often Should You Refinish Hardwood Floors?
- How to Make Your Wood Floors Look Brand New Again
- How to Get Scratches Out of Wood Floors: A Complete DIY Guide
- Should You Paint or Refinish Floors First?
- How to Care for Hardwood Floors So They Always Look Gorgeous
- 6 Best Hardwood Floor Stain Colors and 10 Tips on How to Choose
- 7 Types of Hardwood Flooring Finish to Protect Your Investment
- How to Remove Hardwood Flooring for Reuse: A Complete Guide


