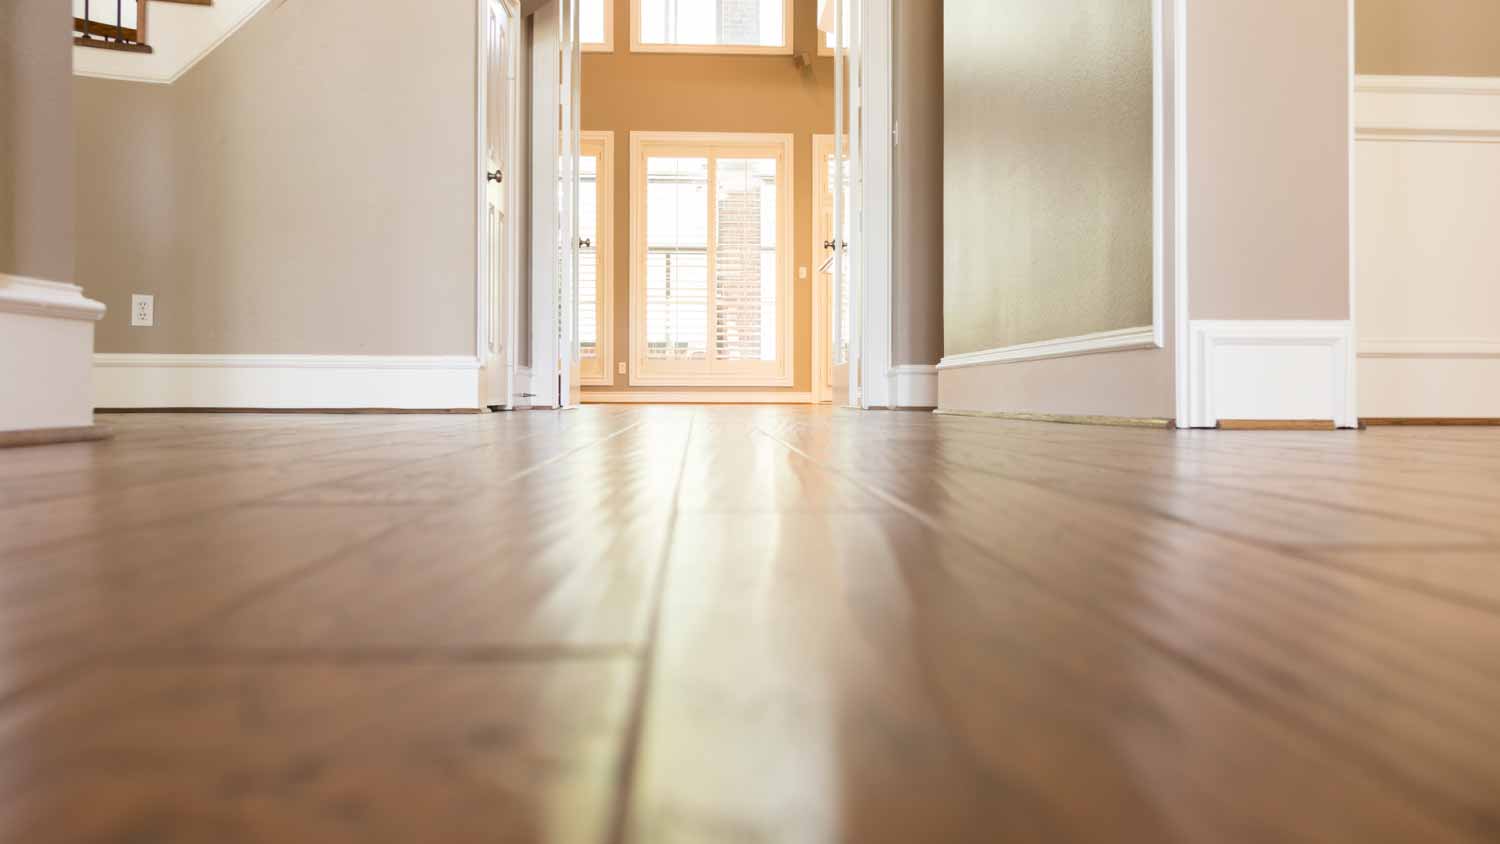
Both materials and labor determine hardwood floor installation costs. This guide breaks down all the prices you need to know before starting your new flooring project.
Remove scratch marks and bring your hardwood back to life


Professional hardwood floor repairs cost around $1 to $8 per square foot, and they’ll ensure a beautiful, seamless result.
If you make a mistake while trying to remove scratches on wooden floors, you can get a mismatched finish or uneven patches.
You’ll need to buy or rent equipment—including a sander, homemade or store-bought scratch solution, wood filler, and appropriate protective gear—to do the job.
You should hire a floor repair company to handle deep scratches and exposed wood, which can cause moisture and wood rot risks.
Scratches from pets, furniture, and kids are some of the most common problems with wood flooring, but that doesn’t mean you’re stuck with unsightly marks forever. Depending on the depth and number of scratches, you can pursue a variety of removal methods, ranging from easy to complex. If you’re not sure how to get scratches out of wood floors, keep reading for several options that will make your floors look like new.
Hardwood floors are highly durable and can last for years with the right care and maintenance. They can last as long as linoleum flooring and longer than epoxy floors and laminate because you can repair them if they get badly damaged.
Good hardwood floor care includes avoiding things that can damage the wood. Anything that puts a considerable amount of weight on a concentrated area of the wood can cause damage, like wheeled toys and high heels. Regular shoes with a rock stuck in the tread can also leave marks.
When you’re prepping to repair hardwood floors, take into account the extent of the damage. Superficial scratches that only affect the wood’s top protective surface are fairly simple to repair. Minor scratches that extend to the finish and reach the wood itself will require more involved repairs. Deep scratches or gouges dig further into the wood and may require sanding and refinishing to completely remove.
And watch out for water. Wood can absorb and swell when exposed to water, with damage and rotting quickly following if the water isn’t cleaned up. Hardwood floors have a treated surface that resists water, but the seams between boards are susceptible to damage. Also, don’t use water to clean hardwood floors. Instead, sweep or vacuum the floor regularly to prevent dirt buildup and clean spills as soon as possible.
Regularly cleaning your flooring can go a long way in not only making it shine but also making it last. Dirt and debris can scratch your floor and create more problems. Clean your floors with the products and equipment recommended by the manufacturer.

No matter how deep the scratch, preparation always includes cleaning the floor. If the repair is in one small area, thoroughly clean, sweep, and wipe the area with a clean cloth. You can use a lightly dampened cloth if there’s grime or tougher debris.
Once the floor is clean, gather your tools and supplies to make sure you have everything you need. That includes safety equipment like safety glasses, rubber gloves if you’re using a stain, and a dust mask or respirator if you’re sanding.
Different repair methods use different tools and supplies. They may also work better on scratches of different depths. Assess the scratch and the materials you have on hand, then get to work.
To treat tiny scratches on floors with a relatively new finish, you can whip up a DIY solution at home. Combine equal parts apple cider vinegar and olive oil in a small cup, and dab the mixture into the scratch. Leave it for the rest of the day, and rub it out.
If your DIY solution doesn’t work, you can try a scratch repair product from your local hardware store. It can hide surface-level scuff marks and thin scratches without much work on your part.
Simply rub the repair product into the scratched surface using a soft cloth, following any additional information on the product label.
Depending on the severity of the scratches, you may be able to do patchwork sanding and staining. For deep scratches, you may need to sand and completely refinish the floor.
You’ll also need to know if you have traditional or engineered hardwood. Engineered hardwood is thinner and can’t be sanded and refinished indefinitely like traditional hardwood flooring, so you’ll want to take extra precautions with your repairs.
For one or two small scratches: First, sand the floor in the direction of the grain. You’ll need to reapply the stain you’ve buffed away in the process, so choose a hidden area (under the bed, in a closet) to patch-test a wood stain that matches your existing floor. Similarly, patch-test a urethane finish to go on top of the stain.
For multiple large scratches: If you’re dealing with several scratches in various areas of the floor, you’ll probably need to sand down the entire floor and refinish it. This only works on real wood floors, not bamboo or laminate. For engineered wood flooring, make sure the surface is at least 1 mm thick to allow the sanding to take off the scratched surface.

Fix your scratches aesthetically with a wood stain or a blending pencil. Here are a few options to choose from:
Oil-based stains: Provide the richest color and best longevity but dry slowly
Water-based stains: Widely available and easy to use, but not as long-lasting
Combination stains: Designed for polyurethane finishes, including previously painted wood
Blending pencil: Easy to use, but may require multiple pencils and color combinations for a perfect match
Once you find the right stain or pencil formula for your wood’s finish, fill in the scratch completely with the color. Use a cotton swab or corner of a cloth to remove any excess stain and let the color dry thoroughly, according to package directions.
Certain nuts, including whole walnuts and coconut oil, can actually help restore your hardwood floors.
Walnuts: The brown dyes found naturally in these nuts can help camouflage scratches and revive worn wood. To use, warm up the natural oils in the nut by rubbing it between your hands. Then, use circular motions to rub the walnut into worn areas of the floor. Let the oil sit for a few minutes, then buff with a soft cloth.
Coconut oil: Use coconut oil to minimize the appearance of scratches on unfinished or sanded flooring. Simply brush on a thin coat of oil and let it sit for five minutes. Then, buff with a soft cloth.
Deeper scratches may require a wood filler. Wood fillers come in a variety of stains, giving you options to find a perfect match for your floors. However, this option is best for small but deep holes or cracks in your hardwood.
Use a putty knife to apply wood filler to the gouge, using shallow layers to fill the hole. Once you’ve filled it, let the area dry completely and sand until flush with the surface. Then, apply the stain.
Treat light scratches along the surface of your hardwood with a finish restorer. This product is an effective solution when treating minor scuffs on the surface that haven’t damaged the wood.
However, if your scratch has penetrated the finish and damaged the wood itself, you’ll need to refinish your hardwood flooring completely by sanding the area and restaining it. This can be complicated, expensive, and time-consuming and is best left to a local hardwood restoration company.
Wood floor scratch repair can be avoided with the right preventive measures. A shoes-off policy in your home can prevent accidental scratches and scuffs from rocks stuck in the tread of shoes. And high heels are notorious for scratching and gouging hardwood. You can also:
Avoid using water to clean the floor.
Keep wheeled toys in another room.
Do not allow children to use indelible markers in the room.
Use a soft-bristled broom to dust daily.
Use a vacuum designed for hardwood floors.
Even without too much DIY experience, you can repair superficial and minor scratches. You might also be able to handle a small gouge or two without calling in a pro. However, if the repair requires sanding, restaining, and refinishing the floor, you may want to get an estimate from a seasoned professional.
The process can take several days and requires a long list of tools and supplies. If you call a pro, the cost to refinish hardwood floors falls around $1,800, though that price can go up, depending on the shape, size, and style of the floors. If you do decide to take on a full refinish yourself, you can expect to pay $500 to $1,000 in costs, plus the time to get the job done.
Taylor Sansano contributed to this piece.
From average costs to expert advice, get all the answers you need to get your job done.

Both materials and labor determine hardwood floor installation costs. This guide breaks down all the prices you need to know before starting your new flooring project.

Here’s what you should expect to pay when renting an orbital, drum, vibrating, or edging floor sander—as well as where you can rent them and what else to know.

It’s impossible to keep floors damage-free over the years. Thankfully, the cost to refinish hardwood floors is far less than the price tag to replace them altogether.

Discover engineered hardwood flooring pros and cons, from style and stability to cost and care. Here’s what you need to know to make the right choice.

Before repairing or partially replacing flooring, make sure to discuss these hardwood floor repair questions with a pro.

Discover who installs hardwood floors. We share the two best professionals to work with to protect your investment in your home.