How to Care for Hardwood Floors So They Always Look Gorgeous
A little maintenance can go a long way.


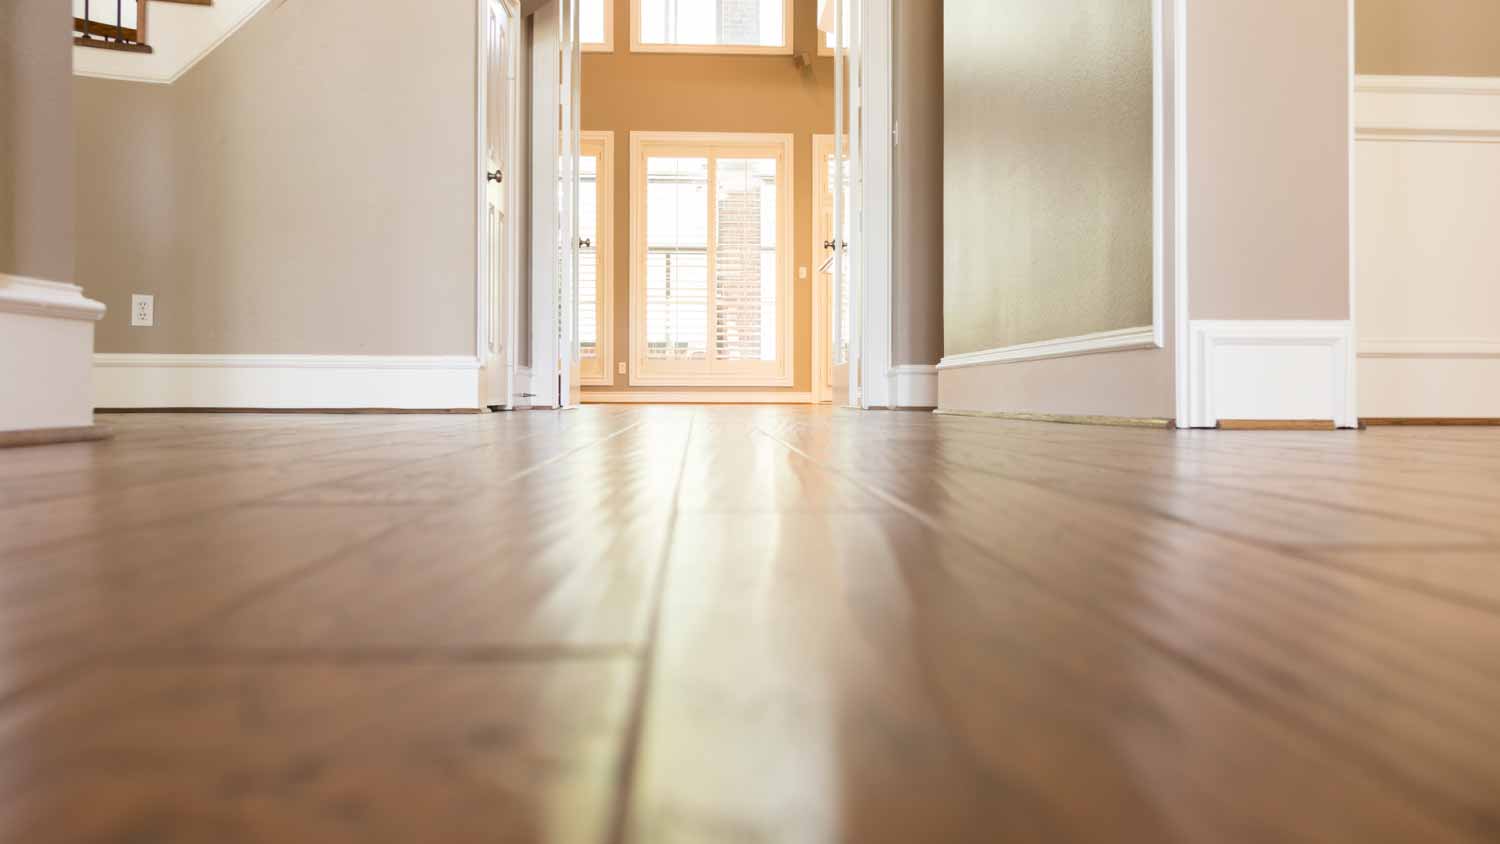
Hardwood floors increase your home’s resale value and add a classic touch to your space. And while hardwood floors can last for decades, they do require maintenance to look their best through the years. Fortunately, you do not need to call in a pro to fix minor flooring damages, and there are preventative measures you can take to ensure no scratches or stains pop up in the first place.
This comprehensive guide will walk you through all the options when it comes to caring for hardwood floors, from creative ways to fill in cracks to which cleaners you should (and should not) use.
Why Do I Have to Care for Hardwood Floors?
Although hardwood floors are tough and durable, they are not invincible. Without routine care, their quality will deteriorate over time. And even when floors are properly finished, sealed, and installed, hardwood is still susceptible to damage like scratching, staining, and cracking. Fortunately, there are a few ways to prevent this from happening, as long as you stay on top of hardwood floor care.
How Much Does It Cost to Maintain Hardwood Floors?
It is much more affordable to maintain hardwood floors than it is to repair them. If you are regularly washing and surveying for any irregularities, the necessary cleaning supplies and tools are all you will need to pay for.
On the other hand, fixing things like cracks or scratches on your own will require additional purchases, like wood filler or sandpaper, but this is still much less expensive than hiring a pro to do it for you. The cost for professional hardwood floor repairs ranges from $450 to $1,500 on average.

How to Prep Your Floors for Maintenance

Before you can start caring for your floors properly, you have to inspect them thoroughly. Doing this will show you what needs attention so you do not end up wasting your time elsewhere. Follow these steps to ensure that you do not miss anything.
Find out if you have unsealed or sealed hardwood floors. Sealed floors have an extra layer of protection that prevents the majority of water damage, whereas unsealed floors are much more sensitive to moisture. (You can find out which one you have by placing a drop of water on the floor. If it keeps its shape, your floor is sealed. If the floor absorbs it, it is unsealed.)
Remove clutter and rugs from the space.
Examine every plank for scratches, dents, grime, and signs of damage.
Make note of any findings that will need attention later in the cleaning process.
How to Maintain Hardwood Floors
Ensuring that your hardwood floors are well cared for requires a combination of regular cleaning and occasional minor and major repairs. Below, you will find all the possible scenarios that you could face, plus a solution for each and simple ways to minimize the worst outcomes.
Remove Debris as Often as Possible
Keeping your floor clear of debris is the best way to prevent dirt buildup that will eventually become difficult to remove.
Sweep and mop up spills when they occur.
Vacuum or sweep once every two to three days.
Use a floor duster or a vacuum to suck up dust on a weekly basis.
Use a vacuum without a beater bar to prevent scratches.
Clean and Disinfect Seasonally
Even with regular dusting and sweeping, dirt and grime can accumulate on hardwood floors over time. Fortunately, all this routine care ensures that you only need to wet mop and disinfect once every month or two. A liquid solution designed exclusively to clean hardwood floors can take care of both, but there are homemade options that work as well.
Follow the tips below to properly clean and disinfect hardwood flooring:
Avoid using heavy-duty cleaning solutions: Vinegar and bleach, even if diluted, can damage the finish of your flooring with prolonged use. Using a steamer is a natural approach to disinfecting surfaces; however, wood floors are porous and excessive moisture and high temperatures can cause warping. In general, look for a solution that contains disinfecting agents and is specifically designed for wood floors.
Always make sure to check the instructions on a cleaning product: Hardwood floors can harbor bacteria and viruses like any other surface. Look for a solution that contains disinfecting agents. Follow the product’s instructions, especially if you need to dilute it.
Test the product first: Take a new cleaning product on a test run on a small and inconspicuous area before applying it over the entire flooring surface. That way, if it does not work out as expected, you will not have anything to worry about.
Make your own cleaner: Hydrogen peroxide is an effective disinfectant that is probably in your cabinet right now. Spray a 3% hydrogen peroxide solution directly onto floors. Wipe away with a microfiber cloth after allowing the solution to sit for several minutes.
Do not get your mop too wet when cleaning: The use of excess liquid on wood flooring can cause cracks and warping over time, so make sure to fully wring out your mop before putting it to work.
Repair Scratches and Cracks in a Few Different Ways
When it comes to fixing hardwood floor damage, you have options. From cracks to stains, here is how to make your flooring look as good as new.
Patch Cracks With Wood Filler
Deep cracks that are hard to conceal may need a bit of extra TLC, but they are still something you can fix on your own. Find out what materials you will need and how to do it below.
Materials:
Sponge
Microfiber cloth
Cleaning solution
Wood filler
Fine-grit sandpaper
Wood stain
Instructions:
Start by cleaning deep into the groove of the scratch so you do not trap any debris.
Fill the groove with wood filler and let dry. It is OK not to be perfectly flush with the floor.
Once the wood filler has dried, lightly sand the top until it is smooth and even with the surrounding area.
Stain with a matching shade and seal. Let dry fully between each step.
Distress Your Floors to Camouflage Scratches and Stains
Consider this approach if your floor has more than just a few light scratches. Hand-scraping or distressing your floors to give them a worn, antique appearance can turn unsightly scratches into custom character. Here are a few different and creative ways to make your floor look purposefully distressed:
Try running a wire brush across each plank to mimic pet scratches.
A screwdriver can be used to create controlled and shallow divots.
You can even try a soldering iron to add burn marks or scars to your flooring.
Whatever approach you want to try, make sure to conduct a test run in an inconspicuous area to make sure you like the final look.
Use a Homemade Solution to Buff Out Scratches
Not in the mood to buy anything new to fix up your hardwood floors? You don’t have to! A mix of common household supplies will buff out scratches just fine.
Combine a few scoops of baking soda with a few drops of olive oil.
Apply the mixture to scratches and let sit for several minutes.
In a circular motion, buff the mixture into flooring with a soft sponge. Remove residue with a microfiber cloth or rag.
Rub a walnut, Brazil nut, pecan, or almond onto scratches or stains in a circular motion. The fat and oils in the nut will bind to the wood and make blemishes less noticeable. Buff the area with a microfiber cloth after a few minutes.
Refinish Hardwood Floors Every 3 to 5 Years
Even with the most diligent maintenance, your hardwood floors will eventually need to be refinished. The cost to refinish hardwood floors falls between $1,098 and $2,656, but can be significantly lower if you complete the project yourself.
To refinish hardwood floors, you can follow these steps:
Remove as much as the furniture and decor as possible from the room.
Clean the floors thoroughly to remove any debris, spots, or stains.
Patch any cracks, holes, or deep scratches with wood filler.
Sand the floor using a drum sander to remove the top layer of sealant and smooth out the dried wood filler and any imperfections.
Buff the floor with a buffer or pole sander to remove any sanding marks.
Vacuum the floor to remove any remaining dust and debris and wipe it down with a sticky tack cloth.
If you are staining the floor, now is the time. Apply according to manufacturer’s instructions.
Seal the floor with polyurethane using a small roller.
Follow the dry time instructions, and when it is dry, move all the furniture back. Enjoy your refinished floor.
6 Ways to Prevent Hardwood Floor Damage

Now that we have covered all the different ways to fix your floors, let’s talk about how to ensure that no damages occur in the first place. That way, you will not have to worry about installing new hardwood floors for a long time.
1. Mop Up Spills Right Away
Even if they are properly finished, hardwood is more susceptible to water damage than other types of flooring. Plus, colored liquids are more likely to leave an unsightly stain the longer they sit. Wipe up spills as soon as they occur and use a small amount of wood cleaning solution and warm water to remove remaining residue.
2. Open the Windows to Speed Up Drying Time
Because hardwood flooring is sensitive to moisture, it is important to ensure it dries as quickly as possible after wet cleanings. Make sure all the windows in the area are open to allow for proper air circulation and, if you have one, use a fan to speed up the drying process even more.
3. Add Protective Pads to Furniture
Even slightly moving heavy furniture without proper protection can result in devastating hardwood floor damage. Fortunately, applying sticky protective pads to the underside of furnishings like chairs, couches, bed, tables, and bookcases will eliminate this problem entirely.
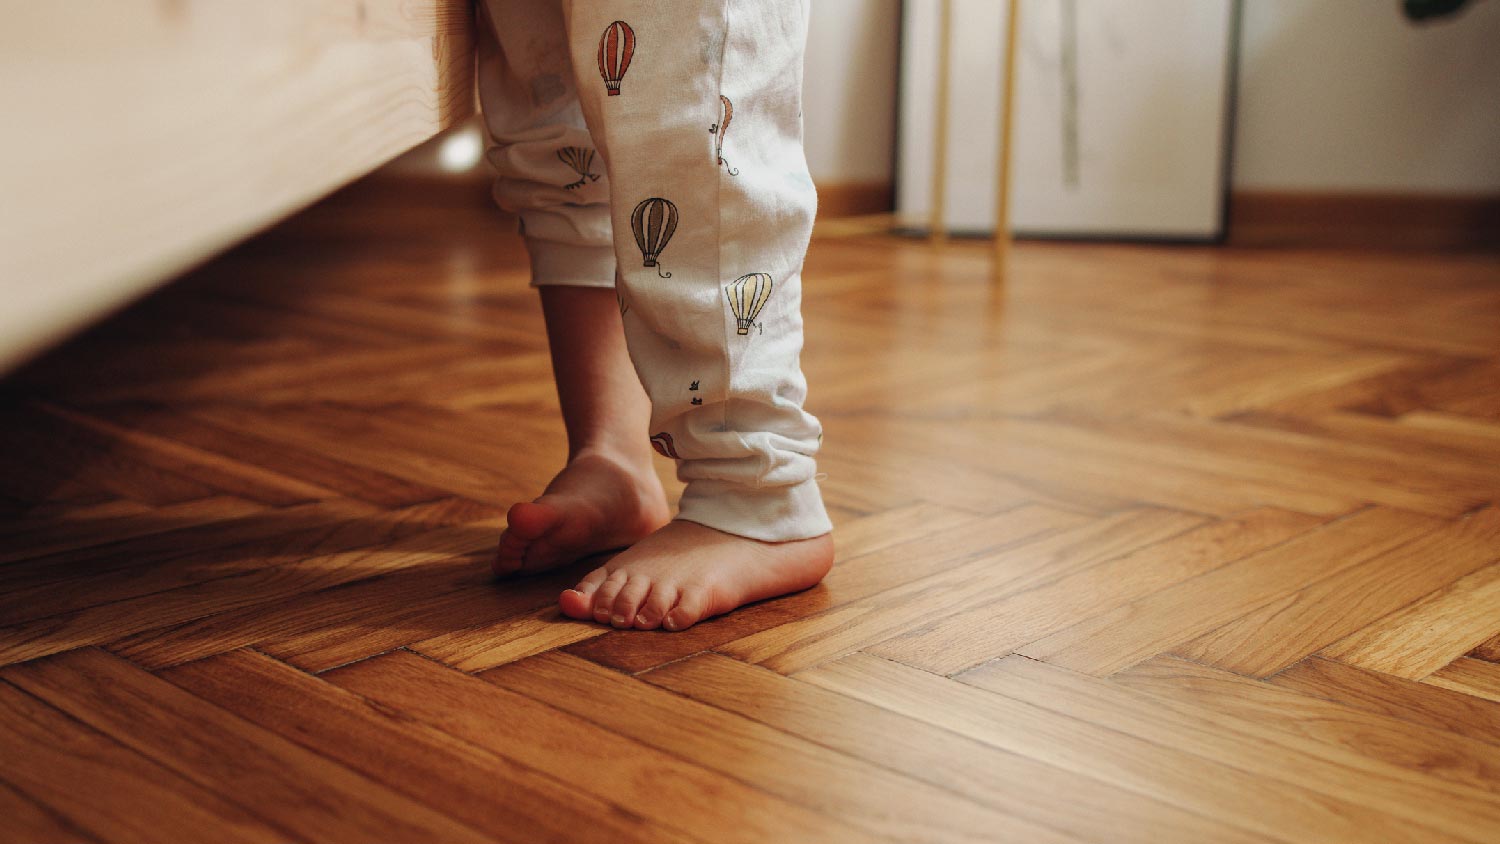
4. Remove Your Shoes
We drag in a lot of dirt and debris on our shoes, so taking them off when you enter your home is one quick way to minimize both damage and the need for cleaning.
5. Use Rugs in High-Traffic Areas
Some parts of a home see a lot of action whether you like it or not, but that does not mean that their wear and tear needs to show. Placing area rugs in high-traffic areas will add a stylish flare to these spots and ensure they do not get damaged as well.
6. Trim Pets’ Nails
Just because pets are often the culprits of wood floor damage does not mean they have to be. Trim your furry friend’s nails to prevent them from accidentally scratching up your wood floors while they walk around.
DIY Hardwood Floor Maintenance vs. Hiring a Pro
The vast majority of hardwood floor maintenance can be done on your own. Daily mopping and weekly cleanings can typically be done quickly and are a great way to get the family involved in daily home maintenance. If you hire a cleaning service to clean your home, make sure they are well-versed in caring for hardwood floors.
When it comes time to refinish your hardwood floors, this is more of a candidate for hiring a pro. Even though refinishing hardwood floors is a relatively straightforward process, it is time-consuming. So, if you are going to tackle it on your own, make sure you set aside a day or two to complete the project. Hiring a local hardwood floor professional will come at a cost, but it will save you time and effort.
Frequently Asked Questions
Even with consistent care, hardwood floors need routine refinishing. Refinishing can give tired floors new life and is typically recommended every 7 to 10 years. Signs your hardwood floors could benefit from refinishing include excessive scratches and dents, water damage, and fading or discoloration.
It is possible to refinish hardwood floors on your own, but the process can be time-consuming and not always as inexpensive as you would hope. First, there are plenty of materials you will need to purchase or rent, e.g., a floor sander at an average of $70 for a full day, plus a deposit. Other materials, like sandpaper, stain, and varnish or polyurethane coating, can quickly add up to several hundred dollars.
While the cost to refinish hardwood floors strongly depends on square footage, you can expect to pay between $500 and $1,000 to refinish your own hardwood floors. To save time and labor, you might want to hire a professional hardwood floor refinisher near you.
If you have decided that hiring a professional to refinish your floors will be faster and more satisfactory, you can expect to pay between $1,000 and $2,500. To get a better idea of what your hardwood refinishing project will cost with a professional, multiply the project’s square footage by the average price of $4 per square foot.


- How Long Do Hardwood Floors Last and How to Extend Their Life Span
- How Often Should You Refinish Hardwood Floors?
- How to Make Your Wood Floors Look Brand New Again
- How to Get Scratches Out of Wood Floors: A Complete DIY Guide
- How to Restore Hardwood Floors Without Sanding: A Complete DIY Guide
- Hardwood Flooring Installation: Why You Should Leave it to Professionals
- How to Choose Hardwood Flooring in 7 Simple Steps
- How to Paint Hardwood Floors for the Best Results
- 5 Things You Should Know Before Selecting Hardwood Floors
- Simple Ways to Keep Floors Clean This Winter When the Weather Has Other Plans
Get our Angi-powered app


