
•
Discover the true wood tile flooring cost and learn about installation, labor, and material prices, plus tips to save on your wood tile flooring project.
Beautifully blend adjoining floors with these design ideas

A wood floor to tile transition works best when you create contrasting patterns, ensuring your tile layout doesn't align with your wood plank direction.
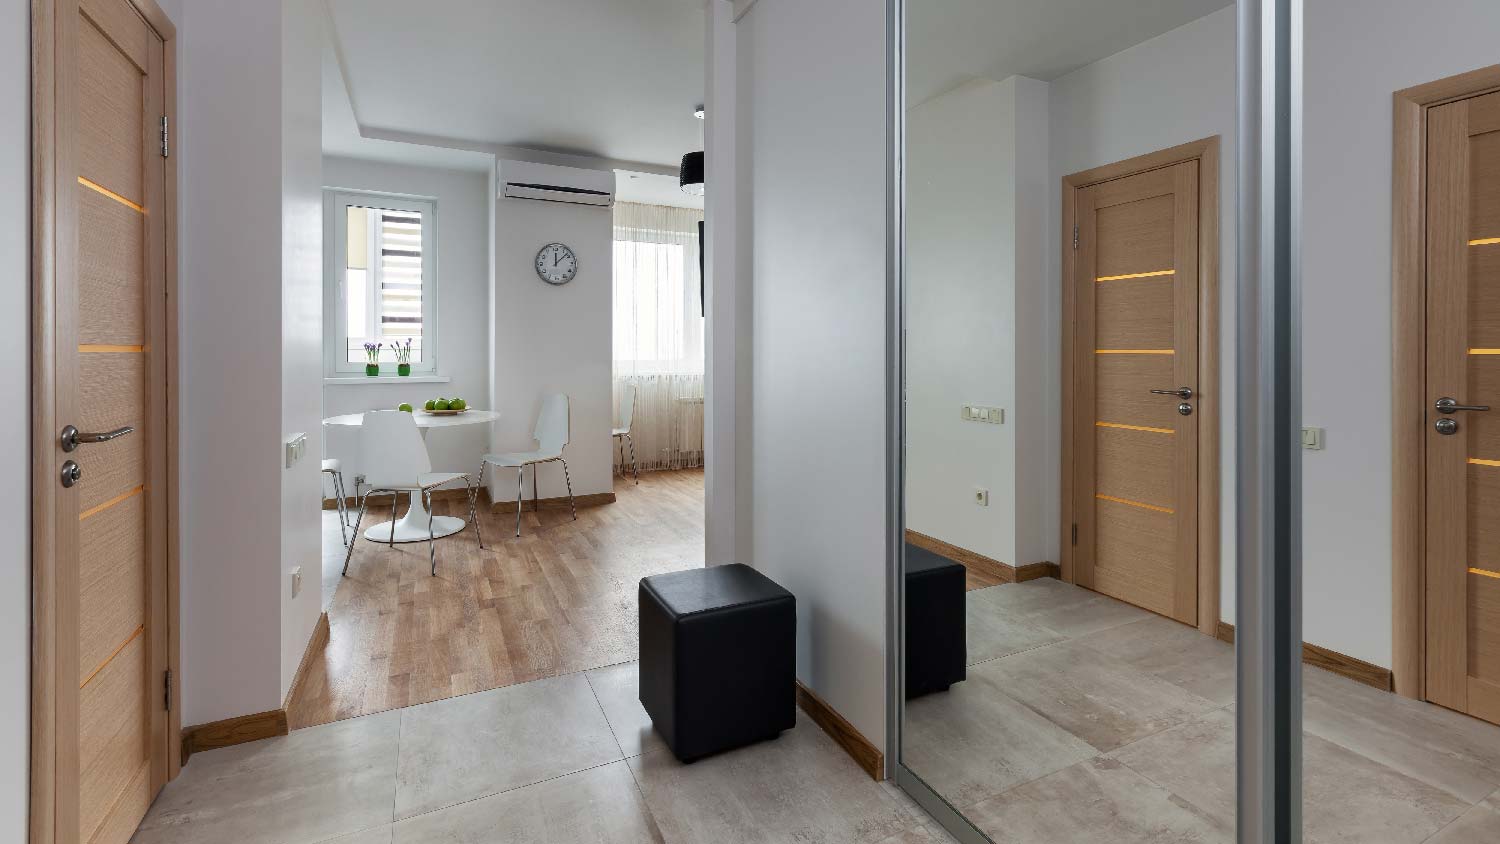
Matching floor heights between your wood and tile prevents tripping hazards, and transition strips or reducers bridge any gaps when surfaces don't sit flush.
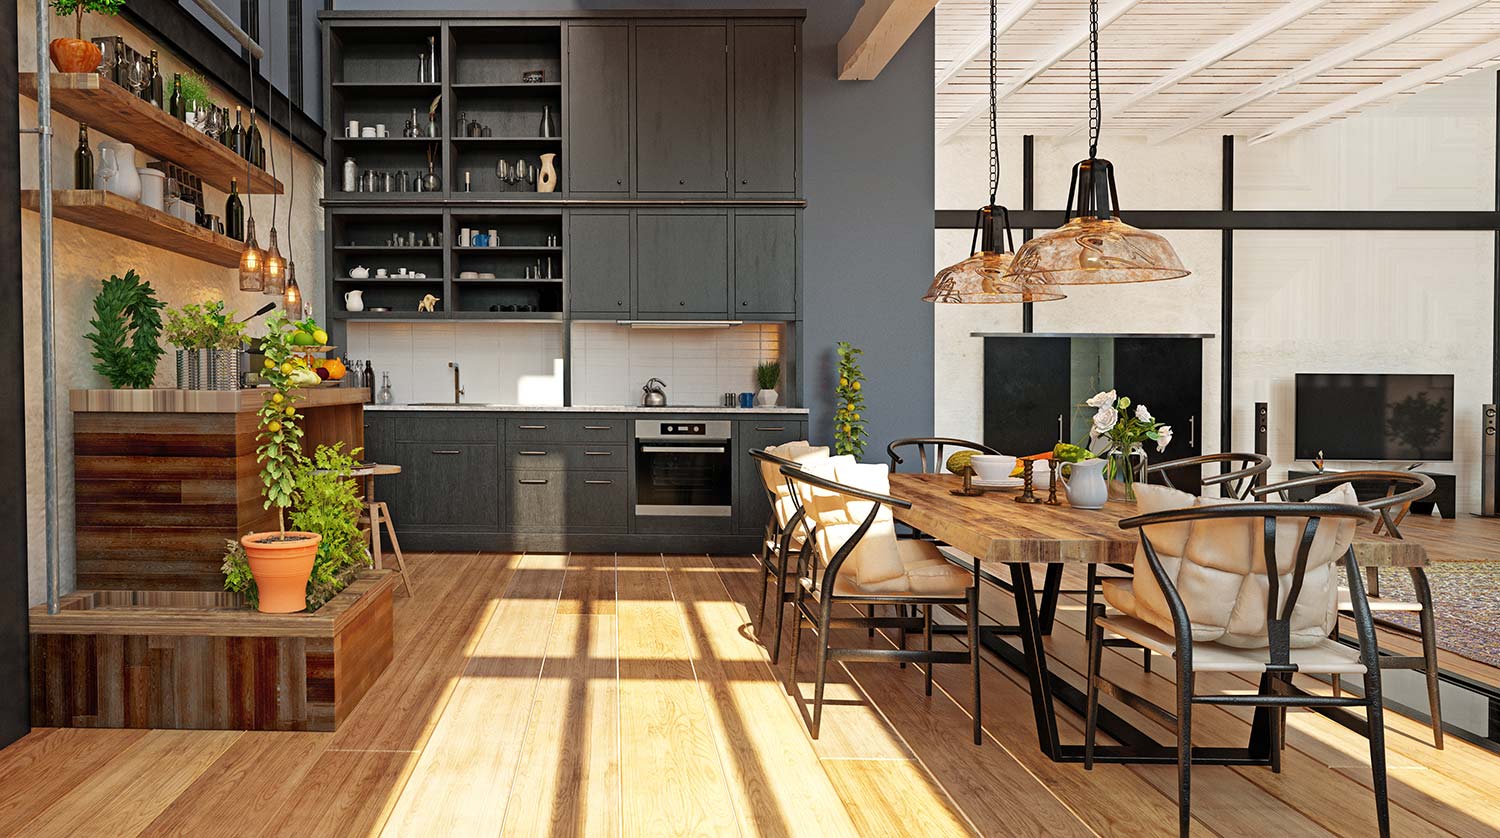
Laying tile in a different direction from your wood flooring creates visual separation, especially when you use chevron or diamond patterns for striking contrast.
Hiring a local flooring company provides expert guidance on seamless transitions and professional installation, especially when working with complex patterns or height differences.
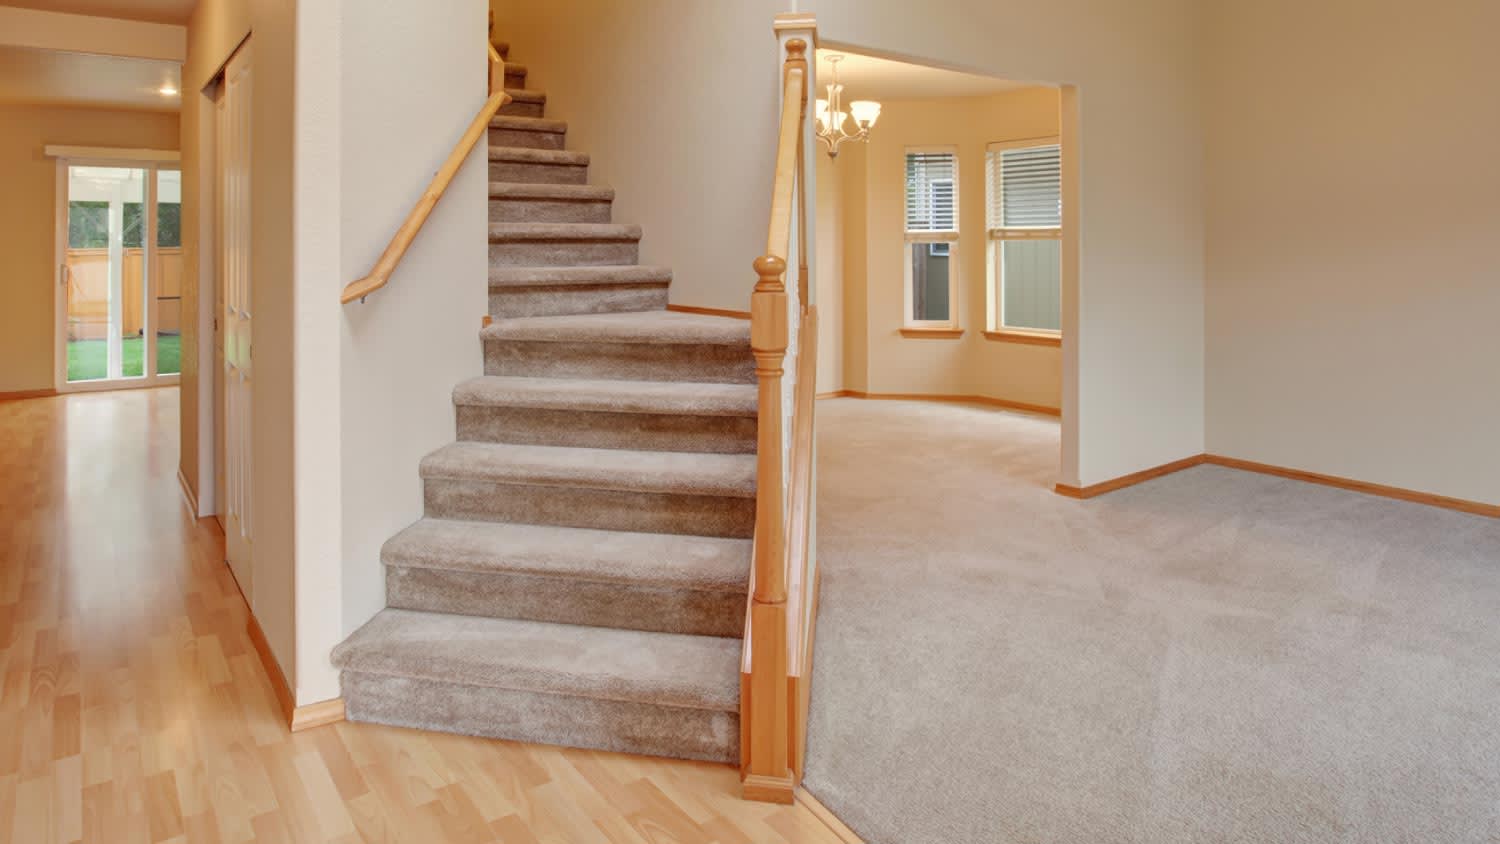
Figuring how to transition two types of flooring seamlessly from one room to the next is a challenging home design task, especially if you’re working with an open floor plan without walls or other visual barriers to help divide the space. Transitioning between floors often requires contrasting materials and a healthy dose of creativity—but it’s a DIY project you can achieve with a few smart tricks. Follow these tips on how to make a tile-to-wood floor transition look seamless.
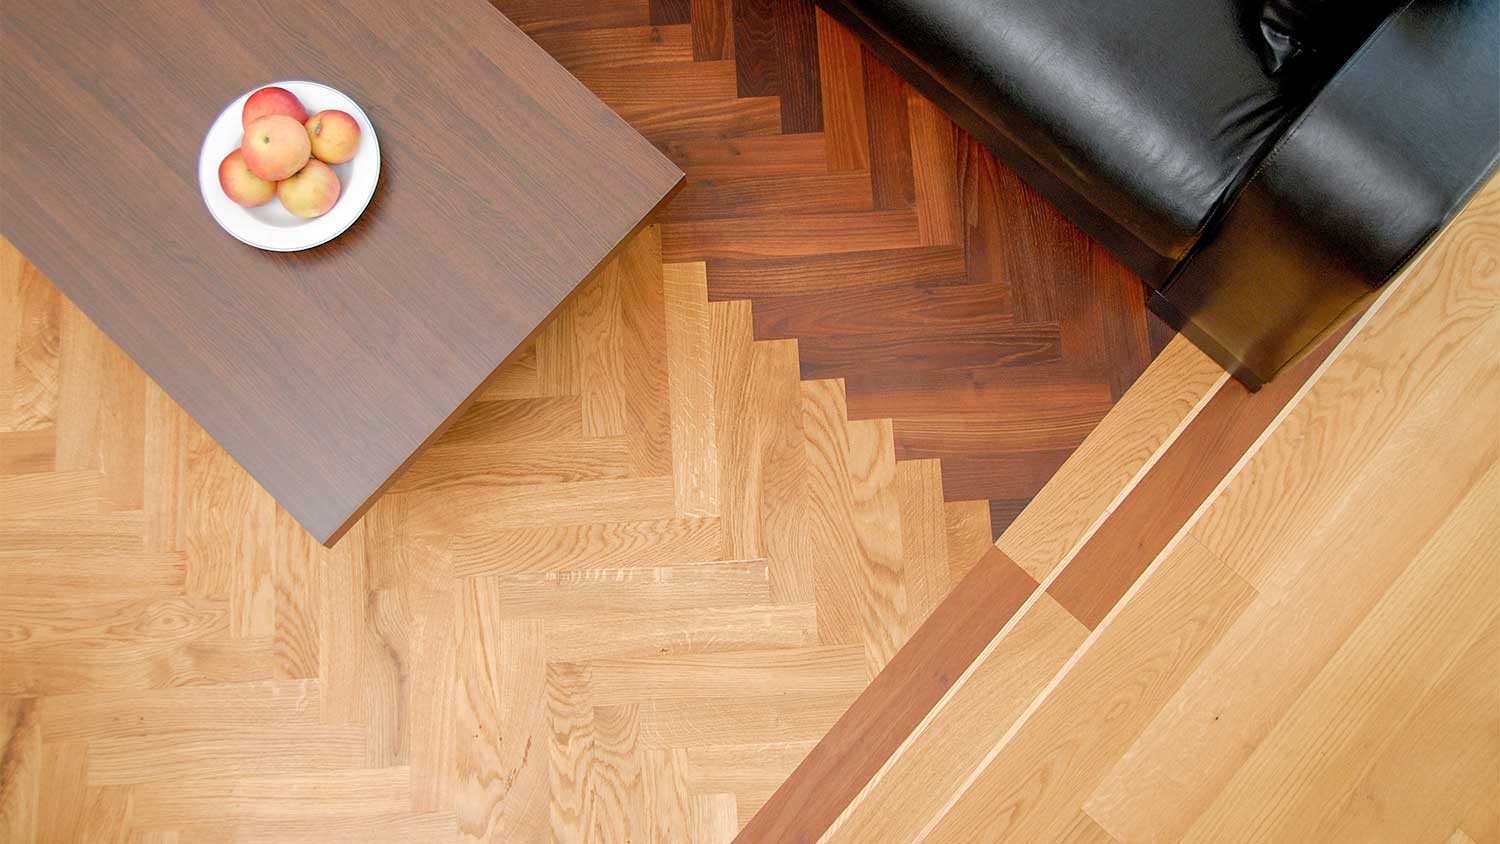
If you’re using two different flooring materials and wondering if you can mix tile and wood flooring, the answer is a resounding yes. However, there’s one key tip you’ll want to follow: If you have wood flooring in one room and are flowing into a space with ceramic tile, you’ll need to make sure the patterns don’t align (i.e., square tiles abutting square parquet flooring for example). Creating a differentiator in your flooring pattern—in this sense, the sizing of the hardwood planks or tiles—will give the sense of two entirely separate rooms while eliminating the jarring nature of the material change.
Sometimes, it can be difficult to match the height between your tile and hardwood floors and make a smooth tile-to-wood transition, especially because of the mortar bed underneath the tile. The closer you can get in height, the better. Not only will your floors look more seamless, but they’ll be safer and more functional (aka preventing tripping). This is particularly important if you decide to do a carpet transition from wood flooring or tile.
Making the tile flush with the adjoining wood floor isn’t always possible, in which case you may want to incorporate a transition strip or reducer strip that acts somewhat like a ramp between the two materials. If you’re working with an existing wood floor and can’t find the product to match to build up to the level of the tile edge, you’ll need to use something more heavy-duty like end molding. If the unequal height difference is dramatic, consider a floating floor that doesn’t need to be nailed down or installing laminate flooring or engineered hardwood over the original wood floor.
If your hardwood floor planks run parallel to your home’s entryway, laying tile or another transitional flooring in the complete opposite direction—in this case, perpendicular to the wood floors—is a fun design mashup. You can go one step further and lay your tile out in a chevron pattern to give the room a modern feel while still visually breaking up the space with different flooring options.
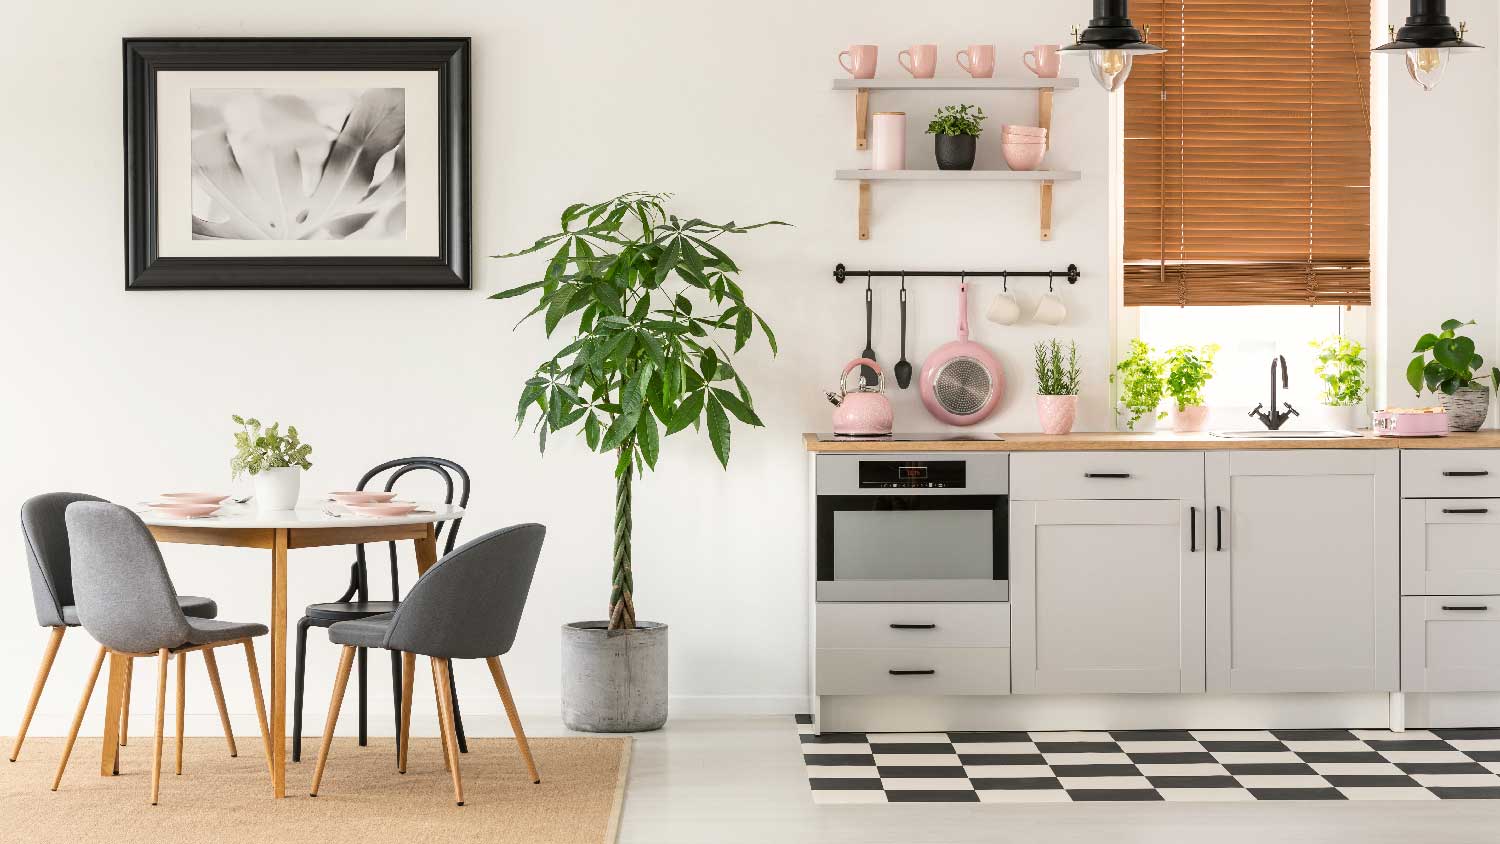
Another classic example: If you’re using luxury vinyl flooring in your living room and opt for a checkerboard tile in your kitchen, you may choose to tile in a diamond pattern. This combination—instead of lining the tile edges up horizontally with the LVT—makes the room’s flooring design more striking and less linear.

One way to get creative with merging two different materials is by lacing the tiles into the existing wood flooring in what almost appears like an organic flow. This method is particularly effective when installing a new product or pattern in a kitchen, bathroom, or mudroom without swapping out or replacing the wood flooring that abuts it. It’s also a design that will likely require the skill of a local professional flooring company.
Pro tip: This flooring method is particularly effective when using a geometric pattern like a hexagonal tile. You can naturally weave it with the wooden flooring pattern without creating an abrupt transition from rectangle to rectangle.
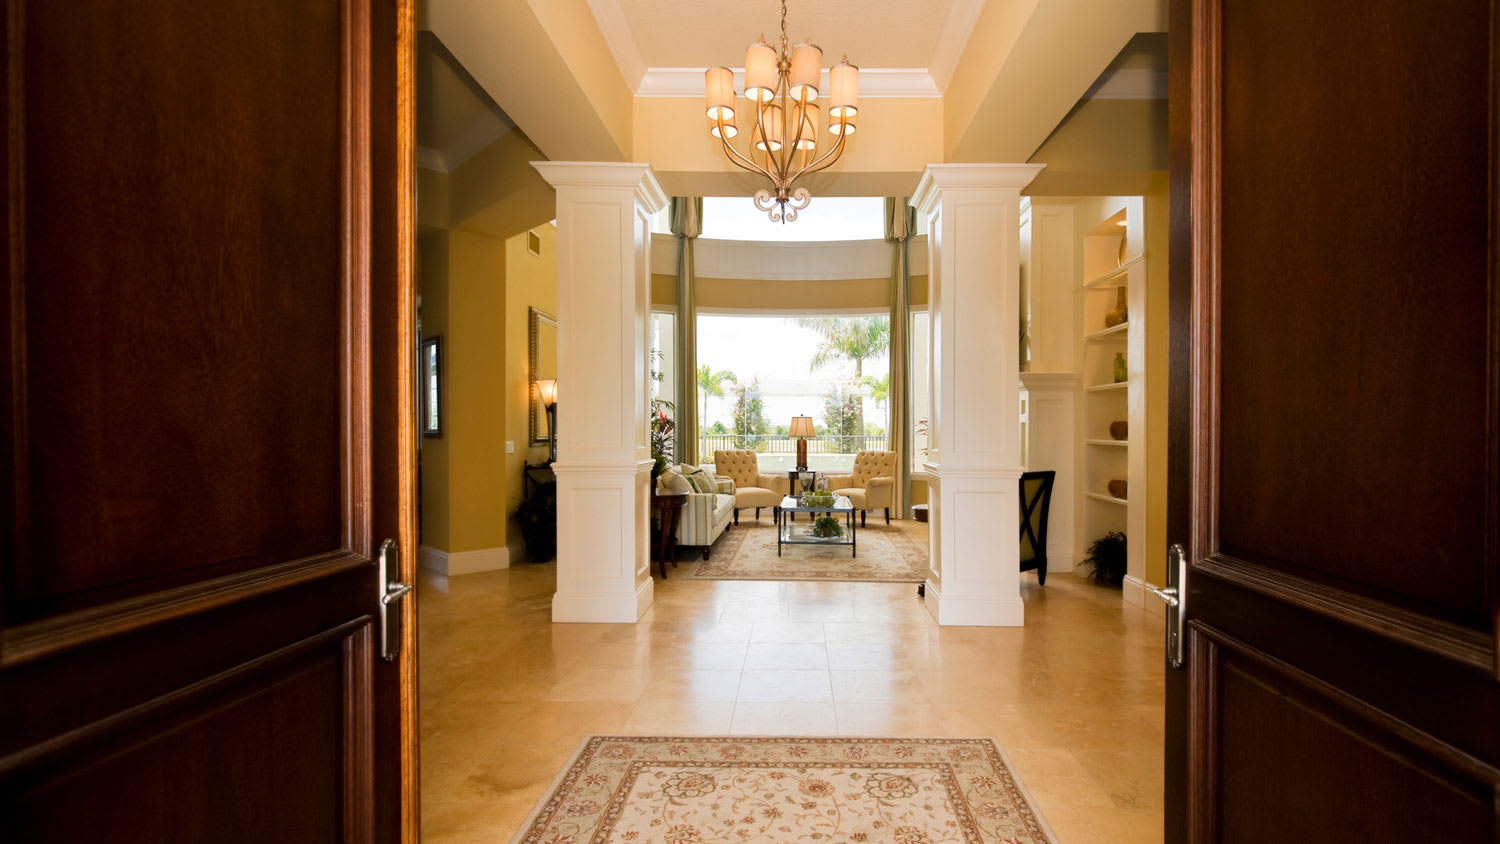
Using a floor transition piece or edge-protection profile protects your investment and provides the perfect finishing touch: a visual break between one flooring material and another. It’s subtle while also creating two distinct and separate spaces and keeping the eye trained on the actual star of the show: the flooring.
If you’re using a non-patterned flooring like a subway tile, you can also create your own transition by adding a single-tile border with the subway tile laid in the opposite direction as the wood floor, then build the main flooring pattern from this frame. Metal transition pieces come in varying sizes and styles, so you can always add one to your end project for a dramatic, high-end effect. Or you can go with a beautiful wood transition strip for a finished look.
If you're putting a kitchen floor in the middle of a larger room with hardwood floors, you'll likely want to use tile because it handles moisture, drips, and stains better than wood. One way to do so without tearing out the entire existing floor is to create an inlay in the middle of the room where the kitchen is. To do this, leave the wood floor around the room's outer edges and carve out a square or rectangular space in the middle where the tile inlay will go. This works best with a contrasting tile design like a herringbone that draws the eye in and creates the appearance of two rooms in one.
In other instances, the best way to break up a wooden floor and tile transition in an open room is by adding a completely separate tile border as an accent piece between the two that also serves as a transitional edge. Accent border materials could be a glass mosaic tile or a simple subway tile that visually separates the wood and tile.
If you’re using both a hardwood floor and a wood-look tile in the same space, it could appear a bit mismatched if you don’t make sure the colors are distinctly different. Consider using a bleached, faux wood tile for the replacement tile or, if your existing wooden flooring is the classic red oak tone, using a walnut-colored tile or a flat black is a nice way to create a contrast.
Have a tricky flooring project and aren’t sure how to transition from wood to tile? You may want to consider hiring an interior designer in your area to help you complete your project and achieve the just-right flooring transition for your space’s aesthetic.
Joseph did a great job with the staircase and trim. Timely and efficient, clear communication about the work, very fair pricing. For the stairs in particular, done very skillfully in an old house (1893) in a tight spiral, and very creative with how to do the handrail. Did a nice job with...
This company does it right. Firstly, I want to say that Landan was a joy to work with. He was so kind, transparent, and had everything under control. His entire team showed up ready to work and they were all very respectful of the fact that we were in an office space. A little backstory – we...
Finished Basements Plus was wonderful from beginning to end! First, they came out quickly for an estimate. I had 4 estimates and theirs was by far the best. (2 of the estimates were more than $20K higher than for the exact same work). Beyond their fair pricing, the work was excellent. They...
 Finished Basements Plus Inc.
Very professional, knowledgeable and helpful! Completed the install on time and as expected.
Cole has been handling plumbing and general contracting for our four properties over the past three years, and he’s always done a great job. Most recently, he installed a sink and countertop in our retail store where none existed before, and it turned out exactly how we needed. He’s...
 ANB Renovations LLC
Excellent, Prompt, Courteous Service!!! They were super friendly and quite personable. I felt very comfortable with the gentlemen that did the installation. They installed it exactly where I asked them to and they did an excellent job!! I loved their service so much.
Window Depot did an amazing job installing the windows in my basement! The process from start to finish was by far more than what I expected. I would highly recommend Window Depot if you want professionalism from the the consultation to the installation. Dont settle for mediocre when you can...
AFS was excellent from start to finish. Jess, the sales associate, was fantastic...very knowledgeable and very professional. The installation crew was excellent. I couldn't be more pleased with the process. Best of all, my new floor looks fantastic!
 America's Floor Source
We were having 2”x 2” tile installed . There was a small installation error and the new additional replacement tile was from a different lot and the colors didn’t match. Joe assured us that he would rectify everything , which he did without hesitation. We decided to go with the 18” x 36” tile...
 CarifaTile
Did an amazing job transforming my yard. Also installed sod in places, would recommend to everyone.
From average costs to expert advice, get all the answers you need to get your job done.
Discover the true wood tile flooring cost and learn about installation, labor, and material prices, plus tips to save on your wood tile flooring project.

How much does a Saltillo tile floor cost? It depends on the size of your space, but on average, you’ll pay between $6 and $28 per square foot for this tile.
The cost to install travertine tile depends on materials and the size of the project. This guide to travertine tile cost will help you budget accordingly.
Transition strips are vital to tying together different flooring types in your home. This guide shows you everything you want to know, including cost info.

Learning how to install transition strips in doorways makes the transition between rooms smoother and protects the edges of the flooring.
Blending your flooring from room to room is an artform, but one you can learn. Learn how to transition between two different wood floors.