How to Replace a Lawn Sprinkler Valve in an Hour or Less
Keep your lawn pristine with healthy sprinkler parts


- Screwdriver
- PVC pipe cutters (optional)
- PVC glue (optional)
- Replacement sprinkler valve
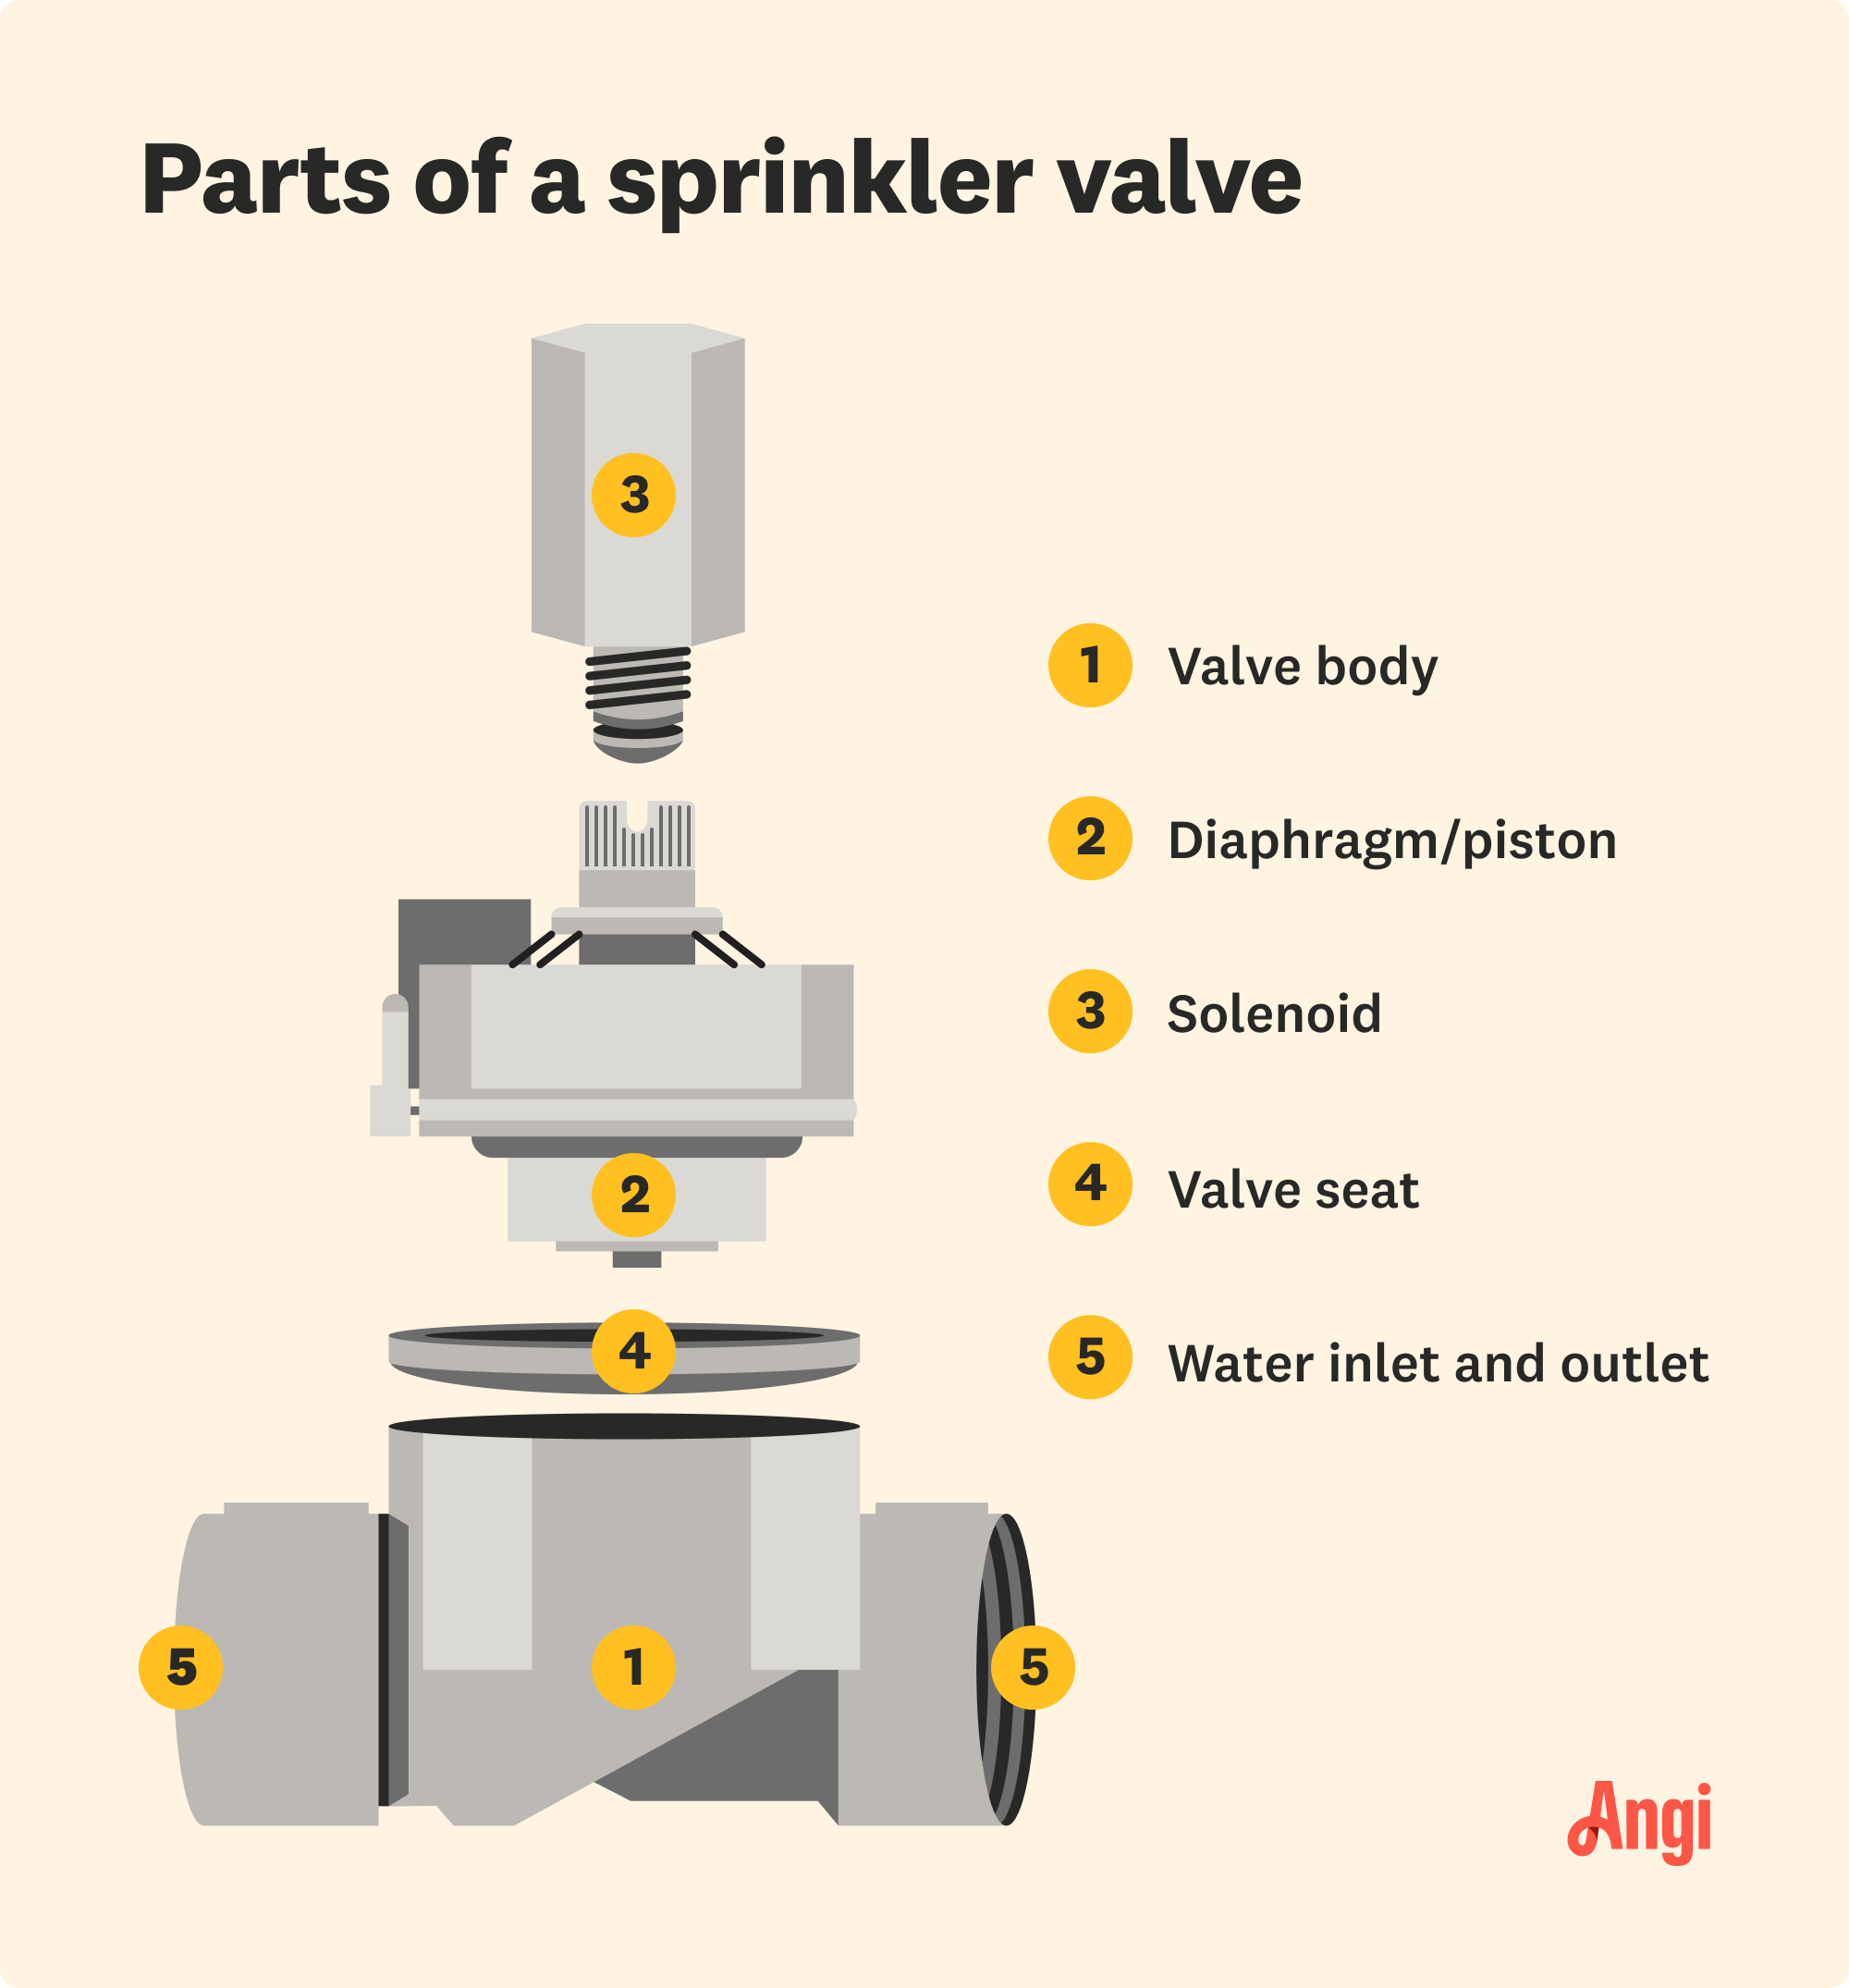
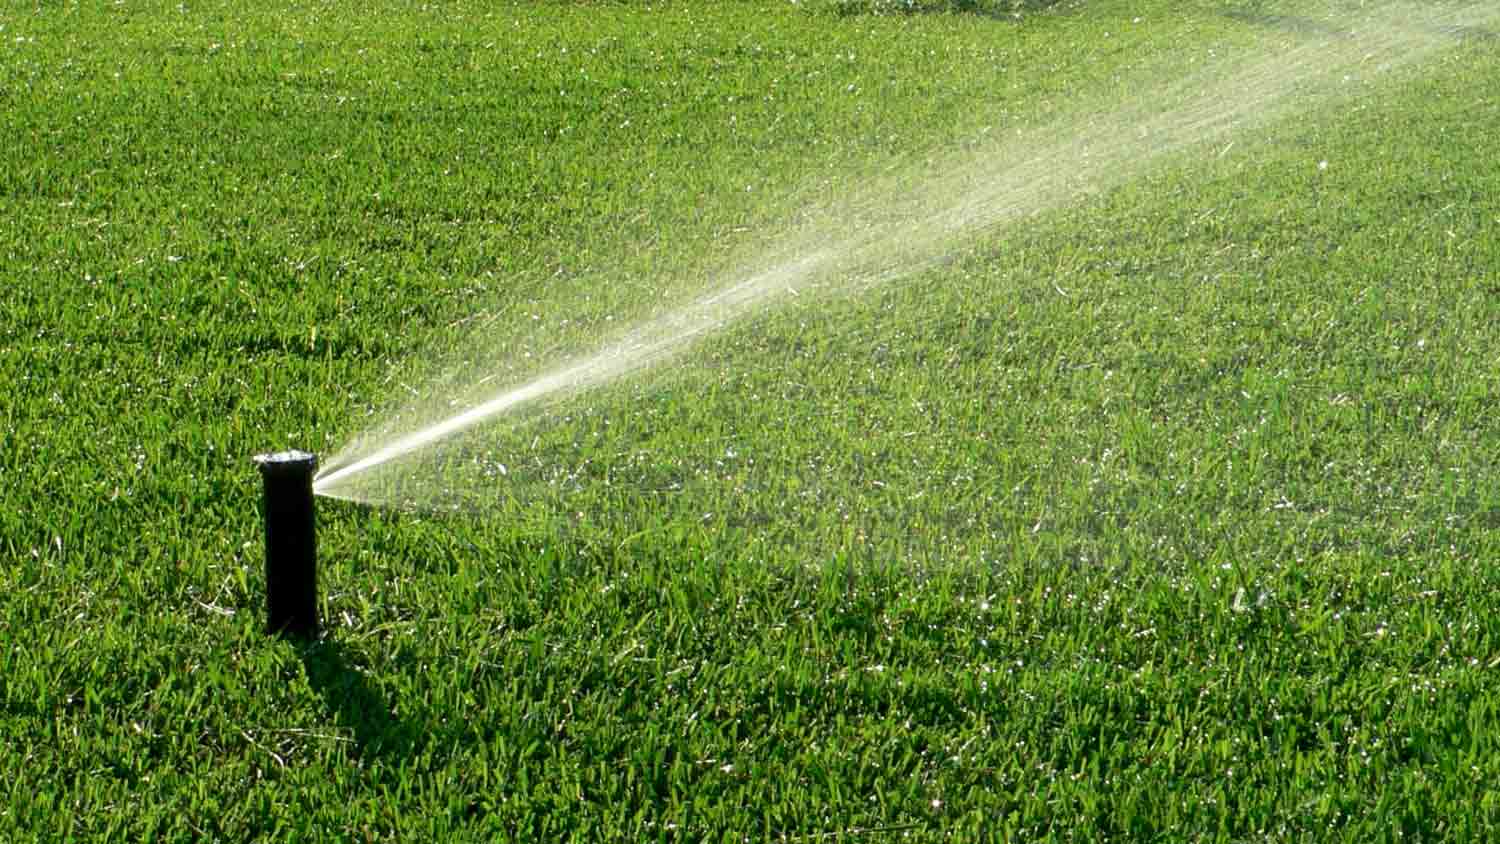
Sprinkler systems are a convenient way to keep your lawn and garden green and healthy, but they rely on a complex network of components to function properly. One of the critical parts of a sprinkler system is the sprinkler valve, and when it’s faulty, there are a number of issues that may arise. We’ll explore how to tell if there’s a problem and how to replace a sprinkler valve or fix it. Let's dive into the world of sprinklers and see how you can keep your irrigation system running smoothly.

Shut Off the Water Supply
Before you get to work, find your main water shut-off valve and turn off the water supply. This will prevent water from flowing through your sprinkler system while you’re replacing the valve.
Open the Valve Box
 Photo: kalpis / Adobe Stock
Head into your yard and locate the valve box that contains the faulty valve. It’s often a green or black plastic box buried in the ground. Remove the lid by lifting it at the sides or pulling it up with a screwdriver.
Once it’s open, take a picture of the inside of the box so that you can refer back to it after replacing the valve. If there’s any standing water, leaves, or other debris inside the valve box, clear it out before working on the valve.
Find the Faulty Valve
Once the valve box is clean, find the sprinkler valve that needs to be replaced. This won’t be an issue if there’s only one valve in the box. However, if there are multiple valves and you aren’t sure which one is bad, you may need to do some troubleshooting to identify it.
If there’s only one valve that’s clearly wet or leaking, you’ve found the culprit. Otherwise, you may need to test each valve to find the problematic one. To do this, turn the water back on and manually twist the solenoid on the top of each valve. This will activate each valve’s corresponding irrigation zone, which can help you identify where the issue lies.
Disconnect the Valve
If you turned the water supply back on to find the faulty valve, make sure to turn it off again. Then, disconnect the valve from the surrounding pipes.
Depending on the valve type and pipe configuration, this may involve unscrewing fittings or cutting PVC pipes. If you aren’t comfortable with this, reach out to a plumber or sprinkler repair company near you.
Install the Replacement Valve
Follow the manufacturer’s instructions for installing the new valve. You might simply need to screw the replacement valve onto the existing pipes, or you may have to use PVC glue and adapters to attach it.
When you’re done, check that all of the connections are secure and watertight.
Test the New Valve
 Photo: citr1965 / iStock / Getty Images Plus / Getty Images
Turn the water supply back on. At your irrigation controller, switch on the sprinklers in the appropriate valve’s zone and head back outside to the valve box.
If the sprinkler valve replacement was successful, your original issue—whether it was a leaky sprinkler valve or low water pressure in a particular zone—should be solved. But if the problem persists, call in a pro to figure out what’s going on.
Close the Valve Box
Pop the lid back onto the valve box, making sure it’s level with the ground and closed securely.
Ways to Prevent Faulty Sprinkler Valves
Preventing faulty sprinkler valves is essential for maintaining a healthy and efficient irrigation system. Here are some tips to help you avoid valve issues in the first place:
Periodically inspect your sprinkler system for signs of wear, damage, or leaks. Catching issues early can prevent them from worsening.
Before the freezing winter months, make sure to properly winterize your sprinkler system. This includes draining water from the pipes to prevent freezing and damage.
Overwatering can lead to valve problems. Ensure that your sprinkler system is programmed to water your landscape appropriately based on plant needs and weather conditions.
Some valves have filters or screens that can become clogged with debris. Clean or replace these components as needed to maintain proper water flow.
Consider scheduling routine maintenance with a professional sprinkler service. They can identify and address issues before they become major problems.
DIY vs. Hiring a Pro
If you make a mistake with this DIY, you could end up with a flooded yard, dead plants, and a skyrocketing water bill. Hiring a local sprinkler company offers the advantage of expertise, which ensures the job is done correctly. Plus, if you don’t want to get your knees dirty in the soil or you have mobility challenges, calling a pro to do the work can make your life a lot easier.
Sprinkler valve parts cost between $10 and $200, depending on the part. Hiring a professional sprinkler company to perform the replacement costs between $75 and $100 per hour, though some may charge a flat fee of up to $350.
Signs You Need to Replace a Sprinkler Valve
Identifying the signs of a faulty sprinkler valve is crucial to address issues promptly. Recognizing these symptoms can save you money, prevent water waste, and keep your landscape in top shape. Here are some common signs that indicate it's time to replace a sprinkler valve:
Irregular watering throughout the system
Water not turning on or off
Water leaks around the valve box
Flooding in your yard
Reduced water pressure
Audible clicking or humming coming from valve
Frequently Asked Questions
While it is possible to use a different brand of sprinkler valve as a replacement, it's typically recommended to replace your valve with the same brand and model or a compatible alternative. Mixing different brands may lead to compatibility issues, potentially causing operational problems or leaks within your irrigation system. For a seamless replacement and optimal performance, stick with the same brand or a recommended substitute.
Clogs in a sprinkler valve can be caused by various factors, including debris in the water supply, sediment buildup inside the valve, or damage to the diaphragm. Debris and sediment can accumulate over time, obstructing the valve's passages and impeding water flow. Damaged diaphragms may develop tears or holes, leading to blockages and affecting the valve's ability to open or close properly. Regular maintenance and cleaning can help prevent and address these issues, ensuring your sprinkler valve operates smoothly.
Yes, it is possible to repair a sprinkler valve diaphragm in some cases. However, this repair can be a complex task that requires specific tools and expertise. If you notice damage or wear on the diaphragm, you may be able to replace it with a new diaphragm to restore the valve's functionality. Keep in mind that the availability of replacement diaphragms and the ease of replacement can vary depending on the valve's make and model. In some instances, it may be more practical and cost-effective to replace the entire valve rather than attempting to repair the diaphragm.


- Sprinkler Water Valve Is Leaking: Common Causes and Signs
- Is Your Sprinkler Valve Stuck Open? 4 Reasons Why and How to Fix It
- How Does a Sprinkler Valve Work? Understanding Your Irrigation System
- How to Clean a Sprinkler Valve: Step-by-Step Instructions
- How to Fix a Sprinkler: 8 Steps to Success
- How Long Do Sprinkler Valves Last? Average Life Span and Impacting Factors
- 5 Reasons Your Sprinkler Head Is Leaking
- Where Can I Find My Irrigation Shut-Off Valve’s Location?
- Sprinklers 101: The Key Parts of the Sprinkler System
- Why Your Irrigation Zone Is Not Working (and What to Do Next)


