
•
Find out the average sprinkler system repair cost, what impacts pricing, and how to save. Get transparent estimates to plan your sprinkler repair project.
Fixing your sprinkler system may not be a total overhaul

Lawn sprinkler repairs often start with clogged heads from dirt and mineral deposits, broken risers from age or shifting soil, or cracked underground pipes.
Expect to pay $130 to $400 for professional sprinkler system repairs, so addressing minor issues early helps you avoid more expensive fixes down the road.
You can fix many sprinkler problems yourself by cleaning heads with a small brush, replacing damaged components with matching parts, and testing your system thoroughly.
Hiring a local sprinkler repair professional provides reliable help with valve replacements, solenoid wiring, and underground pipe repairs that keep your lawn watered evenly.
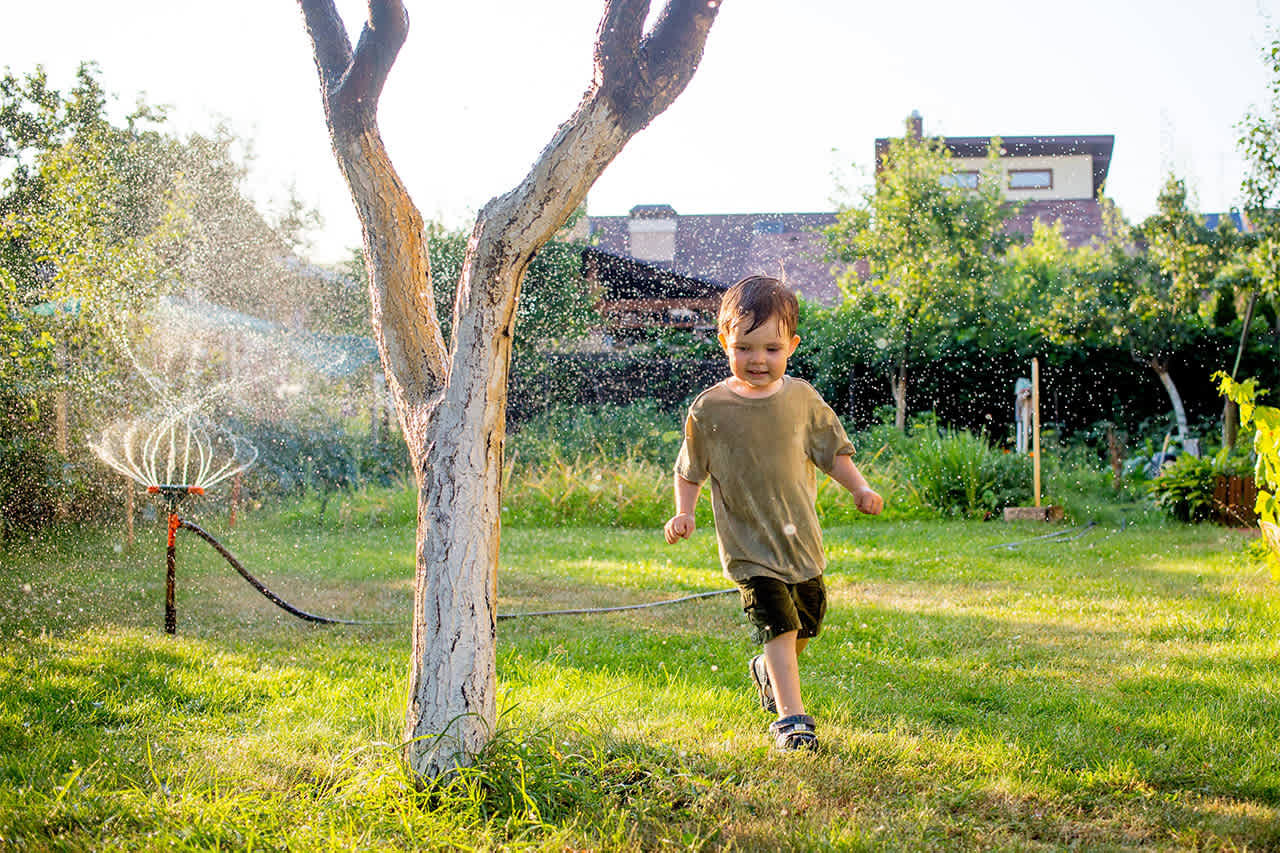
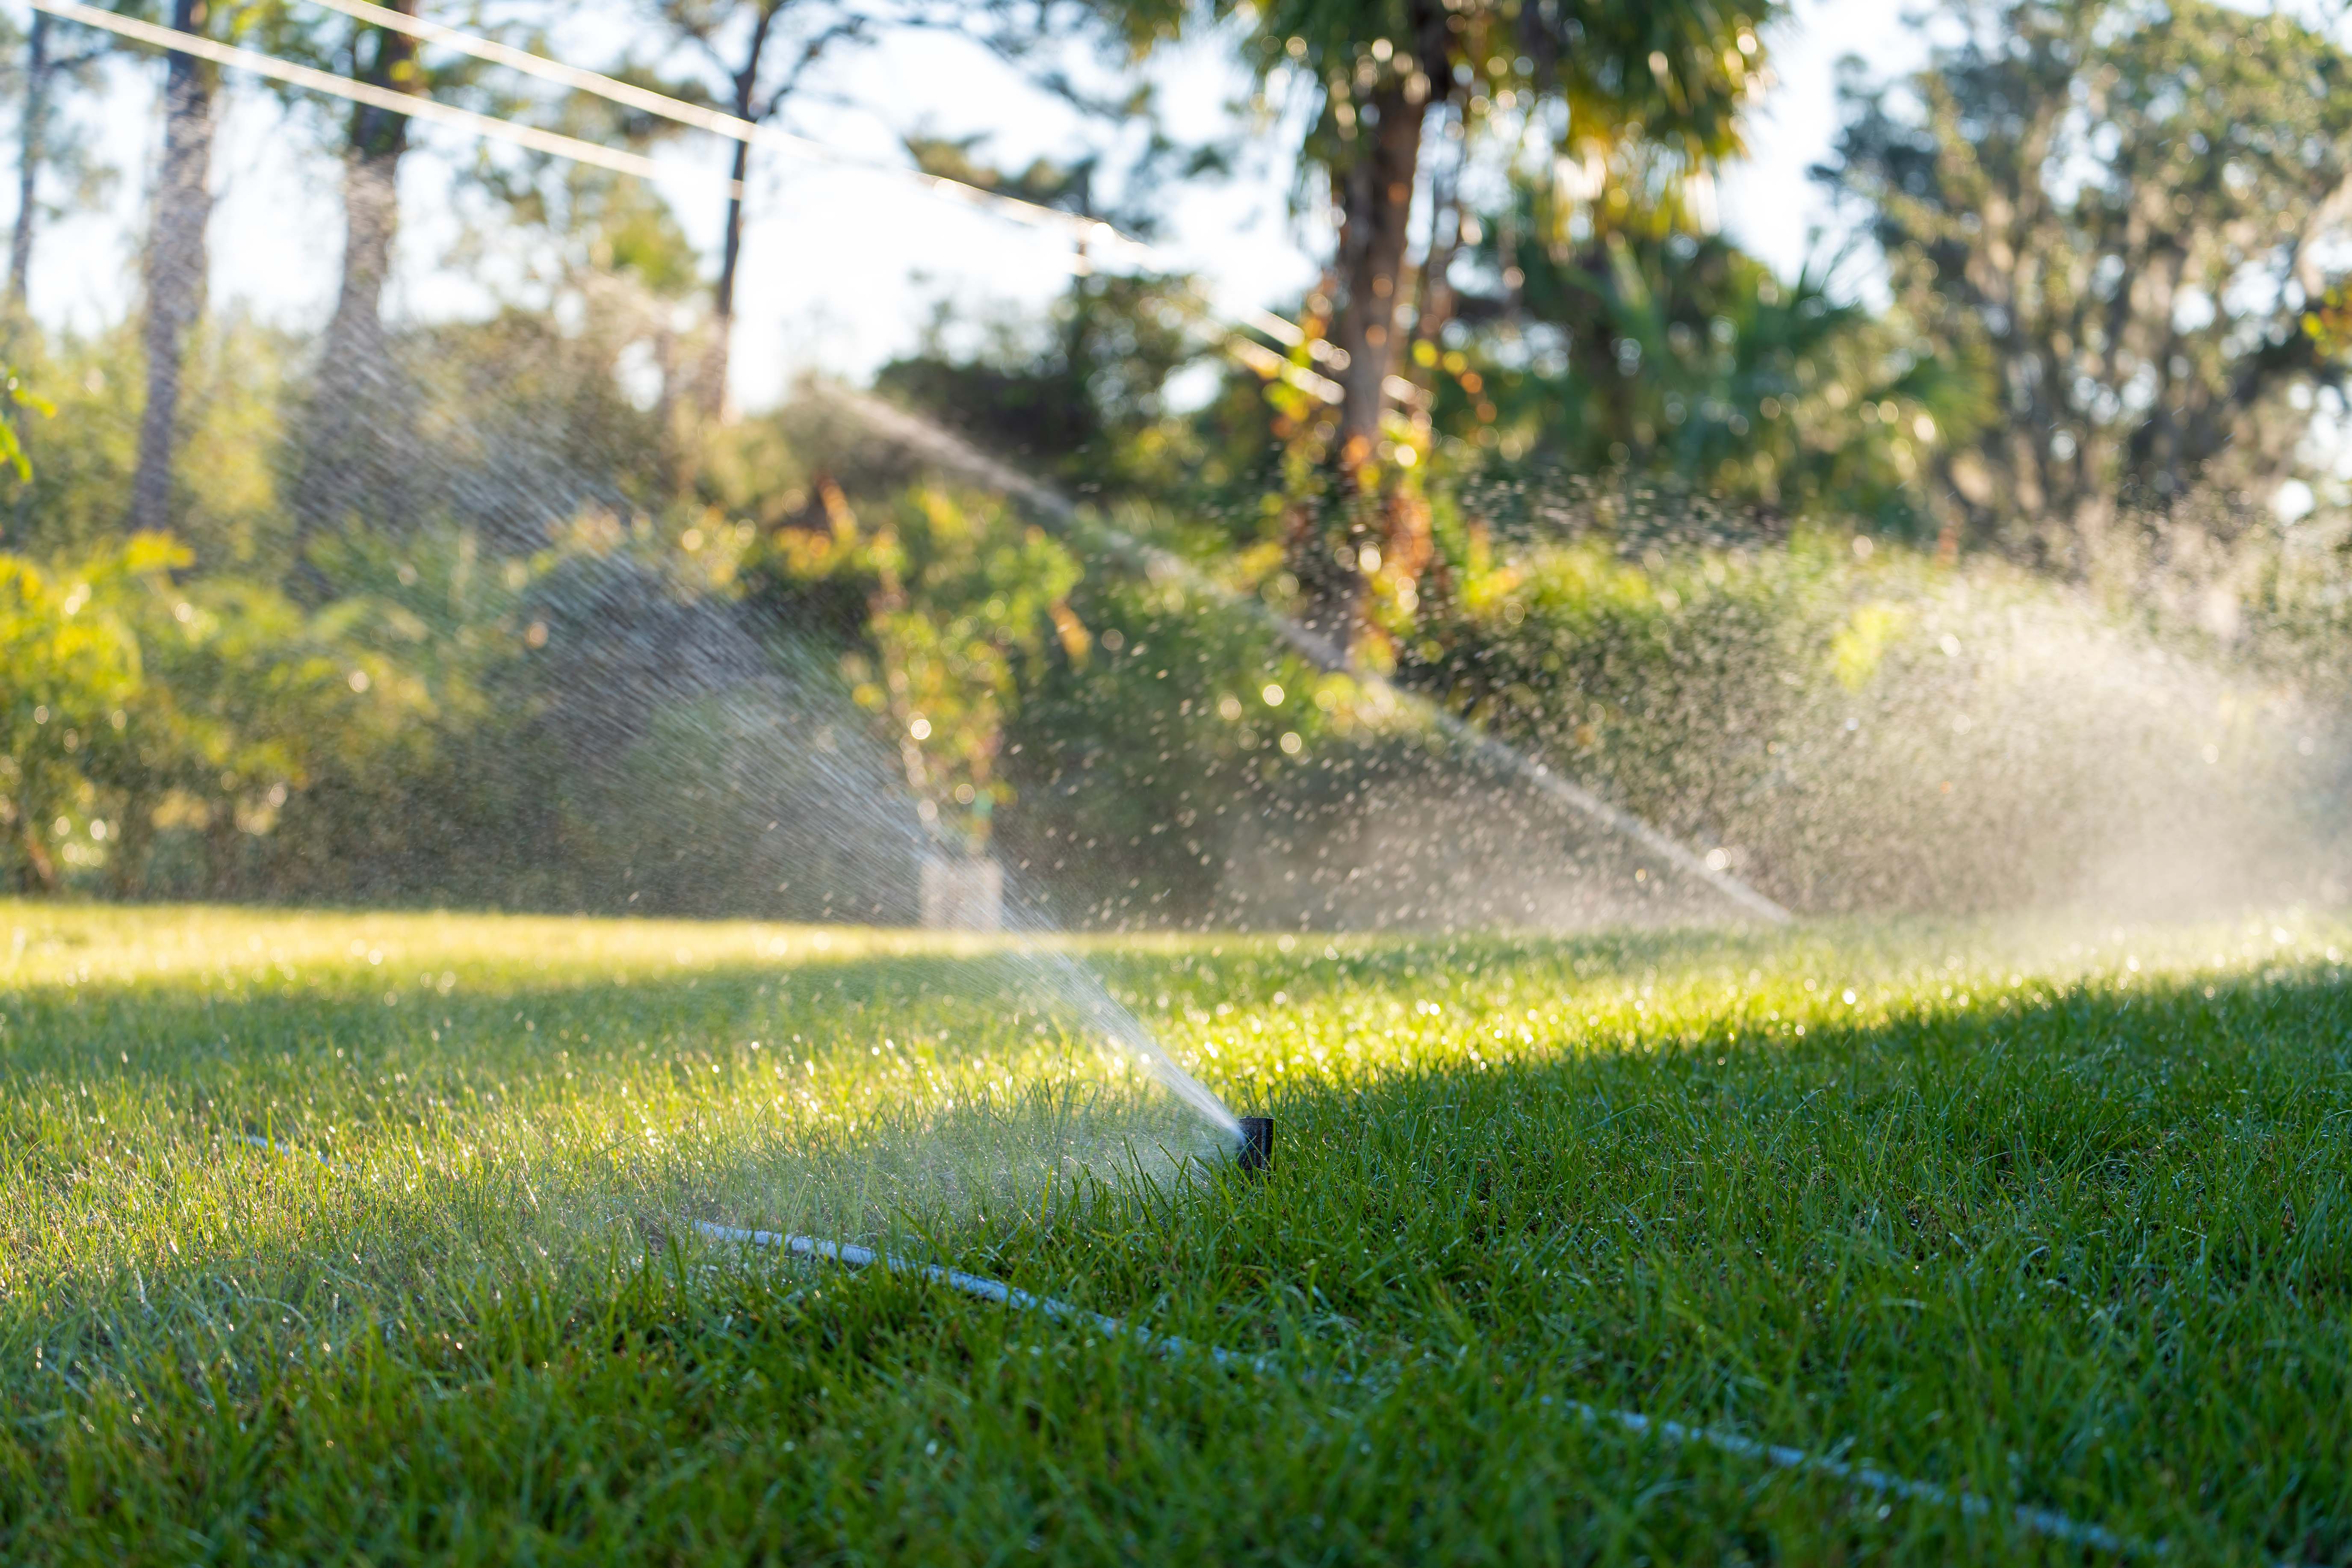
If you want a lush green lawn or a vibrant garden, a properly functioning sprinkler system is essential to keep it looking its best. Learning how to fix a sprinkler system will come in handy when they occasionally encounter problems, leading to inefficient watering and wasted resources. Let’s explore various tips and techniques to help you learn how to fix a sprinkler, saving time and money.
Sprinklers work through a combination of carefully applied water pressure, multiple valves, underground piping, and spray heads. Those are plenty of components that can develop problems over time. Common sprinkler issues include:
Broken sprinkler heads that get jammed, break with age, or get run over by the lawnmower
Broken sprinkler heads that refuse to rise or leak when the system is turned on
Cracked pipes that leak water underground and cause minor flooding issues, soggy grounds, and contamination in the system
Sudden loss of water pressure, indicating pump or valve problems
Broken sprinkler valves that stop water flow or keep sprinklers from turning off properly
Spray problems caused by poor head placement, the wrong head types, bad nozzles, and blockages
Sprinkler repair costs between $130 and $400 for the average fix. The total cost depends on the size and scope of the problem, local labor costs, and replacement parts. Minor problems are usually a DIY fix with household tools, but larger issues can involve significant digging, replacement, and even professional work.
Review these DIY solutions to common sprinkler problems to restore your system to its former glory.

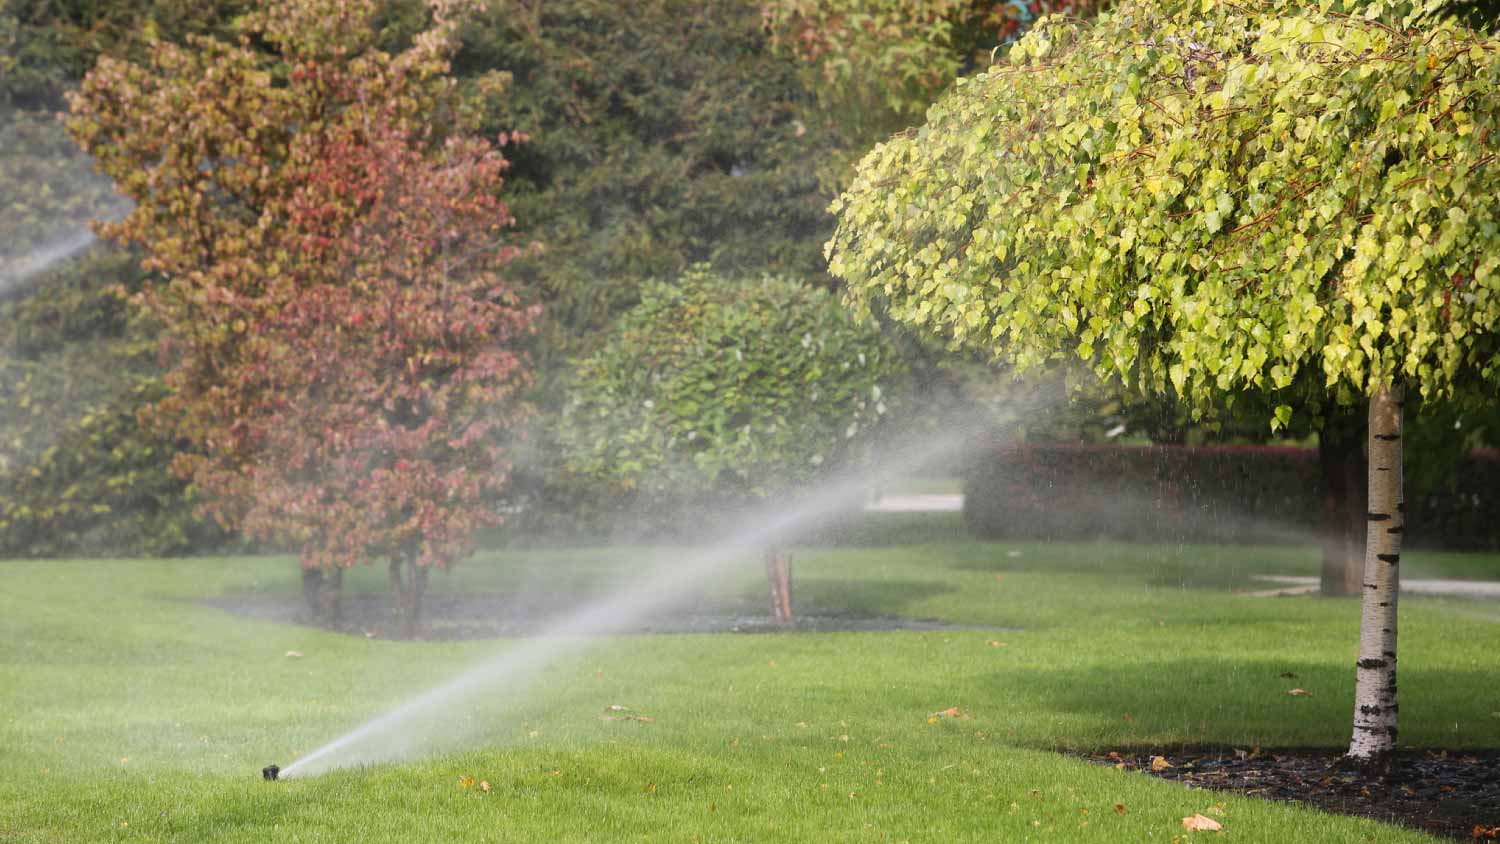
One of the most common issues with sprinkler systems is clogged or dirty sprinkler heads. Over time, dirt, debris, and mineral deposits can accumulate, causing reduced water flow and uneven watering.
Start by turning off the sprinkler system.
Locate the problematic sprinkler head. You can pull it up from the riser for an inspection or choose to unscrew the head entirely.
Thoroughly clean the head of dirt with a small brush, like an old toothbrush. You may want to use a light spray setting on your outdoor hose to wash away the grime as you work.
If the sprinkler has direction issues, gently turn the head in place on the riser to change direction after you clean it.
If blockages aren’t going away, they could be scale build-up from hard water in your area, which means you’ll need to replace the sprinkler head.
When finished, turn the system back on and test the new sprinkler’s water distribution.
Regularly cleaning your sprinkler heads can help maintain the efficiency of your system and prevent costly repairs down the line.
If you notice that a sprinkler head is damaged, cracked, or broken, it's crucial to replace it promptly to prevent water waste and maintain even coverage. Replacing a sprinkler head can also give your sprinkler a broader reach or other capabilities.
Turn off the irrigation system.
Remove the cap protecting the sprinkler head.
Use a trowel or small shovel to dig around the head until the riser is fully exposed.
Carefully lift and unscrew the head from the riser. Pliers can sometimes help, but you usually can use your hands.
Screw in the new sprinkler head carefully, keeping the base free of dirt. Lower the head all the way to make sure it’s properly placed and level with the ground.
If you can change the radius of the spray pattern, adjust it using a screwdriver or key tool.
Turn the sprinklers on and test the new head. Adjust its direction as needed.
Some sprinkler problems occur when risers (the screw section connecting the head to the irrigation pipe) become cracked, detached, or forced into a poor angle. You’ll have to replace the riser itself to fix these problems.
Turn off the sprinkler system.
Remove the cap protecting the sprinkler head.
Carefully dig out the riser until it’s exposed down the PVC irrigation pipe.
Lift and twist off the head to expose the riser. We highly recommend using a dedicated riser tool, similar to a screwdriver but with a unique key end designed to lock into the center of the riser. Use this tool to unscrew and lift out the riser.
Briefly turn on the sprinkler to blow out any dirt that may have gotten into the pipe. Carefully wipe the PVC threads to make sure they are clean.
For an even tighter seal, add some thread sealant, although it’s not necessary with proper installation. Avoid using tape.
Slowly screw the riser into the PVC base until it is completely screwed in.
Adjust the head to the proper direction and replace the cap.
Test the system to make sure it’s working properly and there are no leaks.
Replace the dirt around the sprinkler head carefully.
A backflow prevention device prevents contamination of your water supply. If this device malfunctions, it can lead to water pressure problems in your sprinkler system.
To examine and maintain it, locate the backflow prevention device, typically near the water main or your sprinkler system's point of connection to the main water supply. Check the device for any visible leaks or signs of damage, and test the check valves to ensure they are functioning correctly.
Schedule an annual inspection by a certified professional to ensure the backflow device is working as it should. Maintaining the backflow prevention device is crucial to prevent contamination issues and maintain consistent water pressure.
The diaphragm is a vital part of the sprinkler system, and it’s responsible for controlling the flow of water. Signs of a faulty diaphragm include irregular watering patterns, low water pressure in the affected zone, or water continuously leaking from the valve. You can disassemble the valve and inspect the diaphragm for tears, cracks, or wear to confirm the issue.
Turn off the water supply to the sprinkler system.
Identify the valve with the problematic diaphragm and carefully disassemble it by removing the bonnet and locating the diaphragm.
Install a new diaphragm of the correct size and type for your valve. Follow the manufacturer’s instructions for installation.
Put the valve back together and test it to ensure it's functioning correctly.
Replacing the diaphragm is often more cost-effective than replacing the entire valve and can extend the life of your sprinkler system.
The solenoid is an electromechanical component that controls the valve's opening and closing. Replacing a faulty solenoid can be a cost-effective solution to valve-related issues. One common indicator of a faulty solenoid is the failure of the affected sprinkler zone to turn on or off as programmed. Additionally, if you hear a clicking or buzzing sound coming from the valve but see no water flow, it may suggest a faulty solenoid.
Purchase a new solenoid that matches the old version.
Turn off power to your irrigation system.
Turn off the water valve in your irrigation box.
Carefully disconnect the wiring from the old solenoid, keeping it well-preserved. If the wiring is too frayed or heavily corroded, consider hiring a sprinkler pro to replace the wiring.
Unscrew the old solenoid and discard.
Screw in the new solenoid carefully, ensuring a secure fit.
Reconnect the wiring in reverse order, making sure the wires are in good condition and fully attached.
Turn the water back on and test the sprinkler sections to make sure everything is working.
Seals play a critical role in preventing leaks in your sprinkler system. Broken seals in a sprinkler valve can result in visible leaks or water seepage around the valve or valve box. If you notice water pooling or damp soil around the valve area when the system is not running, it could indicate damaged seals. Additionally, a decrease in water pressure or inconsistent water distribution in the affected zone may also be signs of broken seals within the valve. Here’s how to fix these issues:
Test the system thoroughly to see if you can pinpoint which valve has problems.
Turn the water off on your irrigation system.
Carefully unscrew the pipes and remove the valve section.
Check the valve for damage.
If the valve or seal is damaged, take it with you and visit a home improvement or plumbing store to buy a new version. If you’ve been having trouble with valves in your irrigation system for some time, this is a good opportunity to ask about replacing the valve with another option like a ball valve.
Install any new seals, and replace the valve in the irrigation system, carefully re-attached and sealing the pipes.
Turn the water on and test the system with the valve open and closed, watching carefully for leaks.
If you’re having trouble handling the valves, don’t be afraid to call in a sprinkler pro for this fix.
In some cases, the sprinkler heads are working fine, but a pipe beneath has cracked or split. This issue can happen due to age, shifts in soil, encroaching tree roots, soil compaction, and similar problems. Nearby sprinklers will stop working correctly, and you’re likely to notice soggy patches in the lawn or similar problems.
We recommend hiring a local sprinkler pro since this problem needs to be addressed quickly. If you don’t mind doing the work yourself, you can DIY the project with these steps:
Mark the spot in the lawn where it looks like the leak is coming from, and turn off the irrigation system.
Call 811 to ensure it’s not surrounding any sensitive underground lines.
Use a small shovel to carefully dig down into the spot. Preserve any removed sod to place back when you are finished. The irrigation pipe should be about 6 inches deep.
Follow the pipe until you find the crack or break. Since the water is off, it may not be noticeably leaking, but you should see or feel the problem.
Clear dirt from around the pipe.
For smaller cracks when the pipe is still intact, you can use a solution like silicone repair tape, which is wrapped around a cleaned PVC pipe and left to cure.
If the pipe is seriously damaged, you may need to cut out the damaged part and purchase new PVC pipe, fittings, and glue to replace it.
Test the irrigation system to make sure no more leaks are present, then refill the hole and replace the sod.
When it comes to fixing your sprinkler system, you might wonder whether you should tackle the repairs yourself or hire a local sprinkler repair company. The decision to DIY or hire a professional depends on the complexity of the problem, your skill level, and your willingness to invest time and effort in the repair process.
DIY can be a cost-effective option for minor issues like cleaning sprinkler heads or replacing damaged components. However, if you're dealing with a complex electrical issue or major plumbing problems, it's often best to leave it to the experts to avoid further damage.
Cody did a great job!
Wonderful. I am going to have them remove and replace my driveway in the spring.
 All Star Paving and Sealing
We had a 20+ year old landscape lighting system that needed replacement. Midwest Lightscapes worked with us to design a much improved lighting system, lighting the exterior of the house and the back yard. Installation of the 45 light system took one and one-half days, and went very smoothly....
 Midwest Lightscapes
Did an amazing job transforming my yard. Also installed sod in places, would recommend to everyone.
Always been satisfied with the service work and how they have taken care of my pool.
Bill Gerhardt sold the company to his employees at the end of 2019, apparently without a workable succession plan and without notifying prospective customers of this fact. Most aspects of the maintenance contract have not been fulfilled: no installation of anual plantings per contract, no...
They show up and they did take us on as a client which seems to be a problem with other lawn care providers. We have multiple properties and this one was located close to downtown and no one really wants to mess with it.
I was very happy with the service provided by AK Irrigation. They responded quickly to my email, and the woman I spoke with was polite and professional. I was able to get an appointment that same week. <br /> The technician (Tyler) arrived on time. He was very knowledgeable, and worked...
 AK Irrigation
The worker came out when he was supposed to come. He informed me he would honor the Angie's List deal, but would not do any more work for me since my son in law owns lawn care company as well, even though they do not do the same type of work. He said he did not feel comfortable giving me...
 Bello Giardino LLC
E & L Lawn Care was super. They were very responsive before and after service. They were efficient and were able to complete the job within 1 day. I have had concern about one section of sod - the owner was pro-active and did a visit to evaluate. I have no doubt they will stand behind...
 E&L lawn care
From average costs to expert advice, get all the answers you need to get your job done.
Find out the average sprinkler system repair cost, what impacts pricing, and how to save. Get transparent estimates to plan your sprinkler repair project.
If your sprinkler system isn’t working, it may be time for a new pump. Find out sprinkler pump replacement costs with this guide.
Do you know who to call for sprinkler repair? You might be able to DIY replacement sprinkler heads, but a pro is the way to go for major repairs.
Learn the steps to take to hire an excellent sprinkler repair professional who is licensed, insured, and has proper experience.
Your sprinkler system works to keep your garden and lawn cared for. Ensure it’s always performing well. Find out the top tips to care for your sprinklers.

Learn how to adjust Rain Bird sprinkler heads, no matter the type. Fine-tuning your sprinklers ensures optimal water usage and reach.