Is Your Sprinkler Valve Stuck Open? 4 Reasons Why and How to Fix It
Don’t let a faulty valve transform your yard into a pool


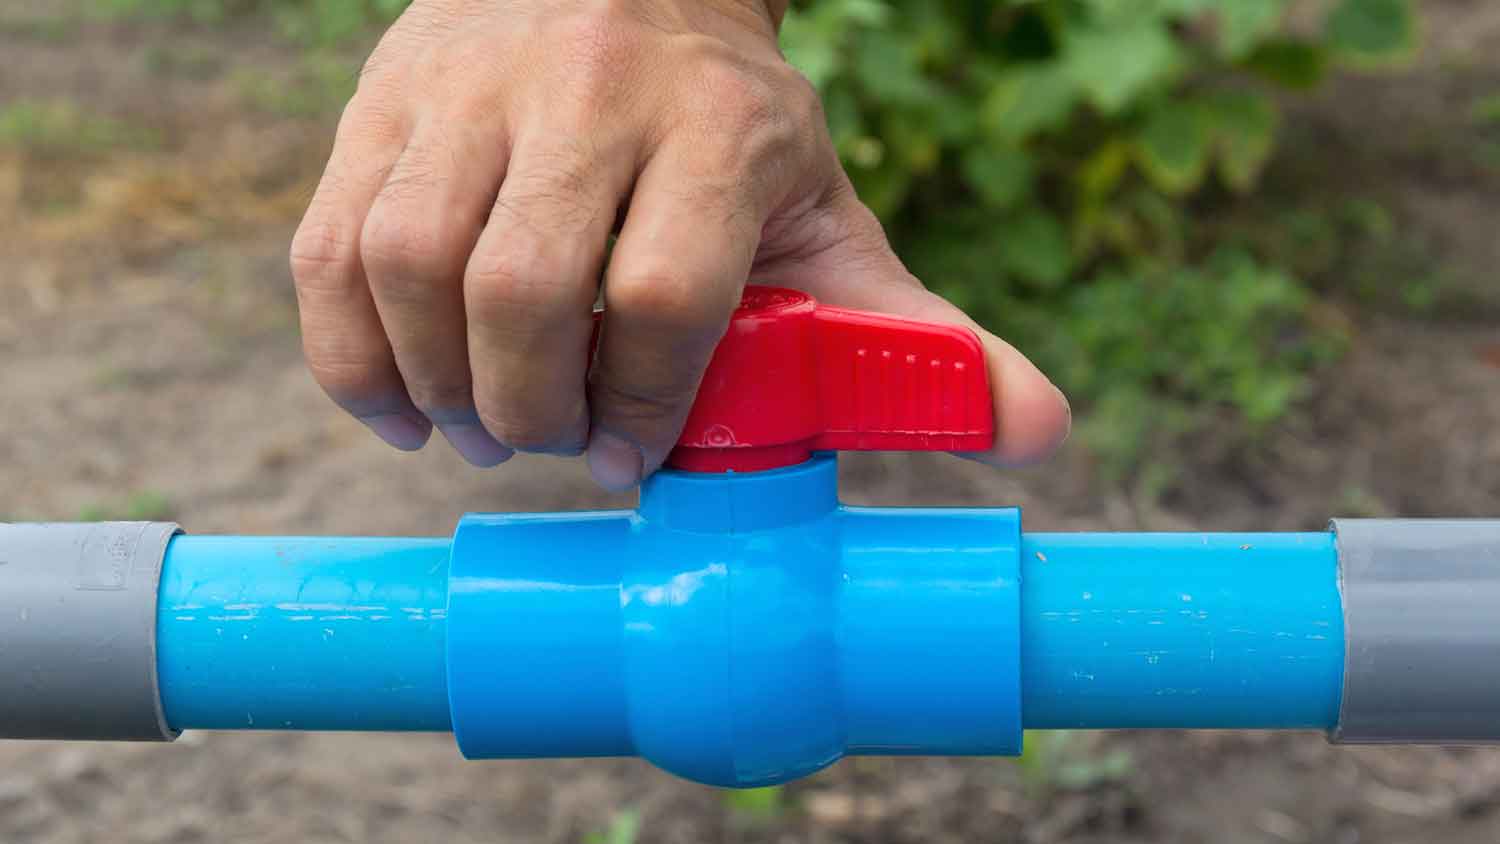
The sprinkler valve is the most important part of your sprinkler system because it controls the flow of water.
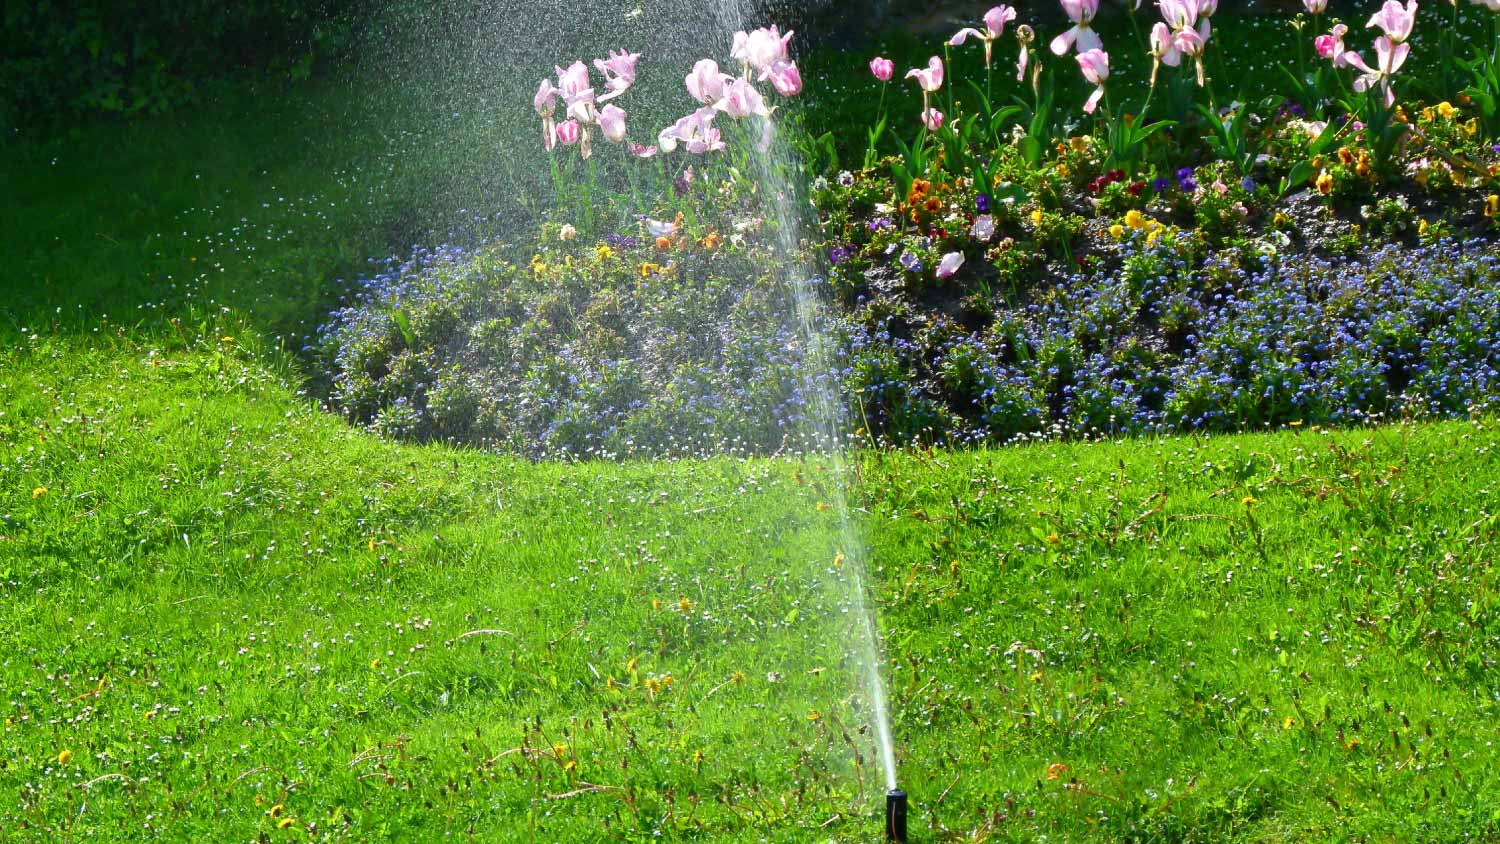
When a valve remains stuck open, it can overwater your lawn, killing grass and other plants.
The cost to replace a sprinkler valve is $13 to $150.
Some of the common causes of a stuck valve are debris buildup, a stuck diaphragm, or a shorted solenoid.
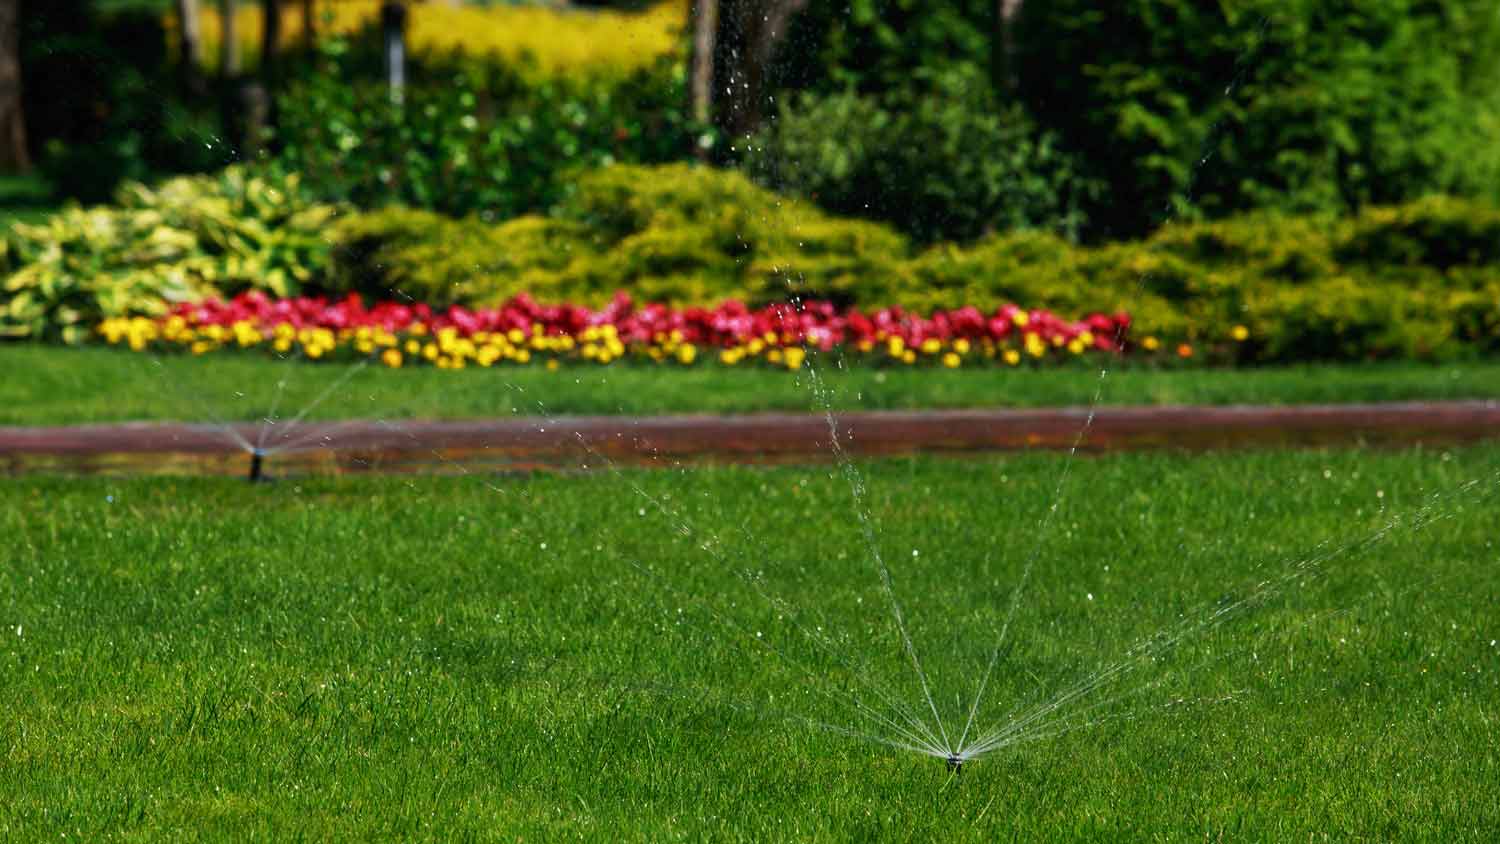
A sprinkler system can help your lawn retain its green and lush appearance. That said, if your sprinkler valve is stuck open, it won’t be able to prevent water from pushing through. In turn, your lawn could become swampy, and the flooding could kill your grass. Our guide covers what a sprinkler valve does, common causes for it to become stuck, and ways to prevent future issues.
What Do Sprinkler Valves Do?
Homeowners love sprinkler systems because they do the watering work for you and promote an even water distribution. This allows your lawn to keep its even, green, lush appearance. But what happens when a part of your sprinkler system fails and your sprinkler valve is stuck open?
The sprinkler valve is actually one of the most important parts of your sprinkler system. The valve allows water to pass through to different sprinkler head types to your yard when the system is turned on. However, if a sprinkler valve remains stuck open, it can result in a situation where you have an overly wet lawn and possibly dead plants.
There are a few different reasons why your sprinkler valve may be stuck open.

1. Debris Buildup
It isn’t uncommon for particle buildup, such as dirt, sand, or grass, on your valve to cause it to stick. You’ll want to unscrew the valve and examine the small holes or ports on the valve. Oftentimes, you can flush out the debris with water to clear the small obstruction. You’ll want to inspect and clean your valves at least once per month during the growing season, when you’ll use your sprinkler system more, to prevent excess debris buildup.
2. Stuck Diaphragm
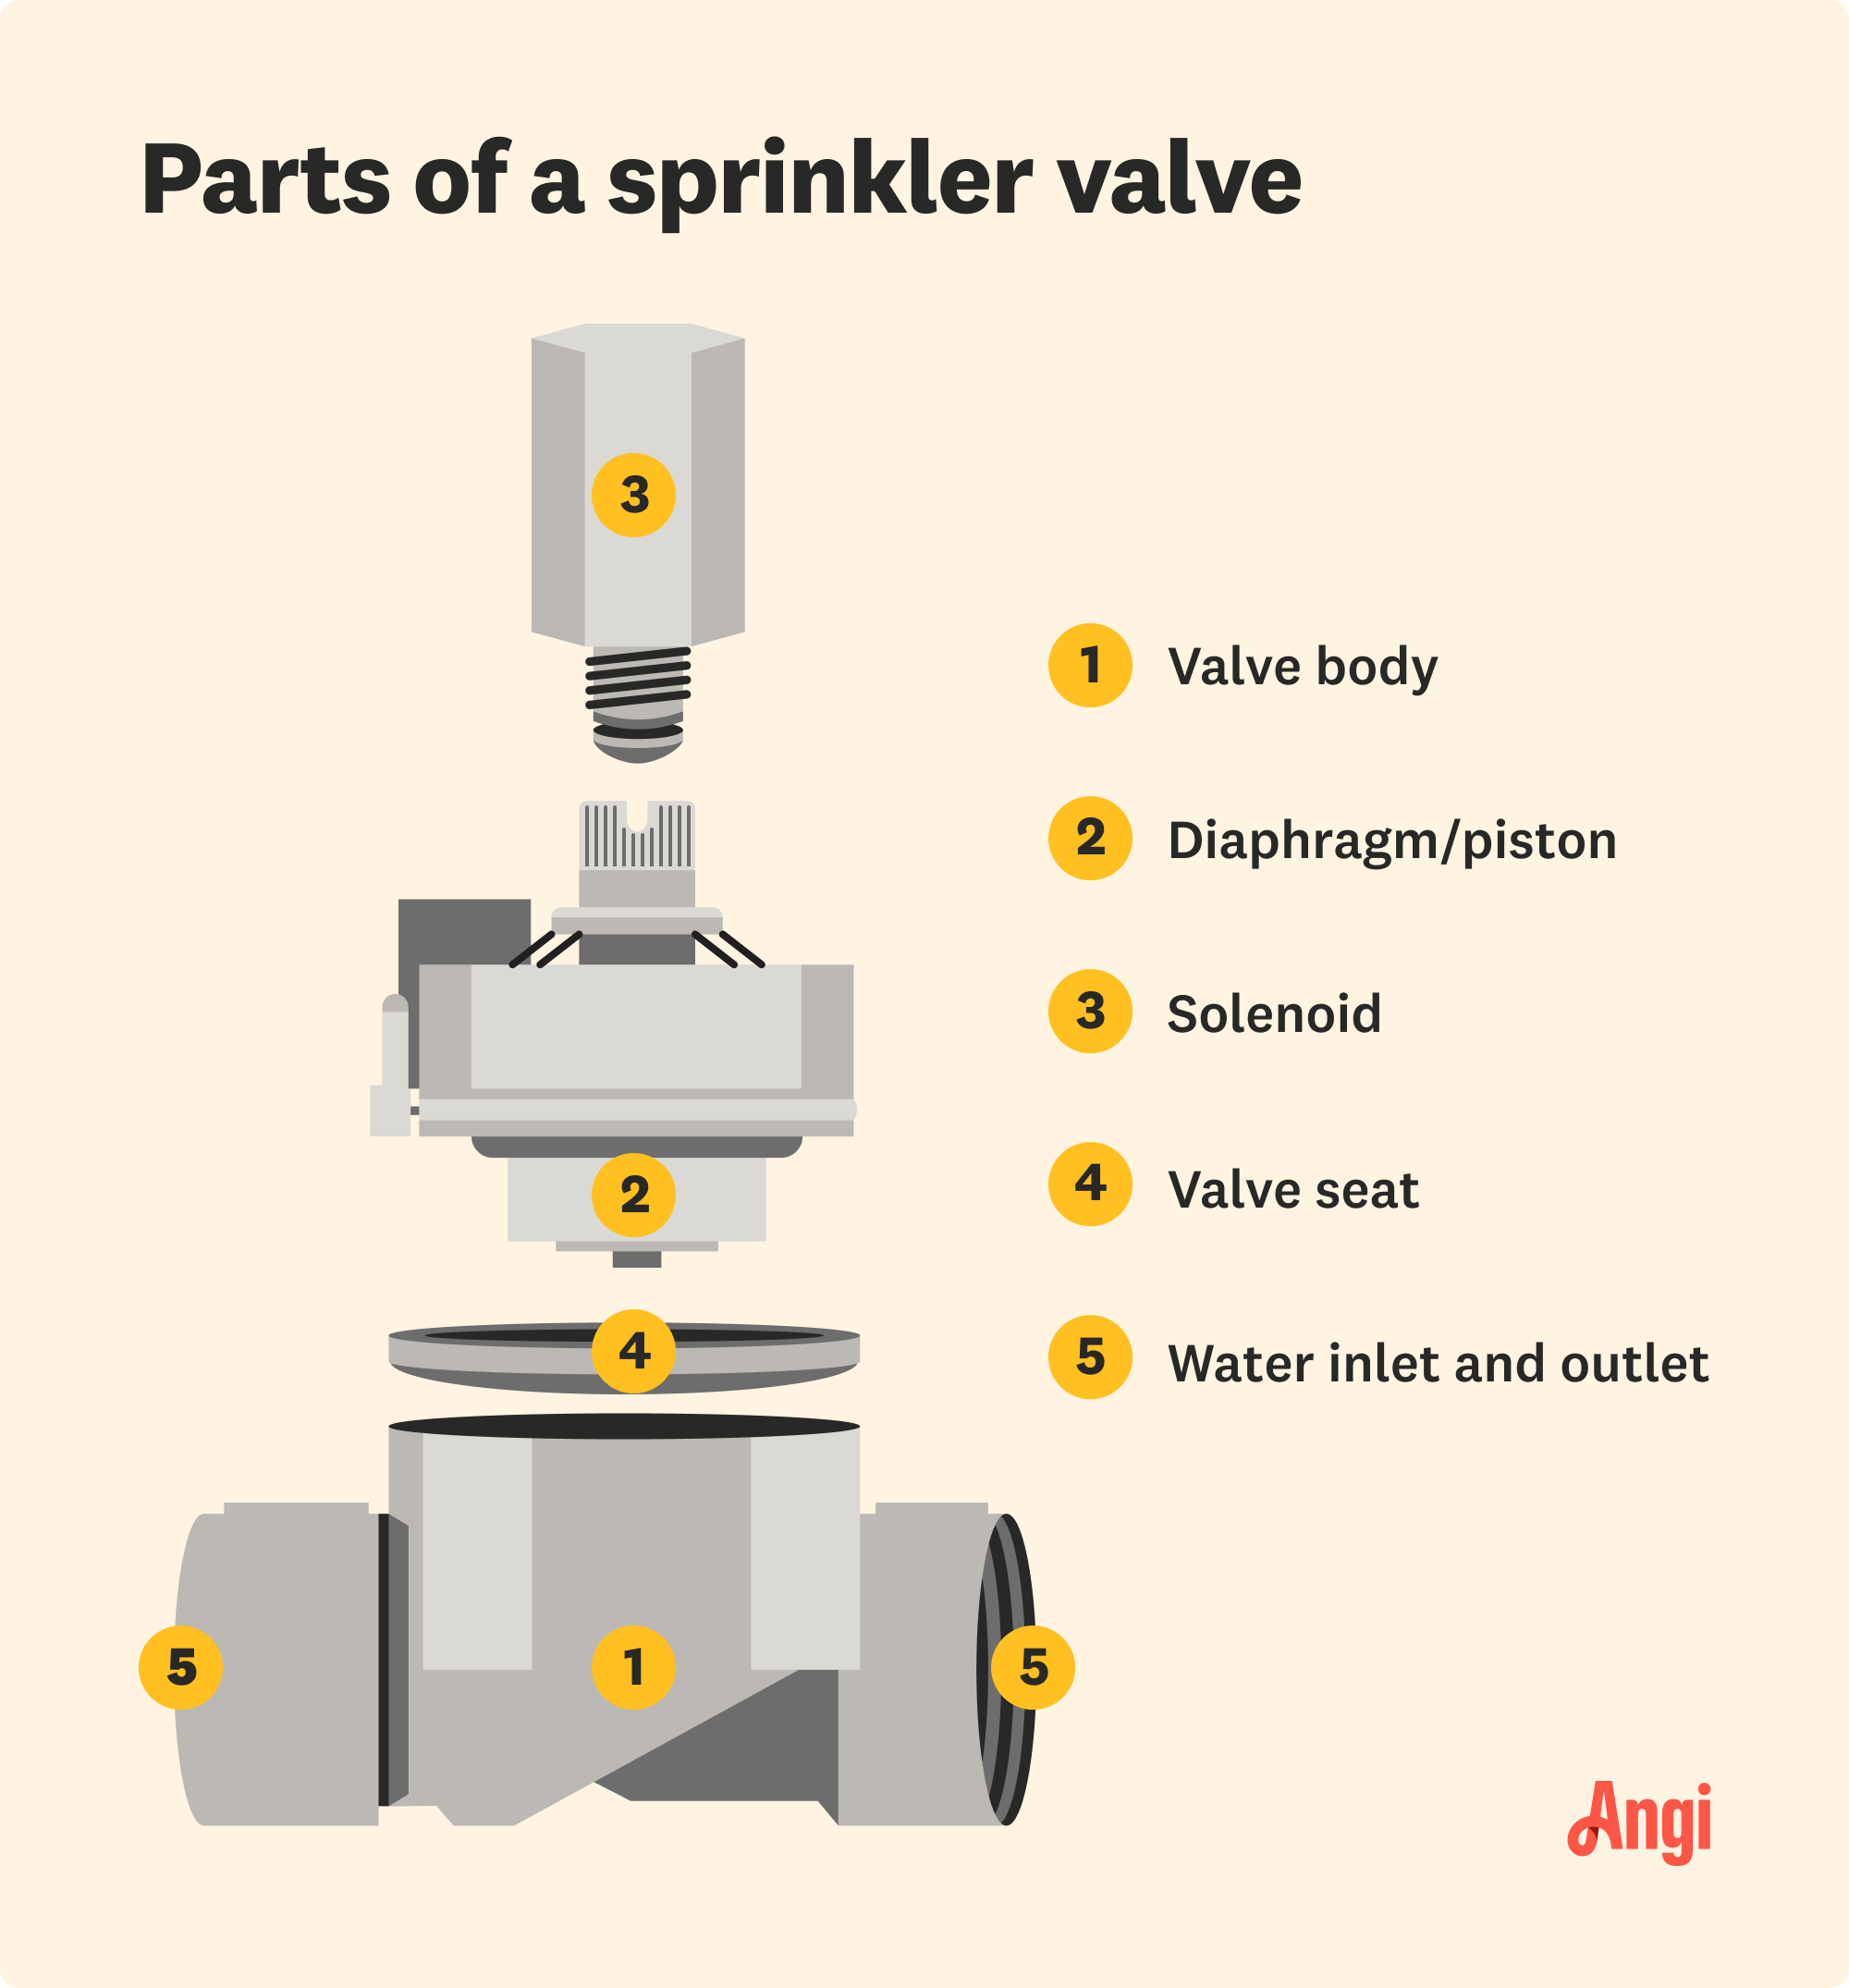
Your valve diaphragm resembles a sink stopper and is held together by a rod and spring. When activated, the spring opens the solenoid, which opens or closes the diaphragm depending on how you activate the solenoid—turning it on or off. So, you can probably see why it’s a very important part of your valve.
Here’s how to check if you have a stuck diaphragm: Find your water shut-off valve and shut off the water for about 10 minutes. After that time has passed, turn the water supply back on. If you notice water flowing, then the diaphragm is more than likely stuck open.
3. Valve Might Be on Manual
Sprinkler systems come with manual flow controllers. Check to see if the manual controller on your system (this is NOT the overall sprinkler system controller) is set to the “OFF” position. These flow controls are plastic screws sticking up from the center of the sprinkler valve.
You’ll also want to inspect the position of the solenoid. Turn the solenoid clockwise to the “OFF” position. At this time, if you notice any water trickling down, you’ll also want to replace the O-ring or call a pro to do it for you.
4. Shorted Solenoid

Solenoids can receive electric shorts, rendering them unusable. This is rarely something you can prevent. If you need to replace one, be sure to turn off your water supply first, then follow the manufacturer's instructions on how to replace it. To locate the solenoid, look for a cylinder-shaped piece with two wires jutting out of it.
If you’re unfamiliar with the components of your sprinkler system, it’s best to leave this to the professionals. They’re adept at finding the root cause and can replace these parts relatively quickly.
DIY vs. Hiring a Pro
After learning some of the common causes of stuck sprinkler valves, you may be able to address the issue on your own. Keep in mind that you’ll want to fix a stuck sprinkler valve quickly no matter if you DIY or call in a pro because stuck valves could damage your lawn by over-watering.
A local sprinkler installer can inspect your system and diagnose the problem for you if you’re not sure what’s going on or how to fix it. This is definitely helpful if you’re unfamiliar with your valve components. The cost will run anywhere from $13 to $150 in most cases, but getting this repair done quickly will pay you back with a healthy-looking lawn and plants.
How to Prevent Stuck Sprinkler Valves
Here are some tips to prevent your yard from becoming your neighborhood’s newest pool:
Clean your sprinkler heads: Use a cleaning cloth to wipe away any obstructions that could be keeping your sprinkler valves stuck open.
Replace sprinkler heads when needed: Remain vigilant. An inexpensive sprinkler head may last you two to three years. Meanwhile, higher-end models can last 10 years with proper maintenance.
Inspect the diaphragm regularly: If you notice any issues, use a cloth to remove dirt from the diaphragm. If that doesn’t work, replace the diaphragm or call a pro.
Keep your valve insulated: Freezing temperatures can damage your valve, so be proactive in protecting it and blowing out your sprinkler system before winter rolls around.
Respond quickly to problems: Doing so allows a technician to locate the issue and make quick corrections so that your plants or grass don’t become casualties.
Don't neglect your sprinkler system maintenance, such as annual cleanings and inspections. These upkeep tasks can help prevent costly issues like clogged pumps and leaking pipes.

When to Call a Pro
If you suspect issues with the sprinkler solenoid, let a pro handle repairs. Similarly, if you can’t tell your spinnaker diaphragm from the solenoid, call an expert to assess your system. You should also reach out to a pro for annual inspections and maintenance to give your sprinkler system the best chance of running smoothly for the entire growing season.


- Sprinkler Water Valve Is Leaking: Common Causes and Signs
- How to Replace a Sprinkler Valve and When You May Need To
- How to Fix a Sprinkler: 8 Steps to Success
- How Does a Sprinkler Valve Work? Understanding Your Irrigation System
- How to Clean a Sprinkler Valve: Step-by-Step Instructions
- How Long Do Sprinkler Valves Last? Average Life Span and Impacting Factors
- Sprinklers 101: The Key Parts of the Sprinkler System
- How to Replace Sprinkler Heads to Irrigate Your Lawn Like a Pro
- How To Troubleshoot a Sprinkler System
- Who Do I Hire to Turn on My Sprinkler System After Winter?
Get our Angi-powered app


