

•
Discover how much under-cabinet lighting costs. Discover installation prices, key cost factors, and expert tips to save on your kitchen or workspace lighting project.
Let there be (LED) light


The right type of lighting doesn’t just make your space immediately more inviting—swapping your incandescent can lights for LED lights comes with the benefits of better energy efficiency and more natural lighting. With a small chunk of time, you can convert your recessed lighting and retrofit it with LED lights. Check out these steps to learn how to replace can lights and get started.
Before replacing your can lights, consider which LED conversion kit works best with your space. For example, trims come in many styles and price points, and they can swivel, tilt, or rotate. Others, such as a baffle trim, can cast a wider but softer beam of light than other trim types.
There’s also the LED bulb itself—choose from warm white to cool white, or upgrade to a smart bulb, so you can control and automate your lights from your phone or tablet.
As with pretty much any work on electrical fixtures or systems, the first step in replacing your can lights is to disconnect the lights from the power source. The easiest way to disconnect them is to turn off the lights from your breaker box.
Get a ladder, so you can reach your recessed lighting, and unscrew the light bulb from the housing. If you have a voltage tester handy, you can use it to double-check that the power is disconnected.
Before going ahead with the installation, check that your existing can lights can be converted to LED. Pull the trim down to examine how it’s attached to the housing—if it’s attached with V-shaped torsion mounting springs, also known as C-clips, it should be compatible with retrofitted LED lights. If you need to verify further, remove the trim completely to check for internal brackets that the torsion springs mount into.
Keep in mind that as long as there’s already wiring in place, you shouldn’t need to make any wiring changes. If you want to move or change the light switch, then you’ll likely need to do some rewiring.
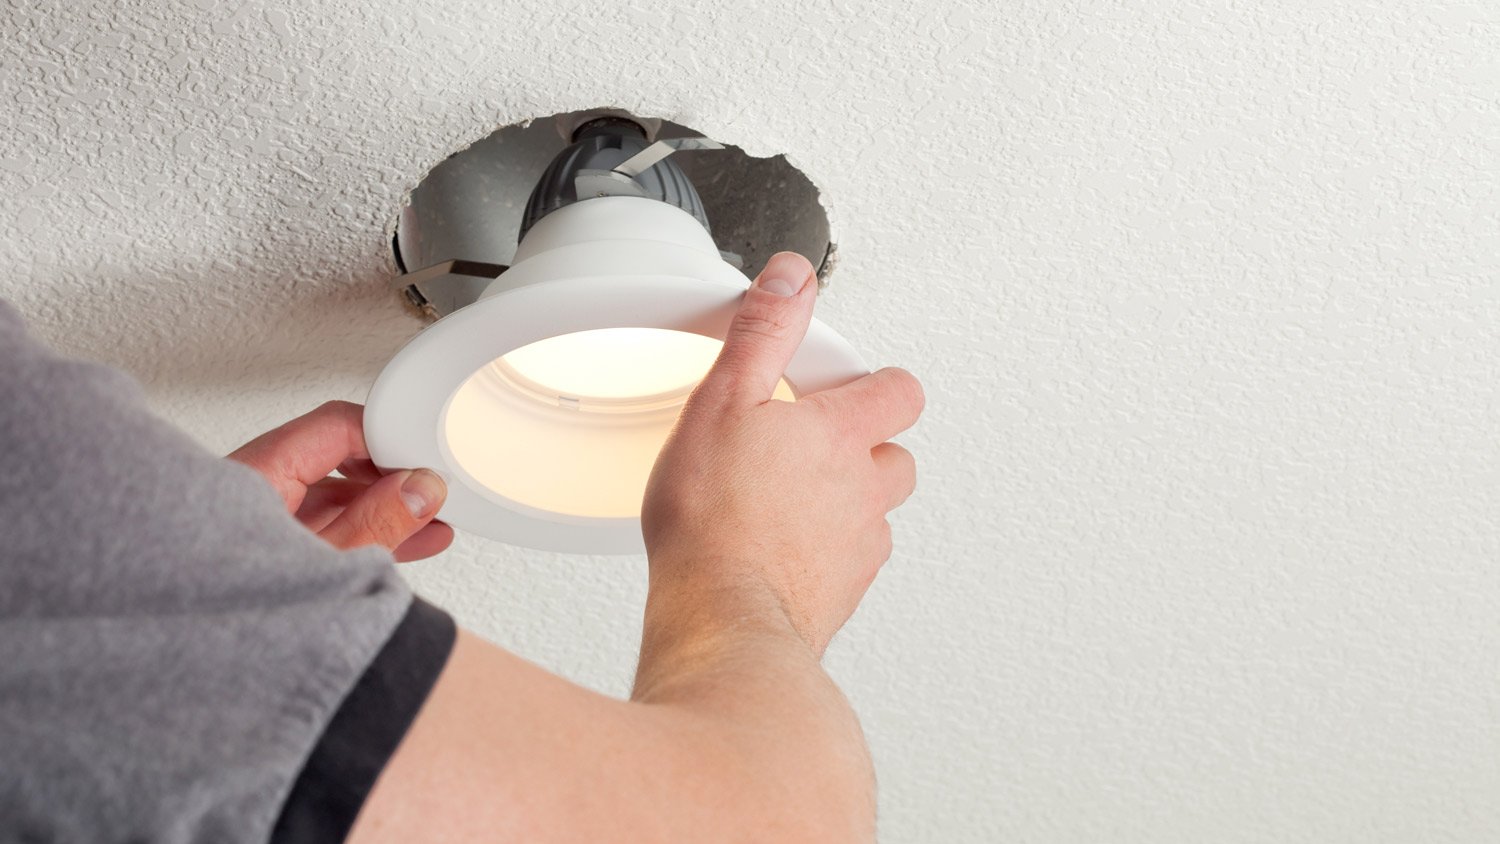
You can keep your current trim or, if your recessed LED light kit comes with different trim options, you can opt for another look. Squeeze the side spring clips to remove the old can lights, so you can see the light socket. If you find that you need slightly more space for your LED light to sit flush, you can adjust the housing’s rear plate by loosening the adjustment wing nut. Don’t over-loosen the housing as it can result in air and water leakage.
As a best practice, make sure you have your LED recessed lighting conversion kit organized and accessible from your ladder. If it’s not already assembled, connect the bulb socket adapter to the existing light socket in the ceiling. Screw the LED light bulb into the socket adapter.

With your LED socket adaptor and bulb in place, you’re ready to install the LED unit. Gently push upward so that the spring arms on either side of the LED unit click into place in the housing. The trim should sit flush with the ceiling—if it doesn’t, go back to the preparation step to adjust the housing’s rear plate, create more room, and try fitting the LED unit in again.
If you’re replacing more than one recessed can light, repeat these steps until they’re all converted. Once they’ve all been properly installed, you can turn the power back on at the breaker.
As long as you’re capable of using a ladder and comfortable working with basic electrical fixtures, replacing your can lights with LEDs is a relatively easy DIY task. You’ll not only benefit from the cost savings of doing it yourself, but you can also do it on your own time rather than working around your local electrician’s availability.
The cost of hiring an electrician depends on your area, but you can generally expect to pay about $85 to $105 per hour for the cost to install recessed lighting, not including the $25 to $50 for a recessed lighting kit. If they take between 60 minutes per replacement, you can expect to pay anywhere from $155 per light in total on the high end of the spectrum.
From average costs to expert advice, get all the answers you need to get your job done.
Discover how much under-cabinet lighting costs. Discover installation prices, key cost factors, and expert tips to save on your kitchen or workspace lighting project.

Light fixtures are important elements in any home. Find out how much it costs to install a light fixture based on factors like type, location, and labor.
Discover the average cost of lighting design, including price ranges, key cost factors, and tips to help homeowners budget for their lighting project.
Learn how much a light costs a year, so you can learn how to calculate the annual price for light fixtures and decide on the right bulbs for your home.

Installing recessed lighting can be a difficult task, so it’s important to hire the right professional to do the job.

If your ceiling fan light flickers, something may be wrong with the equipment, circuit, or electrical system. Use this guide to find the cause and the solution.