How to Remove a Stripped Screw—Try These 6 Methods
A rubber band might just do the trick


A pesky stripped screw can make it difficult to get your project done. Learn how to remove a stripped screw using six different methods to save time, energy, and frustration.
Difficulty: Simple (2/5)
This task is relatively simple, though it may require trial and error (plus a bit of elbow grease).
Total Project Time: 10 to 30 minutes
This depends on which method you use, how badly the screw is stripped, and how many stripped screws you need to remove.
Cost: A screw extractor kit can cost between $13 and $25.
This price will go up depending on the tools and materials you already have at your disposal. If you have to hire a pro, it will cost you between $15 and $150 per hour.
Materials
Rubber band
Wood plug
Tools
Power drill
Screw driver
Locking pliers
Two-sided screw extractor bit
Flat chisel
Hammer
Hole saw drill bit
What Is a Stripped Screw?

A stripped screw is one in which the grooves within the head of the screw have worn away, making it tough to grip with a drill or screwdriver. Due to this, the screw becomes stuck and difficult to remove.

How Does a Screw Become Stripped?
There are a few things that will cause a screw to become stripped, including:
Corrosion and rust
Using the wrong tools to install or remove the screw
Excessive force when tightening
Not drilling a pilot hole when needed
How to Remove a Stripped Screw 6 Ways
A stripped screw may seem impossible to remove, but there are several methods you can try.
If you’ve been trying to remove a screw with a drill, double check to make sure you have been using it in reverse first before moving on. This is a common mistake that’s easy for anyone to accidentally overlook.
Method 1: Switch to a Manual Screwdriver

Using a power drill to try and remove a screw that won’t budge may be doing more harm than good. Try switching to a manual handheld screwdriver to remove the screw. This allows you to have more control over what is happening.
Method 2: Use Locking Pliers on Elevated Screws
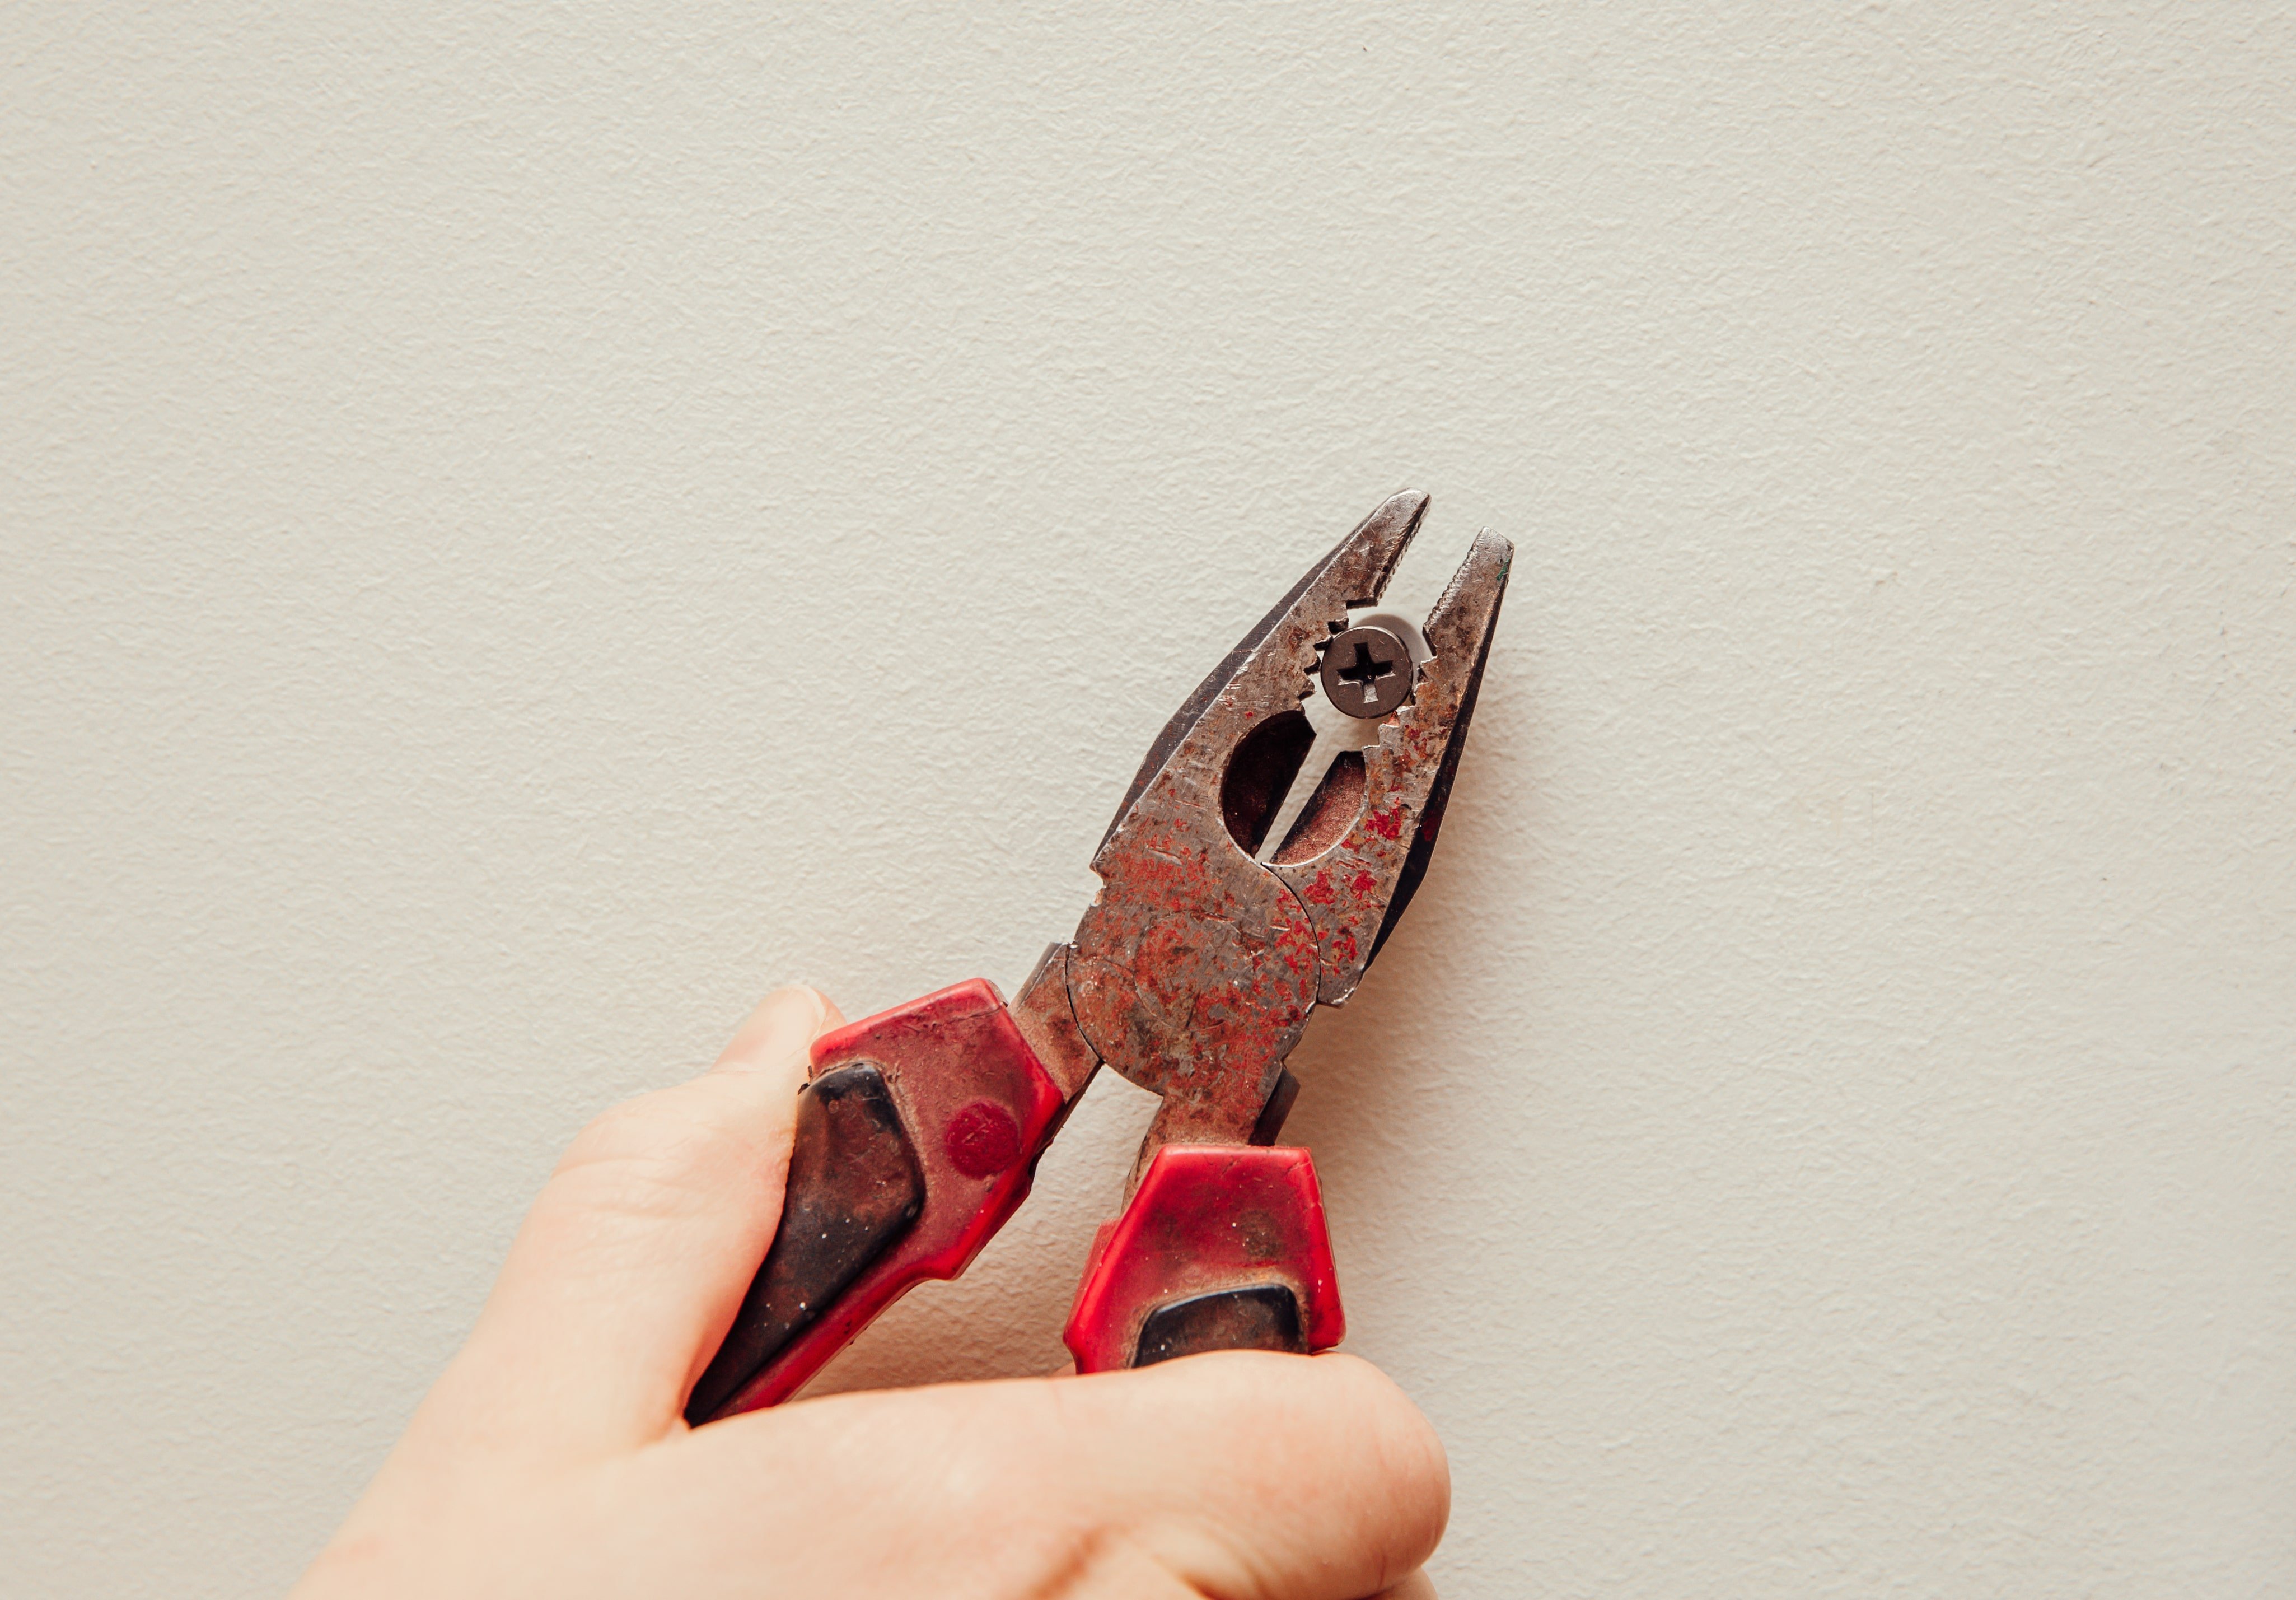
You may be able to grip the head of the screw with a pair of locking pliers if the screw is slightly elevated from the surface. Get your locking pliers and grasp them tightly around the screw. Twist counterclockwise until the screw is removed.
Method 3: Get Traction with a Rubber Band
This method may seem bonkers at first, but it actually works quite well in most scenarios. Simply lay a rubber band flat over the screw head—the wider the rubber band the better. Use a drill in the reverse setting, pushing into the rubber band and screw head.
The rubber band helps the drill grip on to the screw better than just using metal on metal. The screw should come right out. If not, the screw may be too stuck for this method.
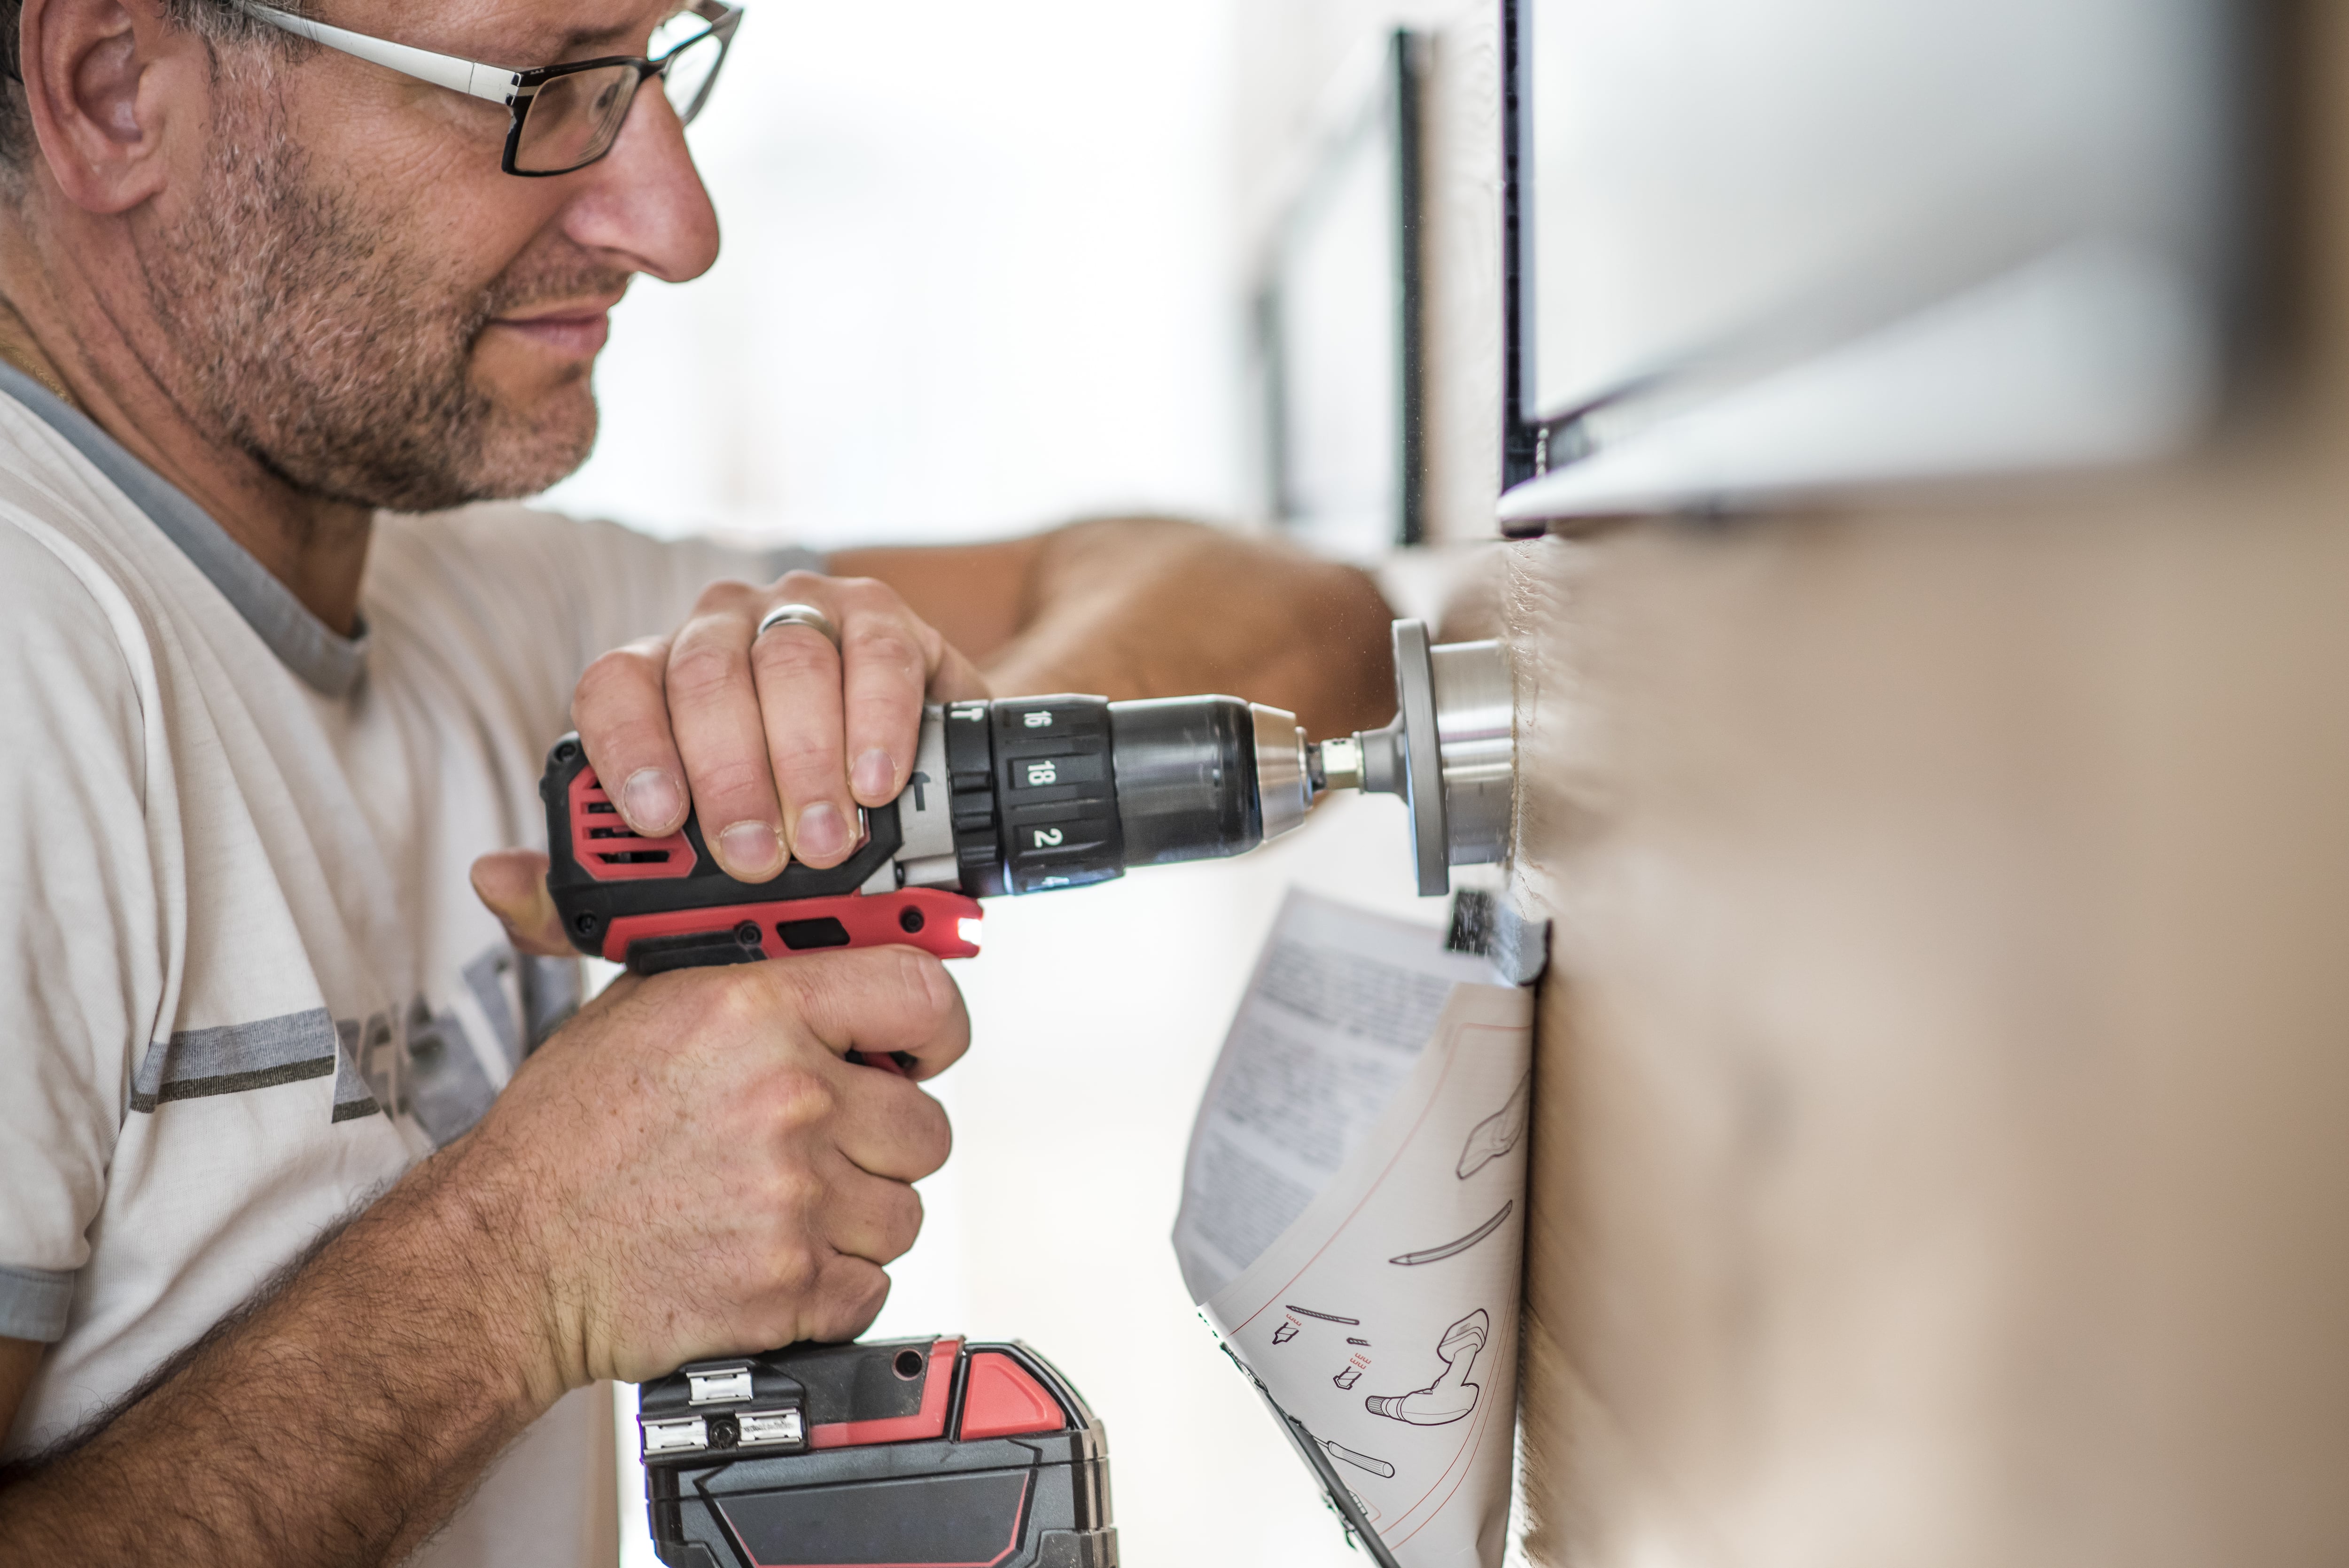
Method 4: Buy a Two-Sided Screw Extractor Bit
If the above methods aren’t working in your quest to learn how to remove a screw with a stripped head, it’s time to get a screw extractor kit. In this kit, you’ll find a screw extractor bit that attaches to your power drill. This is a double-sided drill bit—one side cuts the screw when the drill is in reverse and the other removes it.
Use the burnishing or cutting side first, drilling directly into the middle of the screw head to create new ridges to grab onto. Your drill needs to be set in reverse for it to cut into the screw head properly.
Then, flip the bit around so the extractor side is pointing out, keeping your drill set in reverse. Push the extractor bit into the center of the screw head, and lightly press down on the trigger. You should feel the bit gain traction with the screw—slowly removing it from the surface.
Method 5: Use a Flat Chisel and Hammer
If you don’t have access to the screw extractor kit mentioned above, try using a flat chisel and hammer.
Hold the chisel at an angle, with the chisel head resting on the edge of the screw head. Use a hammer to drive force on the handle end of the chisel. Ideally, this will loosen the screw enough to remove it with pliers.
Keep in mind that this removal method has the potential for causing damage to the screw and the surrounding surface you’re trying to remove the screw from.
Method 6: Use a Hole Saw Drill Bit as a Last Resort
If you’ve exhausted all your options, there is one last way to remove a very stuck and very stripped screw—a hole saw drill.
Get a hole saw drill bit for your power drill. Make sure the size of this drill bit is only slightly larger than the circumference of the screw head—you don’t want to make a bigger hole than what’s necessary.
Use this bit to drill around the screw and through to the other side of the surface you’re working on. This will remove the screw and some of the surrounding wood. Fill in the hole with a wood plug.
How to Prevent a Stripped Screw
Sometimes a stripped screw is out of your control, especially when it comes to rust and natural deterioration. However, there are ways to keep a screw from stripping due to preventable causes. These include:
Making sure you’re using the correct screw for the job
Using the correct size and style screwdriver or drill bit
Drilling a pilot hole when working with extra tough surfaces
Not using a screw if it shows signs of corrosion


- Bathroom Remodeling
- Kitchen Remodeling
- Shower Installation
- Stair Installers
- Bathtub Installation
- Shower Door Installers
- Kitchen Design
- Bathroom Design Companies
- Storm Shelter Builders
- Pre-Made Cabinets
- Kitchen Refacing
- Bathtub Replacement
- Ceiling Tile Installation
- Suspended Ceiling Companies
- Residential Designers
- Stair Builders
- Remodel Designers
- Shower Enclosures
- Home Renovations
- Kitchen Renovations
- Garage Remodeling
- Grab Bar Installation
- Walk-In Tub Installers
- Tub to Shower Conversion
- Balcony Contractors
- 11 Handy Tips and Tricks to Help With Your Next Home Project
- How to Fix a Door That Sticks: 5 Different Methods
- How to Drill Through Porcelain Tile in 4 Easy Steps
- 8 of the Most Common Drywall Problems and How to Solve Them
- 8 Common Reasons Your Door Won’t Open (and How to Fix It)
- What You Need To Know About DIY Well Drilling vs. Hiring a Pro
- How To Install Kitchen Cabinets: 10 Steps to Success
- How to Adjust Cabinet Hinges: A Complete Guide
- How to Secure a Sliding Glass Door: Full Guide
- 7 Types of Drywall Anchors and What They’re Used For
Get our Angi-powered app


