

Shower installation costs in Minneapolis, MN depend on size, style, and materials. No matter the budget, this guide can help you plan your project and even save a few bucks.
Drilling porcelain tile is a simple DIY project that you can knock out in a couple of hours with four simple steps


Trying to figure out how to drill through tile can feel intimidating if you've never done it before, but it's actually a fairly straightforward DIY project. As long as you have a couple of spare hours, a few simple tools, and the willingness to read through these simple steps, you can drill a clean, beautiful hole in no time.
Project difficulty: 3/5
Time needed: 1-2 hours
Tools needed: Power drill, level, tape measurer, pencil or marker, sponge and bucket of water, silicone sealant, diamond-tipped drill bit, screws, stud finder
Average handyperson prices range from $60 to $120 per hour, which doesn't include travel and material costs. If you do the drilling yourself, all you need to pay for is the cost of tools, many of which you likely already have.
The most expensive tool needed for the project is a power drill, which typically starts at around $40. A stud finder is also helpful, which you can buy starting at around $10 to $15. You'll also need diamond-tipped drill bits for the project, which usually cost about $7 to $10.
The rest of the required tools shouldn't cost you more than $10, but chances are you already have quite a few of them, like a bucket, sponge, and pencil. Whether you decide to DIY it or hire a bathroom remodel pro, it all depends on your comfort level with home projects and power tools.
Porcelain tile is designed to be strong and durable, which is great, but it also means you shouldn't use a standard drill bit for it. Even if the package of your standard drill bit indicates that it can be used for hard materials, like brick, you still shouldn't use it with porcelain tile. This is because it's easy for the bit to slip and damage your tile, which could mean costly bathroom tile repairs.
Instead, use a diamond-tipped drill bit, which you can find at any hardware store. Aptly named, diamond-tipped bits feature a tip coated in diamonds that can safely grind away your porcelain tile to create a neat and clean hole. These bits generate a lot of heat, so they come with water containment pieces that help keep the bit cool.
Take measurements of the area you're drilling into using a marker or pencil to mark the precise spots where you plan to drill. Using a level when measuring will help ensure your holes are even.
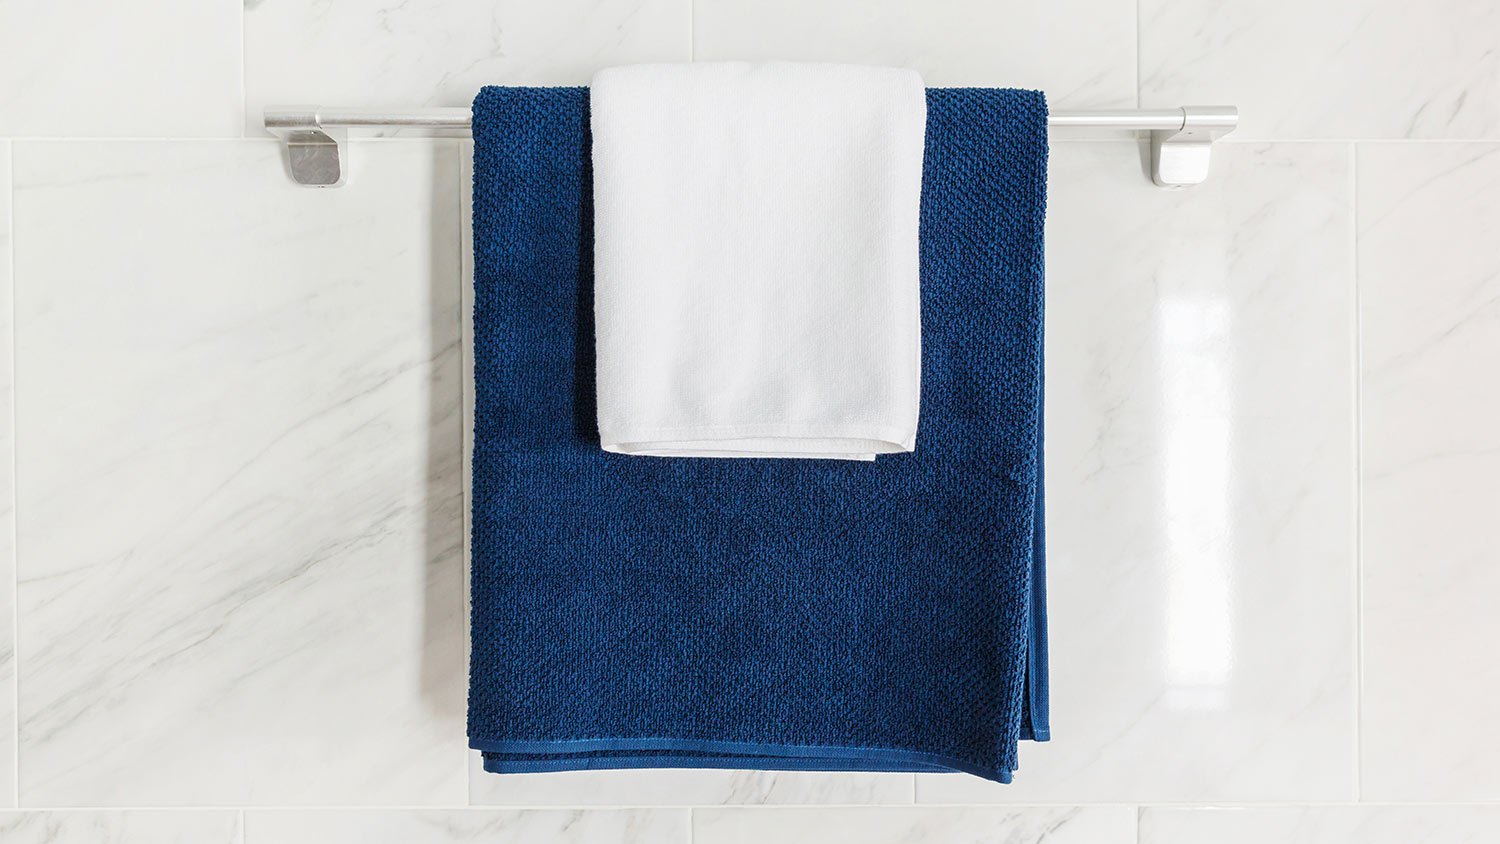
If you're installing something that needs to be fairly strong, like a shower grab bar, then you should drill into the wood beams, aka studs, behind your wall, otherwise the bar may pull out with use. You can use a stud finder to locate these beams.
When drilling into porcelain tile, it's easy for the bit to slip, but you can use masking tape to help. After marking the areas where you plan to drill, place a piece of masking tape over the mark. This tape will provide added friction that will help prevent your drill from slipping.
After marking off your drill sites, it's time to start drilling the tile. First, fill the bit's water containment piece to help keep it cool. But keep in mind that this piece often isn't enough to fully cool the bit, so it's helpful to have a sponge and a bucket of cool water on hand as well.
If you notice steam rising from the bit when you're drilling, soak your sponge and dab the drill tip to cool it down—just make sure not to get water on the motorized section of the drill.
Once you have your sponge and water handy, you can begin drilling the tile using light but consistent pressure. When drilling, it's important to take your time. Start the drill on a low speed setting and be patient. It can take quite a while to break through the porcelain tile's glazed surface, but if you try to rush it, you risk creating vibrations that damage the tile.
After drilling your holes, you should dry the entire area. Then, grab your silicone sealant and spray it into the holes to help waterproof them. Silicone isn't water-soluble, so it can help prevent water from going into areas where it shouldn't.
Now that the holes are waterproofed with silicone, you can grab your screws and whatever it is you're installing, and screw it onto the wall. Just be careful not to overtighten the screws as that can cause the tile to crack. Once you secure anything to the wall, wait about 24 hours before using it so that the silicone has plenty of time to set.
From average costs to expert advice, get all the answers you need to get your job done.
Shower installation costs in Minneapolis, MN depend on size, style, and materials. No matter the budget, this guide can help you plan your project and even save a few bucks.

A bump-out addition is right for you if you want to add extra space to your home without adding a new room. Learn about the different bump-out addition costs.

Remodeling your bathroom can add significant value to your home. Your bathroom remodel cost in Minneapolis, MN will depend on size, fixtures, materials, labor, and other factors.
An updated bathtub can give a bathroom a whole new look. Find out how much it costs to replace a bathtub in Columbus, OH, including prices by type and labor costs.

When planning a bathroom remodel for older adults, start by evaluating the mobility needs of the specific individuals residing in the home.

An updated bathtub can give a bathroom a whole new look. Find out how much it costs to replace a bathtub in Denver, CO, including prices by type and labor costs.