How to Remove a Water Softener in 8 Steps
You just need a few tools, but it’s best to have some plumbing experience under your belt


- Bucket
- Flathead screwdriver
- Towels
- Wrench
- Cup (optional)
- Drain line cap (optional)
A water softener is often an unsung hero in our homes, saving us from dry skin and our appliances and plumbing fixtures from mineral buildup. But eventually, you’ll need to remove this handy device, whether to make a major repair or replace it with a newer model. You won’t need many tools or supplies for this job, but you should have some plumbing experience before you try to DIY. If you meet this requirement, read on to learn how to remove a water softener.
Prepping to Remove a Water Softener
First, it’s important to determine if you really need to remove your water softener. If you’re making minor repairs, you may be able to simply use the bypass valve to keep water from flowing into the water softener temporarily. The bypass valve allows you to quickly divert water away while you make repairs, then switch it back on to enjoy the benefits of your water softener without disrupting water supply to the home.
If you want to remove your water softener to replace it, keep in mind that this project will require replacing or reconnecting plumbing pipes and capping a drain line. If you don’t have the experience to reconnect pipes or cap a drain line, you could risk water leaks or sewer gas leaks. Instead, leave this project to a local water softener installation pro who can expertly and safely remove the old unit and replace it with a new water softener or other filtration system.

Shut Off the Water
 Photo: NC Photo / Adobe Stock
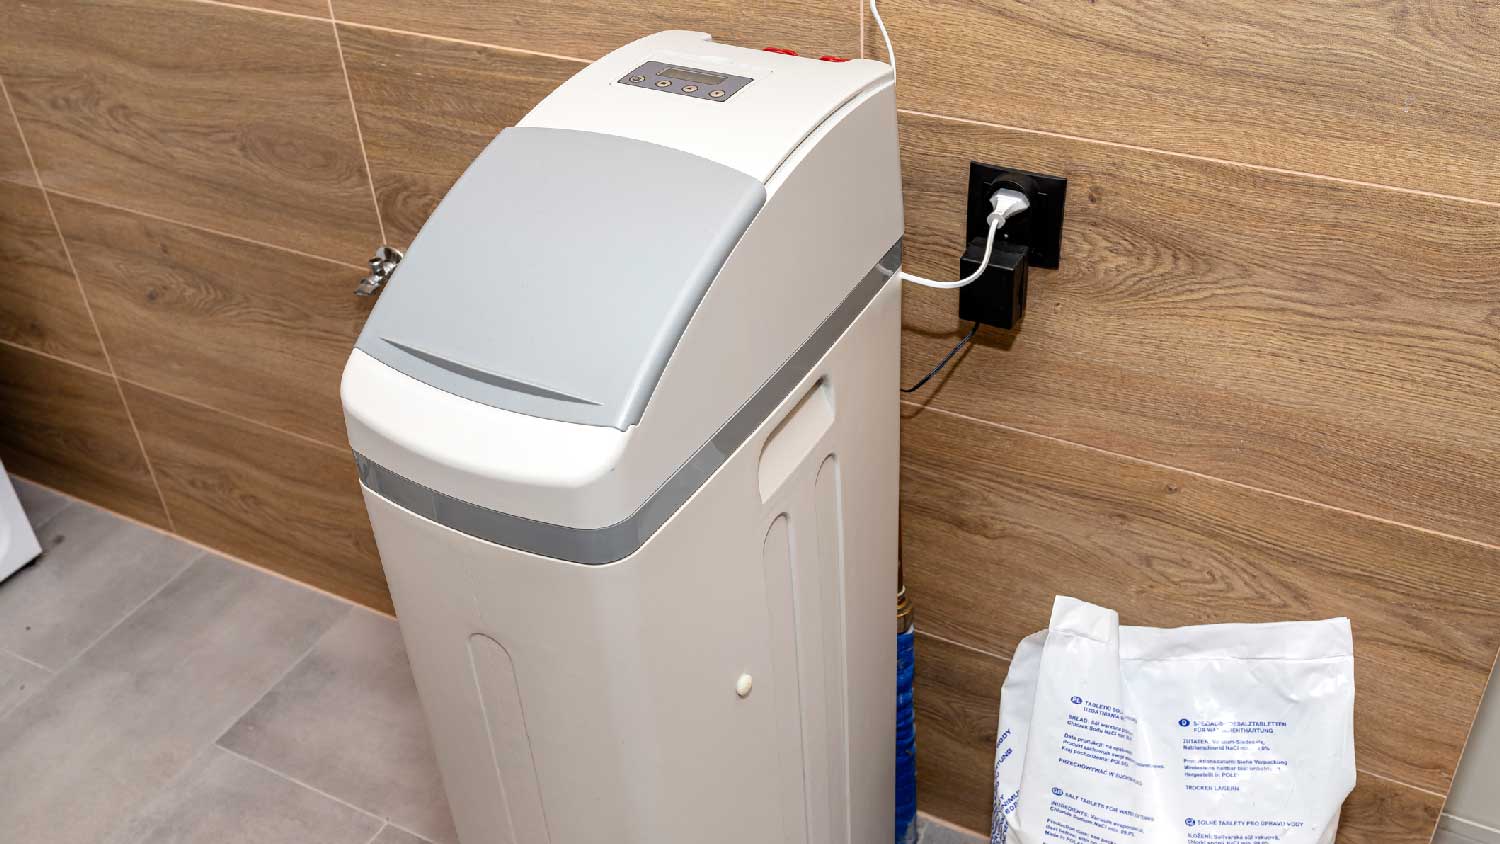
Before you can remove one, you need to know how to turn off a water softener. Simply unplugging it from the wall isn’t enough, so start by locating the water supply to the unit. To find the water shut-off, look on a wall or the floor near the unit, near your water heater, or in your basement. Once you find the valve, turn it clockwise, or to the right, to shut off the water.
Disconnect the Power
 Photo: NC Photo / Adobe Stock
Once you’ve disconnected the water, locate the power source for the water softener. You may need to unplug the unit or shut off the power from the circuit breaker.
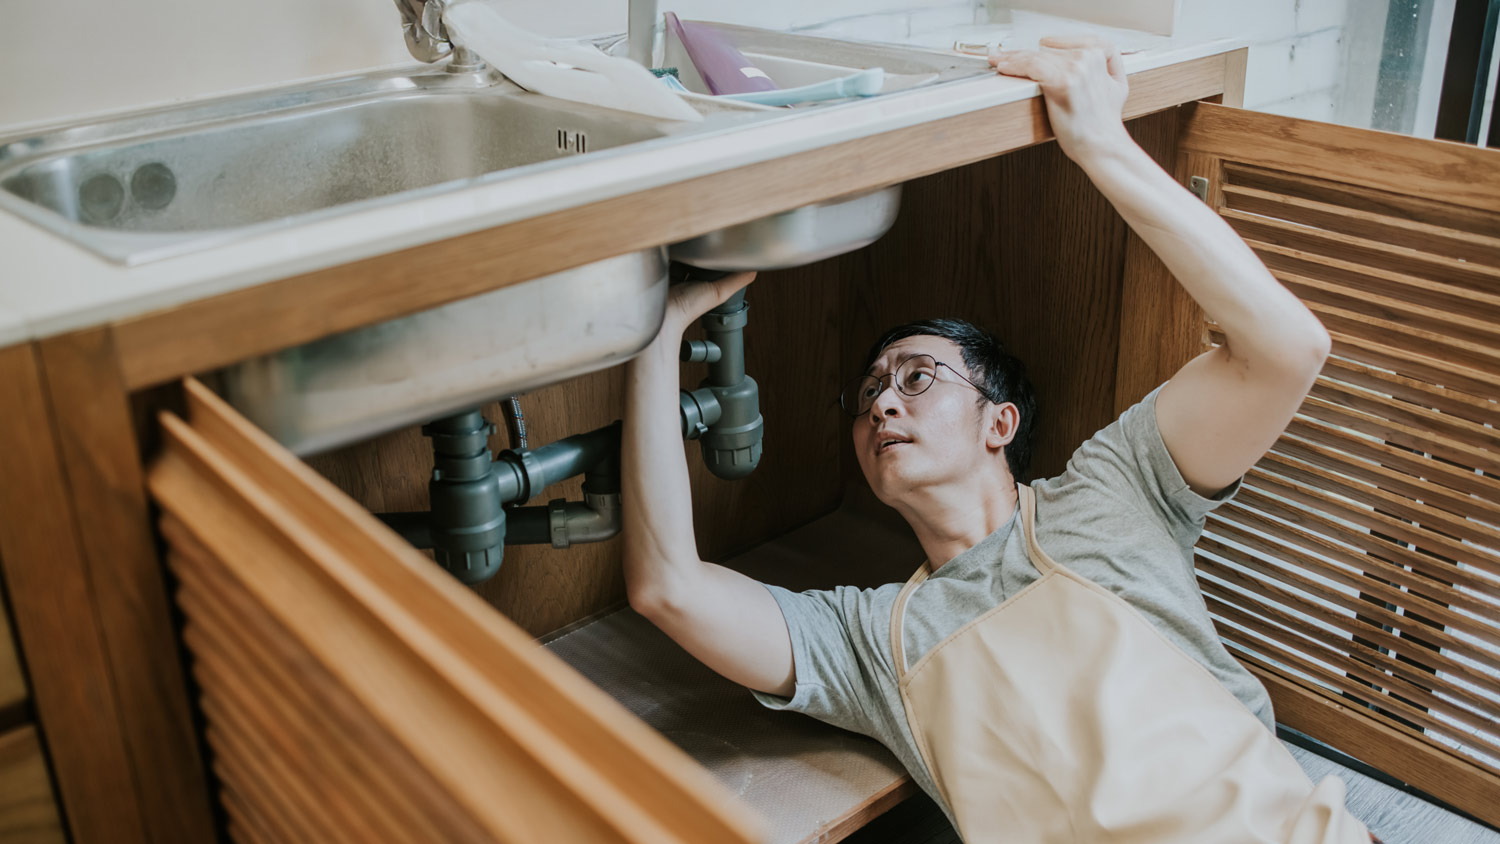
Drain the Unit
Although you’ve cut the water and power to the water softener, there will still be some remaining water in the tanks and pipes. You’ll need to remove the remaining water and water softener discharge either by using a cup to scoop out the water or by draining the unit through its hose bib or faucet into a bucket. Keep plenty of towels around the unit to minimize the mess, and you may want an extra bucket on hand, too, to catch any leaks.
Disconnect Water Hose Connections
 Photo: Photographee.eu / Adobe Stock
The water softener has hoses or pipes that connect from your home’s plumbing to the softener. Place a bucket and towel under where the water softener hoses connect to your home’s water lines, then use a wrench to loosen the connections. Remove both the inlet and outlet hoses from your home’s plumbing.
Remove C-Clips

The water softener is also connected to the plumbing at a bypass valve, if your unit has one. If so, there are two C-clips on the back side of the bypass valve at the top of the water softener. Use a small flathead screwdriver to pry off the C-clips where the bypass connects to the inlet and outlet pipes.
Remove From the Wall
Now that the water softener is drained and disconnected from the plumbing, it’s time to release it from the wall or floor, if needed. Some units may have extra supports, like metal safety straps, that keep the unit from falling. Disconnect any straps or other supports before carefully pulling the water softener away from the wall.
Reconnect Pipes
If you don’t plan to replace the water softener, you’ll need to reconnect the pipes. The pipes will be disconnected where they went into and out of the old water softener. You will need a soldering iron and some plumbing know-how to reconnect the pipes. If you get stuck at this step, don’t be afraid to call in a plumber for help.
Cap the Drain Line
If you’re not replacing the unit, you’ll also need to cap the drain line (the pipe that a water softener uses to drain away used brine and minerals from the hard water). You’ll need to find a tight-fitting drain cap suitable for the drainpipe you need to cap.
Again, if you’re at a loss here, call a pro. Without proper capping, the drain line could leak water or sewer gases, potentially leading to water damage, illness, or, in extreme cases, gas explosion.
DIY vs. Hiring a Water Softener Pro
If you have the tools, you’ll only spend $5 to $10 on this project for the drain cap, so long as you plan to permanently remove or relocate your water softener. Of course, if you need to buy a new water softener, a water softener costs $200 to $6,000. A standard system averages $500 to $3,000, while a salt-free water conditioner costs $800 to $4,000.
You can expect to pay $45 to $150 per hour for the cost of water softener repairs by a pro, which includes water softener removal. While it costs a little bit more to hire a pro, this is the best option for removing or installing a water softener. Because you’re dealing with plumbing and the home’s main water line, DIY brings an increased risk of damaging pipes, which can lead to expensive water damage.
Instead, hire a water softener installation company to handle your water softener needs. In addition to getting the job done correctly, the pros can remove and even replace an old model with a new water softener within a few hours.
Frequently Asked Questions
Disconnecting your water softener from the power supply will shut off its ability to regenerate, but water will continue flowing through the water softener. This can put more strain on the water softener, increasing the rate of wear and tear. It’s best to use the bypass valve if you’re looking to route water away from the water softener, such as when you go away on vacation or need to inspect or repair the system.
You can unplug your water softener, but this doesn’t turn it off. The water softener is plugged in to provide electricity, which is used to power the regeneration cycle that replenishes sodium ions needed for softening water. When you unplug the softener, it will continue treating hard water. To completely turn off the water, it needs to be disconnected from both power and water supplies.
If you’re looking to prevent it from treating water temporarily, such as while you make a minor repair, you can turn on the bypass valve.
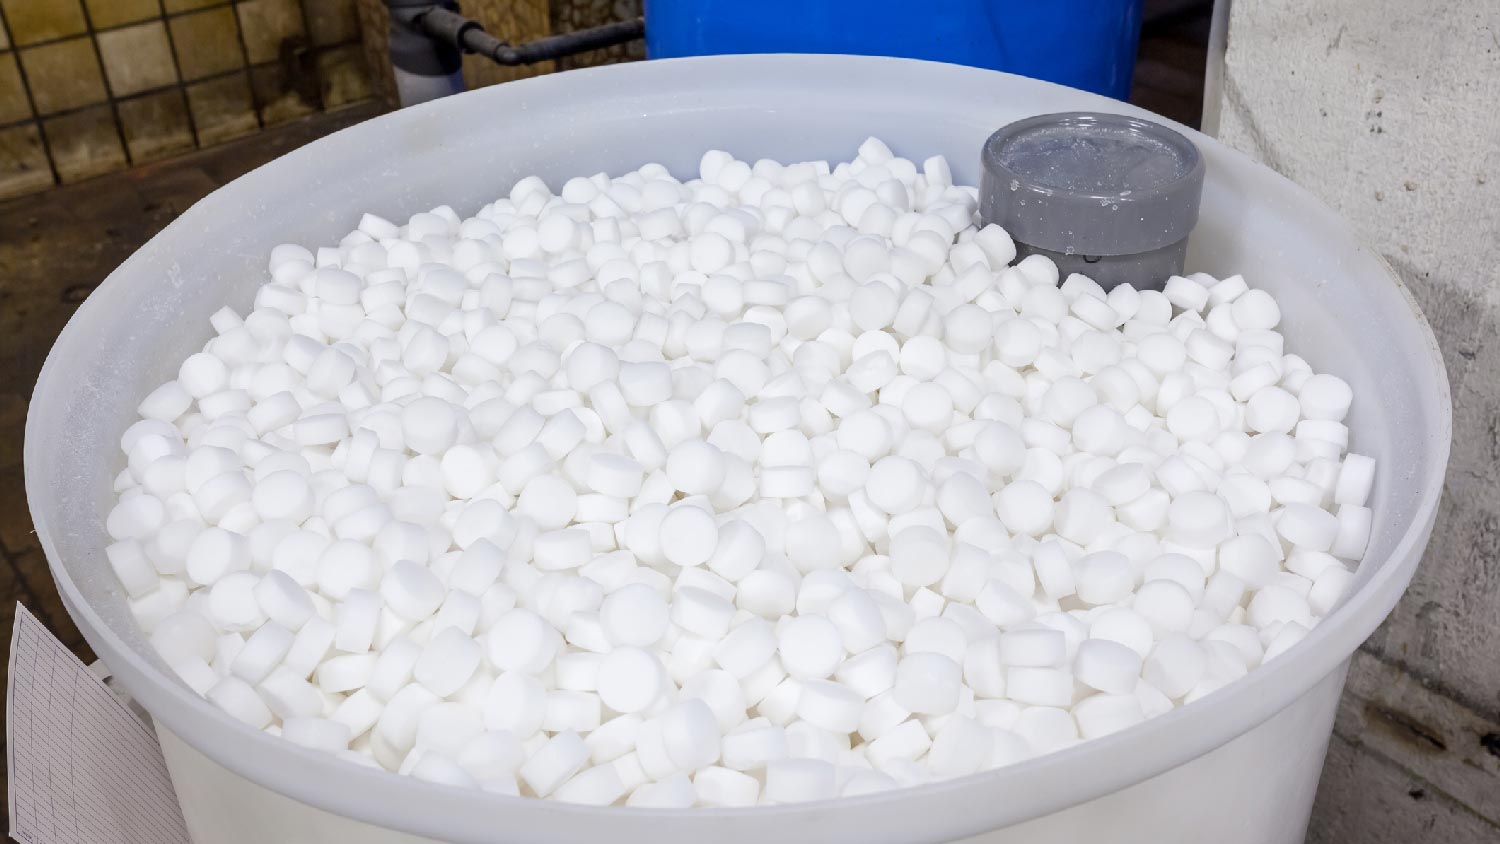
If you run your water softener out of salt, your water can’t be softened. Instead, you will have hard water that can cause stains on dishes and clothing, plus a risk of mineral buildup in your faucets and appliances. Water softeners require salt refills every six to eight weeks to effectively remove the minerals from hard water.


Get our Angi-powered app


