

The cost of plastering walls and ceilings depends on the room size and ceiling height. Our tips can help you estimate an accurate cost.
With a little patience and some elbow grease, you can tackle this DIY

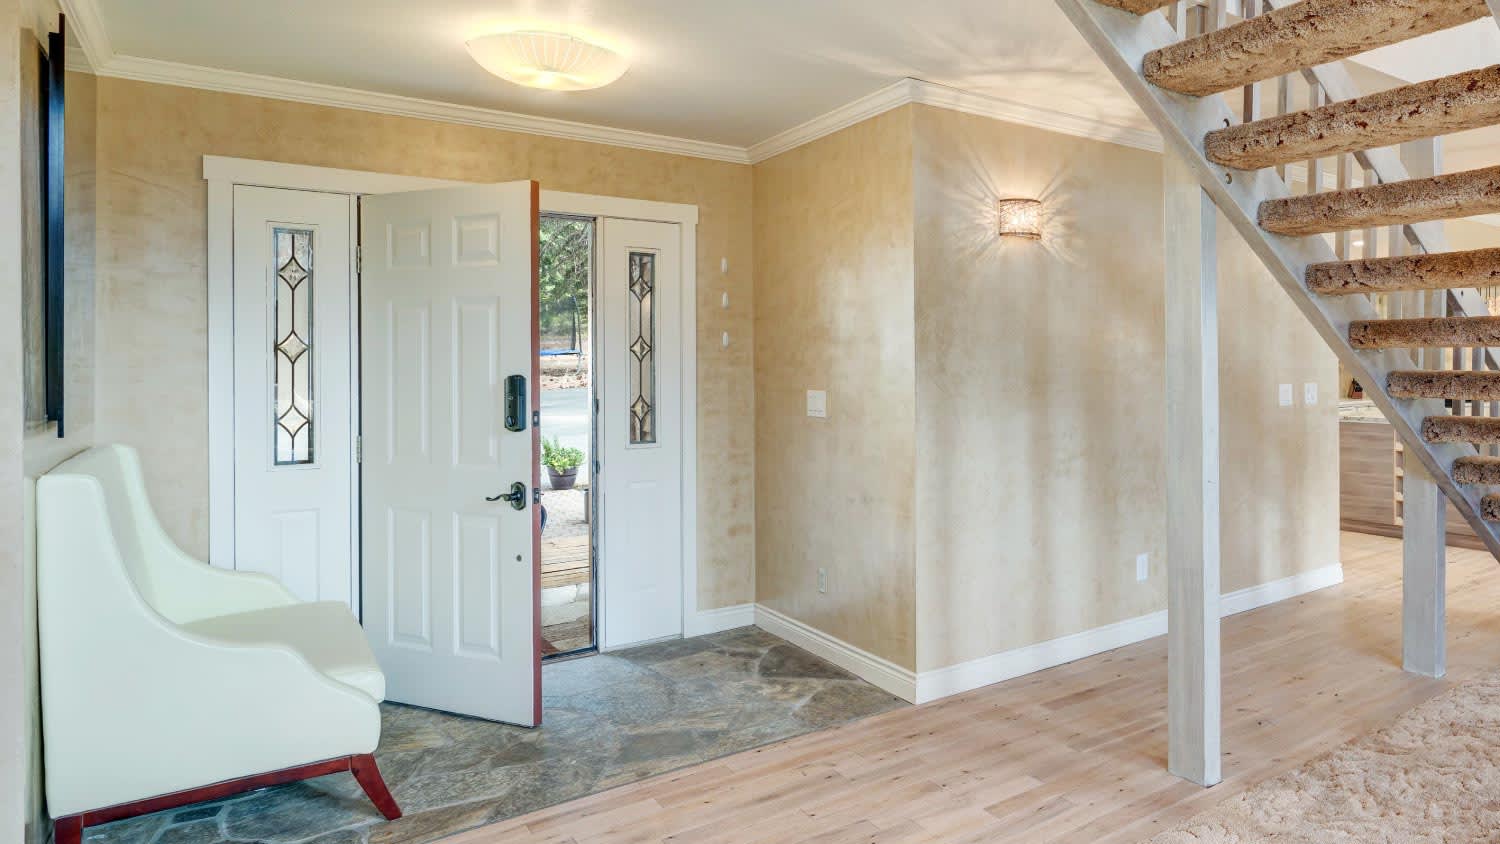
Learning how to plaster a wall is a skill that will enable you to transform any space, providing a smooth, durable, and aesthetically pleasing surface. While it might seem daunting at first, plastering is a craft that can be mastered with patience, practice, and the right techniques. In this comprehensive guide, we will walk you through the step-by-step process of plastering a wall, from preparing the surface to achieving a flawless finish.
Before diving into the practical steps, it's essential to understand the fundamental concepts of plastering. Plaster is a mixture of sand, cement, and water that forms a paste-like substance used to cover walls and ceilings. It not only provides a smooth surface but also strengthens and protects the underlying structure. There are various types of plaster you can choose from, including gypsum plaster and lime plaster, each with unique characteristics and applications.
Choosing the appropriate plaster type is pivotal for a successful project. Each type–whether it's gypsum plaster, known for its flexibility, or lime plaster, valued for its breathability–caters to specific needs. Gypsum plaster, ideal for indoor spaces due to its quick drying and smooth finish, contrasts with the natural, eco-friendly lime plaster, favored for its durability and resistance to moisture. Understanding these distinctions ensures that the plaster not only adheres effectively but also endures environmental factors, delivering a high-quality, long-lasting result.
Tailoring the plaster choice to your project's requirements sets the foundation for exceptional outcomes, both in terms of aesthetics and structural integrity. If you aren’t confident in which type of plaster is right for your project, you can always consult a plaster repair specialist near you for expert insight.

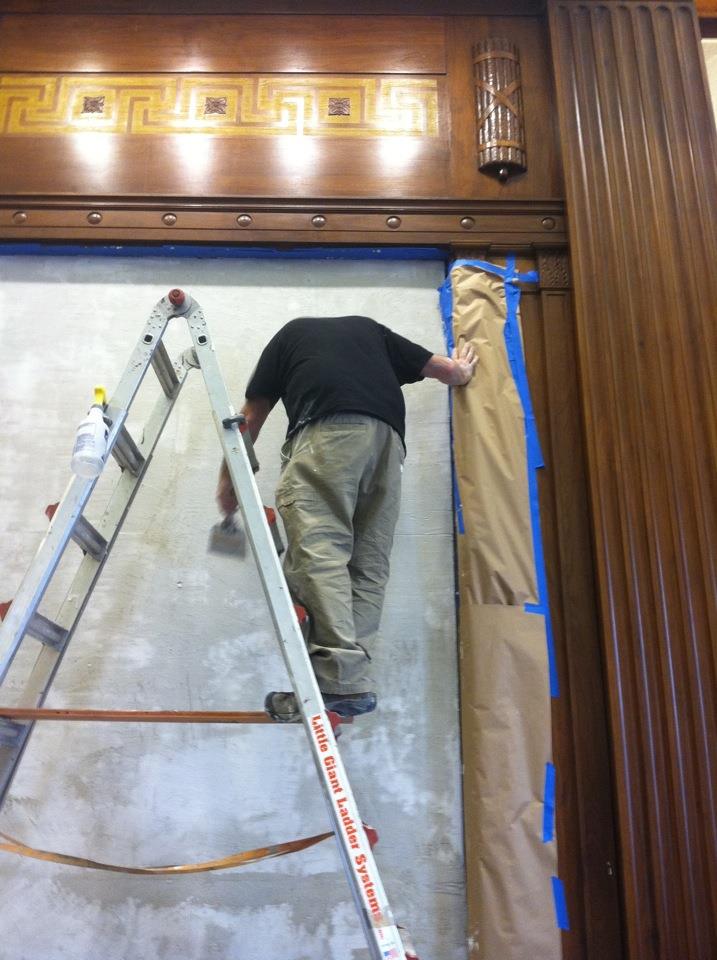
The key to a flawless plastering job lies in the preparation of the surface. Start by removing any loose paint, wallpaper, or old plaster from the wall. You can repair any cracks or holes with a suitable filler and sand the surface to create a smooth base. It's essential to ensure that the wall is clean, dry, and free of dust and debris before applying the plaster. Additionally, applying a primer or bonding agent helps the plaster adhere better to the surface, ensuring a long-lasting finish.

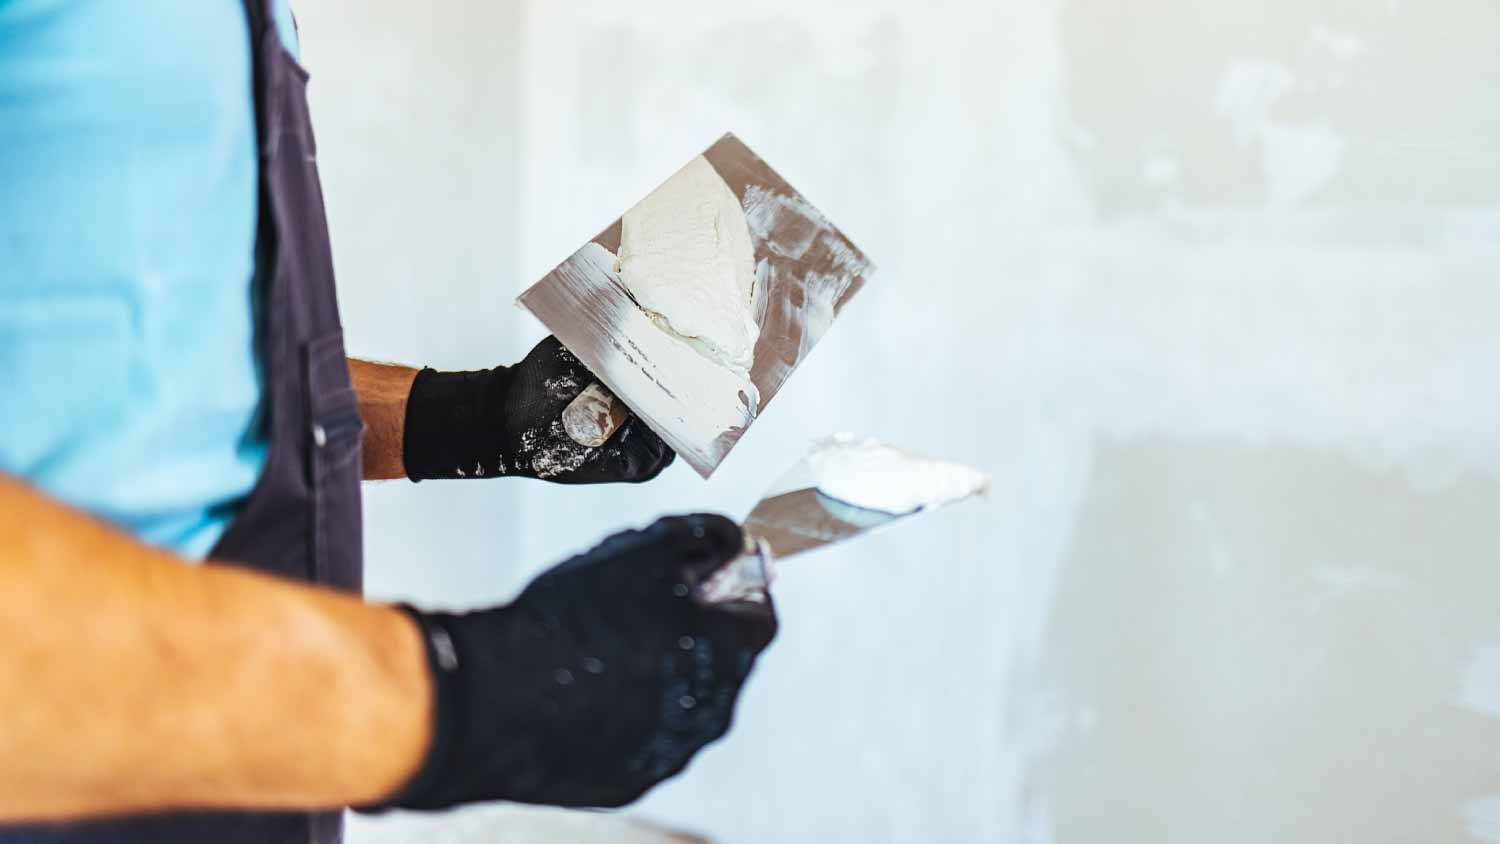
Mixing plaster is an art in itself. Follow the manufacturer's instructions to create the perfect plaster consistency. Usually, you'll combine plaster powder with water in a clean bucket, stirring continuously to avoid lumps. Use a mixing paddle attached to a power drill for efficient mixing. Let the mixture rest for a few minutes before giving it a final stir. The plaster should have a creamy, lump-free texture, ready for application.

Begin by dampening the wall with water using a spray bottle. This prevents the wall from absorbing moisture from the plaster too quickly, ensuring a strong bond. With a steel trowel, apply the first layer of plaster evenly across the wall, maintaining a consistent thickness. Use a straight edge or spirit level to ensure the surface is flat and level. Score the plaster with a scratch comb or a scarifier to provide a rough texture, allowing the next layers to adhere securely.

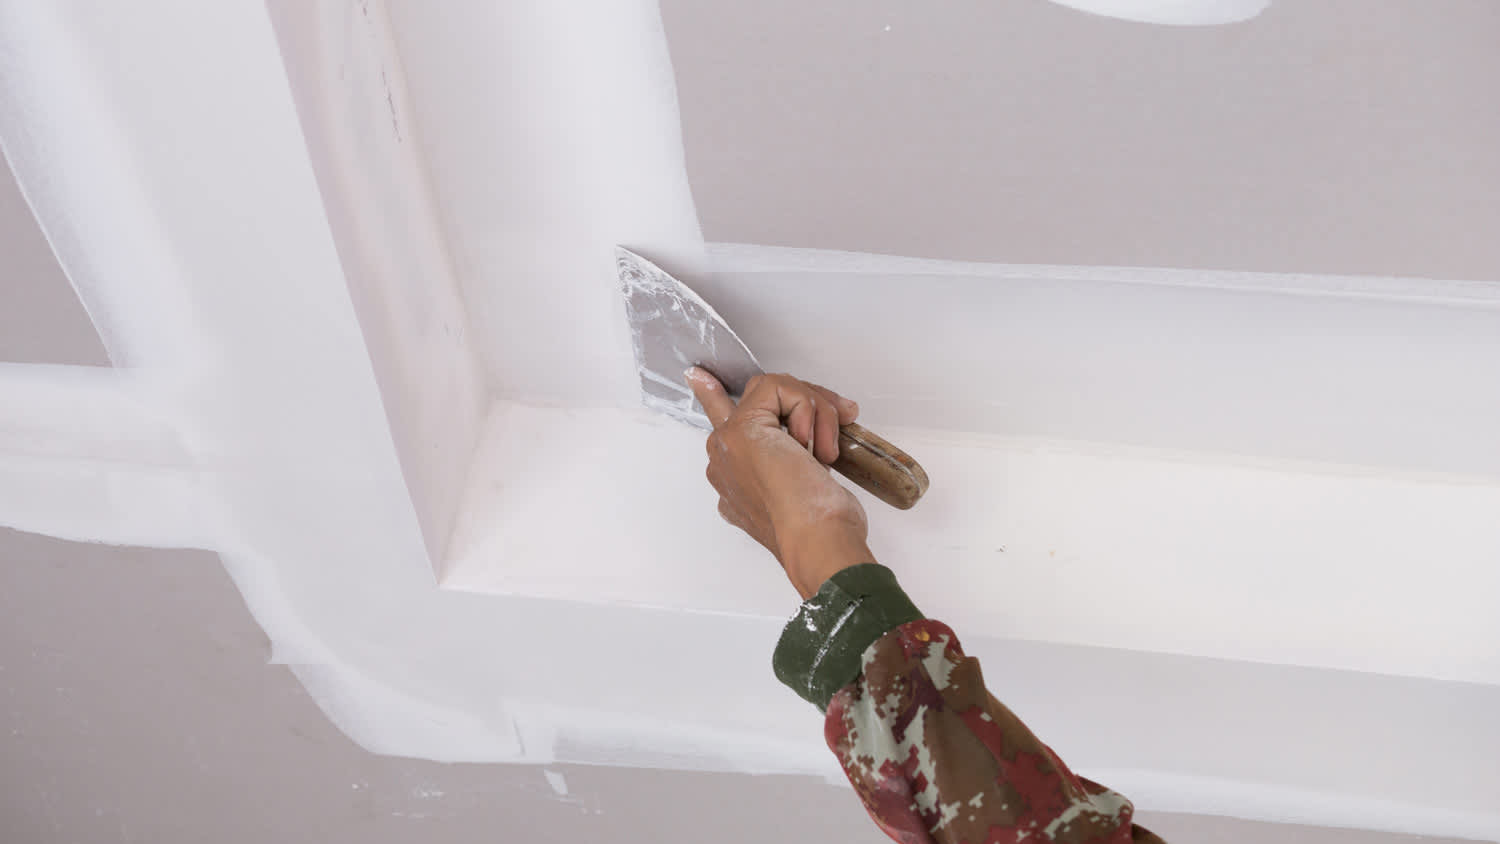
Once the base coat is dry and firm to the touch, dampen the surface again with water. Prepare the finish coat of plaster, which is usually smoother and more refined than the base coat. Apply it evenly over the base coat, using a steel trowel in a sweeping motion. Keep the trowel at a slight angle and work from the bottom to the top, smoothing the plaster as you go. Use long, sweeping strokes to achieve a uniform texture. Constantly dampen the trowel to prevent it from sticking to the plaster, ensuring a smooth and polished finish.
Skip this step if you are going for a super smooth look. If you prefer a textured finish, various techniques can be used to add character to your plastered wall. Popular options include sponge texturing, swirls, stippling, or using a textured roller. Experiment with different methods on a practice board to find the texture that best suits your taste. Applying texture can elevate the visual appeal of your wall, creating depth and interest.

Allow the plaster to dry completely, as per the manufacturer's recommendations. This curing period is crucial for the plaster to set and achieve its maximum strength. During this time, avoid touching or disturbing the surface. Once the plaster is fully cured, you can polish it to enhance its smoothness further. Use a fine-grit sandpaper or a plasterer's float to gently rub the surface, creating a polished effect. Be careful not to oversand, as it can damage the texture and even out the surface irregularities.

After polishing, you can opt to prime the plastered surface before painting. Priming helps the paint adhere better and provides a uniform base for the final coat. Choose a suitable primer for plastered walls and apply it evenly using a paintbrush or roller. Once the primer is dry, you can paint the wall in your desired color, adding the final touch to your beautifully plastered surface.
Tackling a wall plastering project on your own would cost approximately $194 for tools and supplies. In contrast, hiring a professional plasterer typically costs $2 to $10 per square foot, considering both material and labor. The total expense for professional services greatly depends on the size of the project.
While DIY offers cost savings upfront, hiring a professional ensures expertise, quality, and often a quicker completion. It's crucial to weigh these factors against your budget, time, and skill level when deciding between DIY and professional plastering for your specific project. The type of plaster you choose (like venetian plaster) can also impact your spending.
Positive experience. As previously stated, the replacement/repair could not be completed (no fault of the plumbing tech) b/c misinformation was rec?d by property management maintenance. Thanks to the plumbing tech for your efforts. Appreciate you!
 The Waterworks
Carpet repair done well. Scheduling was easy. Showed up on time.
I would recommend this company to anyone! He showed up on time, was friendly, completed a very difficult repair on our dryer vent cover, was responsive, and pricing was extremely fair and competitive. I would have him back to do any of our repairs or cleanings without hesitation!
Everything from initial contact to completion was absolutely top notch. We contacted the business during off hours to leave a message, and the owner still reached out to feel out the issue within minutes. We were scheduled and repaired within 48 hours. I cannot say enough about the...
 Supreme brick & chimney
Ace Fireplace Services came to the rescue for my chimney repair. They were quick to pinpoint the issue and worked their magic to fix it. My chimney is now in excellent shape, and I'm a satisfied customer.
 Ace Fireplace Services
Great experience all together. Dog friendly, courteous, great results and honest with recommendations. Will certainly be using Cardinal in the future for any carpet repairs
Description says they handle window repair including rotten hardwood - they called me back right away but didnâ t leave a voicemail. I followed up 3 days later and they said they donâ t do that kind of work.
Very good experience. He even moved things around in my bedroom to get to the wall. I would highly recommend him for plaster. I plan to have him come back.
 Peter J Grady
Great guys. Spend a lot of time repairing and prepping our walls before doing the new paint. Home looks great now.
They did an excellent job with the repair, took care of all communication with the insurance company and had car rental service also with a very reliable, quality care
 Three C Body Shop
From average costs to expert advice, get all the answers you need to get your job done.
The cost of plastering walls and ceilings depends on the room size and ceiling height. Our tips can help you estimate an accurate cost.
Plaster repair costs are determined by the size and type of damage. Discover why some fixes you can DIY and why some require a pro’s help.
Venetian plaster can add depth and texture to your aesthetic. Learn how much Venetian plaster costs based on factors like square footage and whether you hire a pro to help.

You can find plaster walls in a lot of older homes. What’s behind these walls—whether that’s lath or calcimine—can have an impact on how long they last. Finding out the age of your house can help you determine what you’re dealing with.

Want to hang up a new piece of art or mount a TV on your plaster walls? First, you’ll need to learn how to find a stud in a plaster wall. Here are four methods.
Learn how to hire a qualified plaster installation pro for your walls and ceilings. Get expert tips on finding reputable plasterers for your project.