How to Clean Household Air Vent Covers Like a Pro
Better airflow is just a dusting away

Dirty air vent covers are not just an eyesore. They can actually reduce air quality throughout the home, which can cause allergies to flare up and impact breathing. Luckily, you have a few simple cleaning options. Learn how to clean air vent covers in your house with this DIY-friendly guide.
Why Clean Air Vent Covers?
You should clean air vent covers for the same reasons you replace the air filters and maintain the ductwork: for better air quality in your home. Poor air quality can lead to health issues, like respiratory problems and allergy flare-ups, but that’s just the beginning. Dirty air vents also drag down the efficiency of an HVAC unit, which results in higher energy bills and, in the worst-case scenario, a complete system failure. Like hiring a pro to clean the ductwork, consider this task a part of regular HVAC maintenance.
If your house isn't cooling down or heating up like it used to, before calling in a pro for air duct maintenance, make sure all your vents and return vents are open and unobstructed.

How Much Does It Cost to Clean Air Vent Covers?
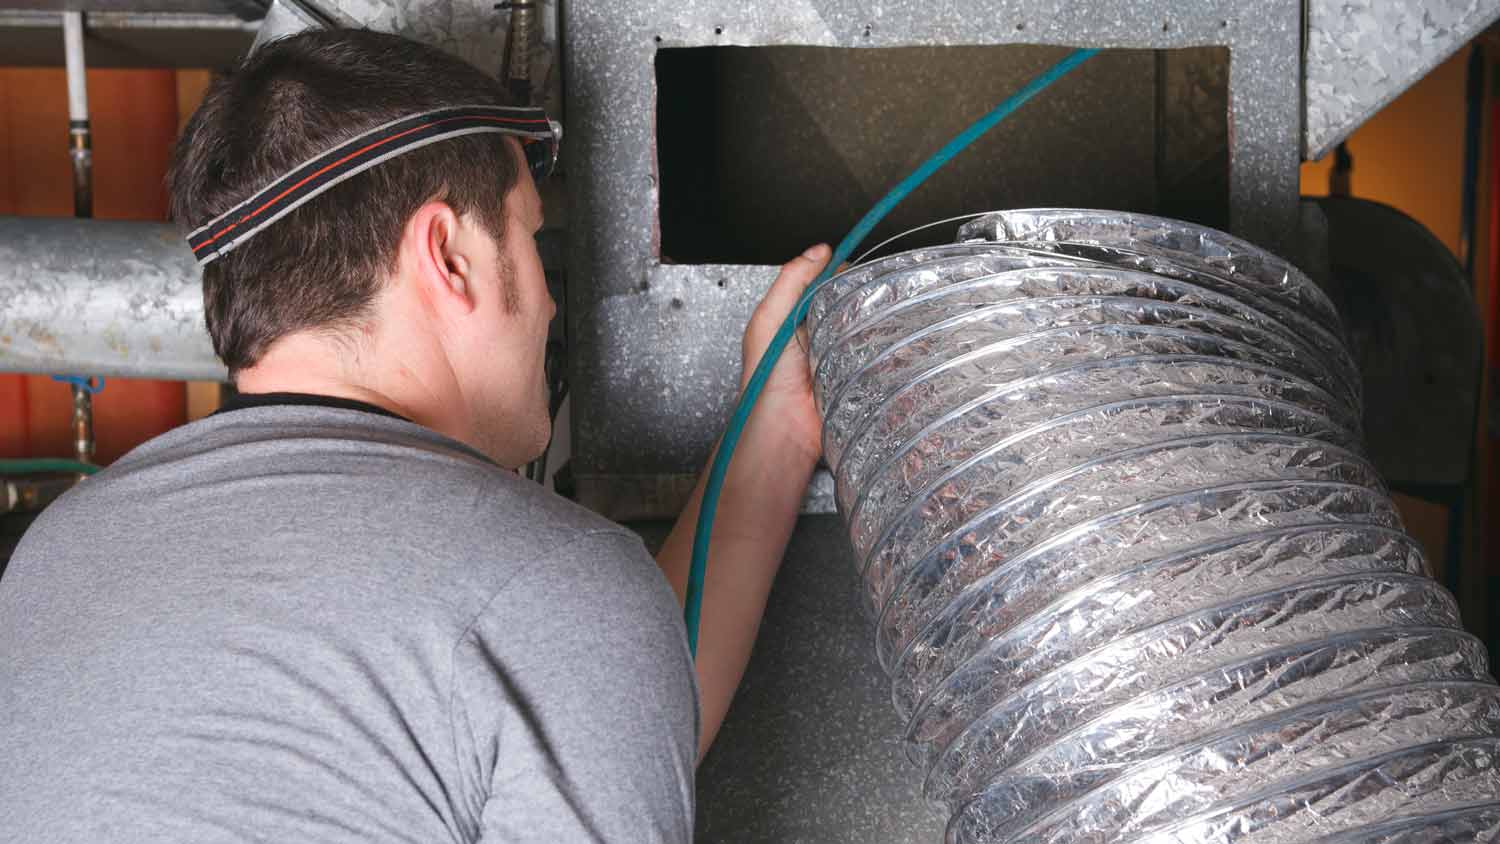
A local HVAC professional should clean your vent covers when they do a comprehensive ductwork inspection and maintenance visit. Cleaning ductwork costs anywhere from $150 to $800, but this cost refers to cleaning the whole system. Specialists may charge $25 to $50 to clean each air vent and cover.
However, cleaning the vent cover alone is a DIY-friendly project you can complete for very little money. Just factor in the cost of household cleaning supplies.

How to Clean Air Vent Covers
You have a few options for cleaning your vent covers. Here are the most common ones.
1. Vacuum and Wipe
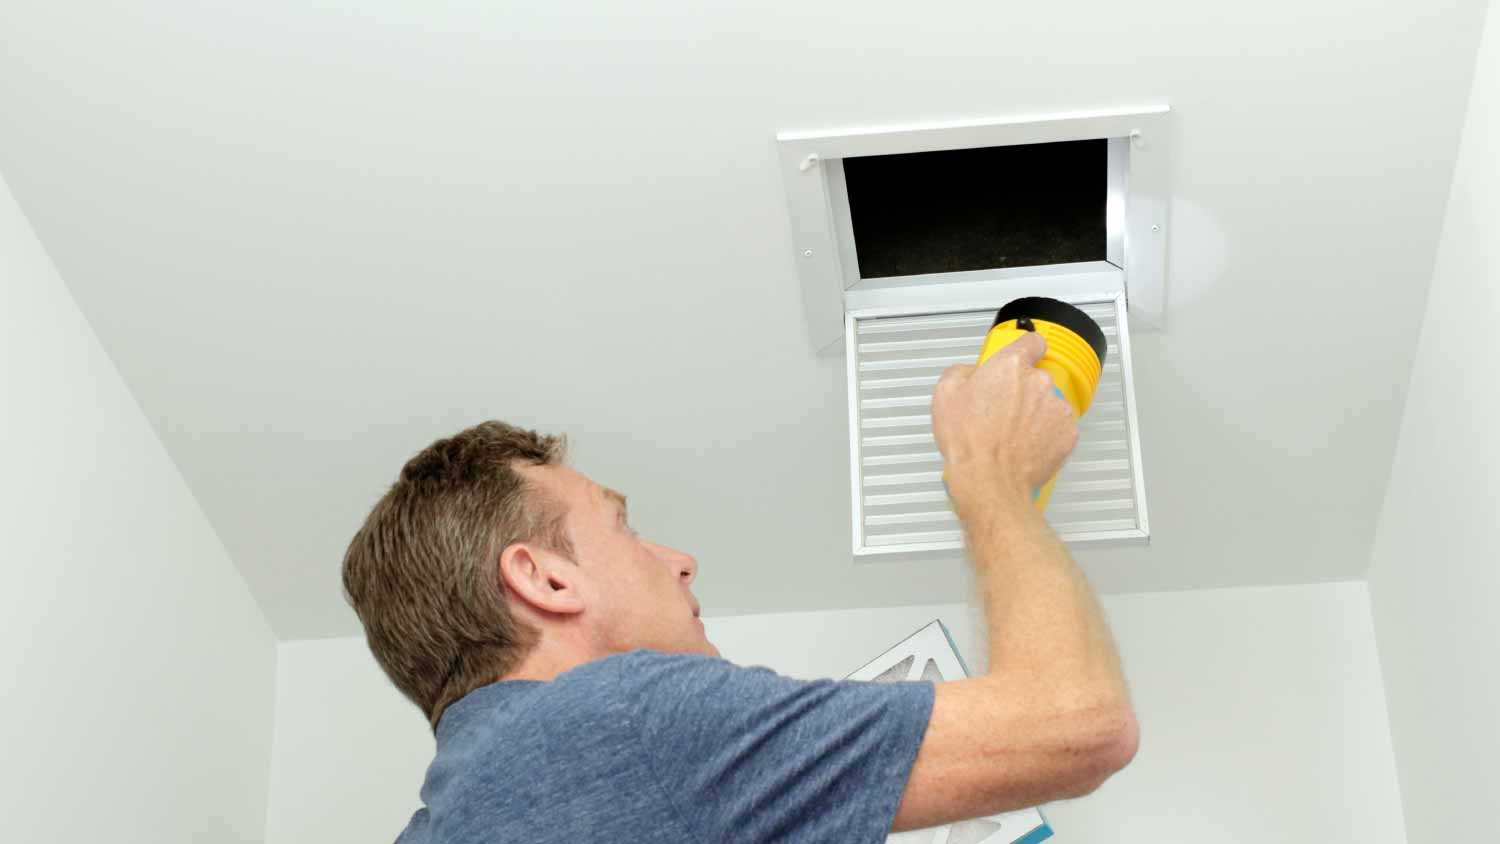
A quick wipe-down is perfect for monthly maintenance. Start by turning the HVAC system off to prevent air from blowing as you work. Cover furniture below the vent with a sheet to keep these items clean.
Use a handheld vacuum or a hose attachment to vacuum the vent covers. This will remove most of the dust and dirt. Finish the job with a damp microfiber cloth. Wipe the cover and the area immediately surrounding the vent.
2. Soak and Deep Clean
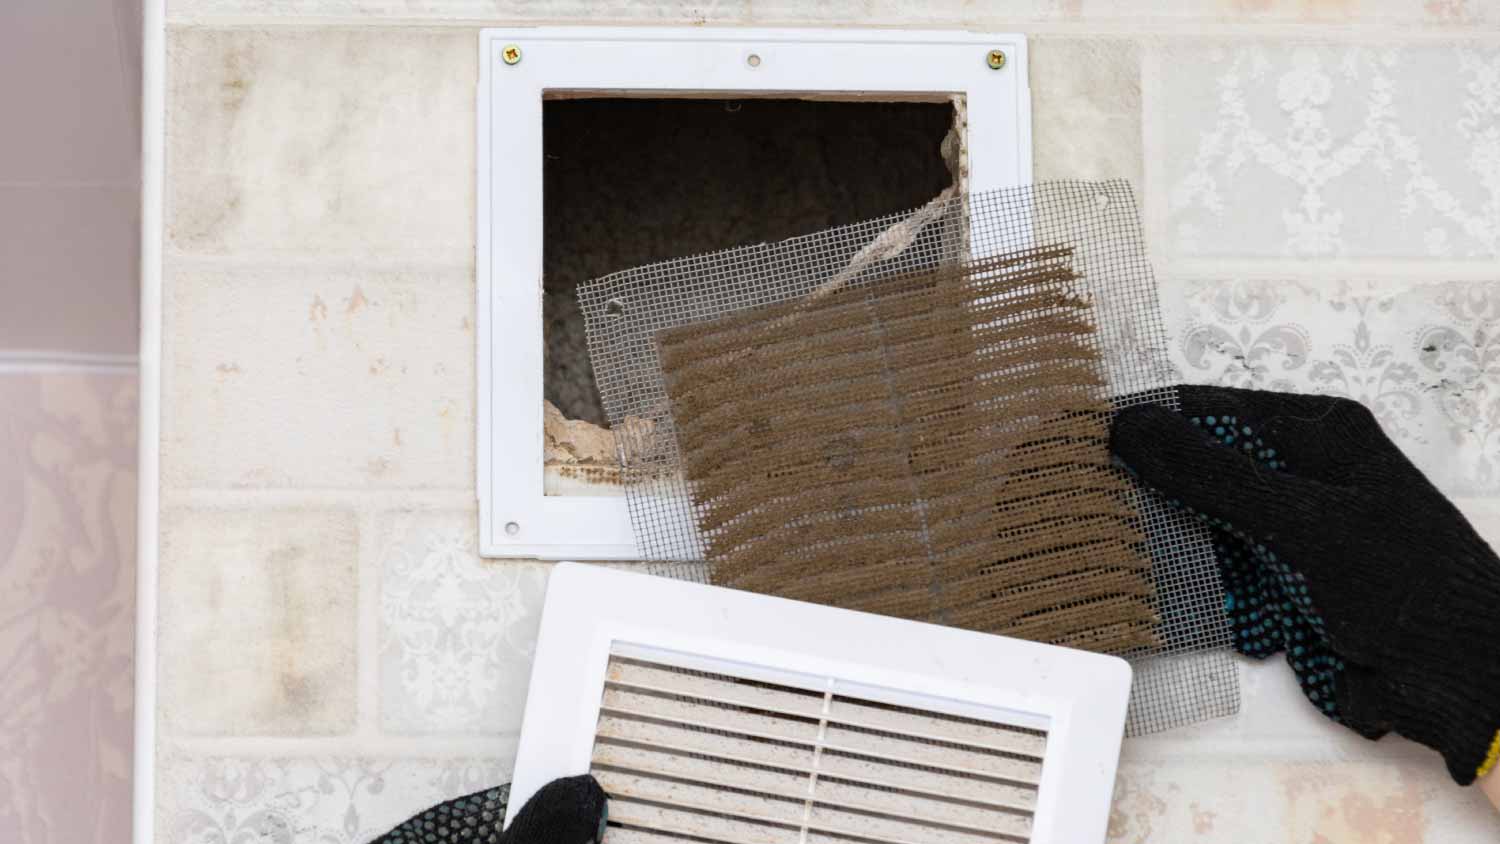
This is a good process for twice-yearly deep cleans. Turn off the HVAC system, then remove the vent covers by unscrewing the corners. Mix hot water with dish soap or a basic household cleaner.
Place the vent covers in the mixture and allow them to soak for a few minutes. Retrieve the items and wipe them down with a microfiber cloth, paying special attention to any lingering debris. Rinse them off with cold water and give them another quick wipe, allowing them to dry before reinstalling.
3. Get Rid of Rust and Repaint
If the vent covers are particularly gross and covered with rust, it’s time to pull out the heavy hitters. Once you’ve removed the covers, hit any rusted area with a high-quality rust remover. Follow that up with a quick soak in hot water and detergent.
Wipe everything down with a microfiber cloth and rinse in cold water. Wipe it down again, dry it fully, and then paint the formerly rusted area to match the rest of the vent cover. Allow the paint to dry before reinstalling.
How to Keep Air Vent Covers Clean
Now that you have gorgeous, clean air vent covers, follow these simple steps to keep them in pristine condition.
Monthly wipe down: To discourage the build-up of grime, give each vent cover a quick spot clean every month.
Change the air filters: Swap out your air filters at least quarterly. This will keep the system running smoothly and ensure the vent covers aren’t covered in gunk.
Regular HVAC inspections: Don’t forget about annual HVAC system inspections. The inspection team will recommend further maintenance to ensure the covers and system remain clean.
Complete repairs and maintenance: Each HVAC component can impact the entire system. Make sure to address any maintenance or repair concerns as soon as possible.
When to Clean Air Vent Covers
Experts recommend that homeowners deep-clean vent covers twice a year. This project is good to undertake before winter and summer when the HVAC system is most used. However, this frequency range increases with dirty ducts or air filters. Also, give them a quick clean once a month or when you replace the air filters.
DIY vs. Hiring a Pro
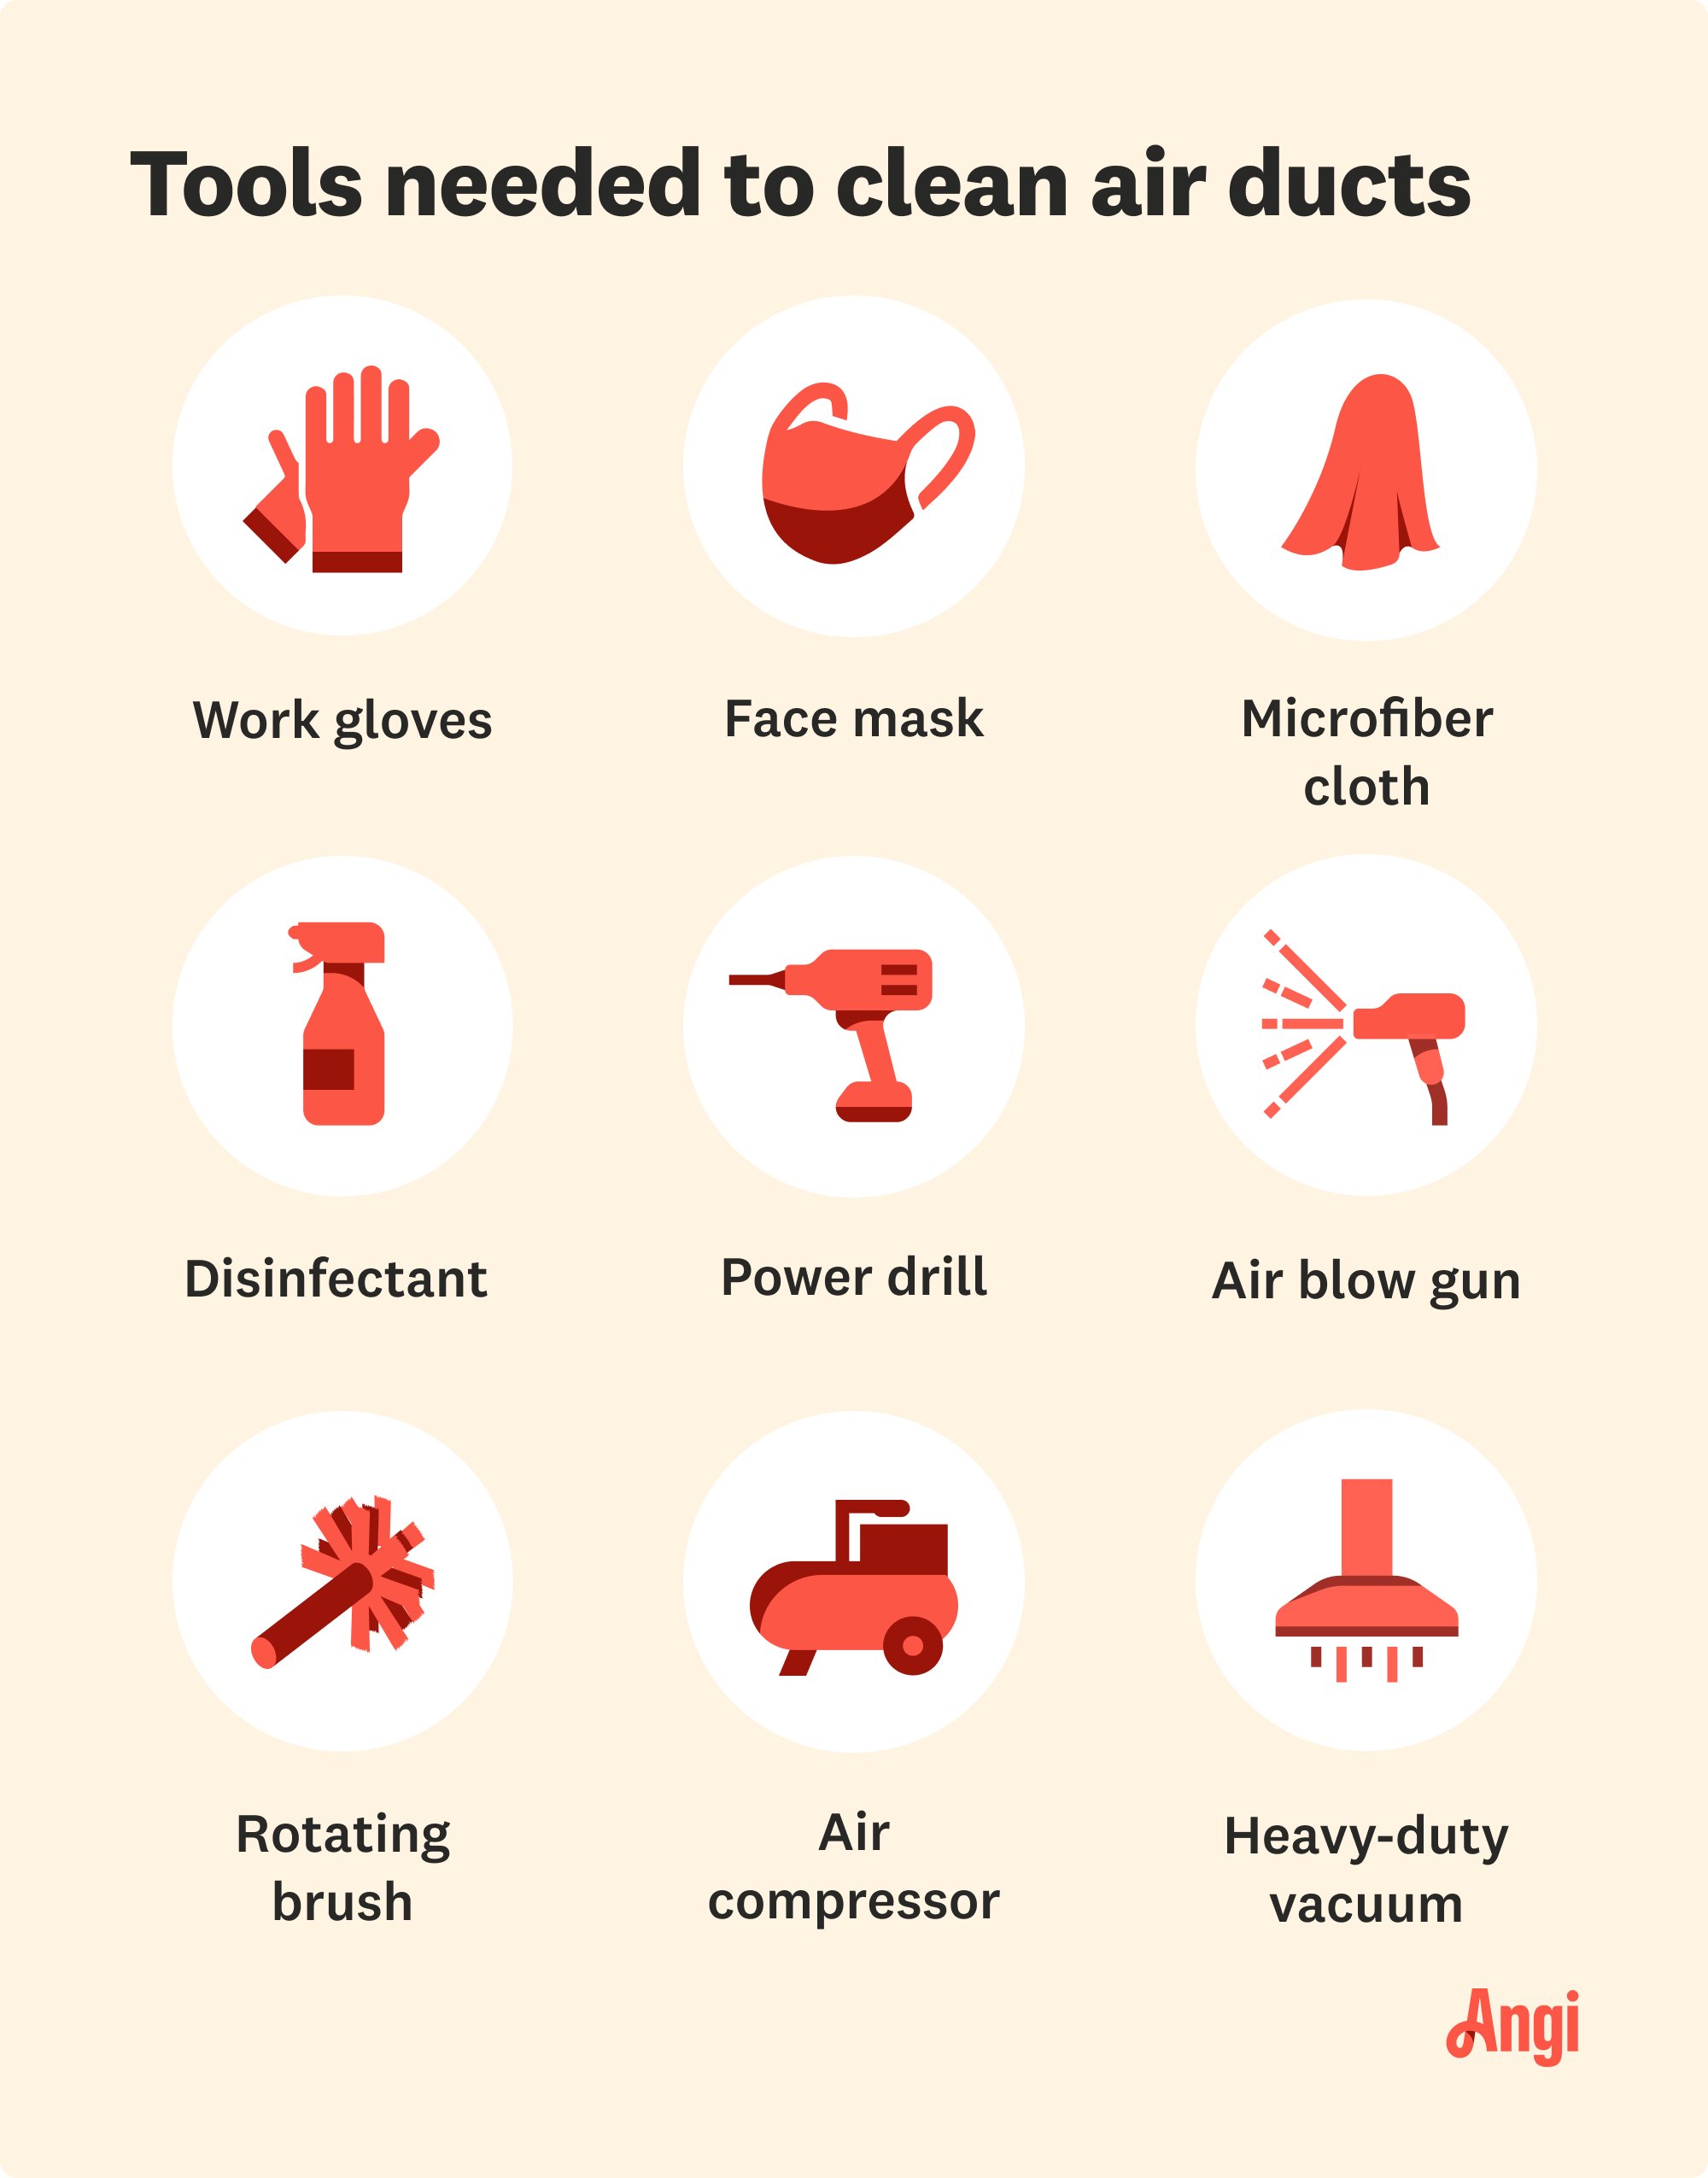
Cleaning your air vent covers is a DIY-friendly task, so long as you have the right tools to remove the covers and no accessibility issues. However, many homeowners hire a pro to deep clean the vents and vent covers simultaneously with their regular HVAC inspection. Lightly cleaning your vent covers monthly prevents buildup, which reduces labor for future deep cleans.
Frequently Asked Questions
Seeing black dots around the air vents is alarming, but don’t worry. It’s probably just a build-up of soot and darkened dust. Soot is just a byproduct of burning organic materials, so it tends to form in the winter months.
HVAC systems push air around, causing dust and dirt to accumulate. Some dirt around air vents is normal, but if you notice a significant accumulation in a short time, that indicates a problem with the system. Clean the vent covers, replace the air filters, and call in a pro for an inspection.
Dirty air filters are the likely culprit. You should swap them out every month or at least every quarter. If you’ve kept on top of those filters and still notice a rapid accumulation of dirt, it could indicate that the ductwork requires a thorough cleaning. It’s also probably time to schedule that HVAC system inspection.


- How to Tell If the Return Air Is Working With These Simple Tips
- What Is a Return Air Vent and What Does It Do?
- How to Open and Close Ceiling Air Vents
- Air Duct vs. Air Vent: Learn the Differences Between These HVAC System Parts
- Return Air vs. Supply Air Vents: What’s the Difference and How Can You Tell Them Apart?
- DIY Air Duct Cleaning Tools and How to Use Them
- Does Air Duct Cleaning Help With Smells?
- 9 Ways to Balance Duct Airflow
- Breathe Easy: 10 Tips for Improving Your Indoor Air Quality
- How to Vent a Toilet, Sink, and Shower


