Discover drip irrigation system cost estimates, key price factors, and ways to save. Get transparent pricing to plan your home irrigation project confidently.
Clean away clogging and bacteria problems before they begin


Home misters provide a cooling spray of water for decks, patios, and outdoor areas during uncomfortably hot months. Learning how to clean your misting system is an essential maintenance step to keep it in top-notch condition.
Home misting systems need occasional cleanings to prevent mineral-based scale build-up or other issues that can clog the system. You don’t need to clean misting systems after every use, but a thorough cleaning every few weeks of constant use and at the end of the season can make a big difference. Let’s review how to clean an outdoor misting system and when to hire a sprinkler professional.

Ready to start? Consider the type of misting system and the unique care it needs before cleaning. Home misting systems can use a variety of materials, including PVC tubing and metal pipes. They may also have different kinds of pumps or water sources like a connection to the home water line or a separate water tank. Consult a local sprinkler professional to determine the best cleaning process for your system.
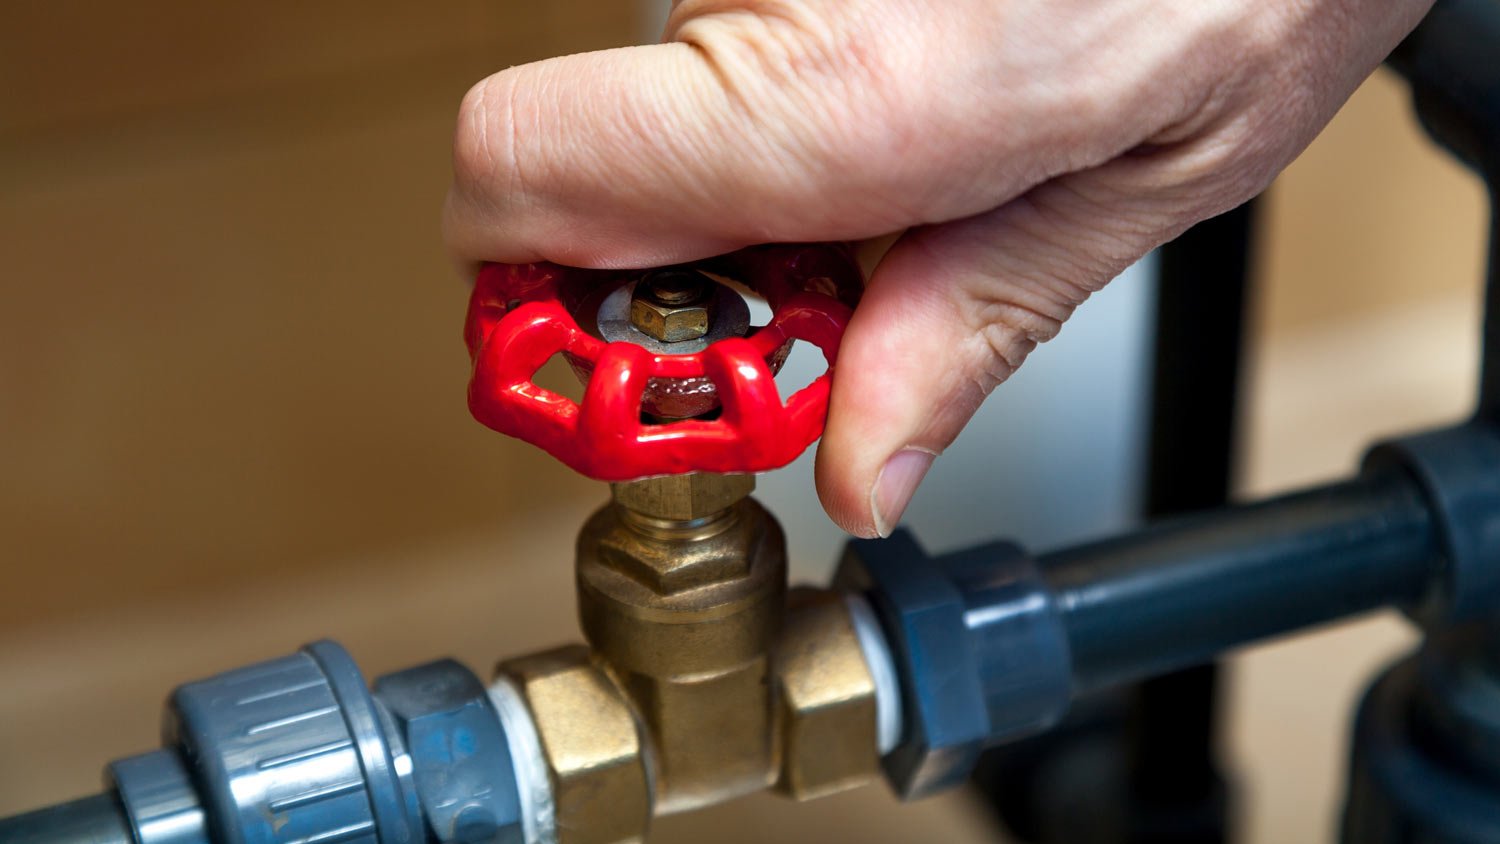
Turn off your misting system to begin. If you haven’t used the drain valve since the last use, drain remaining water from the tubing. If necessary, turn off your power or water connection.
Detach your nozzles and set them aside in a designated cleaning area. Nozzles have different ways to attach and detach to tubing depending on their construction. Some unscrew by hand, while others may require using a flathead screwdriver. Larger nozzles may need the help of a wrench as well, especially if they are stuck. As you remove attachments, wipe down the holes to remove any dust or build-up.
If you can’t remove the nozzles for cleaning, it may impact their lifespan. However, you can still clean them by turning on the misters and scrubbing them with a brush as they’re spraying, which helps remove clogs.
Many nozzles have small O-rings to create a seal for the pressurized spray. Gently peel away the O-rings, inspect for any damage, then set them aside.
If the O-rings have build-up on them, wash them first. Gently wash the O-Rings with warm water, a few drops of detergent and a small brush. Set them aside to dry.
Start cleaning the nozzles by soaking them in the bucket. If your water is soft, you can soak them in a solution of about 1:2 white vinegar and water for 30 to 45 minutes.
If you have hard water and are worried about scale build-up, soak them in the CLR solution for a few minutes to clean. Carefully follow the instructions on your CLR formula for this step.
Afterward, carefully drain the bucket and give each nozzle a quick rinse off to remove any lingering debris.
If you use a water tank for your misting system, now is the best time to drain the tank and rinse it thoroughly with your hose. Scrub any grime with a cleaner and thoroughly rinse again. Once you are finished, you can refill the tank.
Important note: For the best results and a low risk of algae or other clogs, we highly recommend using a sealed tank of distilled water or a connection directly to your water line.
Misting systems usually come with a filter to help clean the water it uses. This is a great time to check the filter and clean or replace it as necessary. Filters usually need to be replaced every few months.
If it’s been more than one year since you’ve done pump maintenance, use this time to follow your pump’s instructions for suggested maintenance. That usually involves draining oil from the bottom of the pump into a pan and replacing it with fresh oil. If the pump has any seals or important valves, check them for any signs of corrosion or decay.
Drain valves drain excess water after using the misting system. Check that the drain valve is clean, free of corrosion, and the misting system isn’t leaking. For addressing serious problems, you may want to disassemble and clean the drain valve similar to cleaning the nozzle, but this isn’t usually necessary.
As the misters soak, flush out the misting system. Run the system at a low pressure setting for several minutes to flush it out, getting rid of any old standing water and cleaning the misting holes.
In some cases, users use a 10:1 mixture of water and bleach to sanitize the inside of the tubing. This step requires extra work with your water tank and a second flushing to remove traces of bleach, but you may want to consider it if you have bacteria or algae growth.
Treatments with CLR can break down scale inside the nozzles. However, if your local water includes many minerals and you aren’t cleaning with CLR, it’s important to monitor your tubing and nozzles for scale build-up. If white or gray layers of scale appear (it won’t respond to scrubbing), then your system may be in danger of clogging permanently. It’s a sign to switch to distilled water, install a water softener in your system, or take additional steps.
Replace the O-rings into the nozzles, and re-attach them to the tubing in the correct positions, making sure their seals are tight. Starting at low pressure, turn the system on and test the nozzles for direction, spray quality, and seals. Make any necessary adjustments and increase the pressure to your preferred misting state.
As you clean, you may notice misters that won’t work, have too much scale build-up, or constantly leak. Replacing O-rings can help, but sometimes misters get damaged. It’s a good idea to replace these misters permanently.
Cleaning a misting system is a DIY task that only requires a few tools Since it only requires a few inexpensive supplies, we recommend taking an afternoon to tackle the misting maintenance project.
However, in some cases owners may not be comfortable climbing ladders or doing the other physical requirements of cleaning misting systems. In this case, you can hire a local sprinkler service and ask specifically if they clean and maintain misting systems. Misters are a lot like reverse sprinklers, so irrigation companies are uniquely positioned to handle them, too.
From average costs to expert advice, get all the answers you need to get your job done.

Discover drip irrigation system cost estimates, key price factors, and ways to save. Get transparent pricing to plan your home irrigation project confidently.

If your sprinkler system isn’t working, it may be time for a new pump. Find out sprinkler pump replacement costs with this guide.

A French drain costs around $9,250 to install, but several factors will determine the final price you pay. Learn the cost to install French drains in this guide.

Sprinkler heads can go missing in your lawn or landscaping, leaving you with uneven watering. Learn how to find sprinkler heads covered by grass and plants.

Sprinkler systems offer lots of variety in sprinkler heads. Learn the differences between sprinkler head types to find the best one for your watering needs.

A sprinkler system saves time and money, but what are the pros and cons of a drip irrigation system? Here’s what you should consider.