
Discover floating deck cost estimates, including average prices, installation factors, and ways to save. Learn what impacts your floating deck cost.
Your yard is hours away from being decked out

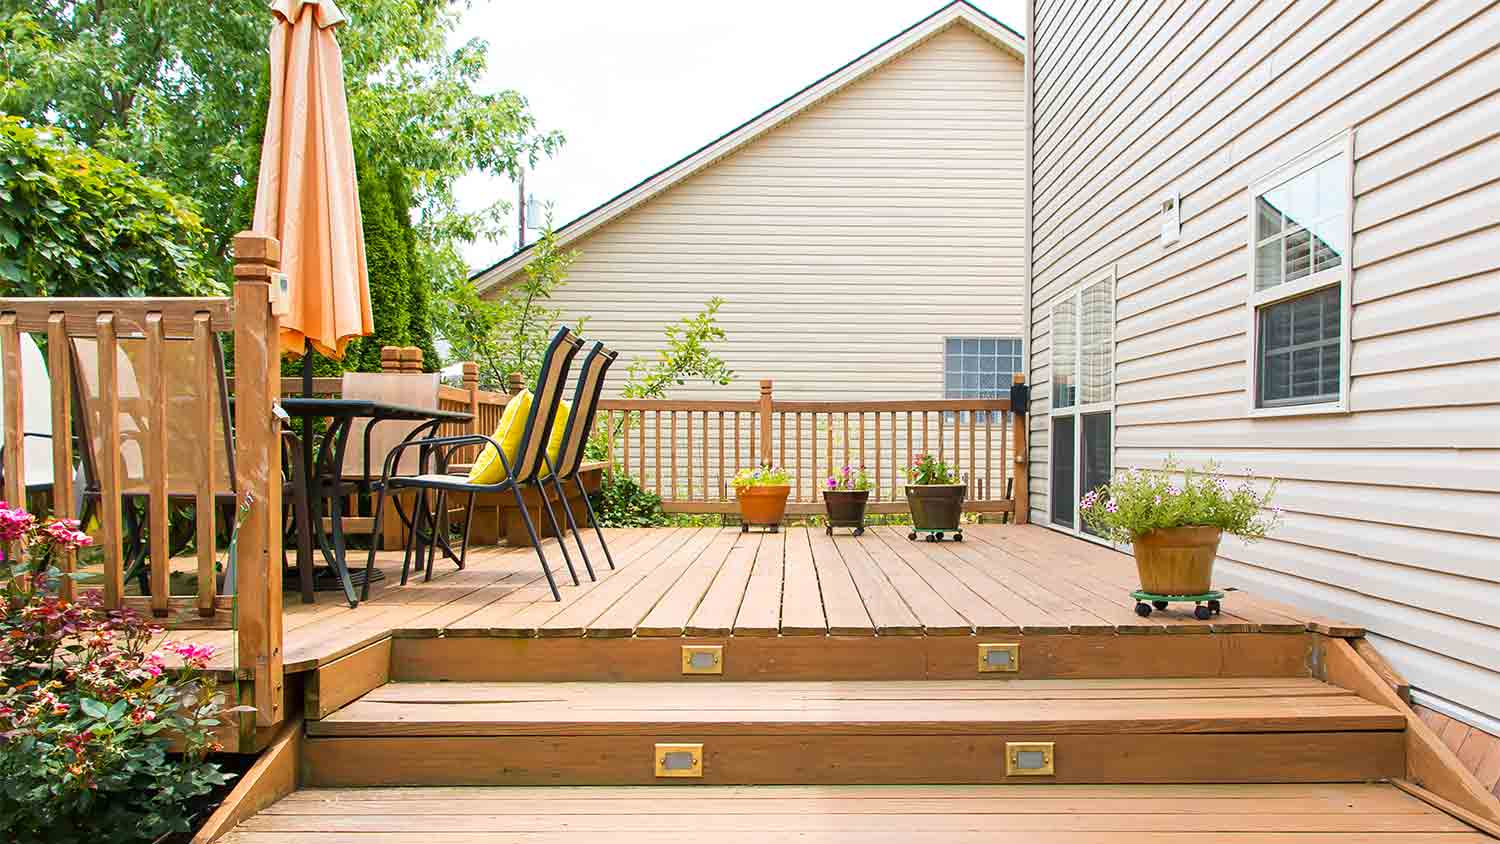
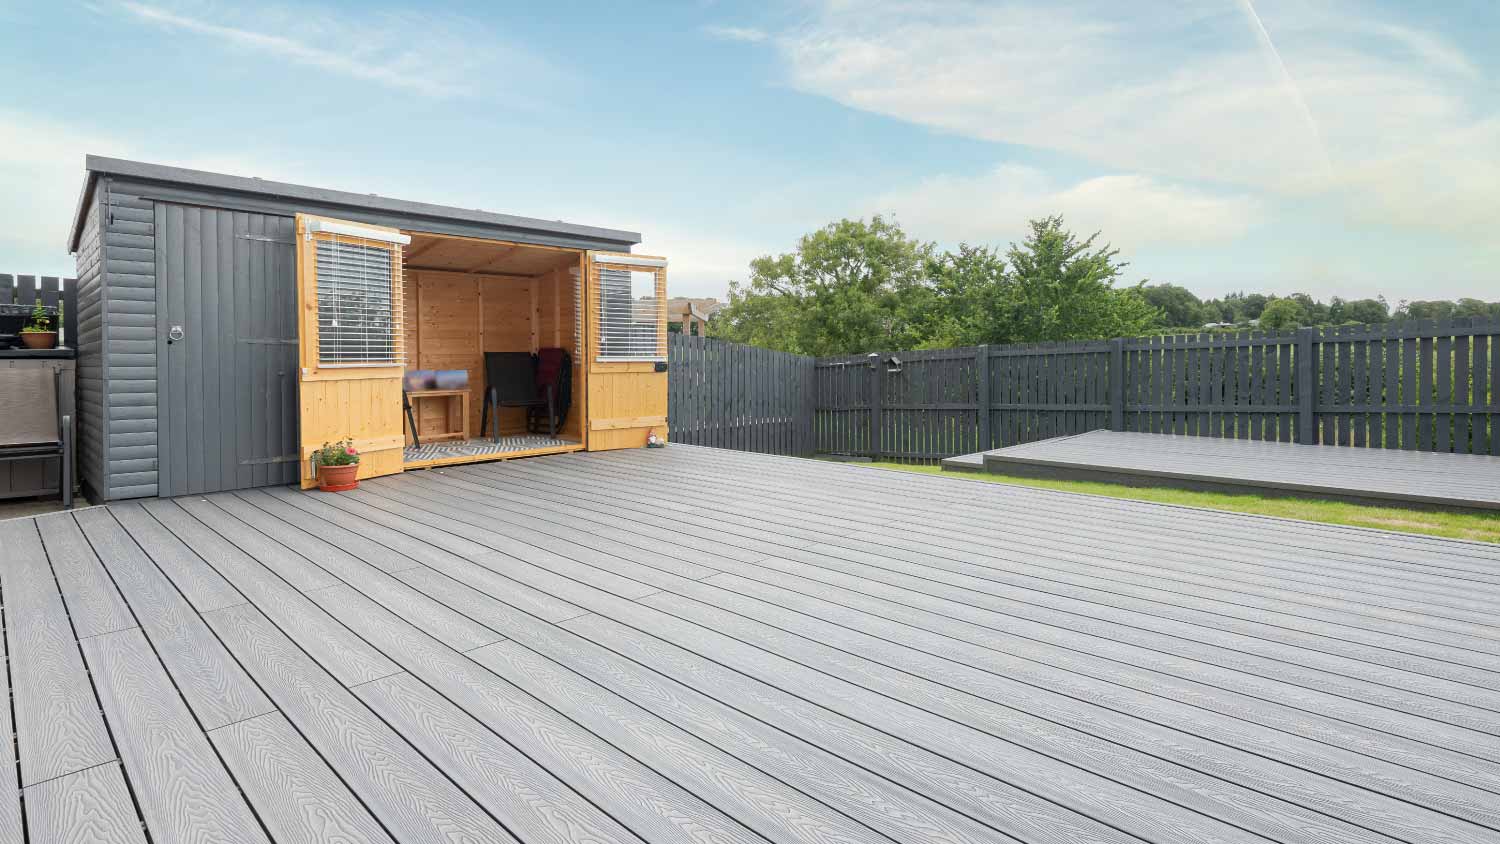
A floating deck sits on concrete blocks or deck footings above the ground, creating a freestanding structure that you can place away from your home.
Expect to pay $20 to $60 per square foot for building a floating deck, with labor accounting for up to 40% of your total project cost.
Your floating deck frame needs proper leveling and spacing between concrete blocks, with footings placed no more than 8 feet apart for stable support.
Hiring a local deck building professional keeps your project on schedule and ensures proper leveling, drainage, and structural integrity throughout the build.
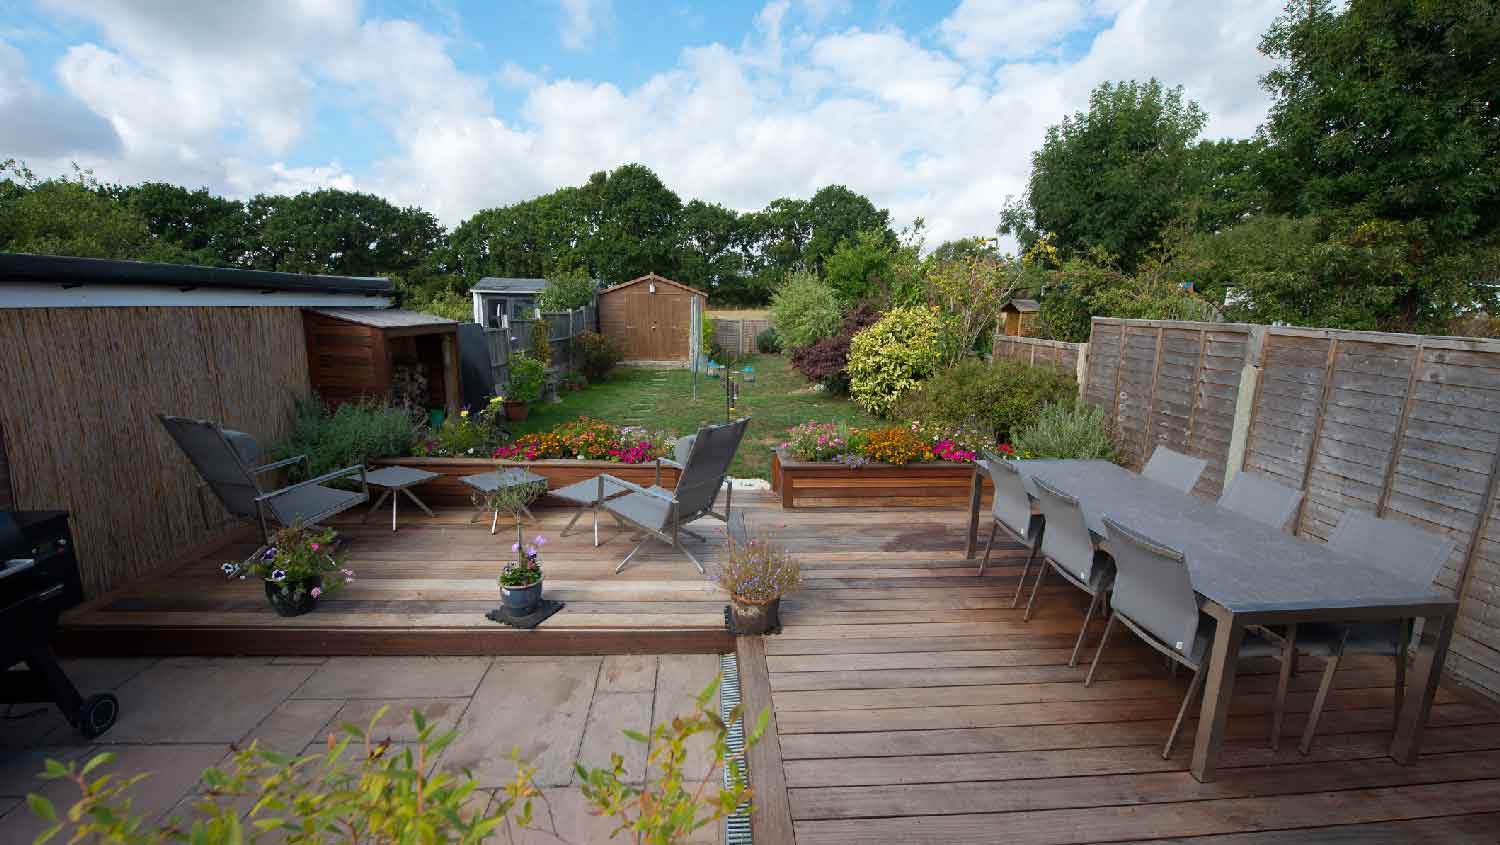
We all want that perfect outdoor entertainment space. If your yard doesn’t have a deck or patio, learning how to build a floating deck can transform any lackluster backyard into the go-to place for gatherings. Before you call in the pros, follow these steps to build a DIY floating deck.
A floating deck is a standalone deck, meaning you won’t need to attach it to your home. Though this type of deck doesn’t float (unfortunately), your deck will appear like it’s floating above the ground. The benefits to choosing a floating deck include:
They’re faster to build than other types of decks.
Most floating decks don’t need deck stairs.
You might not need a permit to build one.
You can place them away from the house.
At the same time, floating decks are more likely to blow over in the case of a storm, so if you live in a region that experiences extreme winds, this type of deck might not be the right one for your home.
Preparing for your project is a surefire way to get your floating deck installed correctly the first time around. To prepare for success, you’ll need a solid floating deck plan, the best deck-building materials for your project, and the right size and amount of materials. Here’s how you can get started on the right foot.
While most floating decks don’t need a permit, every municipality has its own requirements. Always check with your local building permit office to ensure you don’t need a permit. Here are some factors you may need to consider when getting a building permit for your floating deck:
Width, length, and height dimensions
Electric connections
Plumbing connections
Location in your yard
Service door addition
Building a deck without a vision is like solving a maze in the dark. Plan your design before you start building so that you know what your floating deck will need. You can either draw your design yourself, find a deck design online, or work with a deck builder to customize your structure to the highest standards.

Pressure-treated wood boards: The most common decking material is pressure-treated (PT) wood. This material goes on the surface of your frame.
Composite boards: As an alternative to wood decking, composite decking materials are a low-maintenance option. Many homeowners choose between wood and composite decking.
Ground contact wood: For the base of your floating deck, ground contact wood offers greater resistance to rot and decomposition than above-ground lumber like PT wood.
With your floating deck layout in hand, calculating your materials is a matter of knowing the size of your materials and the dimensions of your plan. The best way to calculate your materials is to follow a decking calculator or adhere to a design plan from a kit with the materials included. You’ll need to make sure you have the right number of materials for the dimensions of your particular deck.

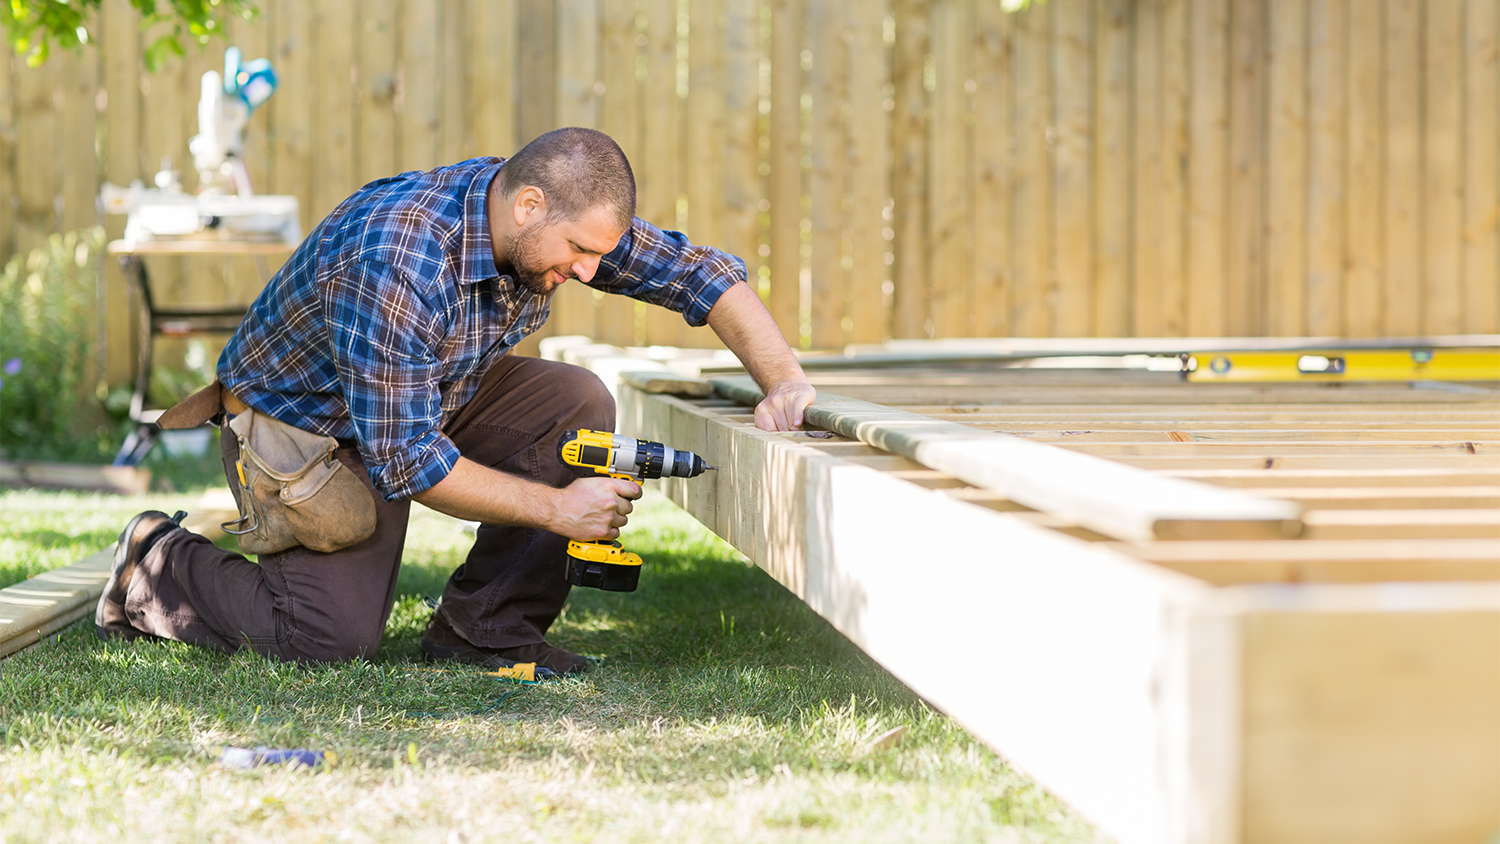
Roll up your sleeves and get ready to build a floating deck by first clearing the site, marking where the deck will go, laying down the deck footing, building the outer frame and getting it in position, assembling the joists, and installing the deck boards.
The first step is to clear the site so your deck can lay flat on the ground. Here’s what you might need to do, depending on the type of landscape on your property:
Remove all obstacles, including plants, trees, grass, and boulders.
Contact 811 before you dig to ensure site safety.
Level the site using an excavator for larger projects or a shovel for smaller projects.
Rake the dirt until it’s level.
Tamp the soil with a hand tamper.
Leave a slight slope away from your home to prevent water runoff from damaging your property.
Marking the footing of your deck is an essential step that sets up the foundation of your project.
Measure the length and width of your layout and spray an “x” with spray paint to mark the spot.
Lay your deck footing over the center of each marking.
Spray paint around the blocks to map where your deck footings will go.
Before you start building your frame, check the measurements to ensure the deck is built properly.
Check the corners of the layout by measuring diagonally from one side of your markings to the other.
Jot down the measurements.
Repeat the process with the other two corners.
The two numbers should be the same. If the measurements differ, you’ll need to go back and re-measure your layout.
Laying the footing sets your deck up for a stable foundation. Remember, floating decks don’t require you to dig. You can lay either concrete blocks or another type of deck block, according to your design plan. For a stronger foundation, however, consider setting your deck’s footing underground.
With gloves on, lay the blocks as indicated in your layout.
Space the concrete blocks no more than 8 feet apart. TuffBlocks should be no more than 5 feet apart.
Place one support block in the center of your layout to support the center beam.
Lay a 12-by-4-foot board across the blocks or use a string level.
With the level, check that they’re even.
If any blocks are too low, add gravel underneath.
Remove the gravel or soil underneath blocks that are too high.
Use a shovel to dig a hole that fits the size of your footing.
Temp the ground.
Add a thin layer of gravel to the hole.
Temp the ground again.
Lay the concrete block in the hole.
Fill empty spaces with soil or gravel.
Repeat until each footing is in the ground.
Include a footing to support the center beam.
Lay a 12-by-4-foot board across the blocks and use a level or string level to check the height.
Add gravel underneath the blocks that are too low.
Remove the substrate underneath blocks that are too high.
The outer deck frame contains two longer boards and two standard boards. The longer boards go on the ends as rim joists, while the other two boards go on the inside to form a rectangle. Follow these steps to piece them together.
Line up your boards over the footers.
Double-check your measurements.
Use a circular saw to cut any standard board pieces that are too long. Rim joists can hang over for now.
Mark the places you’re going to drill.
Drill the pilot holes.
Use deck screws and a drill to secure the pieces together.
With your outer frame complete, position it into place.
Fit the frame into the footers if they have grooves.
For concrete slabs, simply lay the outer frame over it, lining up the corners and the center point with the slabs.
You might also need to square your deck’s frame with the help of a friend.
Have a friend go to the opposite side and corner of the frame as you (their corner should be diagonal to your corner).
Push the corners toward each other until you have equal diagonal measurements.
Taking weed-preventative measures can save you the nuisance of having to pull up sneaky weeds from your deck later down the line. Here’s how to control weeds in your deck area.
Unroll heavy-duty landscaping fabric on top of your tamped soil.
Cover the entire area underneath the outer frame of your deck.
Staple the fabric to the inside portion of your frame.
Pour gravel on top of the landscape fabric.
Use a shovel to spread out the gravel until it’s 4 inches thick in every section.
Compact the gravel using a compactor if necessary.
The next step is to put together the floor joists of your deck. Several joist sections need assembling, including the floor joists and end joists.
These joists make up the longer sections of your frame. Follow these steps to get the job done.
Use L brackets, screws, and a screwdriver to connect a center beam to the side joists.
With a pencil, mark where your joists will go. The joists should be somewhere between 12 and 16 inches apart.
Use a speed square to draw the lines down the entire length of your beams.
Secure joist hangers to the frame and center beam using the screws that came with them and a screwdriver.
Lay the joists on the hangers.
Secure them using joist hanger screws.
Fill each fastener hole in the joist hanger with a fastener.
End joists make for a sturdier deck, so don’t forget to add them to your deck. Follow these steps to install them.
Secure an end joist to each rim joist using wood screws and a drill.
Make your frame even more stable by fastening a smaller board to the inner face of your rim joists using wood screws and a drill.
Screw in corner brackets to the inner parts of your corners to add more stability to your frame.
While the first thing that might come to mind is taking a nap, sleepers are short support walls for your deck’s joists and beams. Here’s how to assemble sleepers.
Use a pencil to mark where your sleepers will go.
Sleepers should be no more than 16 inches apart.
Ensure the sleepers will leave at least 2 inches of space beneath the decking.
Install sleepers perpendicularly to the joists using brackets.
If you have any overhanging pieces of wood in your frame, go ahead and use a portable saw to remove excess pieces.
Now it’s time to install the decking. Follow these steps to get your deck installed in no time.
Check the lengths of all of your boards and ensure you have all of the materials.
Mark where your deck boards will go on your joists according to your design plan.
Drill two pilot holes for every place you’re installing the boards.
Use 2- or 2½-inch deck screws to secure the deck boards to your joists.
Leave ⅛-inch spaces between each board to allow for expansion in hot weather.
Once complete, trim overhanging boards—or leave them for aesthetics.
Sand, stain, and seal your deck to maintain its look.
After spending all that time and energy building your deck, the last thing you want is for your deck to wither away prematurely. Here are some tips on how to maintain your floating deck so that it lasts for years to come.
Apply a sealant every 1–2 years.
Stain your deck every 2–3 years.
Remove debris as needed.
Routinely wash and clean your deck.
Factor in your local climate and increase how often you clean and seal your deck if you live somewhere with high humidity, lots of deciduous trees, and extreme weather.
Repair or replace broken, rotten, or splintered wood.
Your cost for building a floating deck will typically run between $20 and $60 per square foot, depending on the design and complexity. While the national average for any deck project sits around $8,220, labor alone can account for up to 40% of that total, so the more intricate your build, the more you will need to budget. Working with a local deck builder will help you finalize your out-of-pocket costs.
Remember that adding a deck doesn’t just boost your outdoor living space. It can nudge your property taxes and home insurance rates upward, too. Still, with a potential return on investment between 40% and 52%, a well-built deck can pay off in both resale value and backyard enjoyment.
While many ambitious DIYers find it tempting to save money by building a floating deck themselves, the project isn’t a simple one. Constructing a platform requires precise planning, leveling, and structural know-how. Mistakes, like poor drainage or an uneven foundation, can lead to costly repairs or even safety issues.
Hiring a pro ensures your new deck meets local codes and holds up to weather and wear. Plus, you’ll save yourself time, stress, and trips to the hardware store, so you can spend more weekends enjoying your new outdoor space instead of fixing any potential mistakes made while building.
One of my old tall evergreen trees was suddenly leaning toward the busy street in front of my house. I submitted a request for an emergency tree inspection, and Alejandro, owner of Cajete Tree Service, contacted me immediately and arrived to look at it just 20 minutes later. We agreed the...
Mitchell and the crew were top tier i am so happy with my new roof
1 tree was cut down and 5 others including a large willow tree were trimmed. The Grant Tree Service men were professional and cleaned up afterwards. The cost of the 6 trees were affordable. I am very happy with the results. I would hire them again.
Archie did a good job cleaning up the driveway before he laid down the sealer. It looks good. He was gracious and even helped me bring up my groceries. His rate was comparable to another company who came out to give me a quote and he talked to me personally rather than just text me a quote...
We have bought and sold numerous times over the past 50 years. Sherman Hall and Top Line are top notch. Thorough and detailed, he explains every possibility, probability, and eventuality. High class and pleasant. The best.
 Top Line Home Inspections, LLC
D1 Roofing delivers outstanding service from beginning to end, backed by a strong warranty and expert teams. I highly recommend them for their excellence in meeting and surpassing expectations with unmatched communication. Choosing D1 Roofing was flawless decision
Couldn't ask for a better company. Josh and Dee were Very professional, efficient, courteous and takes major pride in their work. They will travel to come to your home and will still give you a fair price. They are honest and trust worthy. Their focus is on their work and their work is...
 Supreme brick & chimney
Window Depot did an amazing job on my deck. I wasnt sure what I wanted to do, but their composite decking was affordable and will last a long time. I am excited to have family over, and I am no longer embarrassed by my backyard. Jeff and the ground crew were polite, respectful, and caring for...
We were having 2”x 2” tile installed . There was a small installation error and the new additional replacement tile was from a different lot and the colors didn’t match. Joe assured us that he would rectify everything , which he did without hesitation. We decided to go with the 18” x 36” tile...
 CarifaTile
Maple Tree Service should serve as a mentor for other business! Customer service was superior and beyond expectation. Response to request was prompt. The representative was very courteous and proud of the company. Quote was given during initial visit and work date established. A follow up...
 Maplewood Tree Service
From average costs to expert advice, get all the answers you need to get your job done.
Discover floating deck cost estimates, including average prices, installation factors, and ways to save. Learn what impacts your floating deck cost.
Looking to update your yard with a new outdoor entertaining area? Learn how much a pressure-treated wood deck costs and how to estimate your total.
Thinking about adding a deck to your home? Explore this guide to learn about the average cost to build a deck based on factors like size, material, and labor.

For homeowners wondering how to build a deck around a tree, the first thing to remember is to keep the tree happy to protect your investment.
Wondering who builds decks? Here’s who to hire and what you need to consider before starting a deck-building project.
Learn how to install composite decking with some power tools and basic DIY carpentry skills. Find steps, tips, and more in this guide.